

Last month we quilted our own fabric. Now, we’d like to show you the laptop bag we made with our quilted fabric. Follow along for step-by-step instructions for cutting and sewing our bag.
Materials:
Pre-quilted Fabric for main body of bag
Lining Fabric (we used 100% cotton for durability)
Webbing or Extra Fabric to Make Straps (we used approximately 1 1/2 yards of webbing)
Desired Bag Hardware for straps
Sewing Machine and Thread to match main fabric and lining
Iron & Ironing Board
Washable Marking Tool
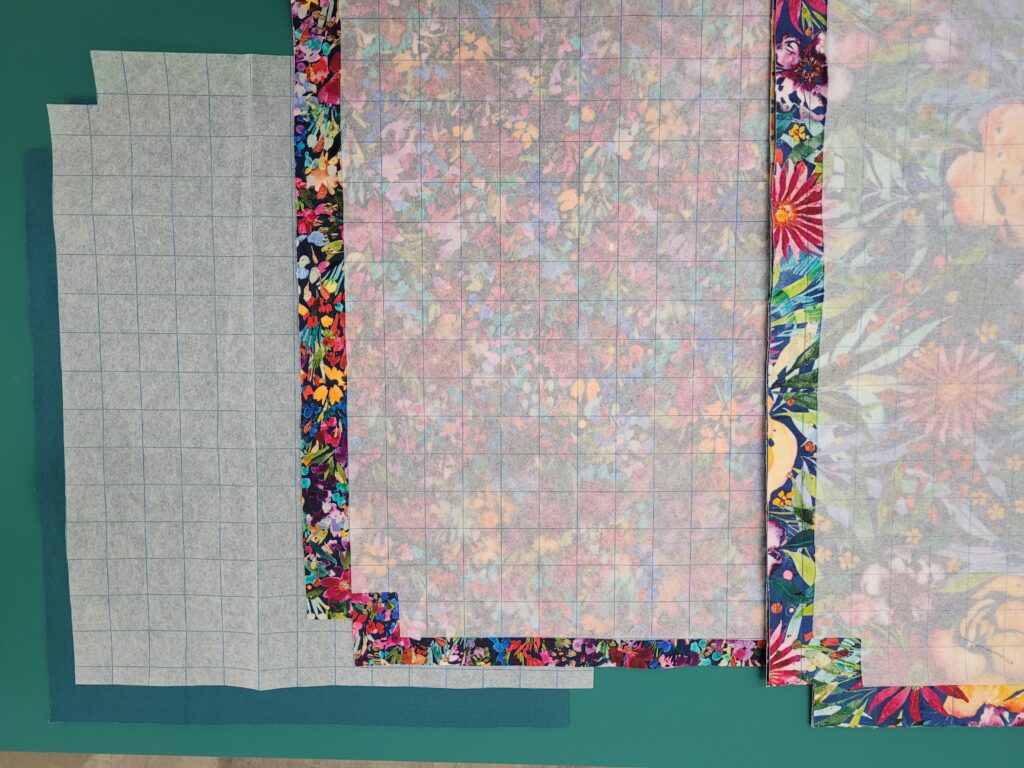
Cutting Instructions:
We decided to make a laptop carrying bag. Our laptop measures at 14.25” x 10.25”. We know that we wanted 4” of the main fabric to wrap to the inside of the bag at the top to create a nice deep facing. We also wanted a 2.5” gusset (depth of the bag) and a 0.5” seam allowance. Based on those measurements, here is what piece sizes we cut:
Main Quilted Fabric for outside of the bag: Cut two rectangles that are 24.5” long by 13.75” wide. To create the gusset/depth, we cut out 1.25” squares from the two bottom corners.
Lining Fabric: Cut two rectangles 16.5” long by 13.75” wide. Cut out 1.25” squares from the two bottom corners.
Pocket: We wanted this pocket to be 9.5” tall by 13.75” wide (finished) and also wanted to double the pocket (with the fold at the top). We also wanted to secure the pocket into the seams of the bag when we stitched it, so we cut two pieces that were 22.5” tall by 13.75” wide. Then we cut out 1.25” squares from all four corners of this piece (since the fabric will be folded in half).
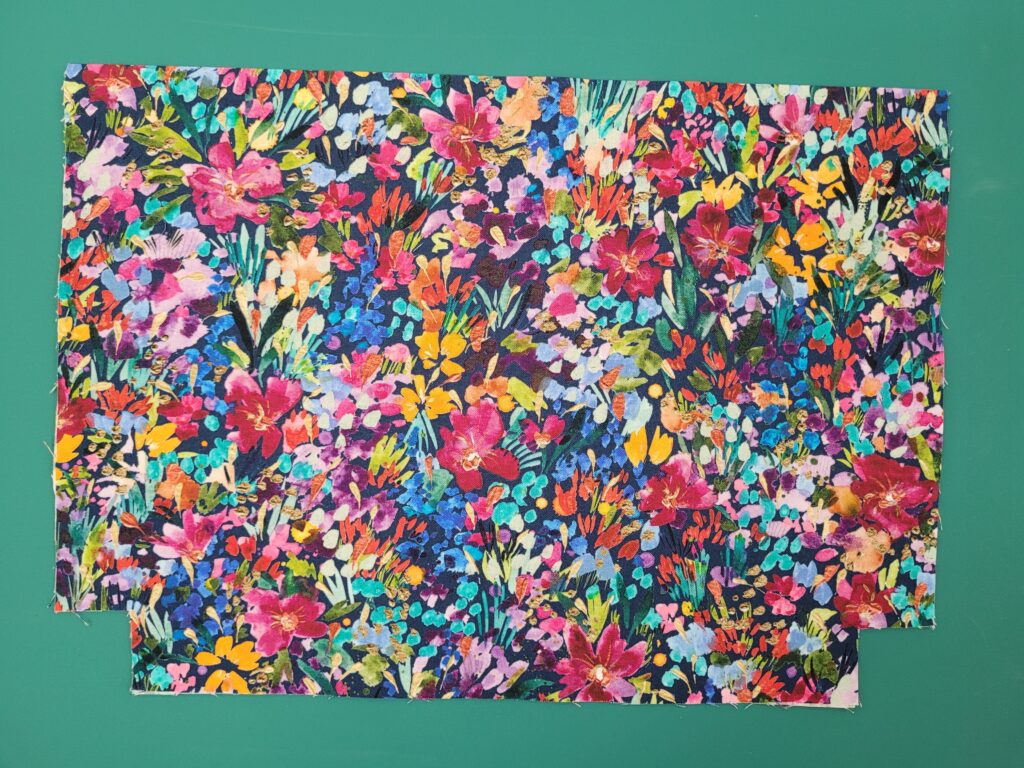
Fold your pocket fabric in half right sides together, as shown above, so that it is 11.25” tall by the 13.75” wide and press.
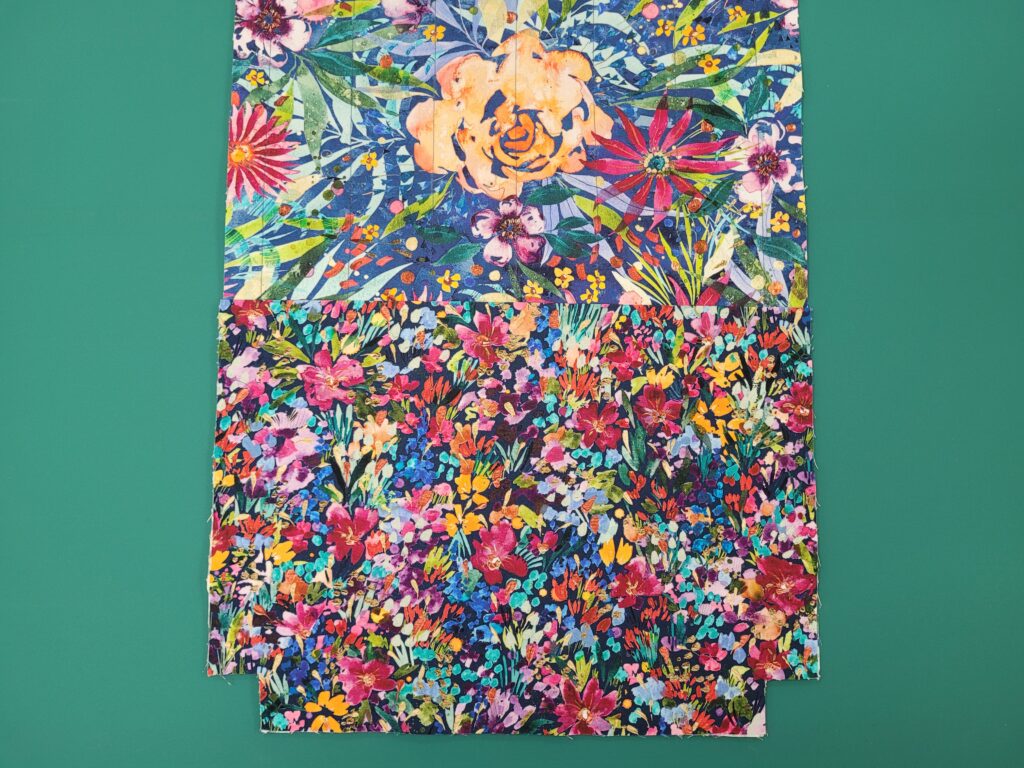
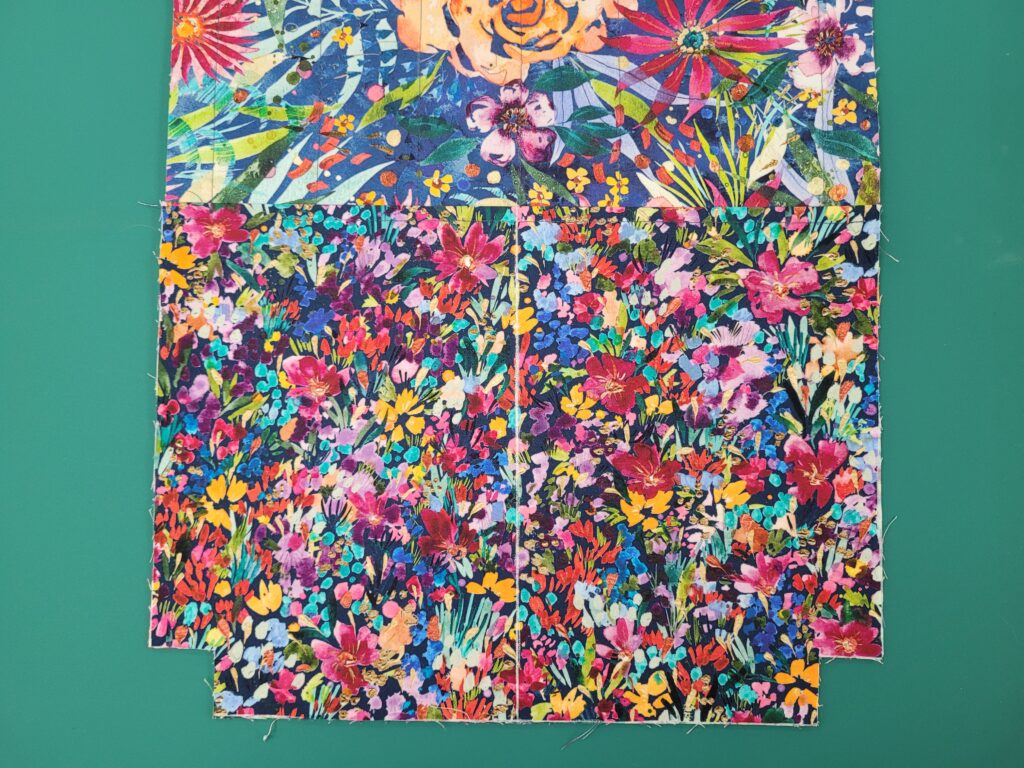
Line up the pocket to the bottom edge of the main body pieces of the bag. Baste along the sides and bottom edge to hold the pockets in place. Using your washable marking tool, mark your sewing line in the centre of the lining piece and stitch in place as shown in the second image above. Repeat this process to apply the pocket to the other bag main bag piece.
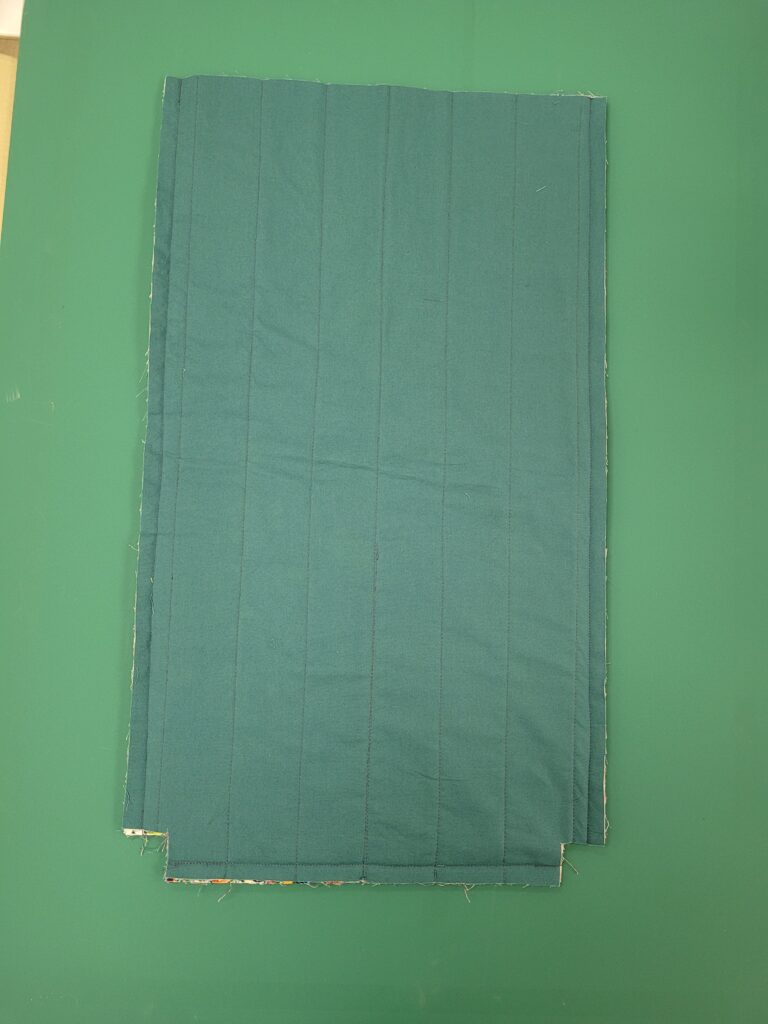
With right sides together, sew along the sides and bottom edge of the main bag pieces. Leave the corner pieces untouched for now. Press your seam allowances open.
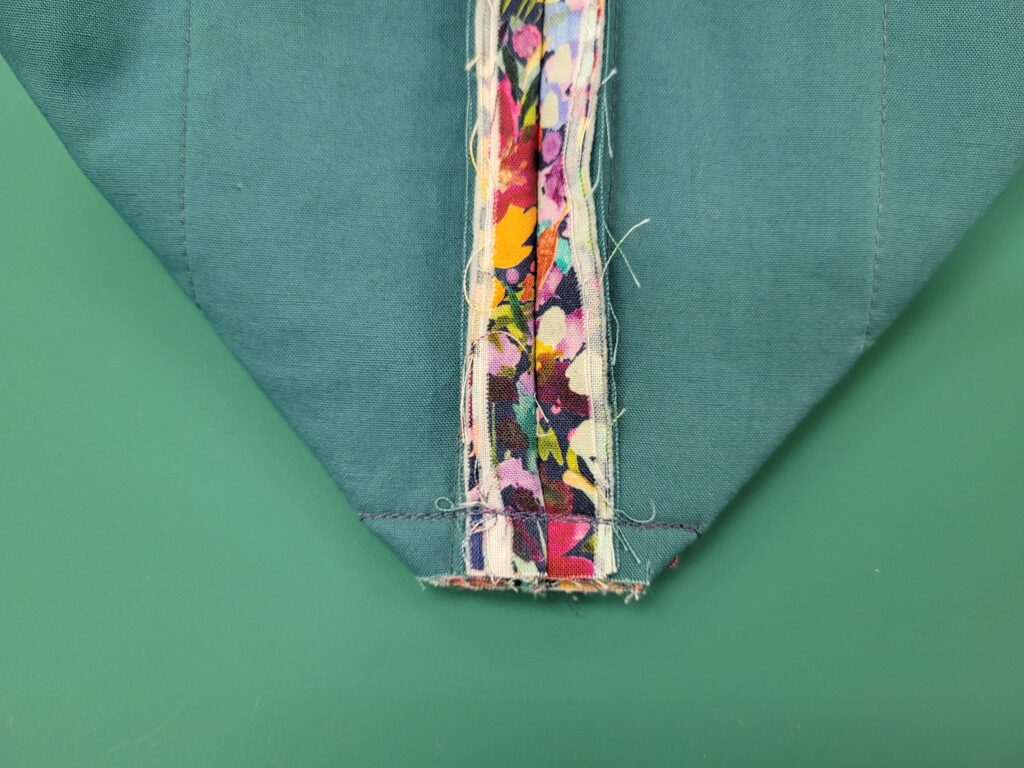
Now were going to stitch the bottom corners of the bag. Open out the corners so that the side seam is lined up with the bottom seam as shown above. Stitch across, making sure to sew over it a couple of times to make sure this seam is nice and strong. Repeat this step for the other corner.
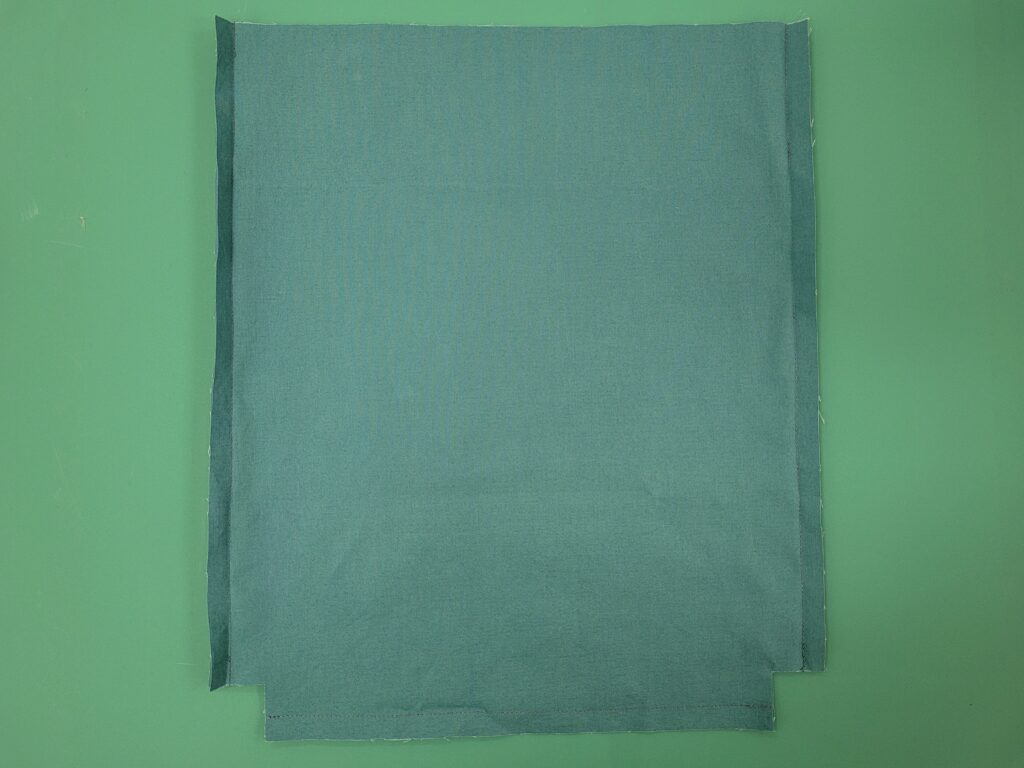
Stitch your lining piece along the sides and bottom, making sure to leave an opening (approx. 4 inches) along one side of the lining (this opening will be used to turn the bag right side out). Press your seam allowances open and “box” out the corners as you did with the main body pieces.
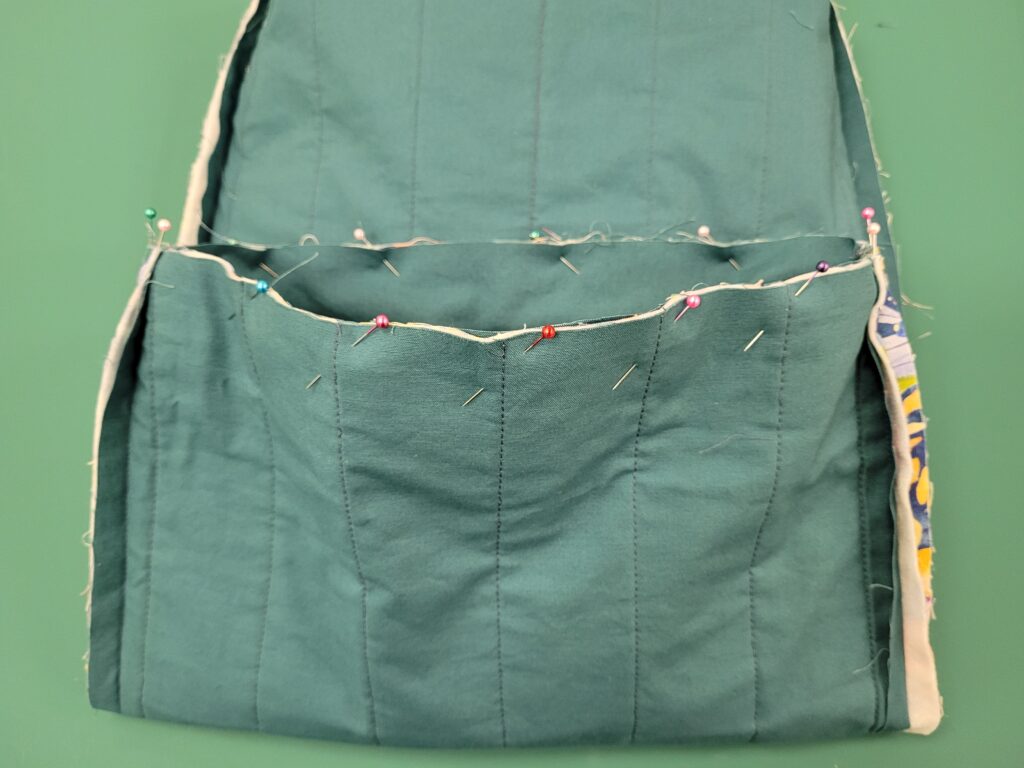
Turn the lining right-side-out and slip the lining inside the main body of the bag so that the right sides of the lining and the main body of the bag are facing and the side seams are matched up. Pin together around all the way around the top of the bag as shown above. Stitch along the top edge of the bag.
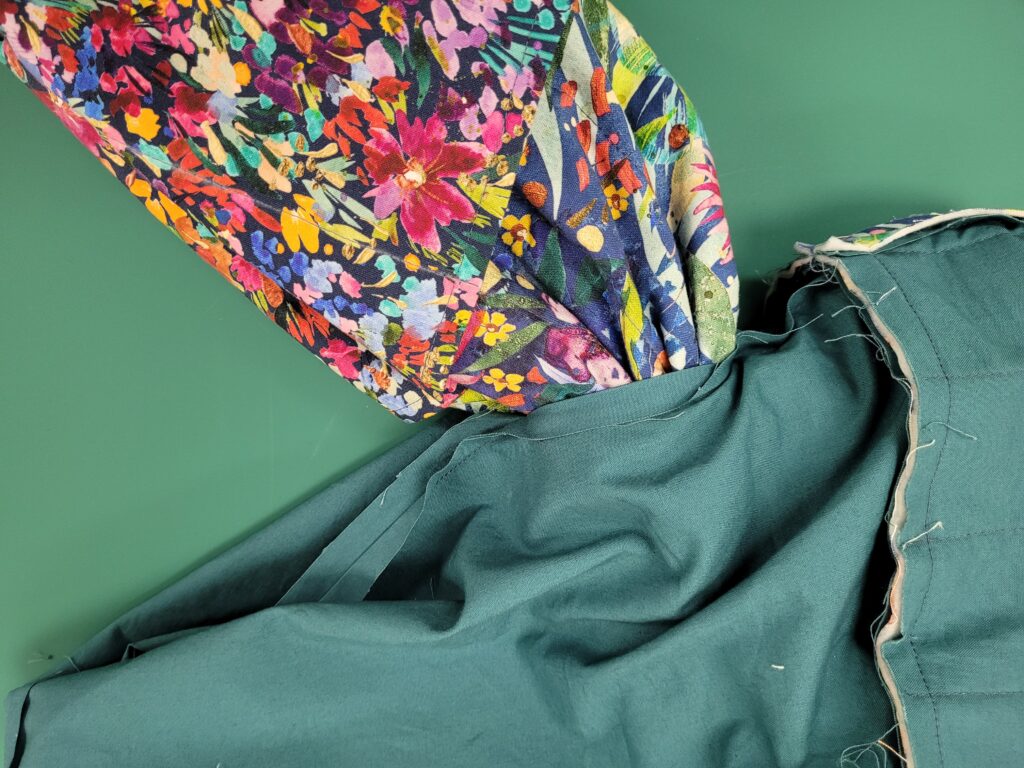
Turn the bag right side out using the opening in your lining. Stitch the opening in your lining shut, either by hand or machine.
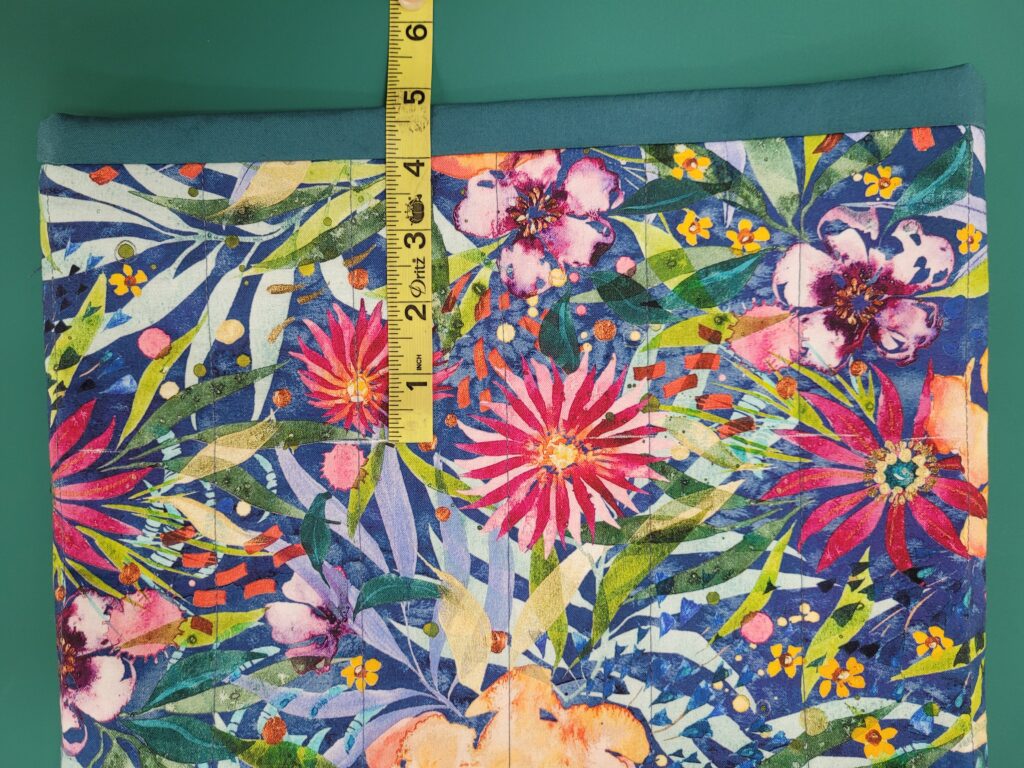
Measure down from the top edge of your bag (where the lining meets the main fabric). Measure the intended amount you wanted to wrap to the inside of the bag to create the facing. For this example we measured 4” (note: we are showing the lining peeking through for demonstration purposes only). Using a straight edge and your washable fabric marker, draw a straight line at this height all the way around the bag. This marked line will become the top folded edge of your bag.
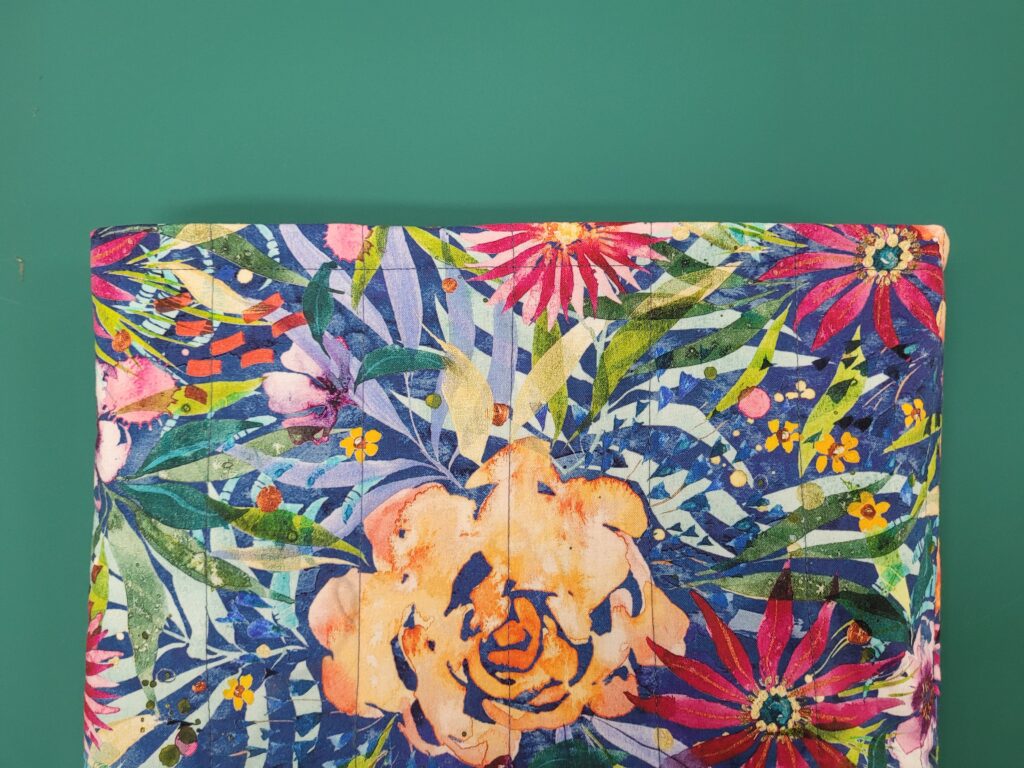
Push the lining all the way into the bag and press along your marked fold line. Top stitch along the top edge of your bag (approximately 1/2″ from top edge of the bag)
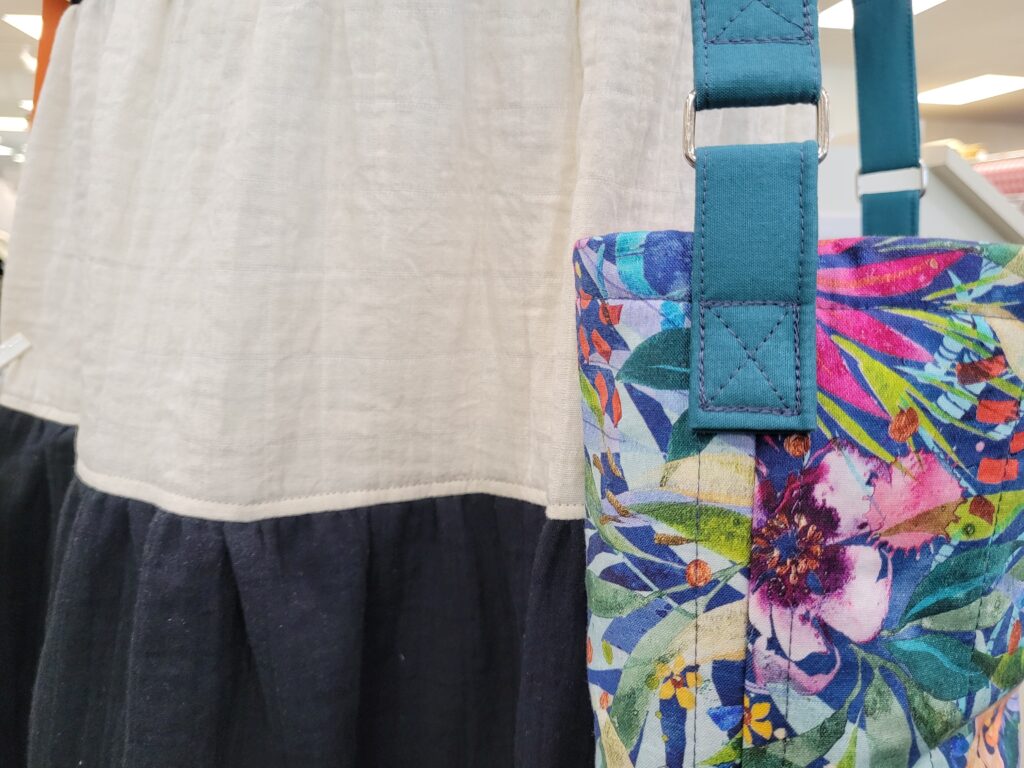
It’s time to create straps for your bag. We created a 1″ finished casing with our left over cotton lining fabric wide and inserted 1″ wide webbing into it. We then edge-stitched the straps to hold the webbing in place. We cut an approximate 42″ length for our strap, plus extra to make straps to attach it to the bag. We then attached the straps along the sides of the bag and approximately 2″ from the top edge of the bag. Feel free to create and attach straps in your preferred way, making sure that they are very secure (lots of topstitching!) If you’d like, you could apply a strong snap closure or Velcro to the top of your bag to help keep it closed. Congratulations on completing your bag! If you decide to give bag-making a try, we’d loved to see your finished makes.


