

Have you ever struggled to open a jar? ME TOO! Thankfully, I saw this great idea and decided to give it a try for myself. The idea is to create a jar opener using Non-slip Mesh. Yes! The same product that keeps your rug from sliding around can help you open a jar. Follow along as we make these handy gadgets. Not only will you want a set for yourself, but you will also want to make more for your friends.
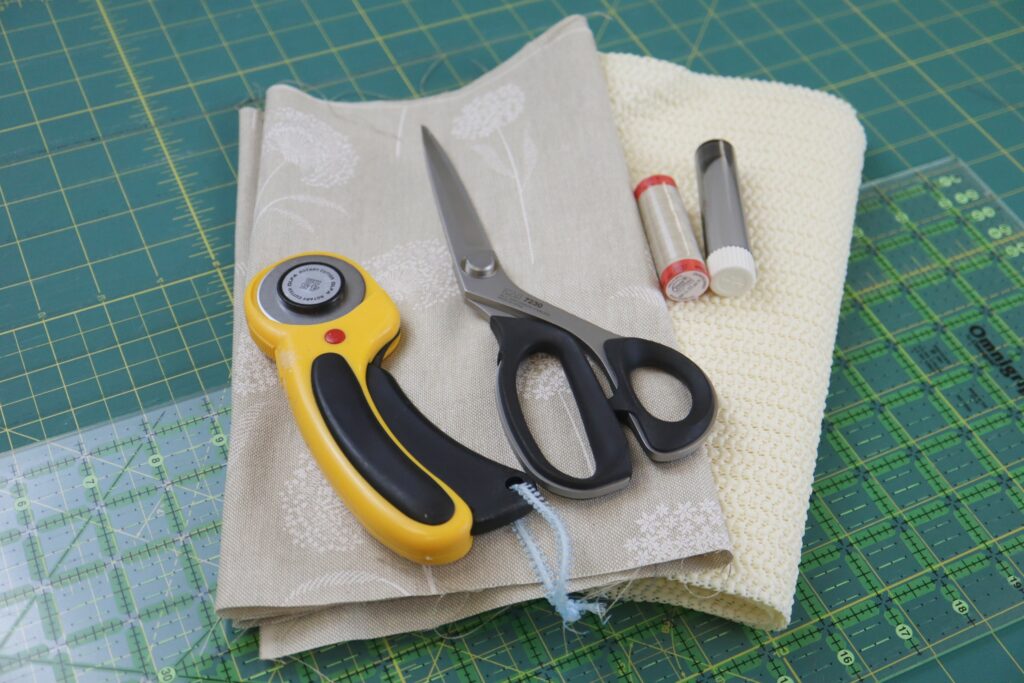
Here’s what you’ll need:
¼ yard of fabric (we used a lightweight printed canvas 80% cotton and 20% polyester)
¼ yard of Non-Slip Mesh
Thread to match your fabric
Fabric marker, ruler, and fabric scissors OR Rotary cutter, ruler, and mat
Iron and ironing board
Sewing machine with a straight stitch
Pins
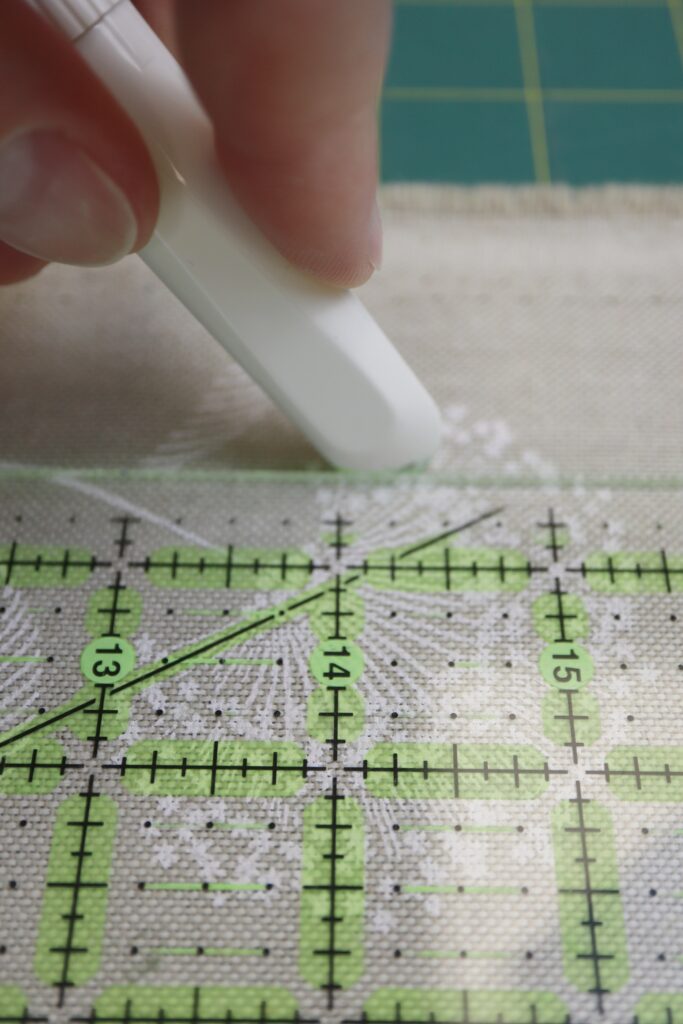
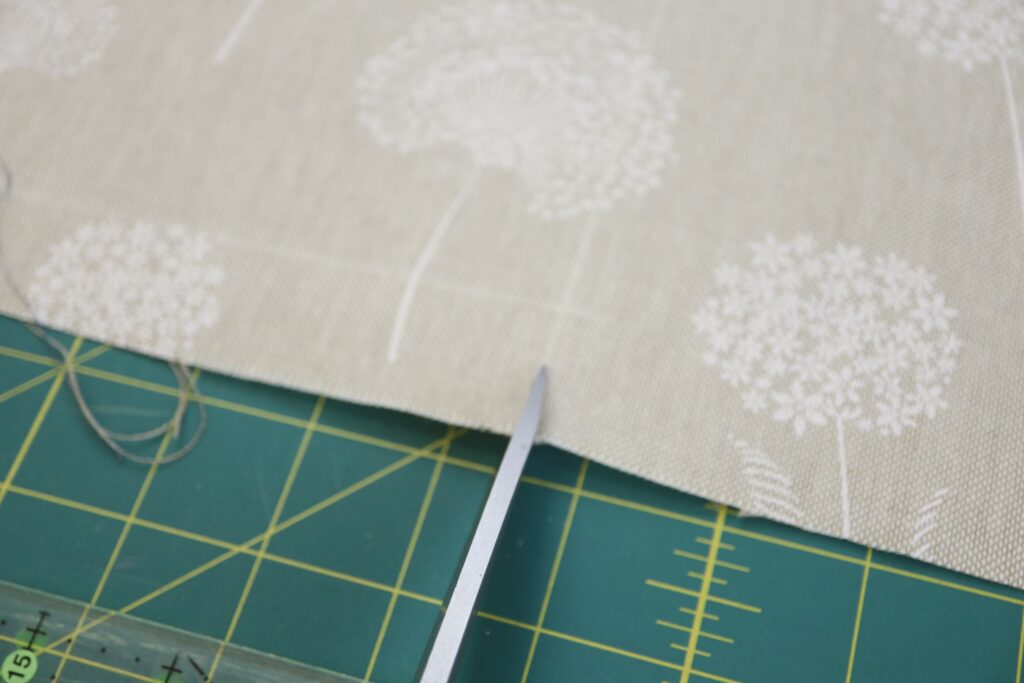
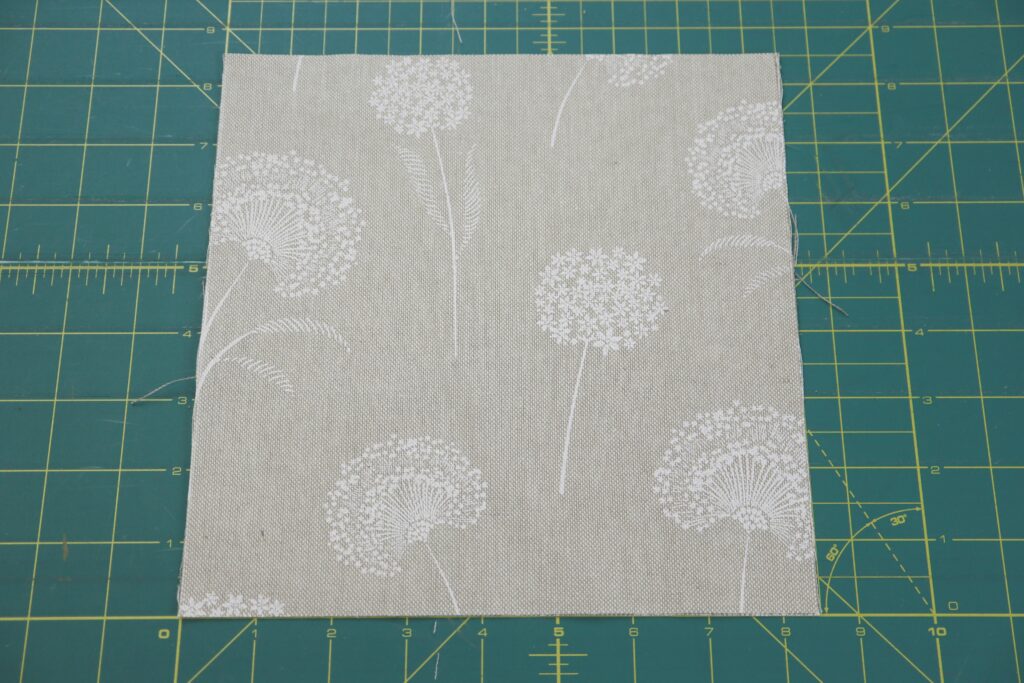
Using your fabric marker and ruler, draw an 8 ½” square on your main fabric and cut it out with scissors. OR you can cut out an 8 ½” square of your main fabric using a rotary cutter, ruler, and cutting mat.
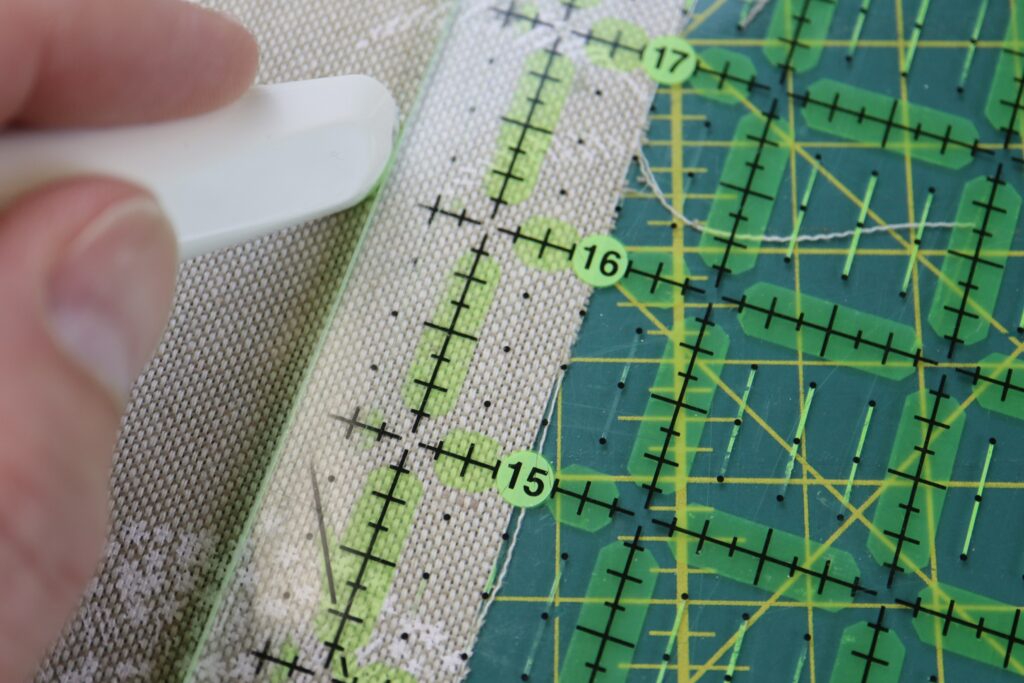
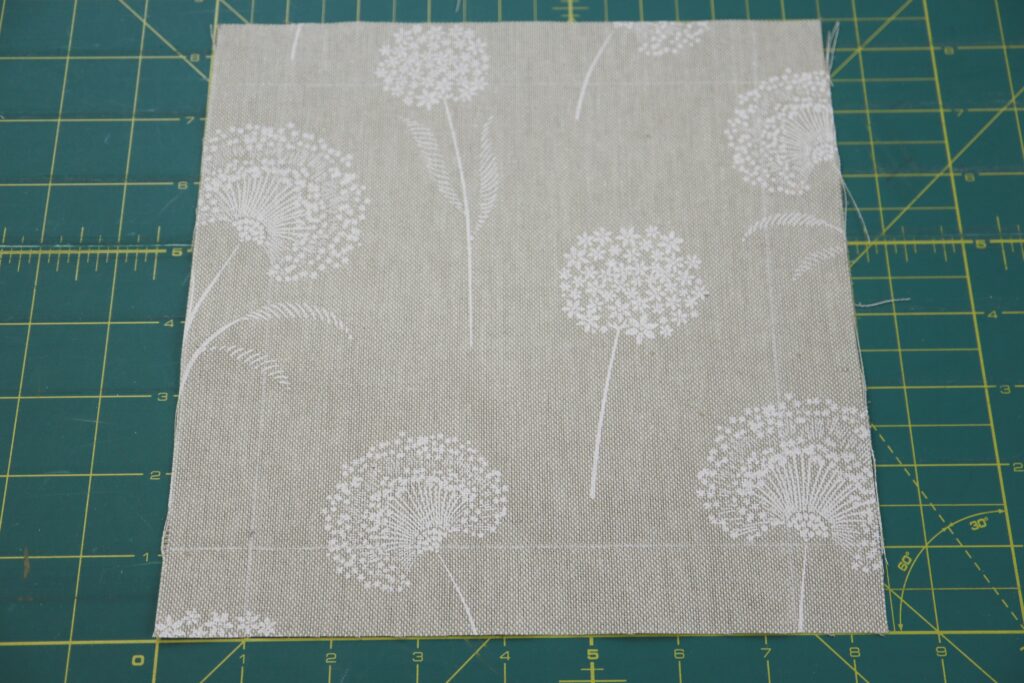
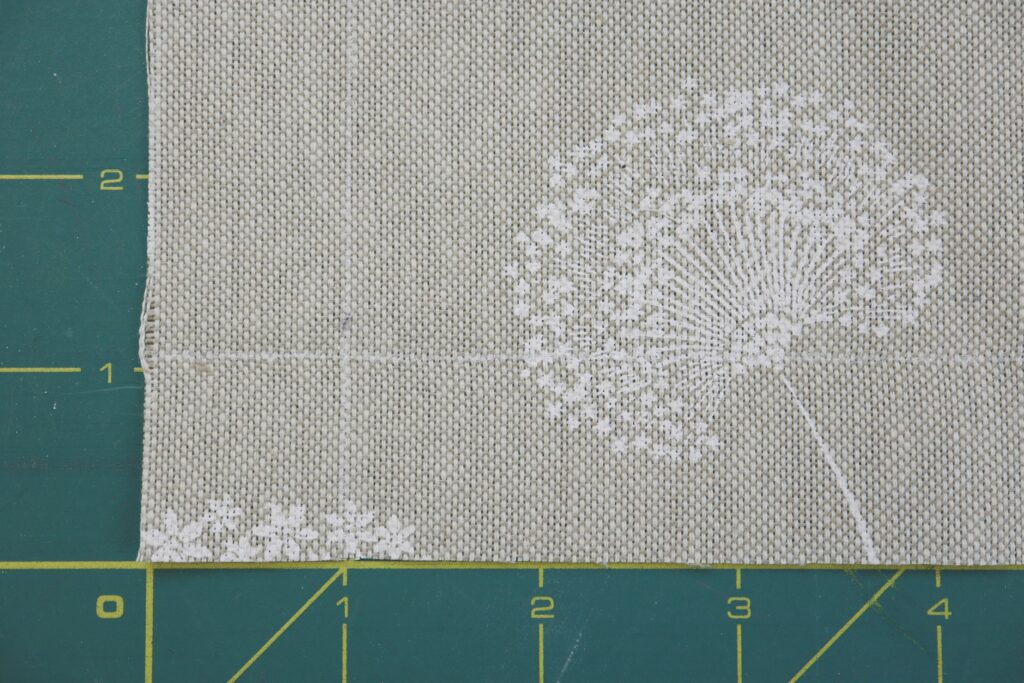
Using your fabric marker and ruler, draw a line 1” from cut edge of your square. Repeat this on all four sides.
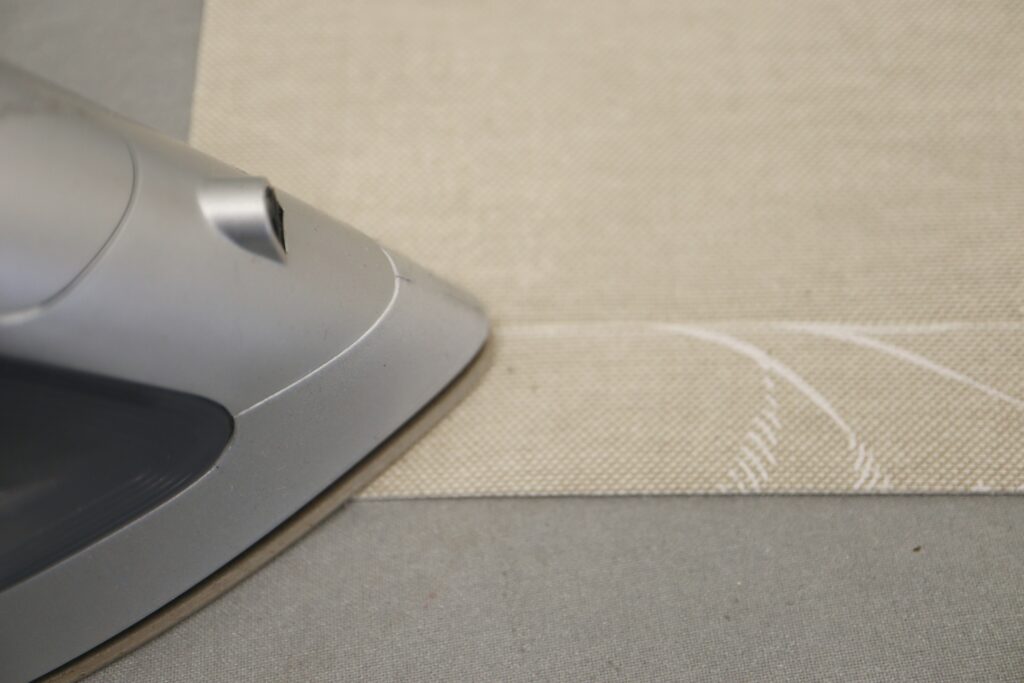
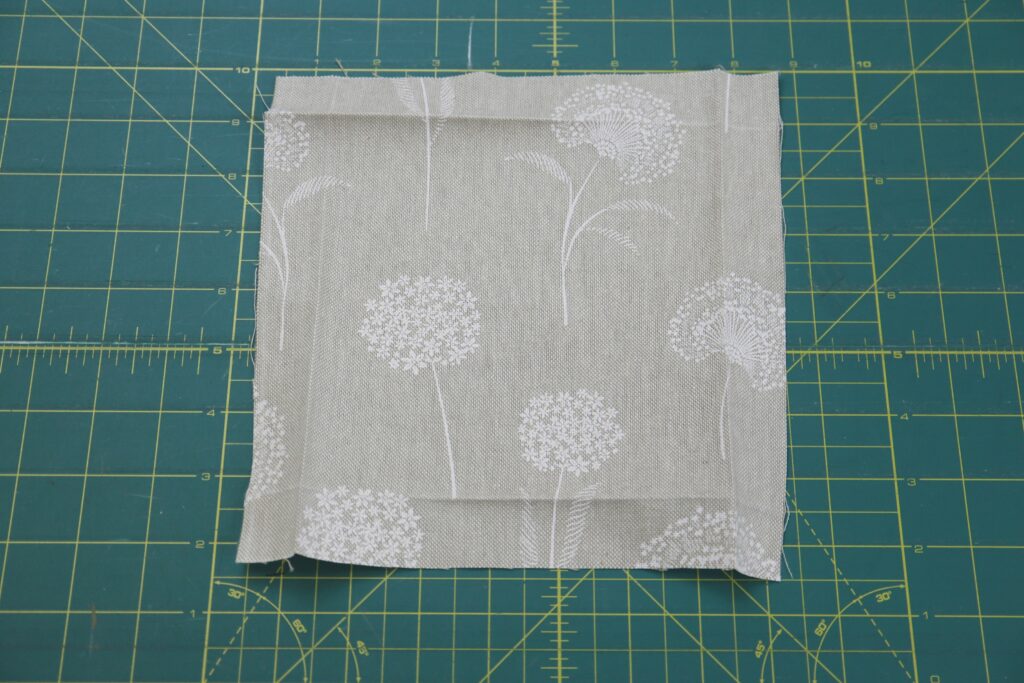
Press along this line to the back of the fabric as shown in the first image above. Repeat for all four sides.
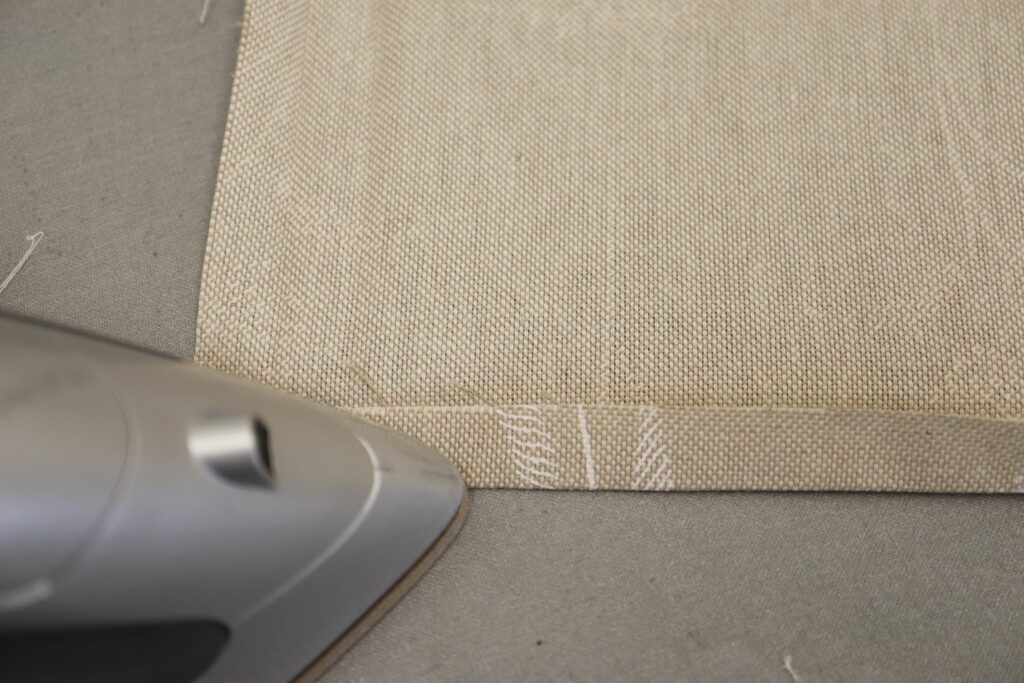
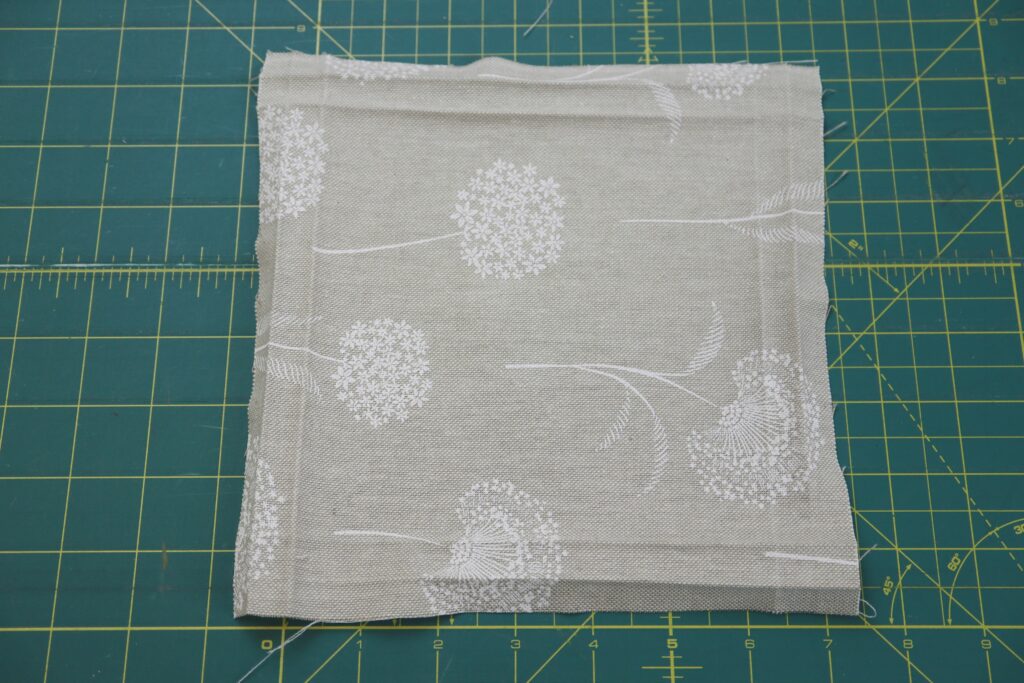
Now press the 1” hem allowance in half as shown in the first image above. Repeat for all four sides.
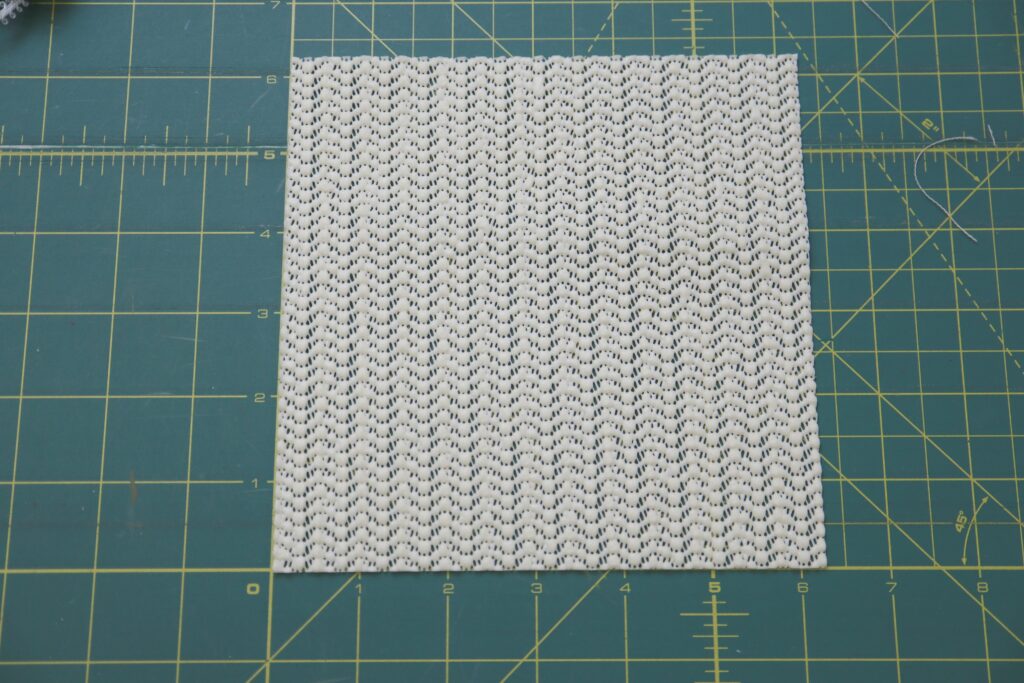
Using your preferred marking and cutting method, cut out a 6 ¼” square from the non-slip mesh.
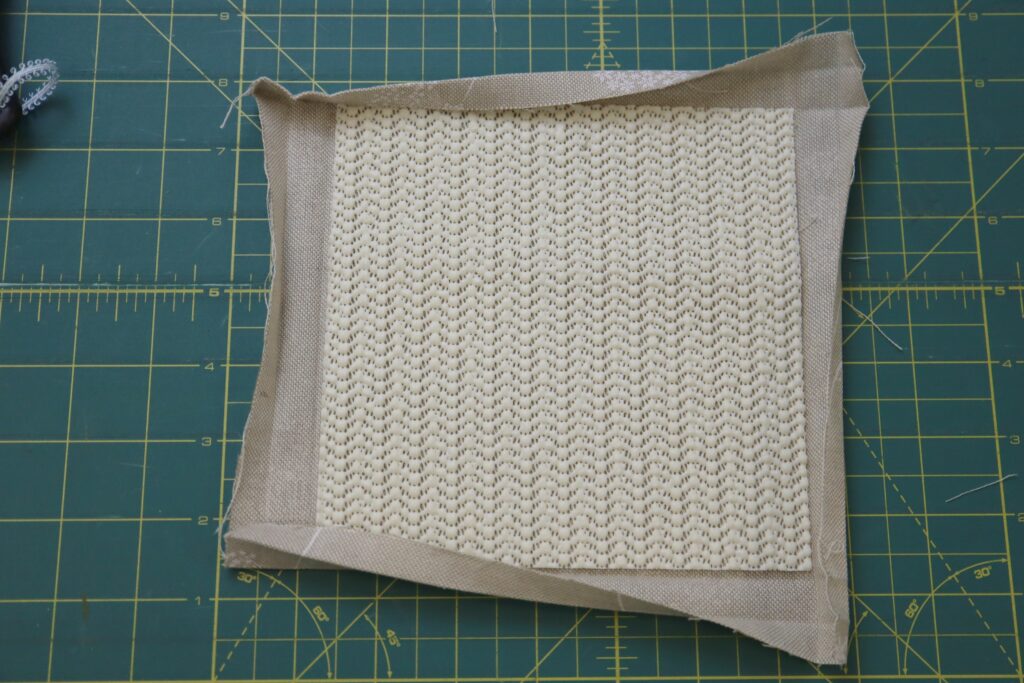
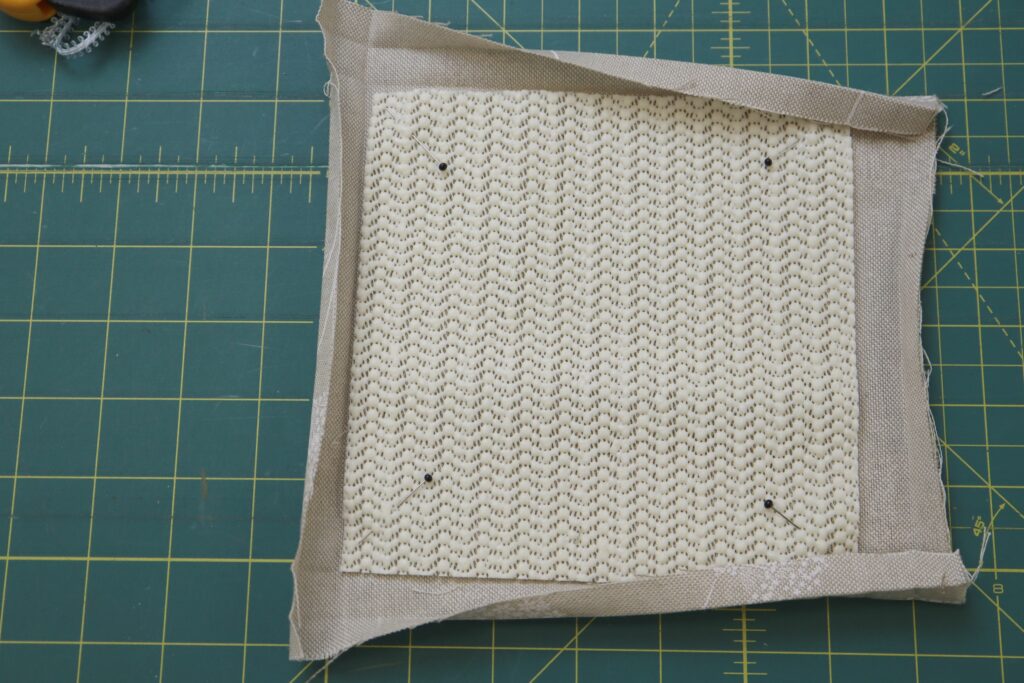
Centre the non-slip mesh on the wrong side of your fabric. Pin it in place at all four corners.
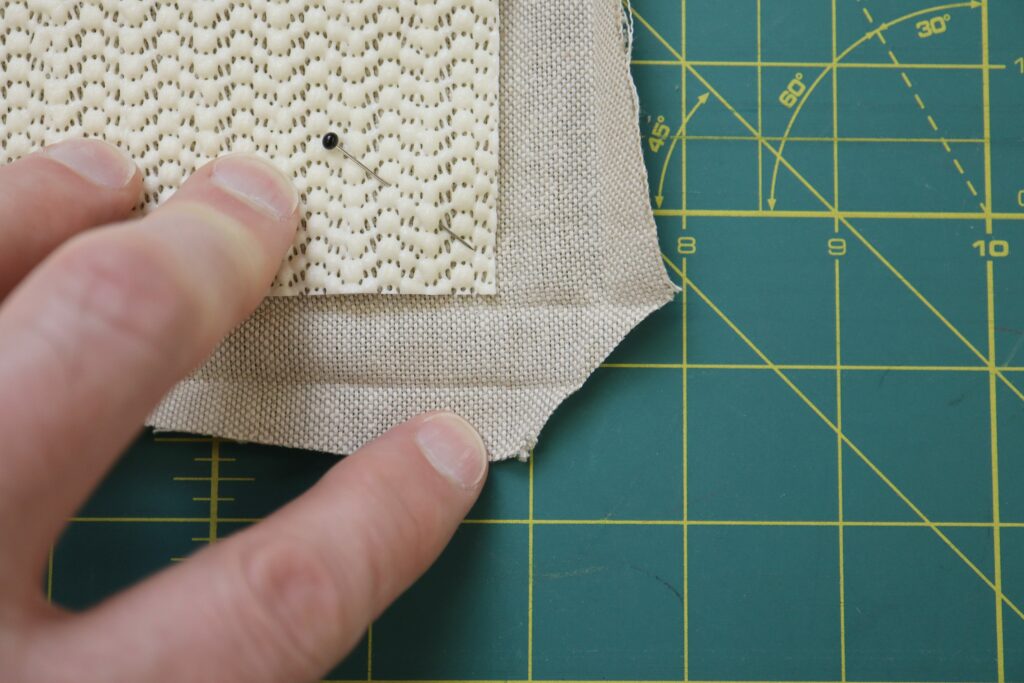
Trim all four corners as shown above.
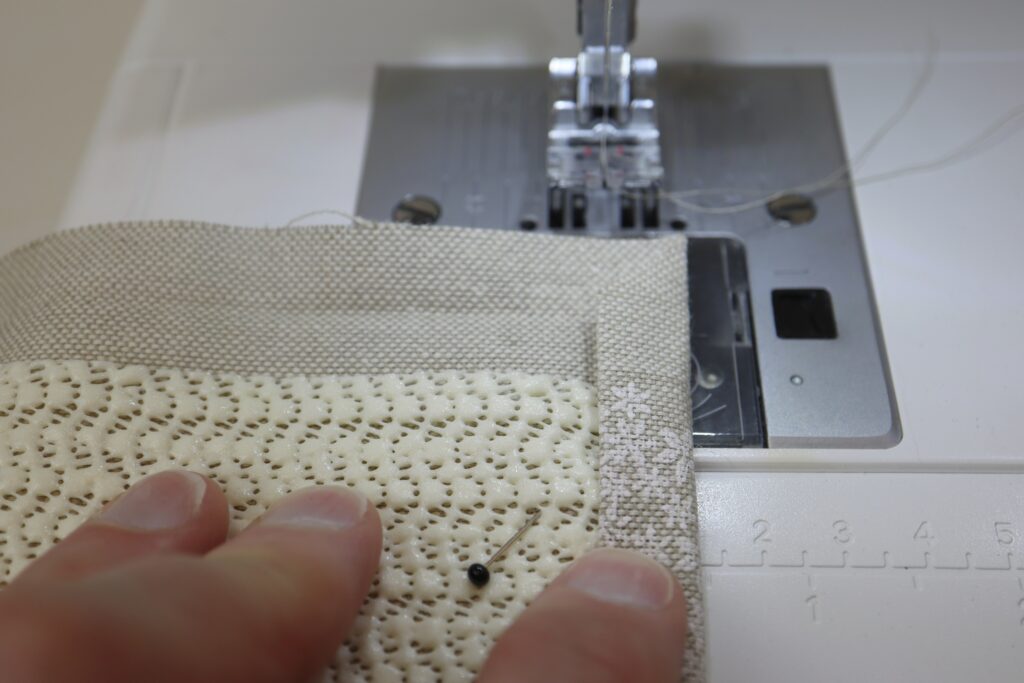
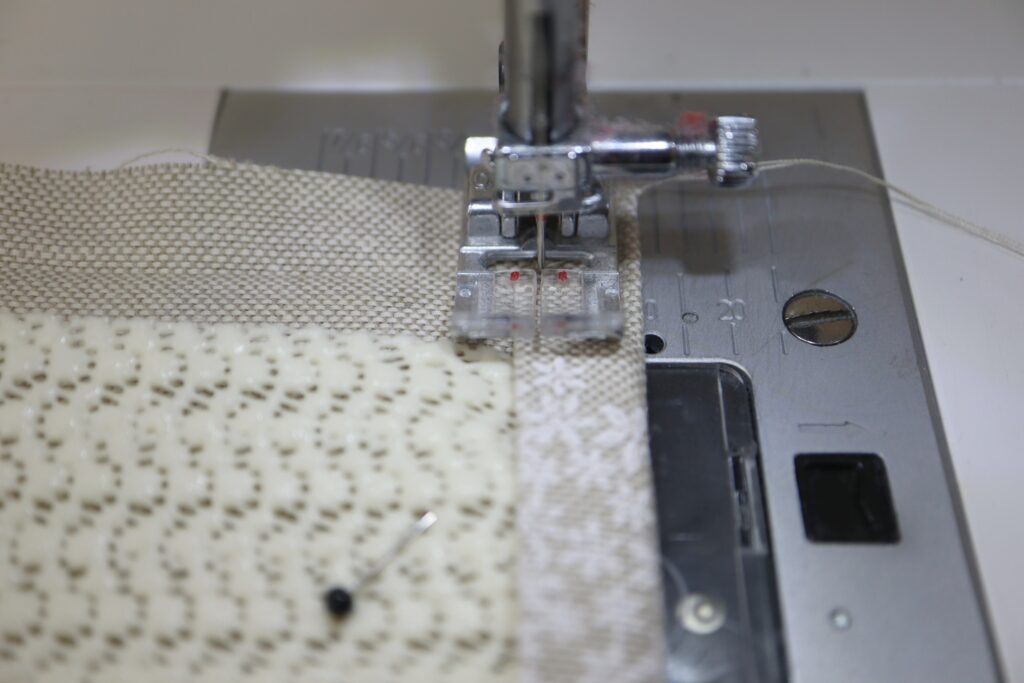
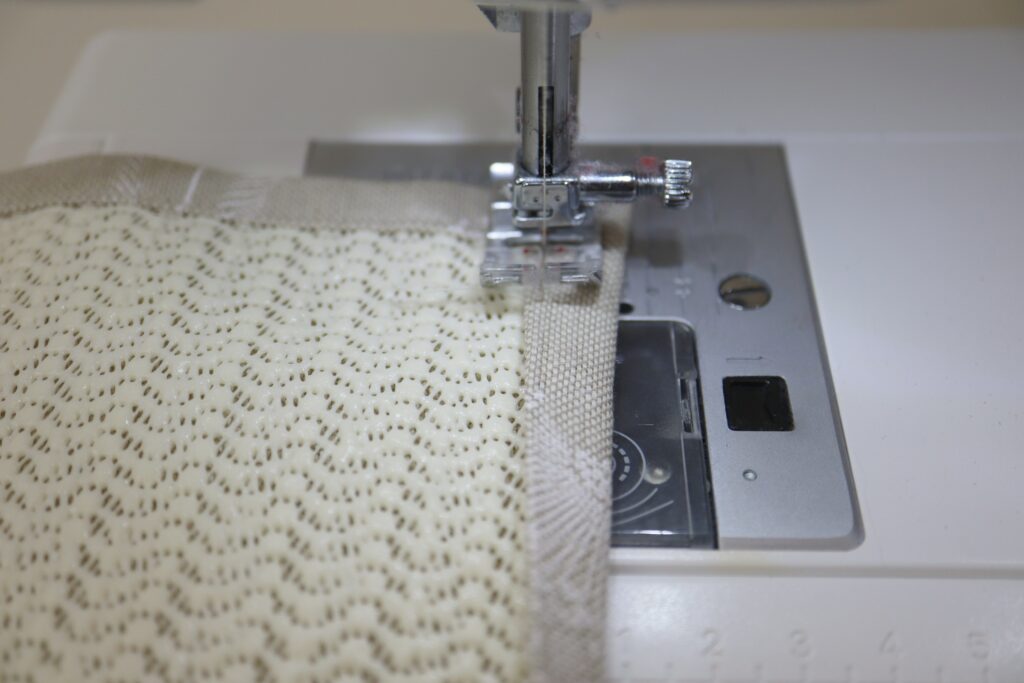
Bring your work to the sewing machine. Starting in one corner, fold the seam allowance over the mesh along the right side. Your seam allowance should be doubled, so it will be ½” wide. Stitch through all layers approximately 1/8” to the right of the fold (where the fabric meets the mesh) as shown in the second image above.
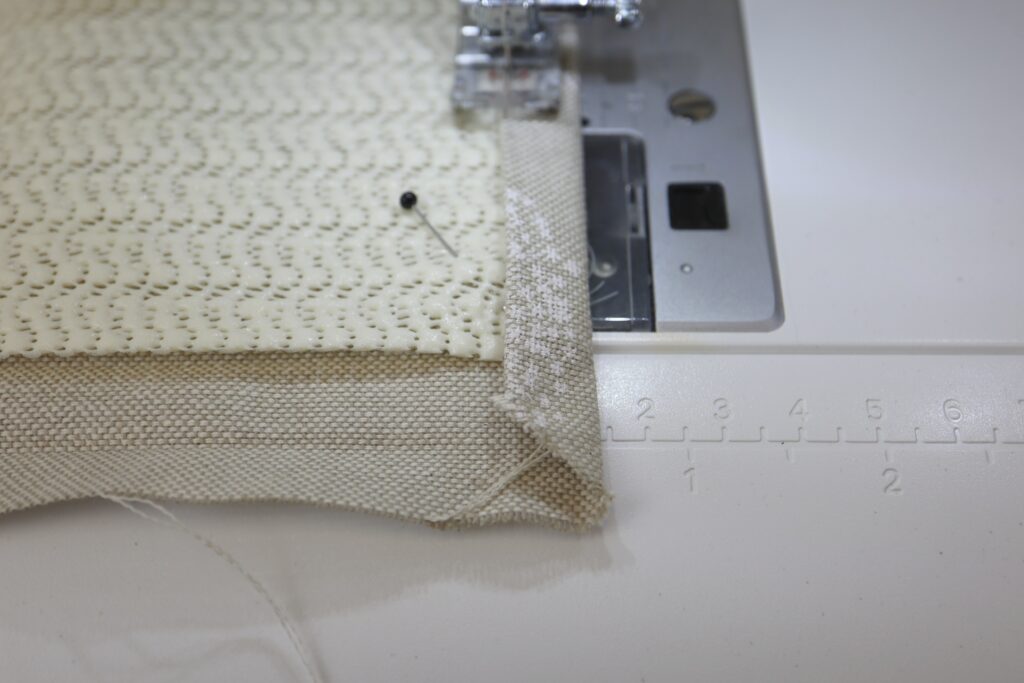
Continue sewing until you are about 2” away from the next corner. Leave your work in the machine with the needle in your work.
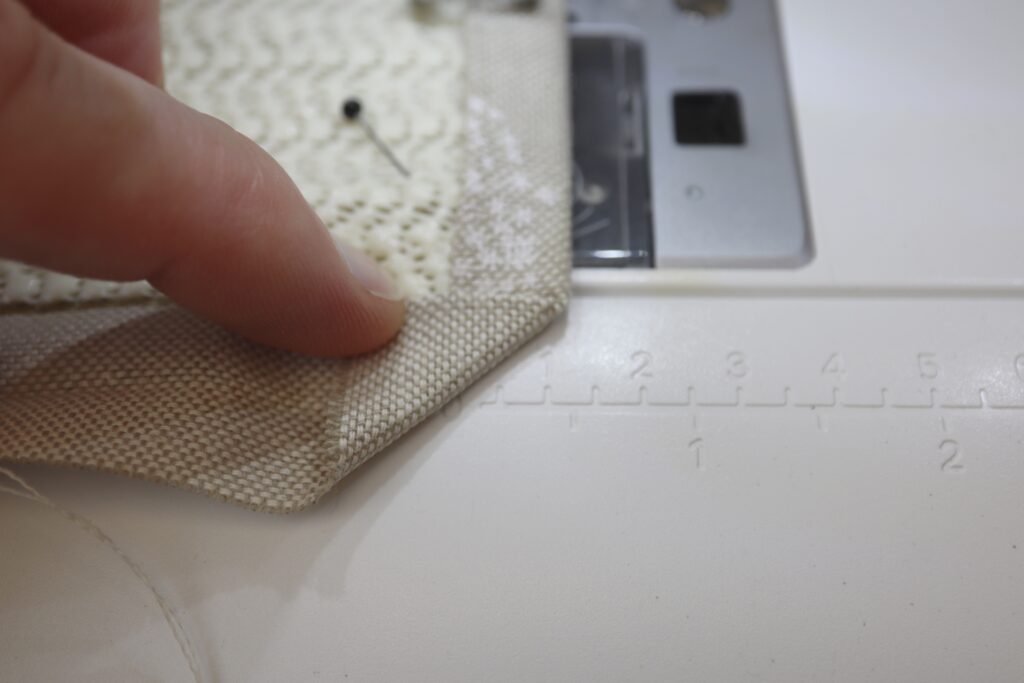
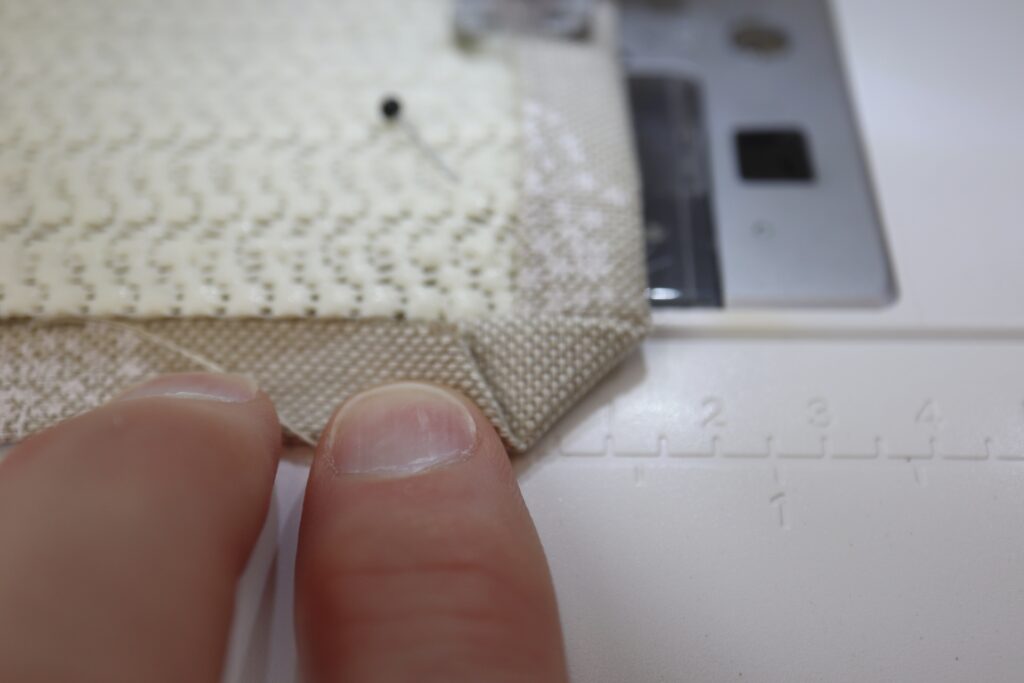
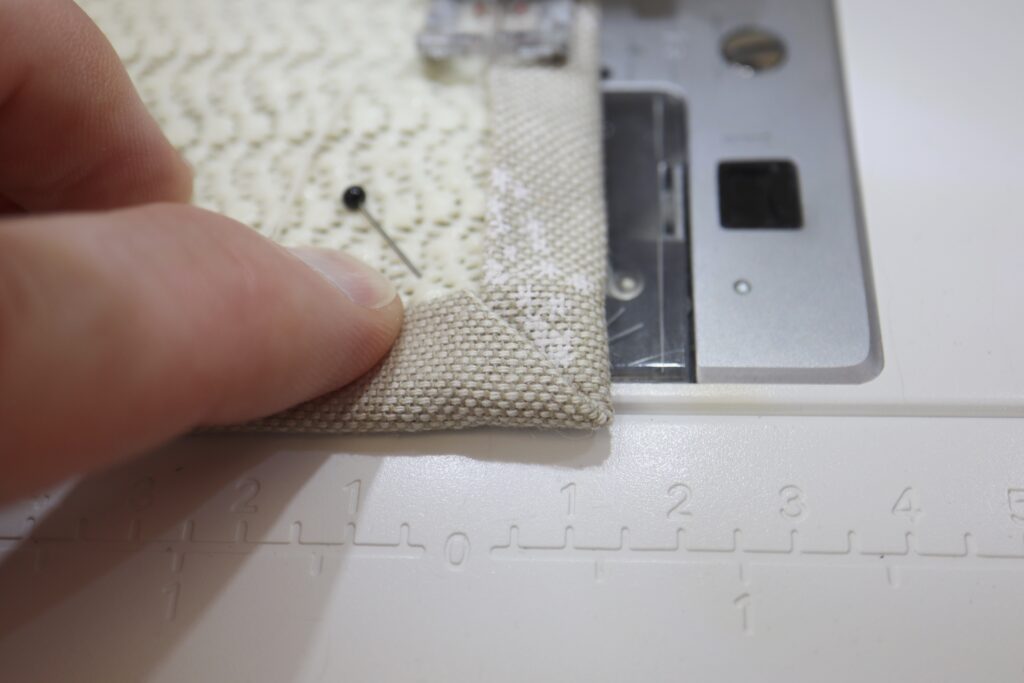
Now we are going to create a nice, mitered corner. To do this, fold up the bottom right corner of the main fabric on a 45-degree angle as shown in the first image above. Then fold up the bottom raw edge of the fabric along the ½” crease. Finally, you will fold the bottom over the mesh (along the 1” crease), creating that nice miter in the lower right corner. Hold the miter in place and continue stitching until you have caught the miter in your stitching. Leave the needle in your work and pivot our work 90 degrees in a counterclockwise direction.
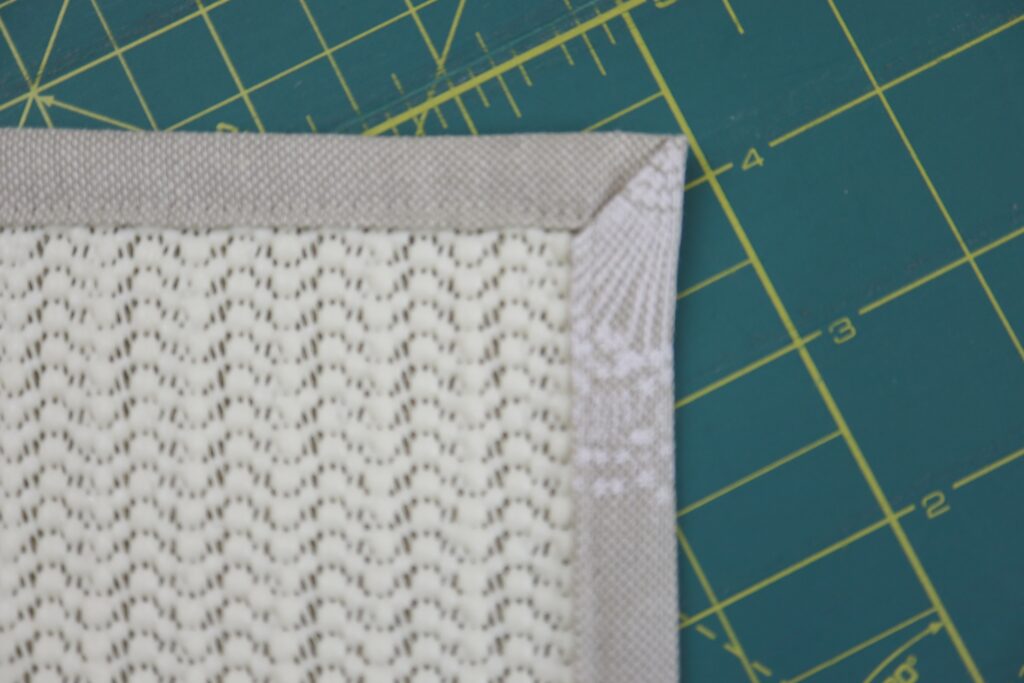
Continue stitching until you are about 2” away from the next corner. Repeat the process for folding the miters at each corner. On the last corner, you will need to create the miter on the right-side edge or your work (not the bottom as you did for the other corners). The second image above shows a tidy stitched miter.
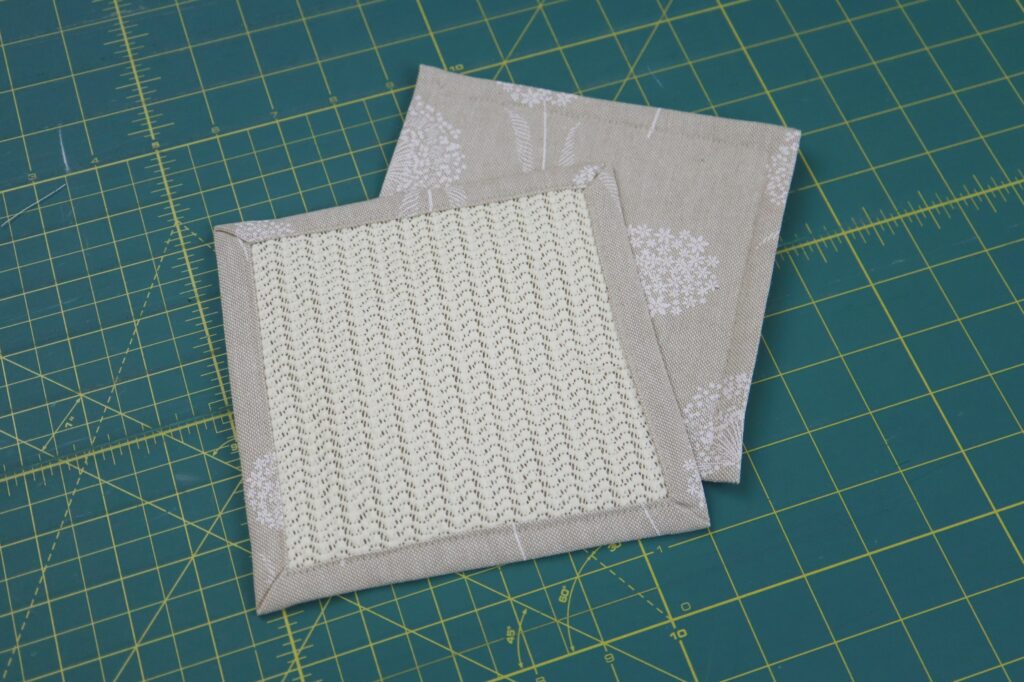
Here is a finished pair of jar openers, one to grip the jar, and one to grip the lid.
Please let us know if you give this project a try. We’d all love to hear what fabric you chose. Happy sewing!


5 thoughts on “Non-Slip Jar Openers!”
Great Idea, When listing items needed, for the fabrics such as the Non slip, making it a link to the website and item is helpful.
Good call! We have added the link for the Non-Slip Mesh. Unfortunately, the other fabric is only available in store. Thanks!
Thank you, I went instore today and bought the Non Slip Mesh, just prepping it to go! Thanks for the share, Can’t wait to make these as gifts.
Thanks for including miter instructions. No need to stitch an X, so the 2 pieces stay together?
Thank you.
Do we need to use a specific type of needle in the sewing machine for this project?