

Do you have a beloved garment that fits you just right? Wouldn’t it be nice if you could have another one? We’d like to show you an interesting method to copy these garments into a pattern that you can use to create a new garment that fits just as well.
The first part of this post will show you how to copy a basic flat pattern piece. Then we will explain the slightly more complicated method of how to copy a pattern piece that includes a dart.
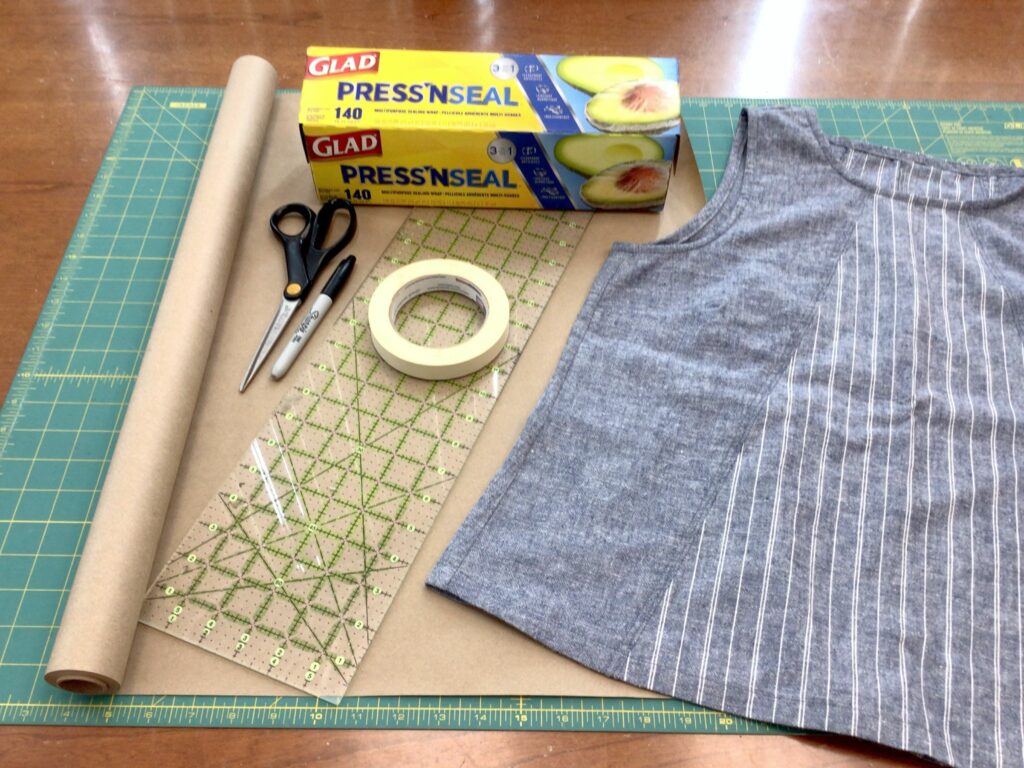
Here’s what you’ll need:
The garment that you want to copy
Adhesive Food Wrap – we used Glad Press ‘N Seal
Craft Paper
Ruler
French Curve (or similar curved ruler)
Tape
Felt Tip Pen
Pencil
Scissor suitable for paper
Ironing Board
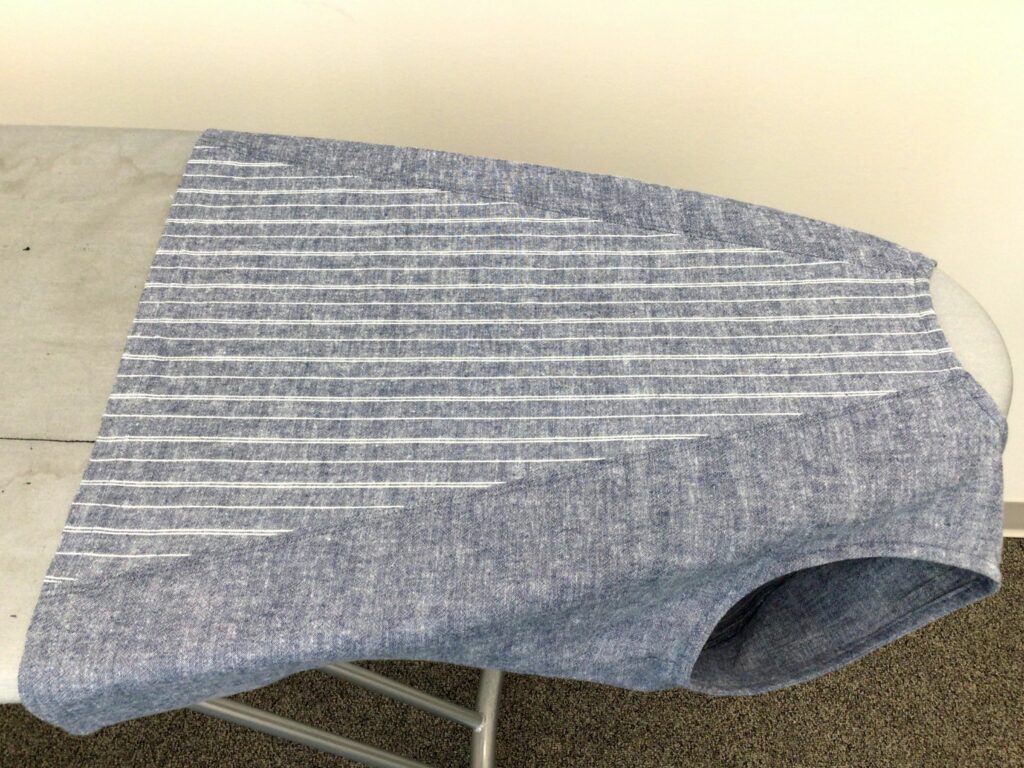
The first thing that we want to do is slide the garment onto the ironing board and isolate the piece that you would like to copy. If the piece doesn’t fit, you can do it in stages, shifting the garment as needed to expose more of the pattern piece.
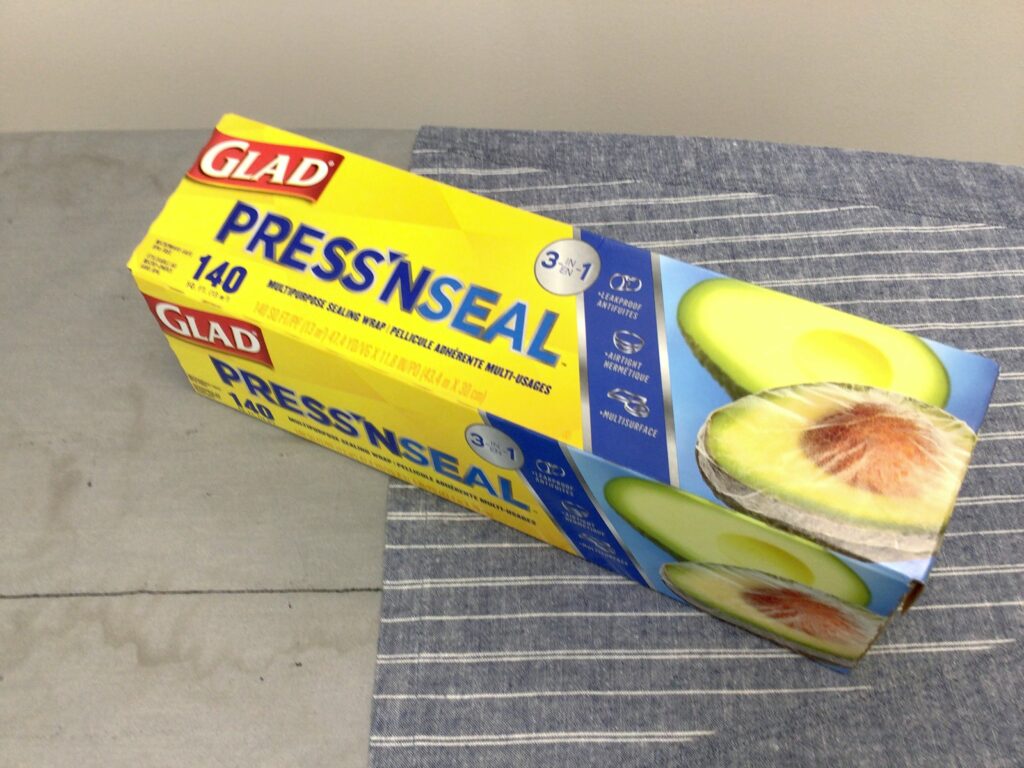
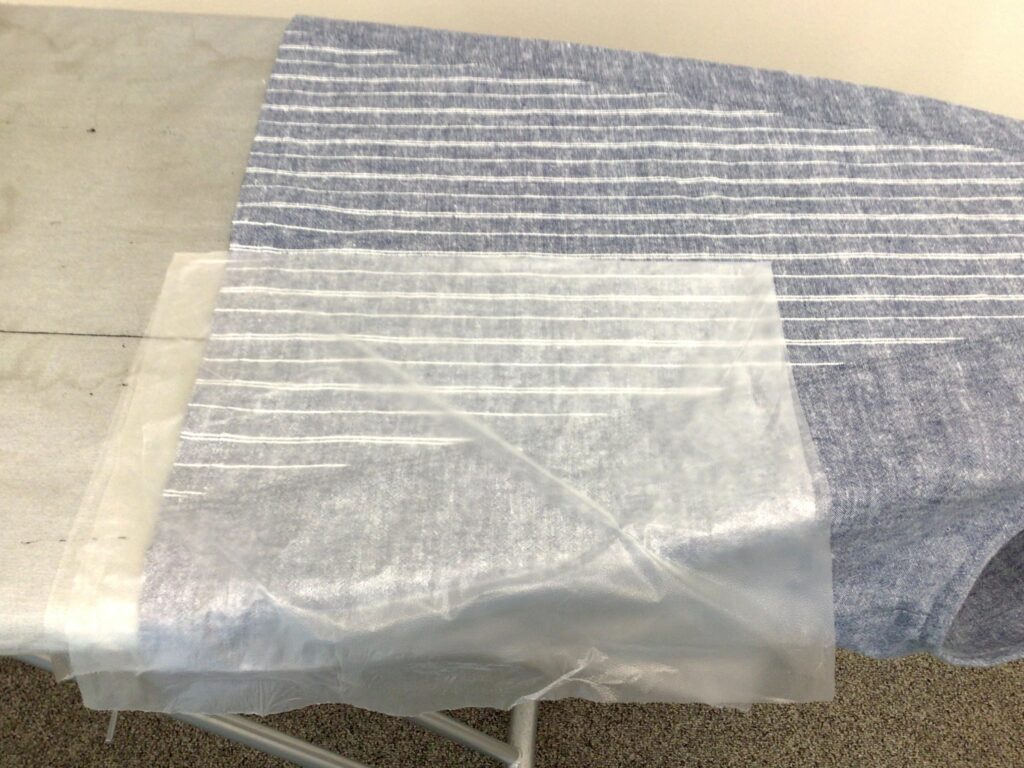
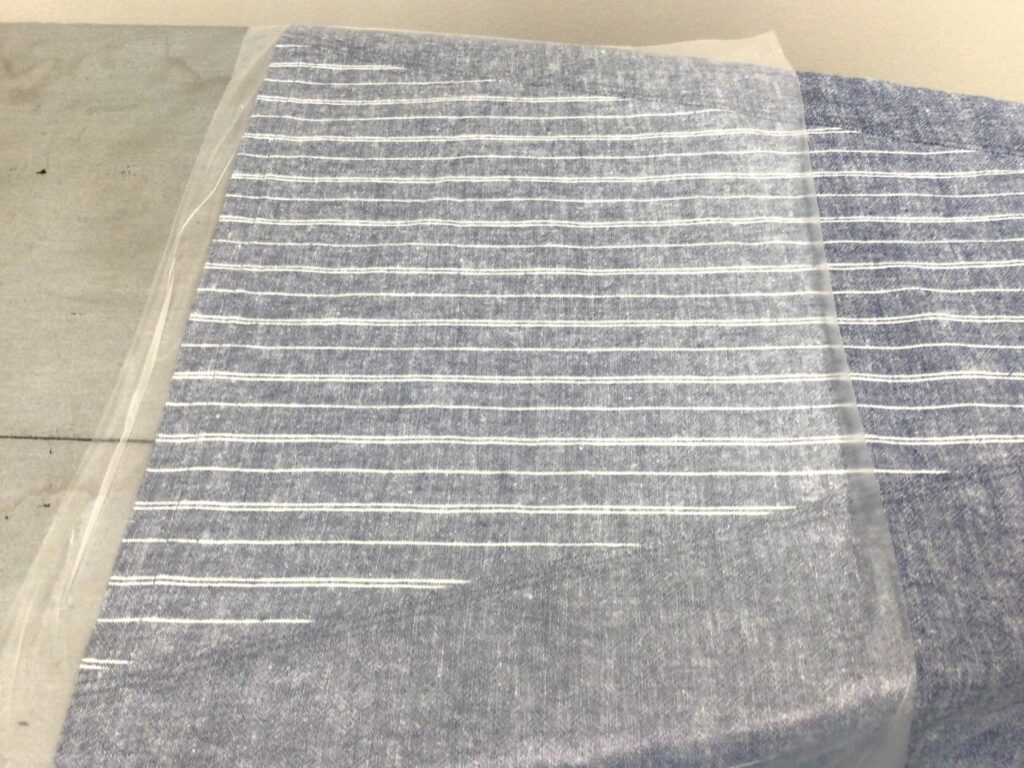
Take the adhesive wrap and measure off a piece larger enough to fit across the piece that you’re copying. Fold the adhesive wrap in half with the non-stick sides facing and place the folded edge at the centre of the pattern piece. Then carefully smooth the wrap onto the other side of the pattern piece. You may need to pull of the wrap and replace it to make it smooth.
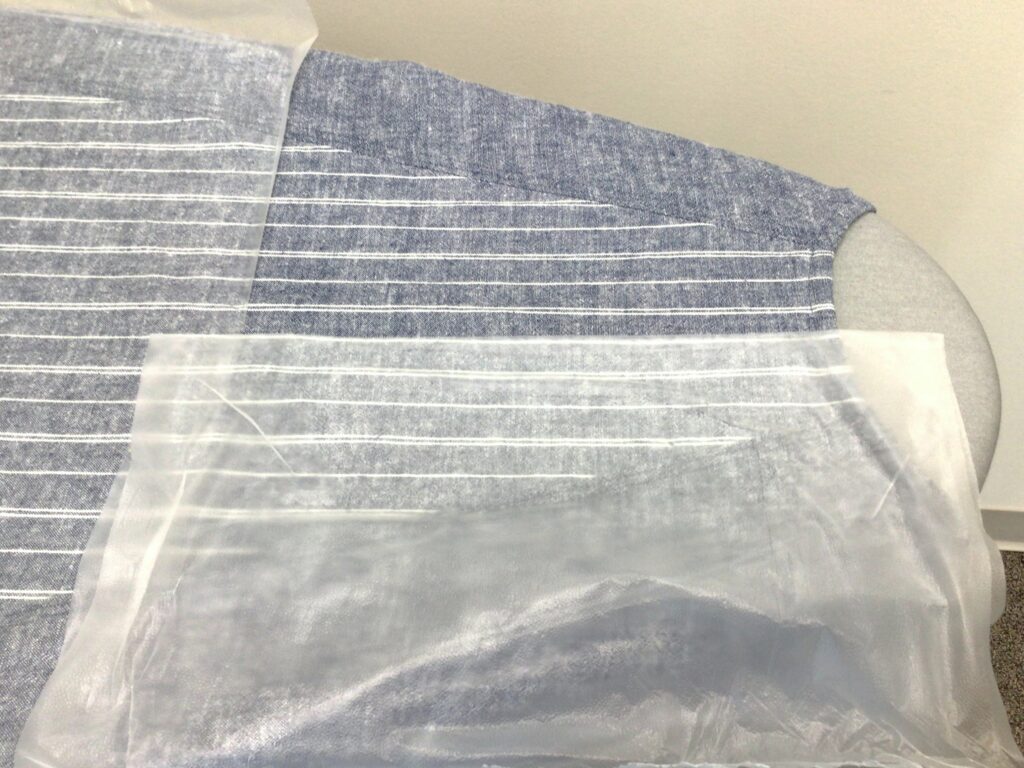
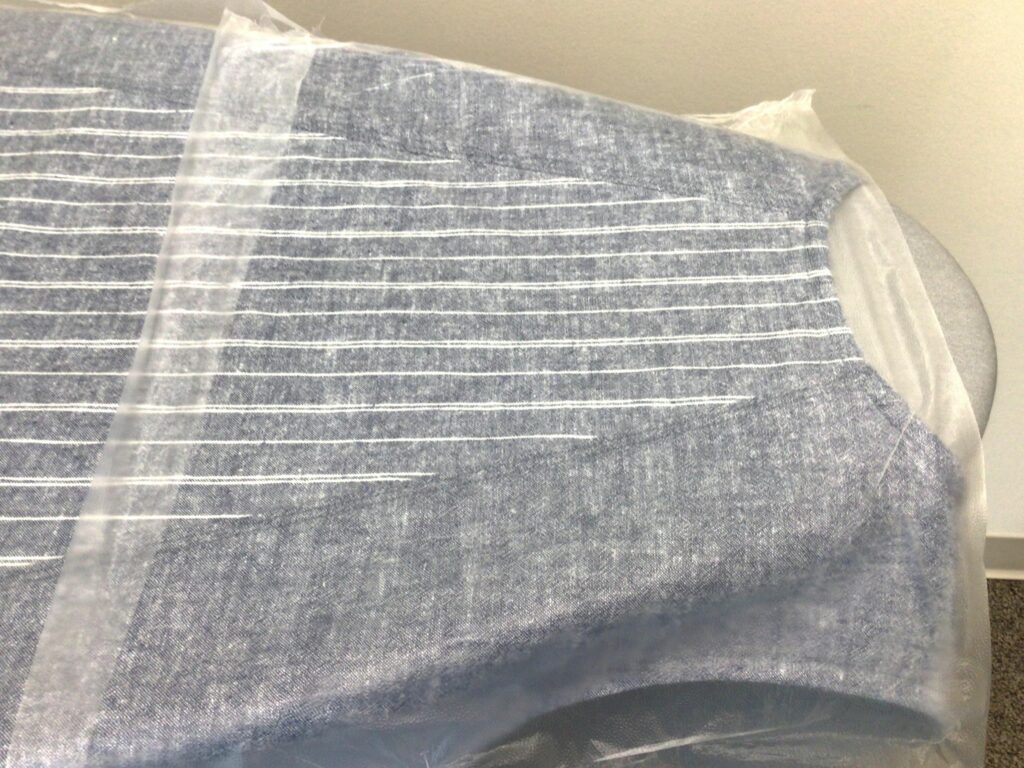
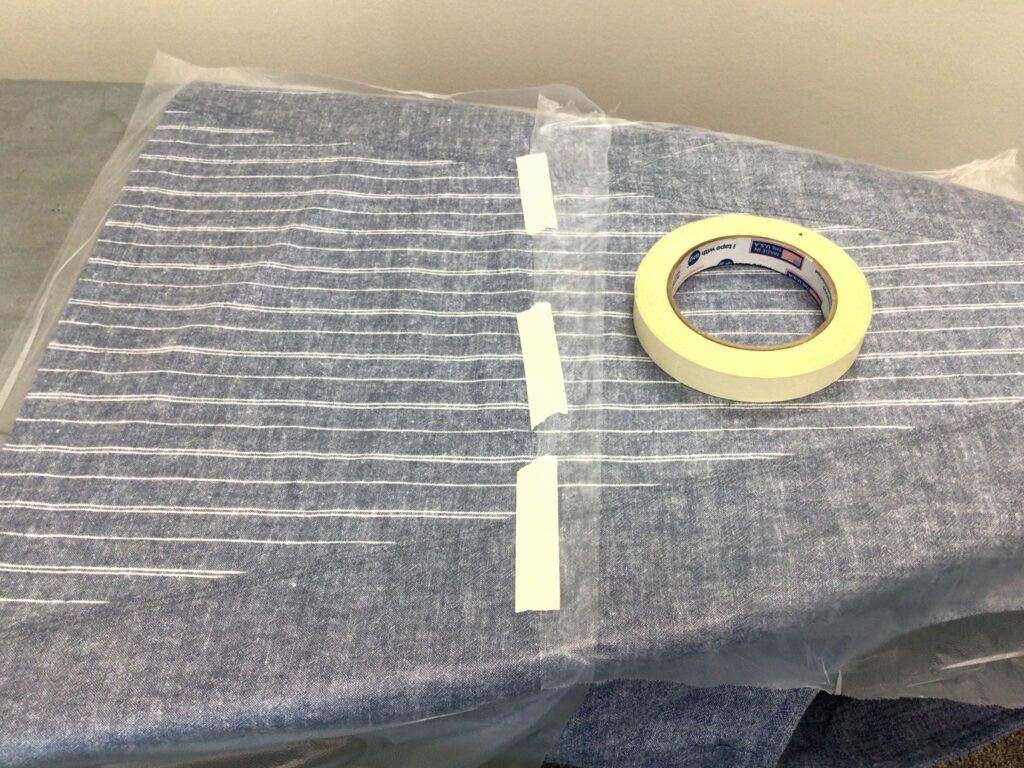
For our pattern piece we needed a second length of the wrap to cover the rest of the pattern piece. We tore off another length and placed it over the pattern piece in the same manner as the first one, making sure that we overlapped the first piece. We then secured the overlap with some tape, to make sure that the pieces didn’t separate when removing them from the fabric.
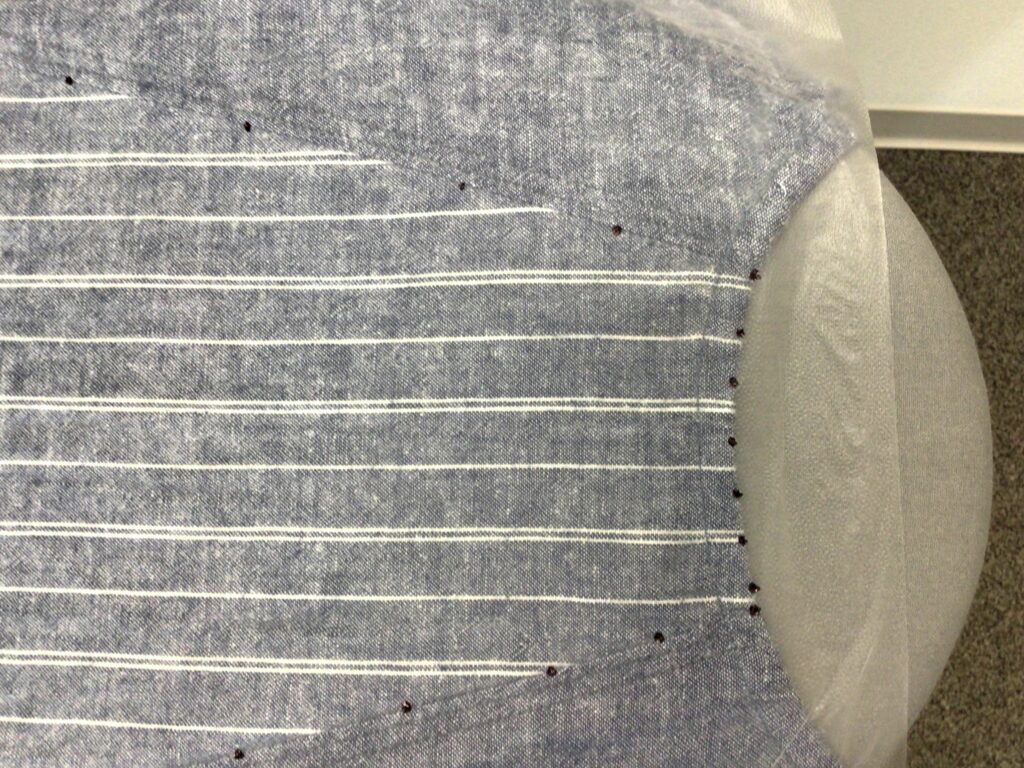
Using your felt tipped pen, carefully mark out the edges of the pattern piece with small dots. Be very careful not to pierce the wrap.
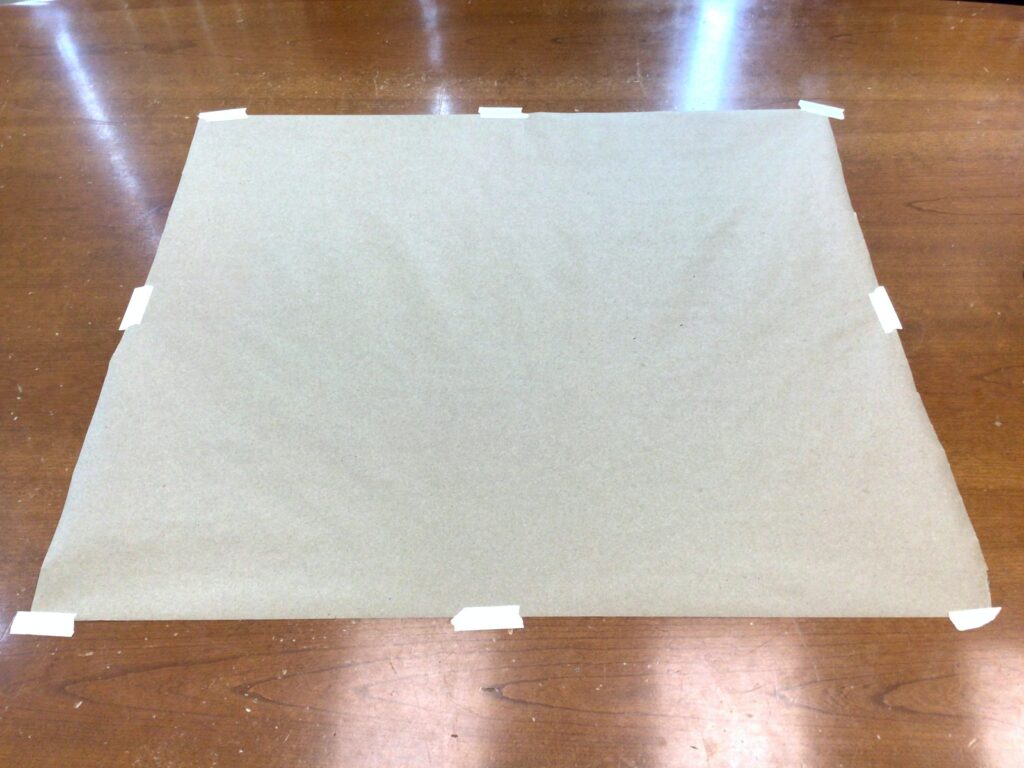
Cut off a piece of the craft paper that will be large enough to make the pattern piece. Don’t forget that you will need to add seam and hem allowances. Tape the paper to a tabletop.
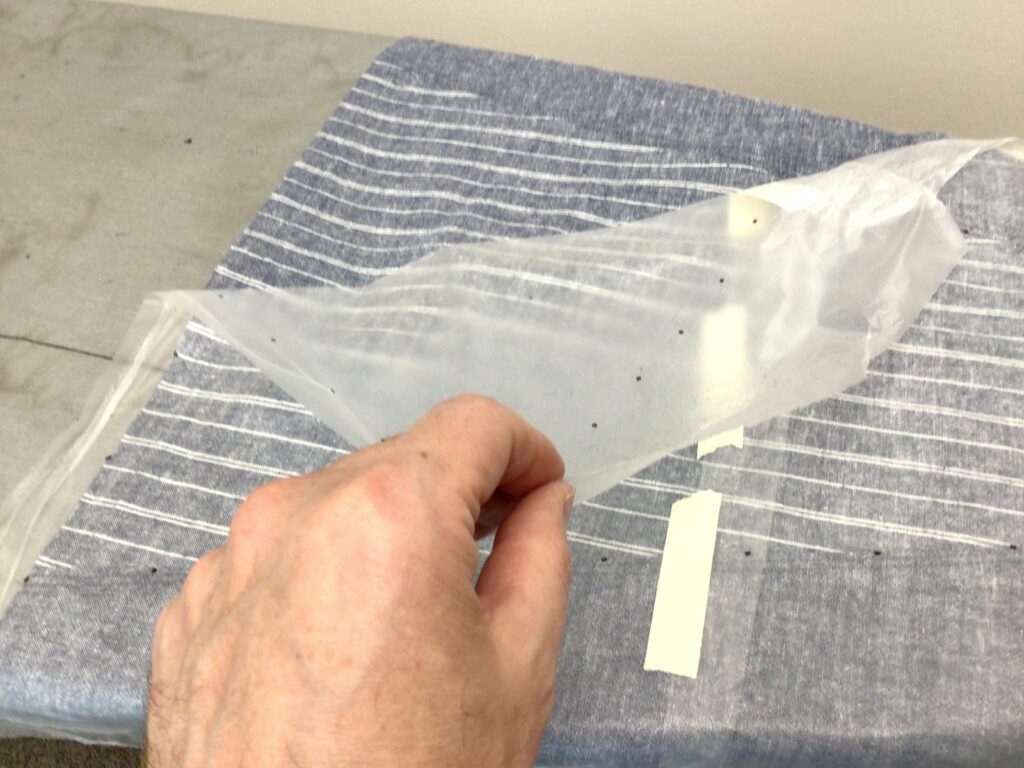
Carefully peel the adhesive wrap off of the garment. Fold it back so the non adhesive sides are touching.
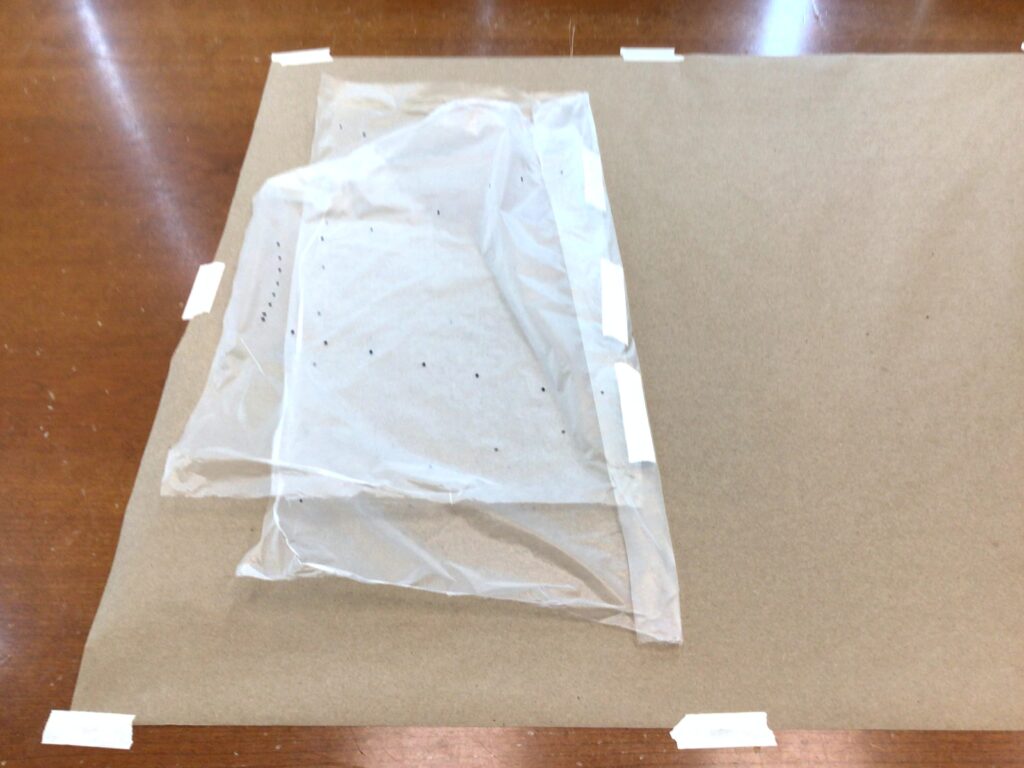
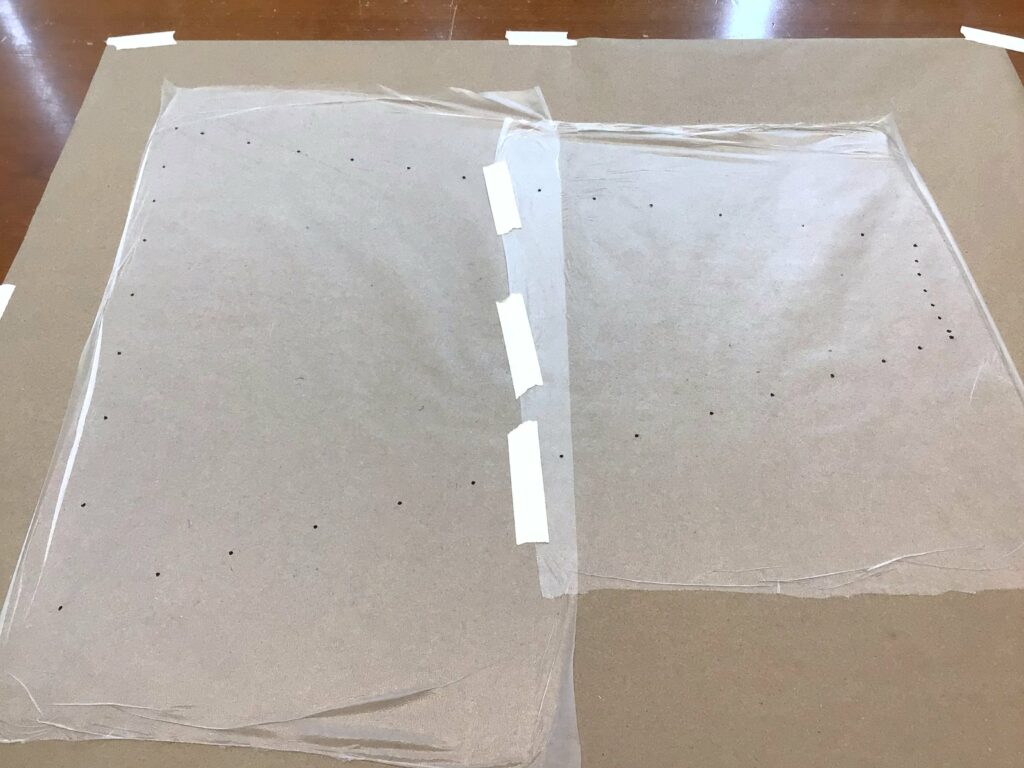
Lay the folded adhesive wrap on the craft paper. Open out the adhesive wrap and smooth the wrap onto the craft paper making sure that it is totally flat and that the adhesive is sticking to the paper.
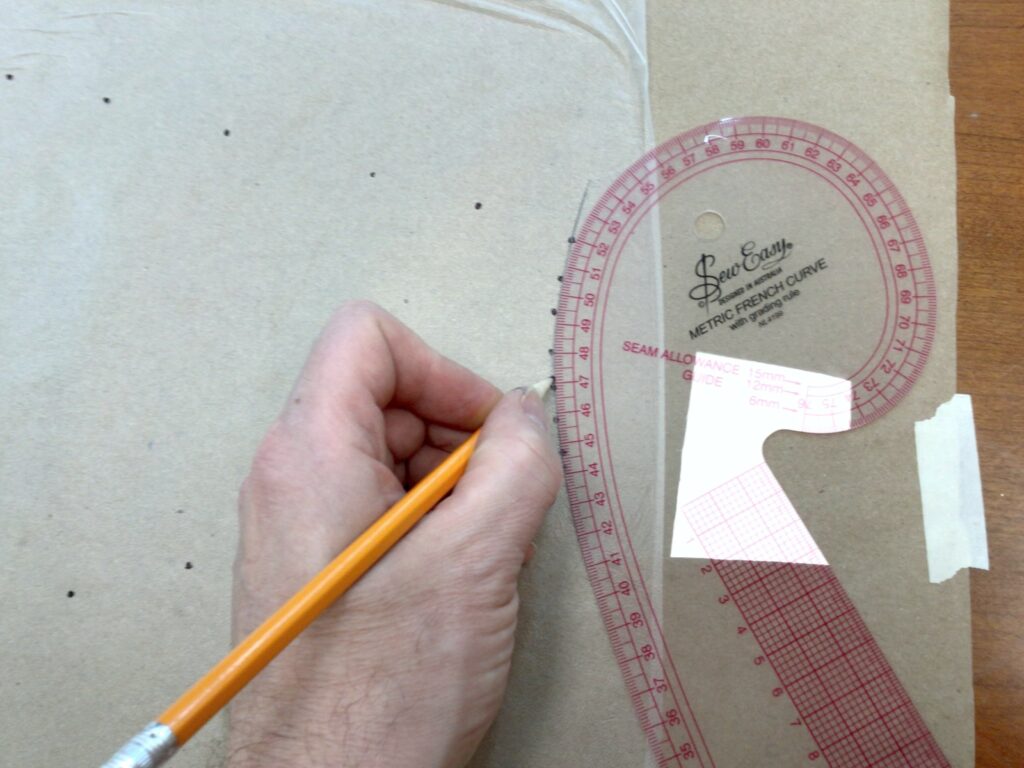
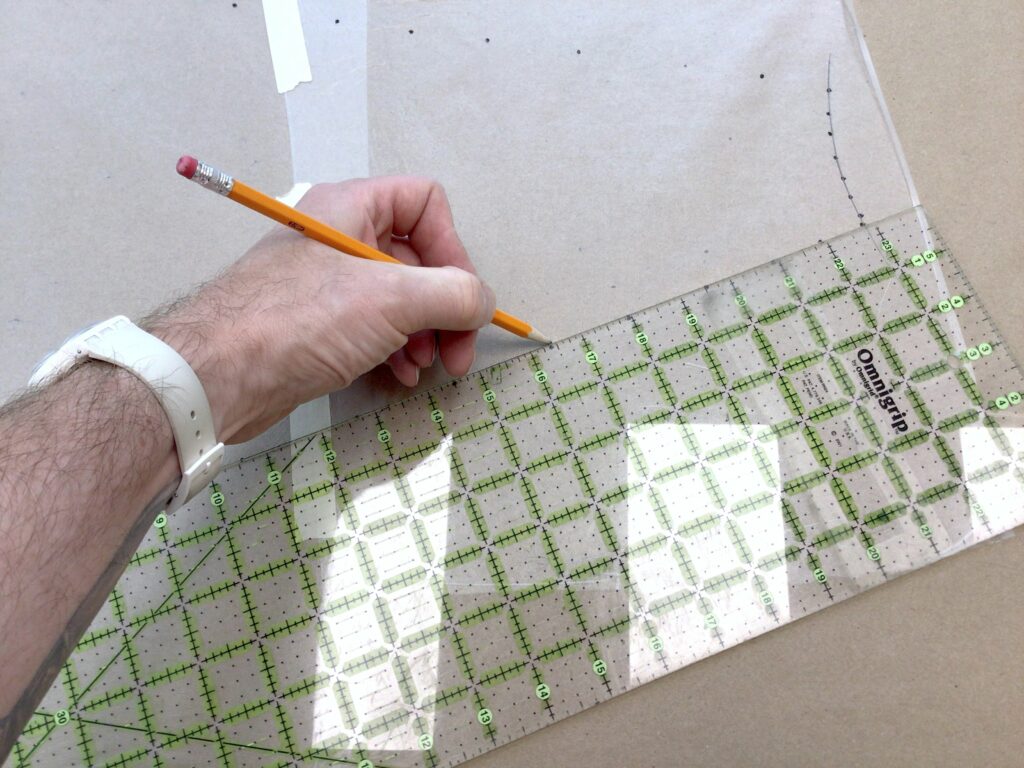
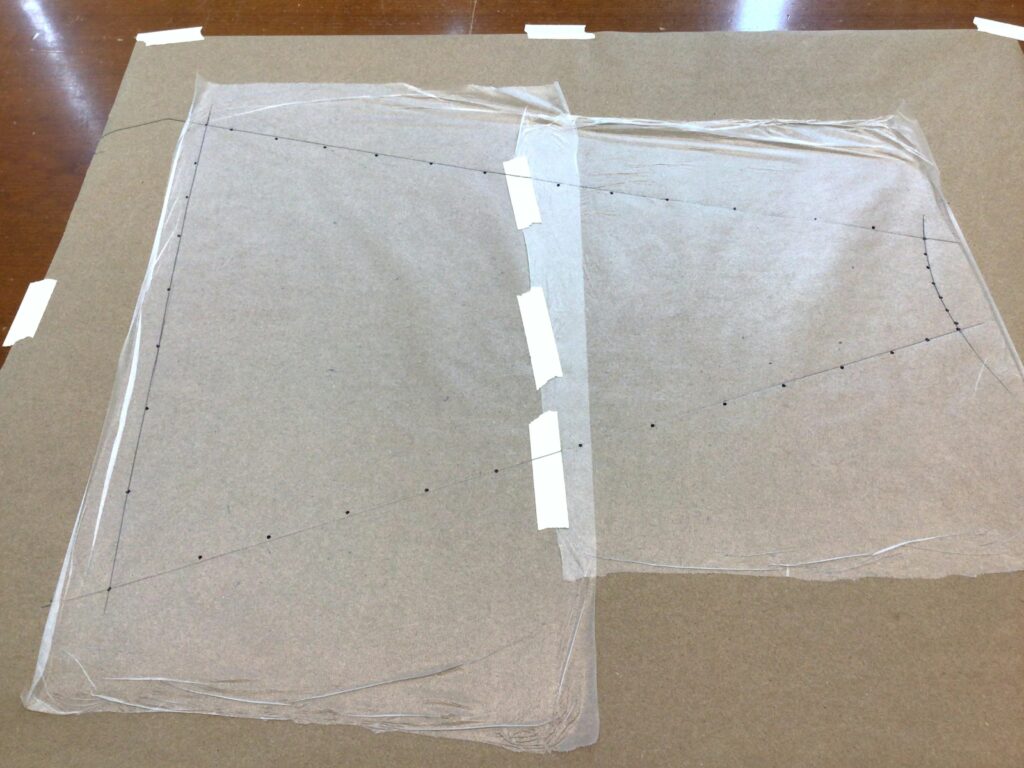
Using your French Curve and your straight edge, connect the dots that you traced out, as shown above.
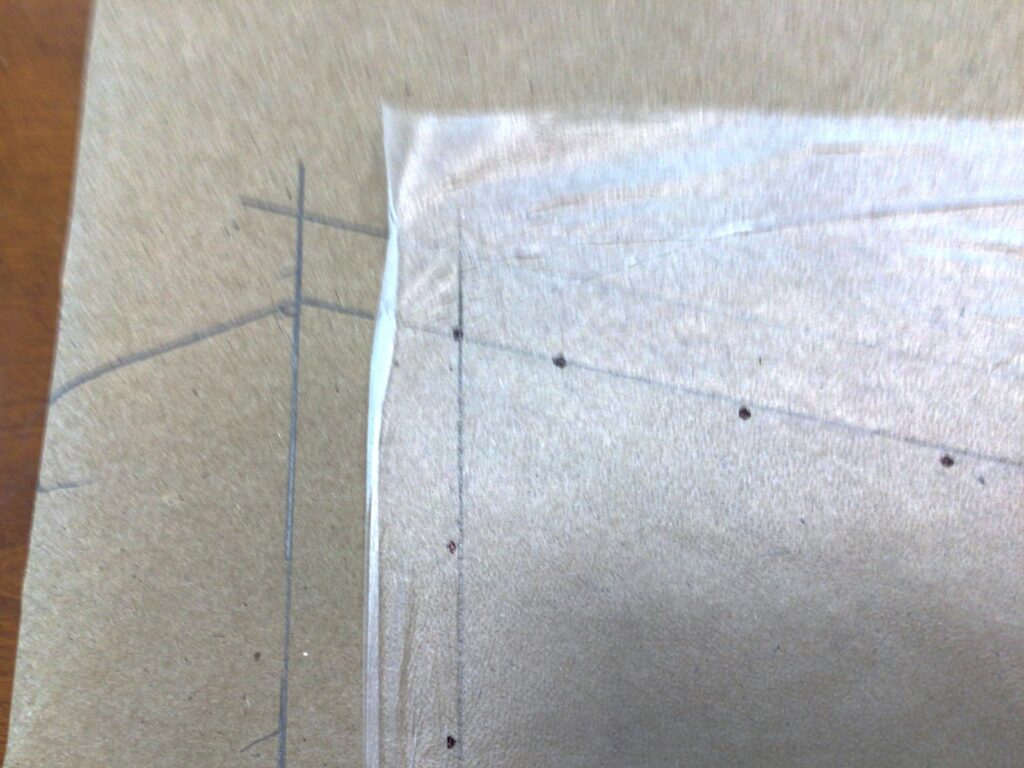
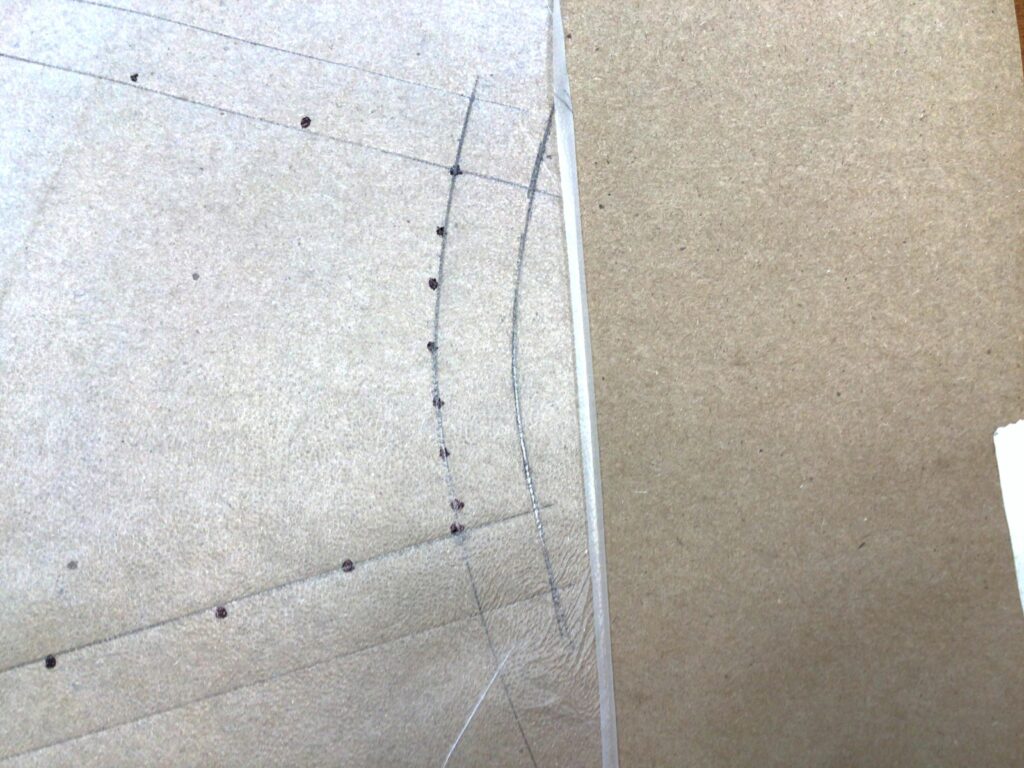
Once you have connected all of the dots, add the seam and hem allowances. We generally add 5/8” for the seam allowances and 1 ¼” for the hem.
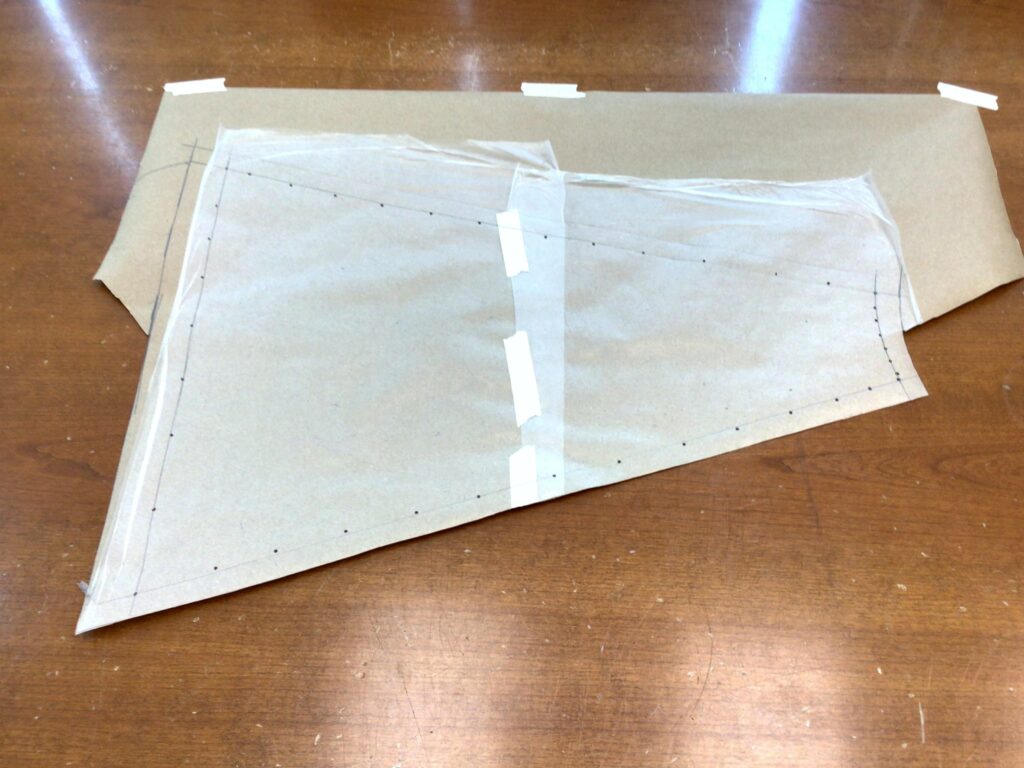
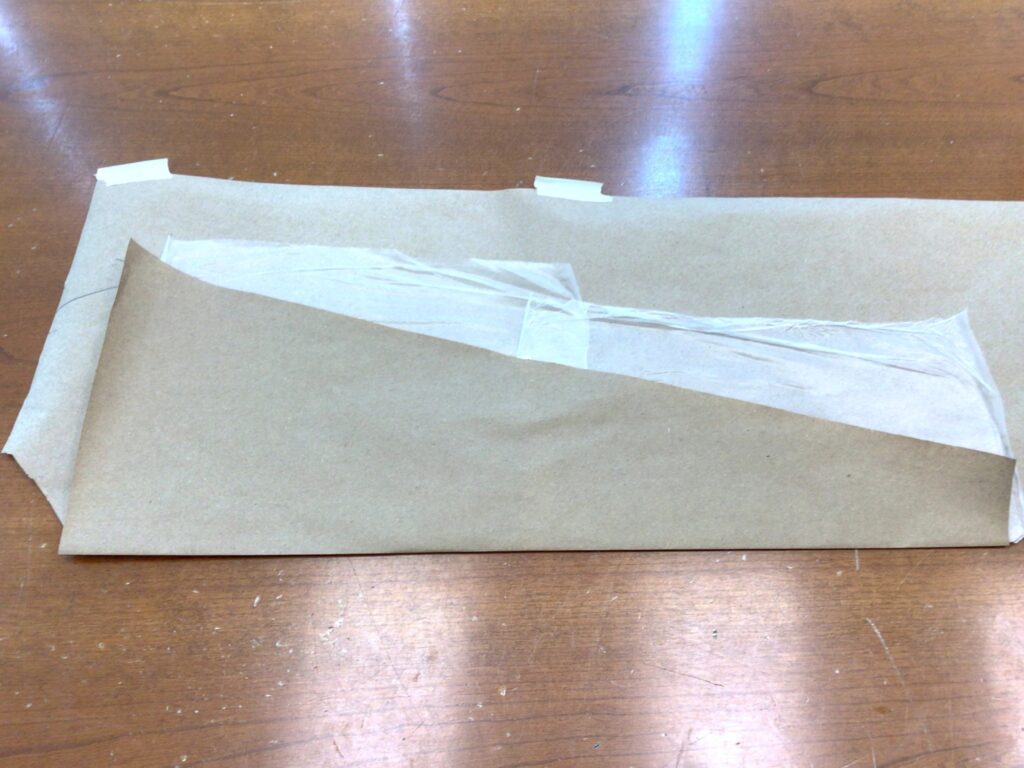
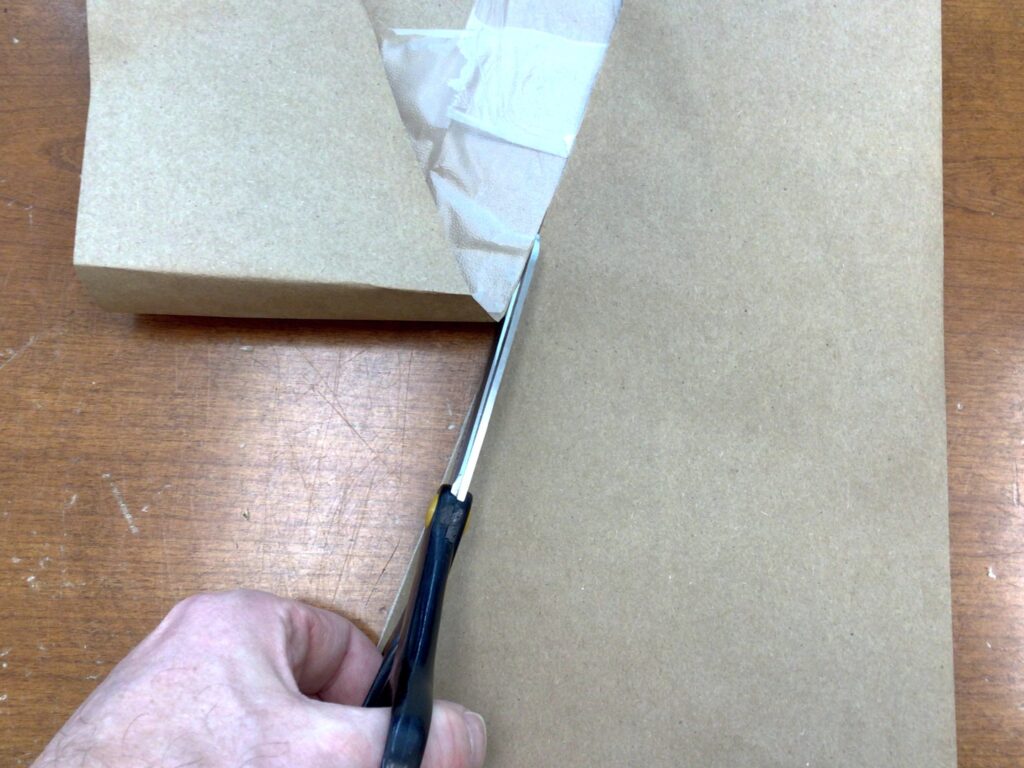
If you are making a symmetrical pattern piece, as we are, cut out HALF of your pattern piece. Then fold the cut portion over the uncut portion matching up the edges of your pattern piece. Use the cut edge as a guide to cut out the rest of the pattern piece. This will assure that your pattern piece is completely symmetrical.
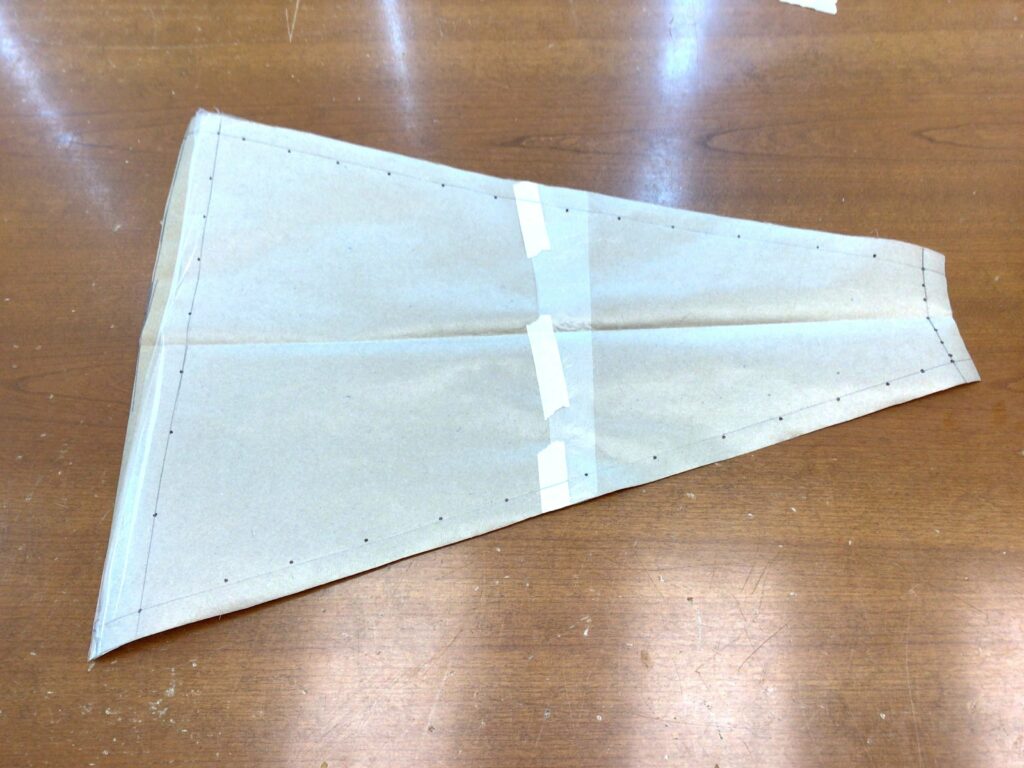
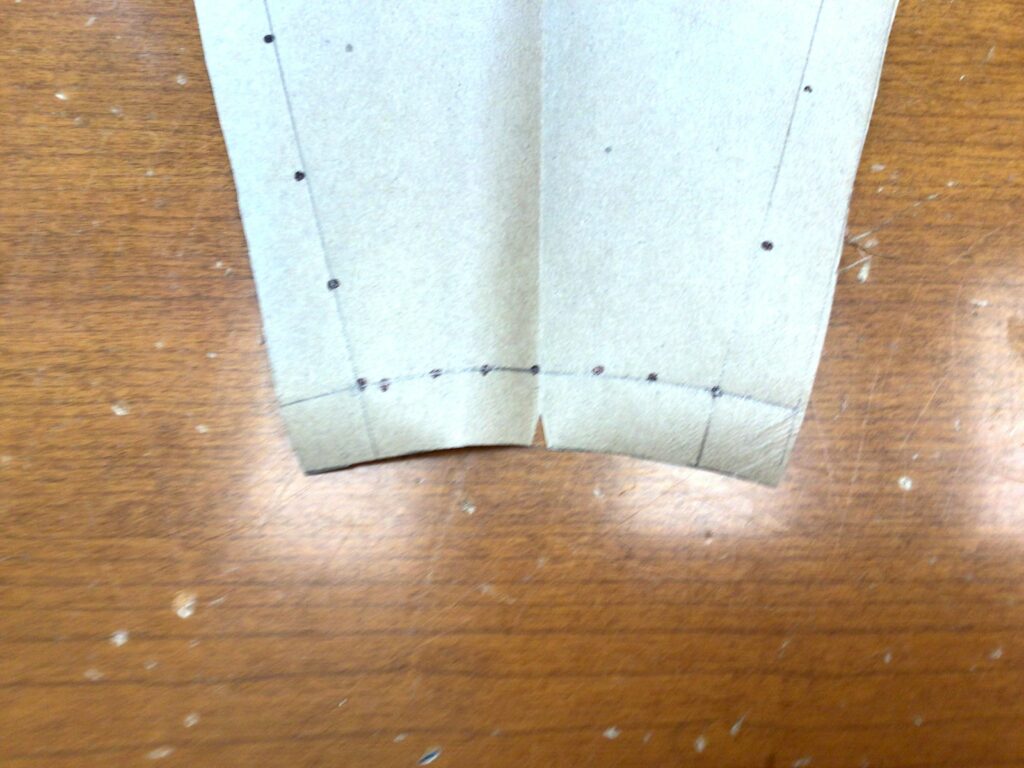
Here is the finished pattern piece. We added a notch to our neckline to indicate the centre front of the garment. It’s a good idea to do the same on a skirt, pant, or dress.
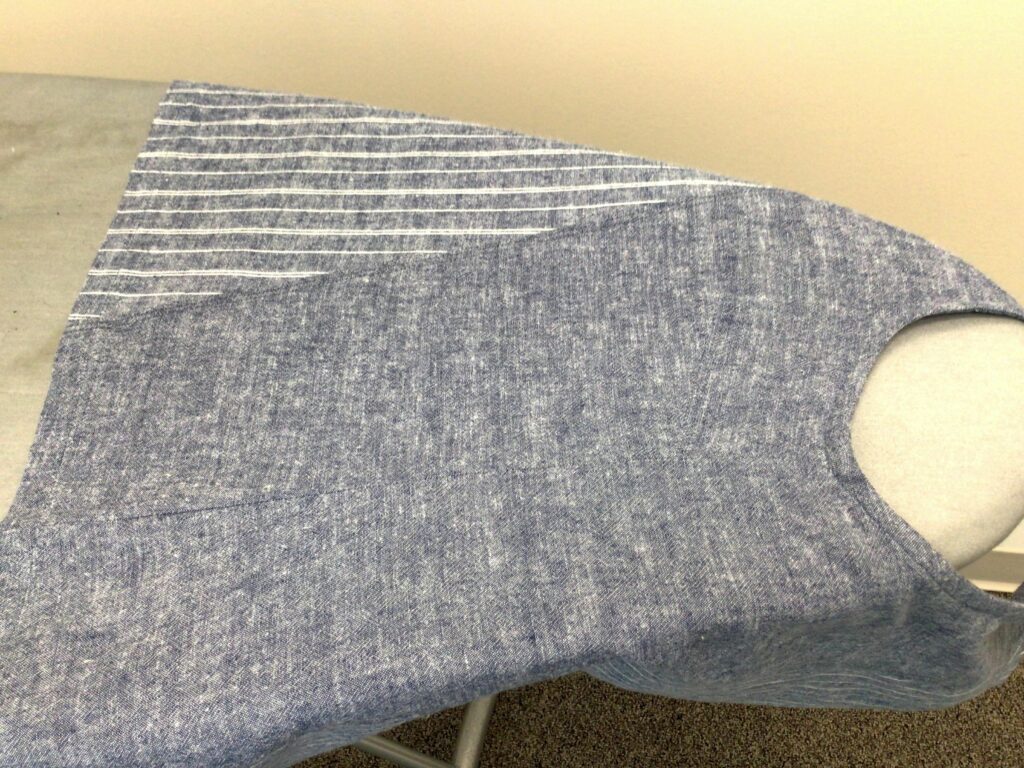
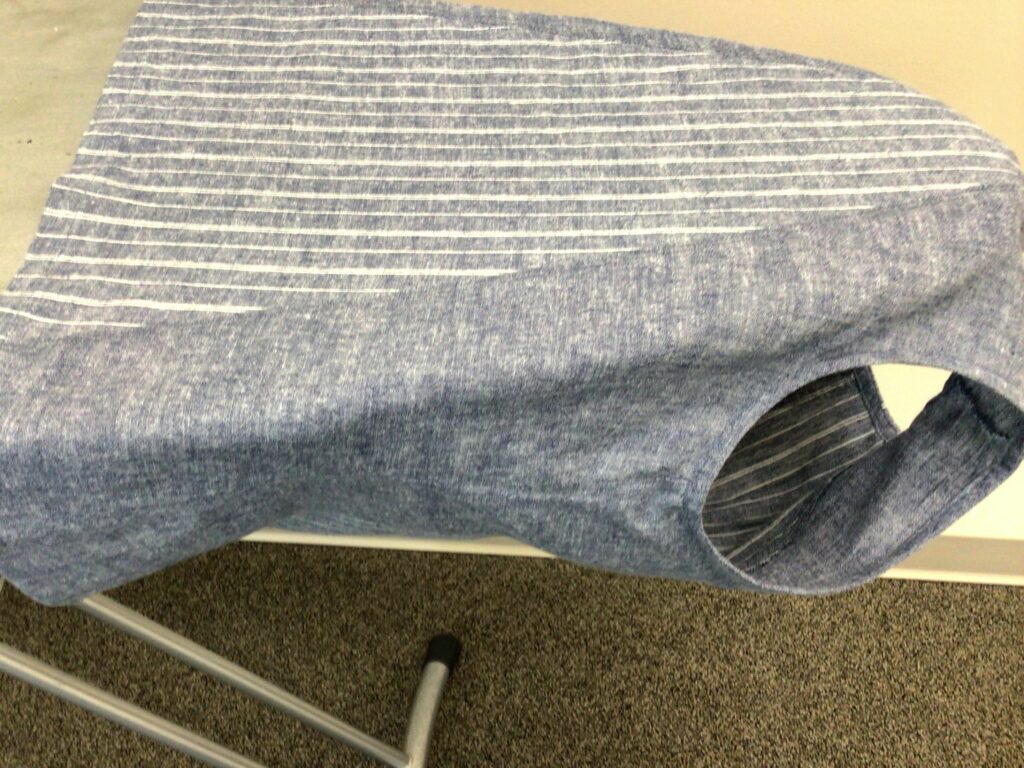
Now we will look at how to copy a pattern piece with a dart. As we did with the first piece, we want to isolate the pattern piece that we want to copy. Then we slid the piece over so that the dart was hanging off the edge of our ironing board (second image above).
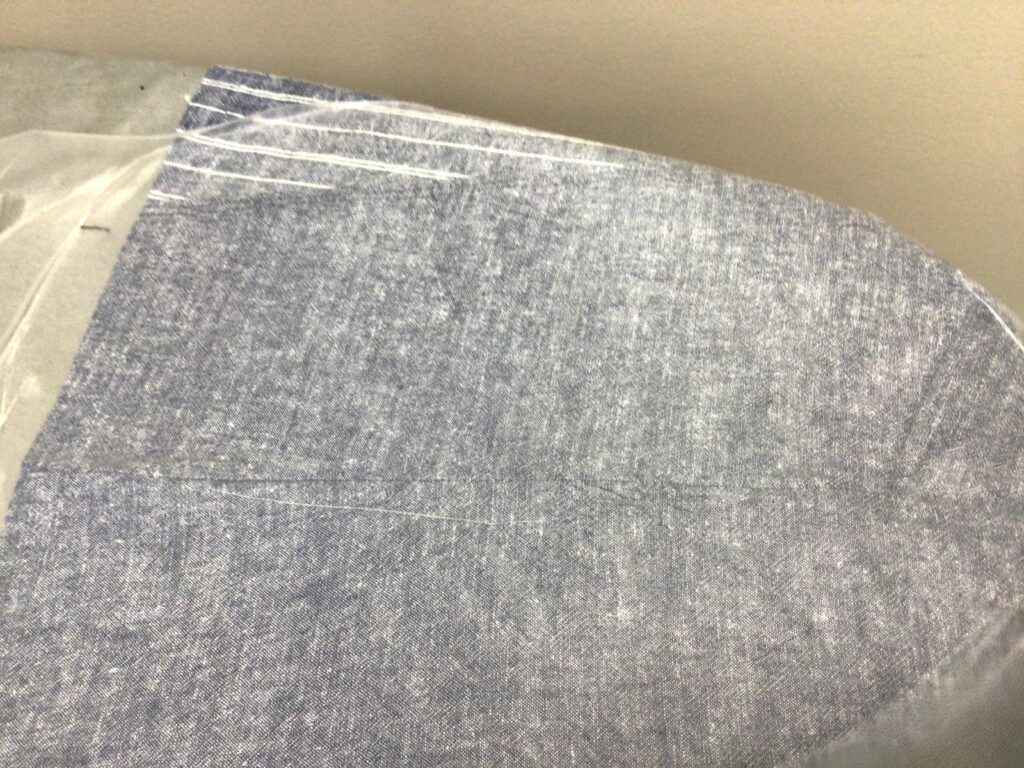
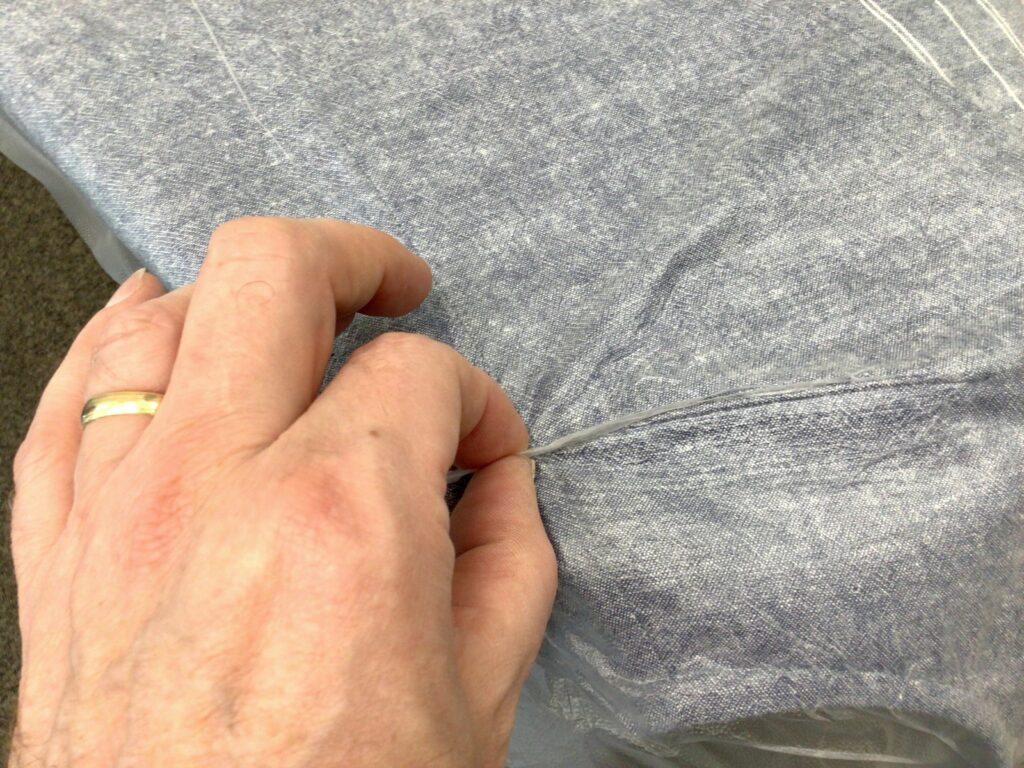
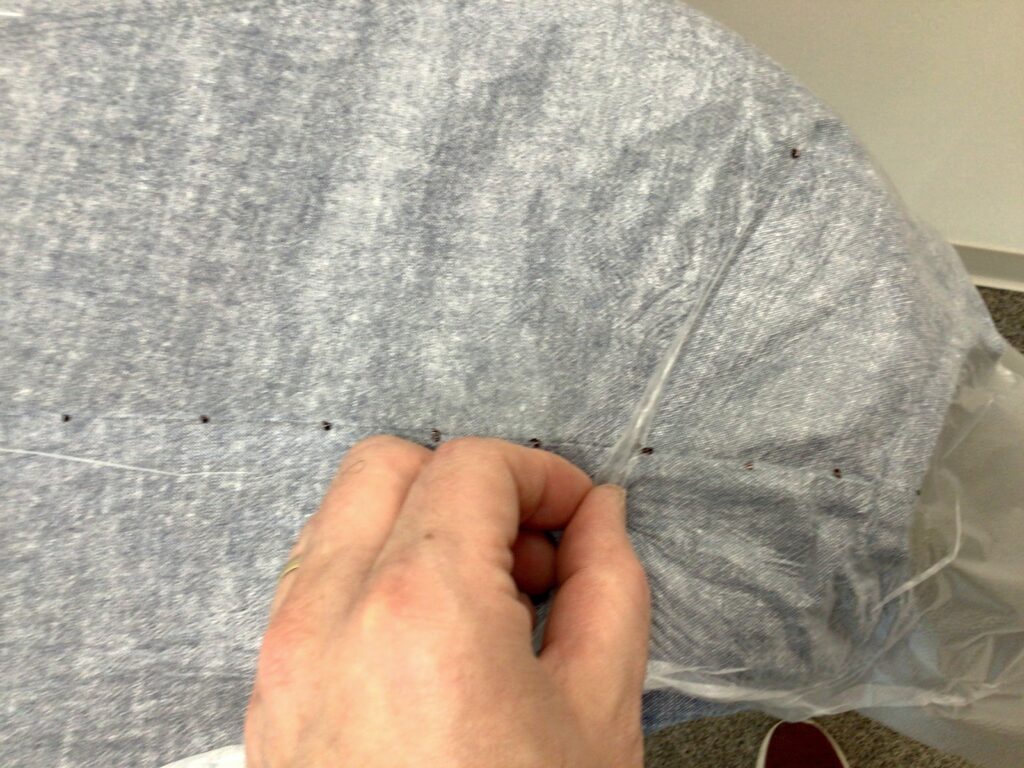
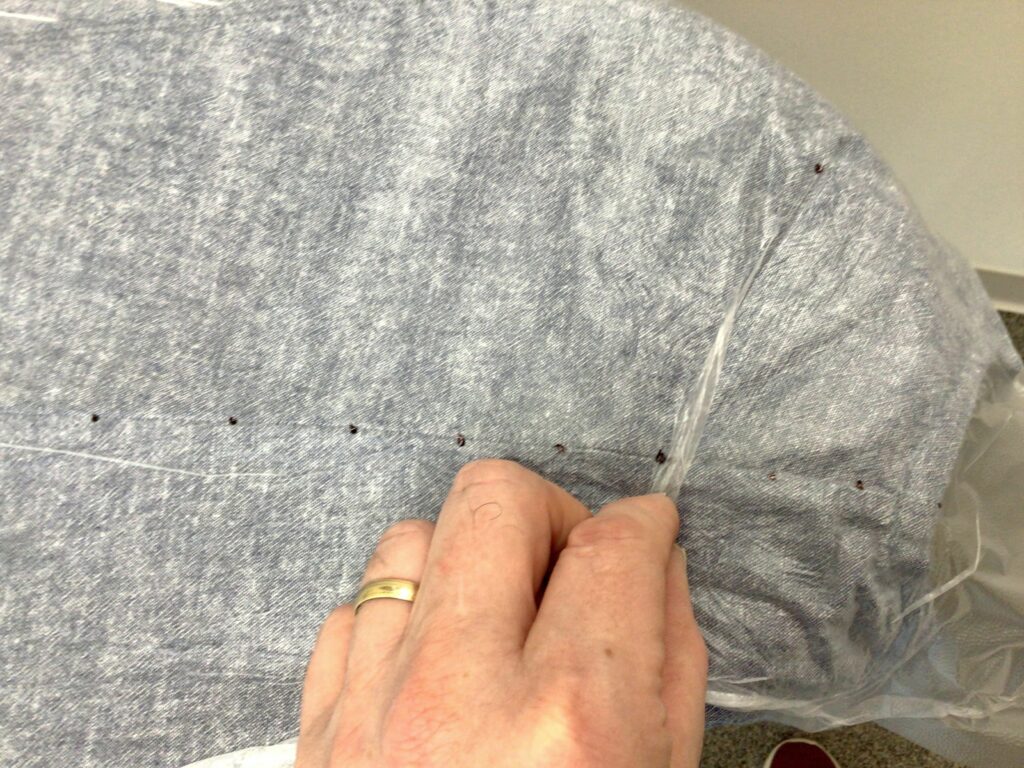
Tear off a piece of the adhesive wrap. Apply it to the part of the pattern piece that doesn’t contain the dart. Then smooth out the adhesive wrap over the fabric. Make sure that you leave the part around the dart for last. You should find as you approach the dart, that you have an extra bit of the adhesive that is creating a tuck. Make sure that the tuck is lined up with the stitching line of the dart. Then mark out the edges of the pattern piece with the felt pen as you did before. Make sure to mark both sides of the dart (shown in third and fourth images above). It’s also very important to mark the apex (point) of the dart.
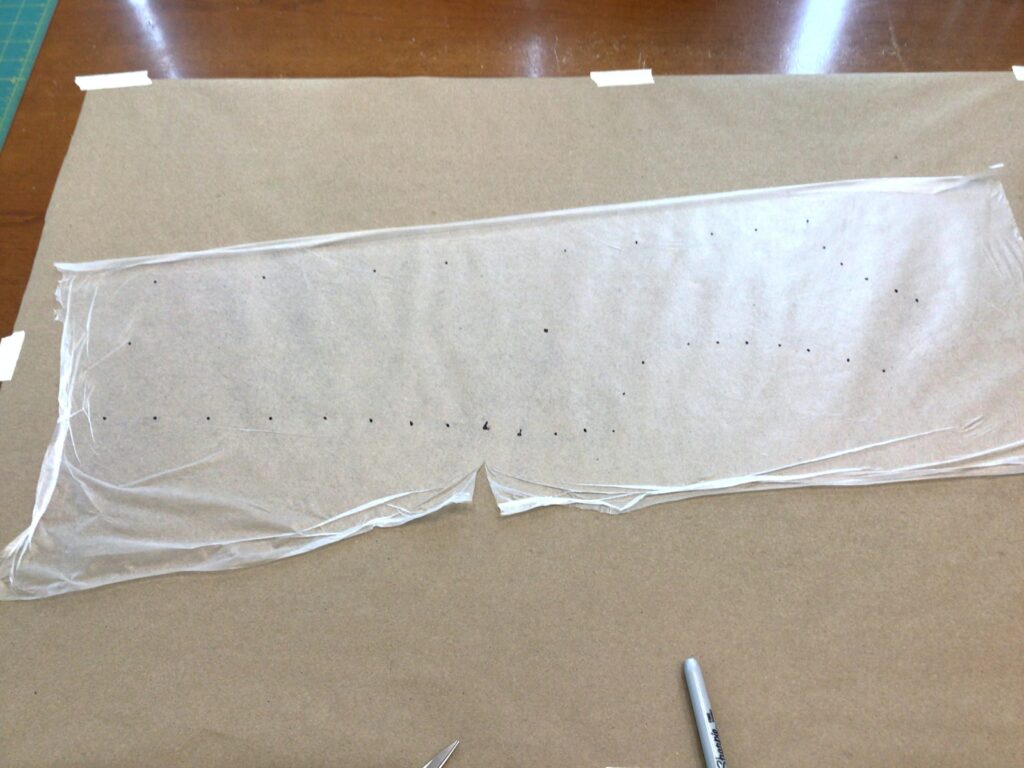
Remove the adhesive wrap as you did before and apply it to a piece of craft paper that you have taped to your tabletop. As you smooth out the adhesive wrap, you will find that you need to flatten the little tuck. Make sure you know which marks are indicating your dart.
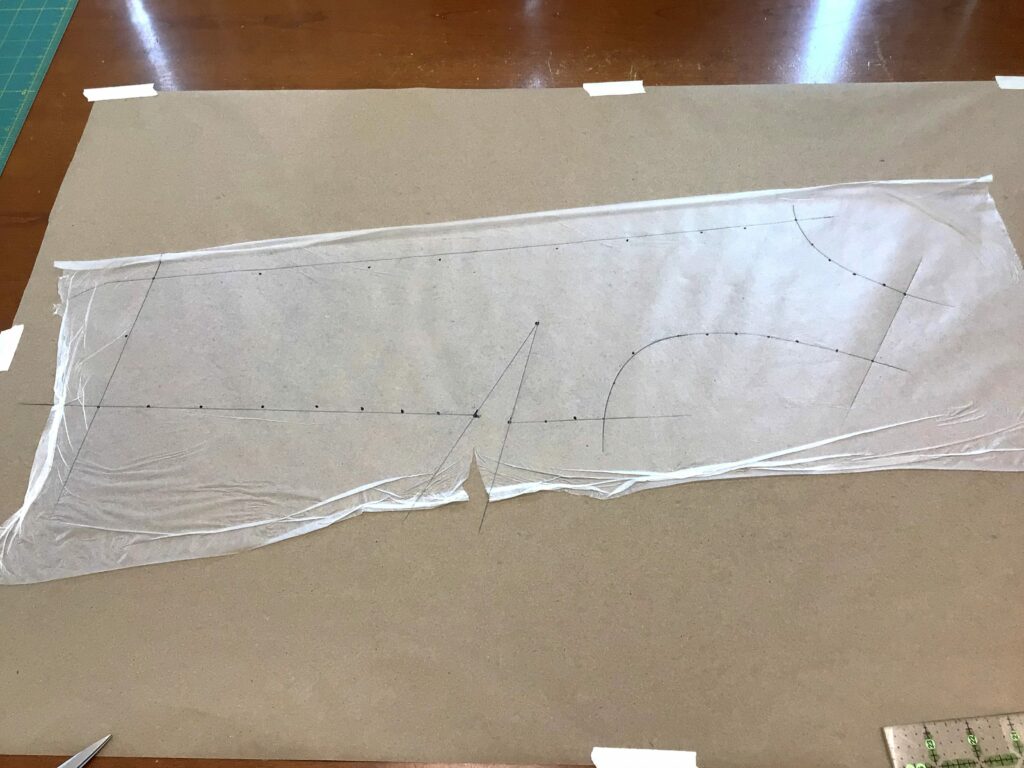
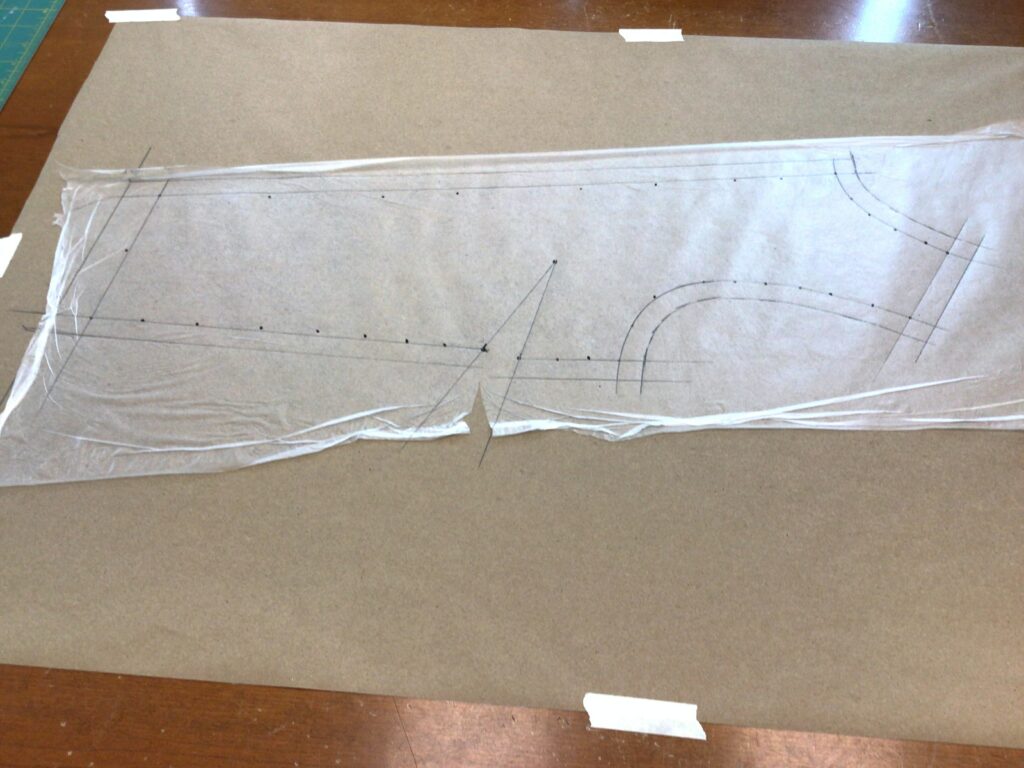
As you did before, use your French curve and ruler to connect the dots to create your pattern piece. Make sure to connect the ends of your dart with the point of the dart. Add seam and hem allowances as you did before.
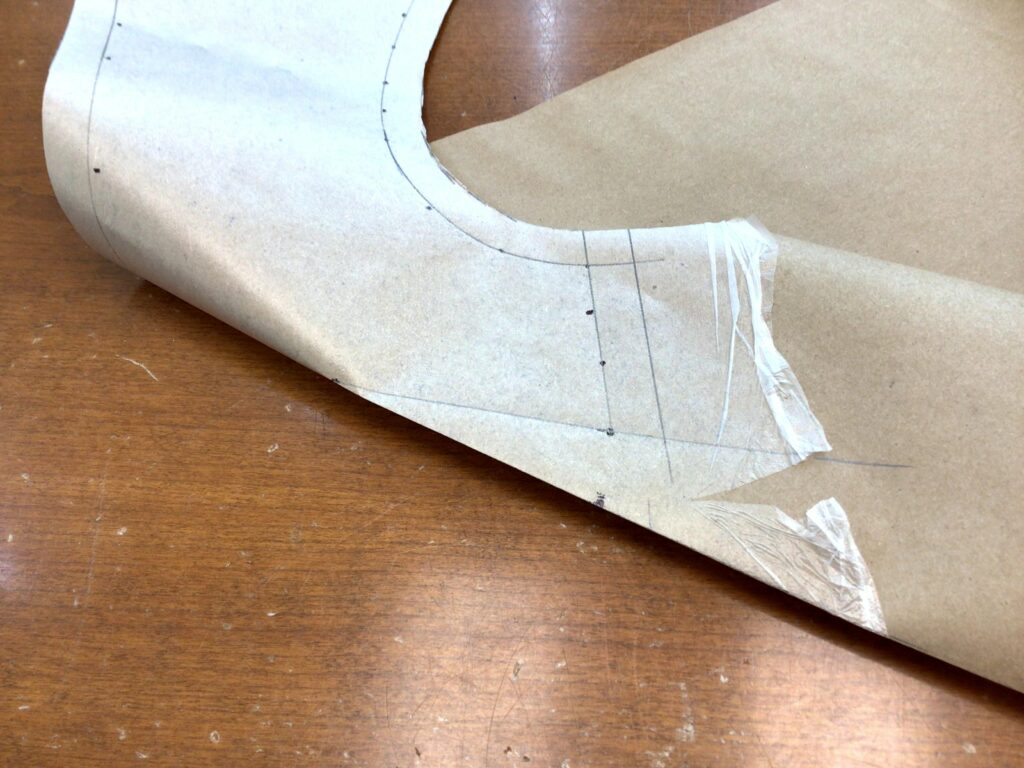
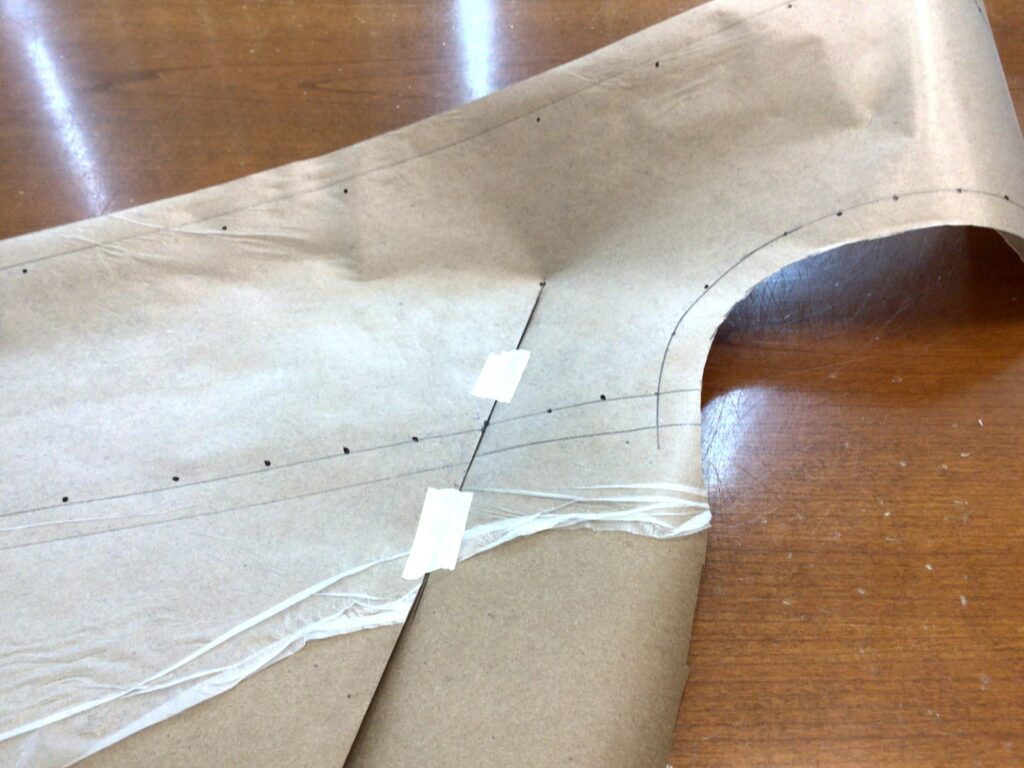
Cut out the pattern piece along the cutting line EXCEPT for the seam that contains the dart. Now we need to FOLD OUT our dart. Fold the dart back as shown in the first image above. Then bring that folded edge to the other dart line and apply tape to hold this in place. Your pattern piece will now have dimension to it.
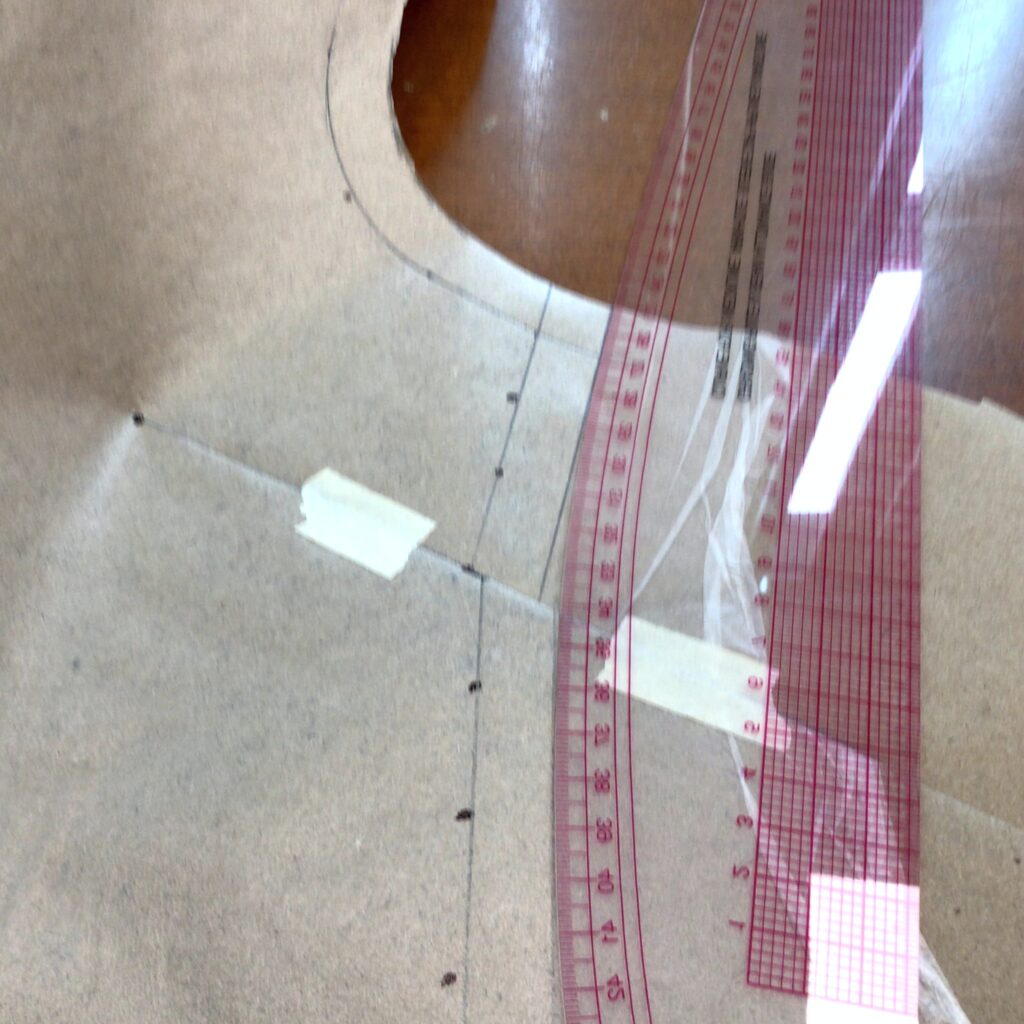
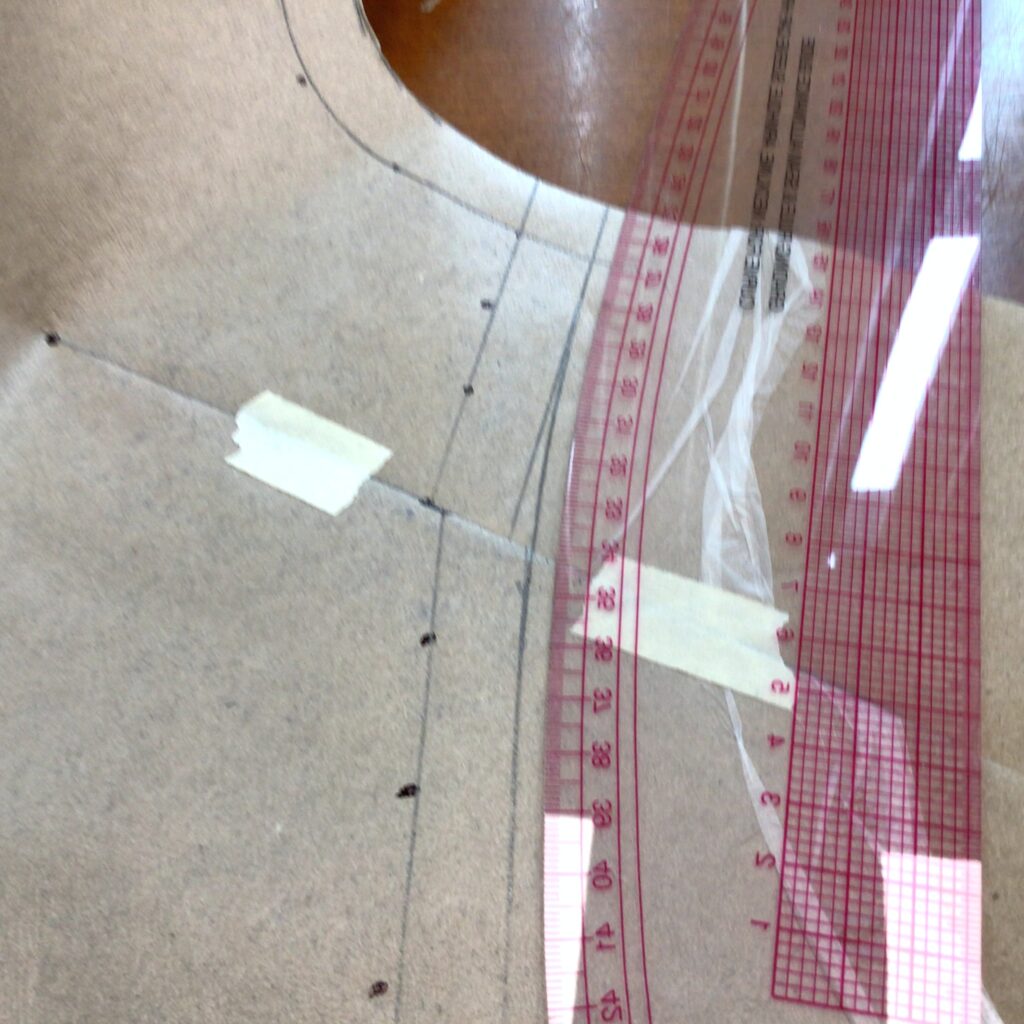
Use your ruler to redraw the cutting line of the pattern piece around the dart (as shown above). Finish cutting out the pattern piece, using the new line as a guide. Once your have finished cutting out the pattern piece, you can remove the tape, so the piece with lay flat.
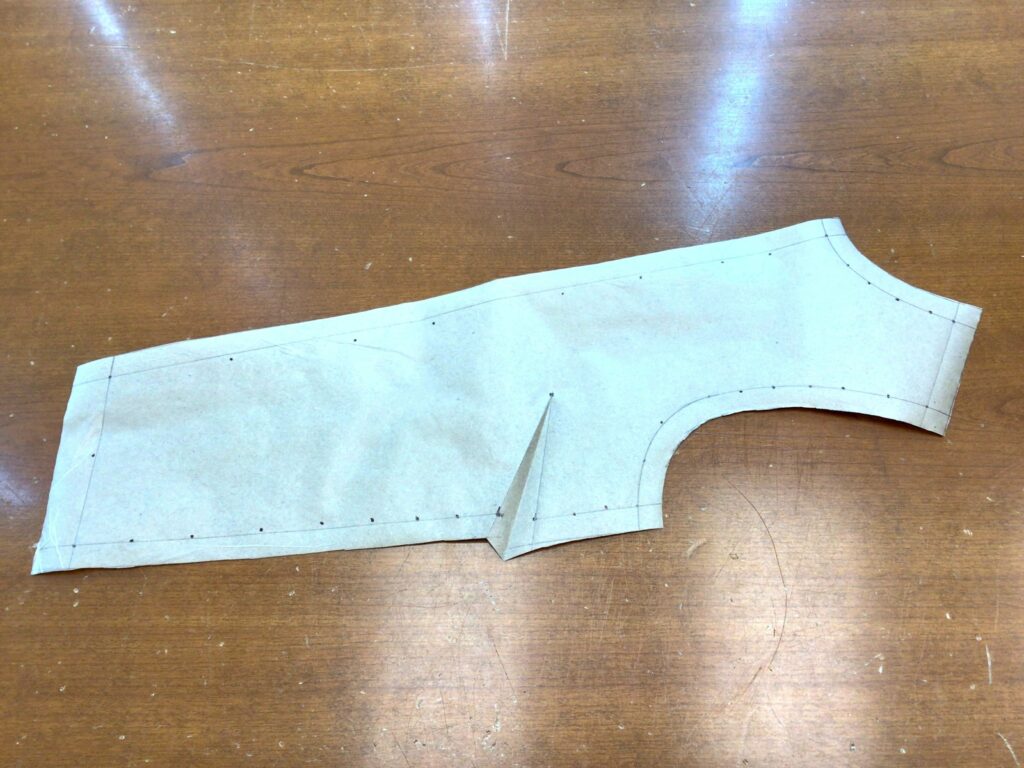
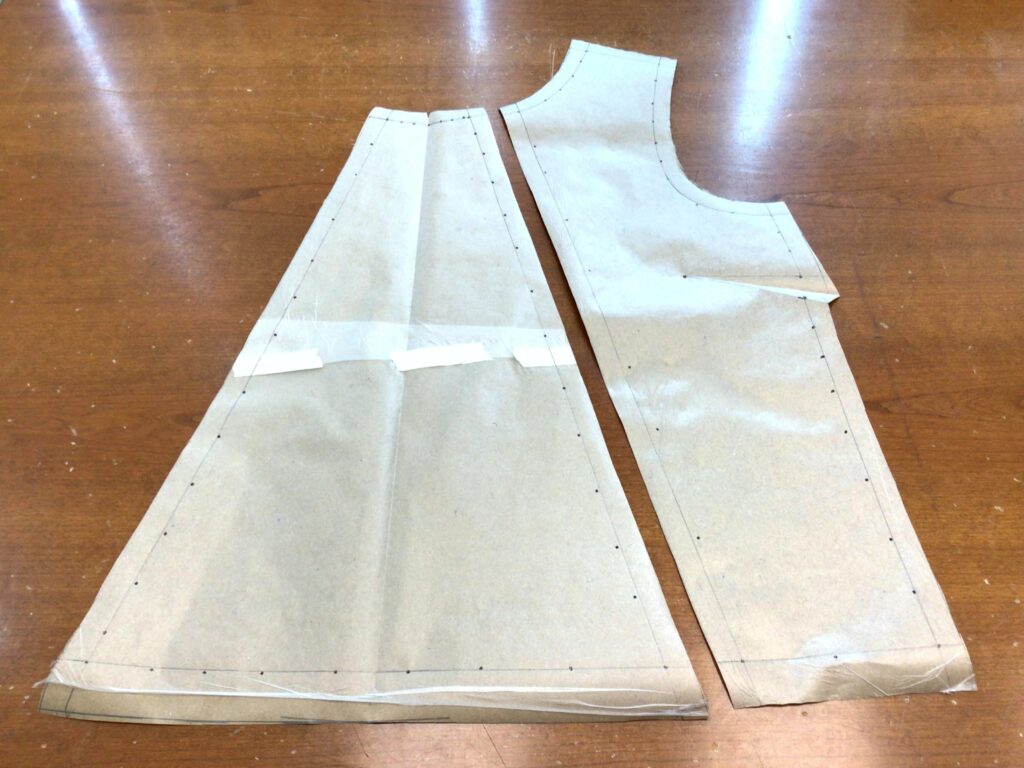
Here are the finished pattern pieces. It is a good idea to lay the pattern pieces over each other at the seams, to make sure that they fit together. This may take a bit of time, but will make sewing your new garment a much more enjoyable experience.


