

Ever have a lightweight fabric that you want to line so it’s not see-through? Here’s how you can underline your fabric instead of just lining it.
What does underline mean?
Underlining is the technique of adding an additional layer of fabric behind your main fabric. This can be done to help to make fabrics less sheer and also to add more structure to a delicate fabric.

Cut out your pattern pieces in your main fabric as well as the fabric you plan to underline with. Both the main fabric and the underlining fabric should be the same size (i.e. do not trim the seam allowance down for the underlining). In our example we used eyelet for the main fabric and are underlining it with a lightweight cotton shirting.

Either by hand or sewing machine, baste the underlining to the main fabric all the way around your pieces. Make sure that your stitches are within the seam allowances, so you don’t see them after the garment is finished. If you are basting with a sewing machine and notice your main fabric stretching a little bit, turn your work over so that the underlining is sitting on top when doing this step. This will help feed the main fabric more evenly, which will help prevent stretching.
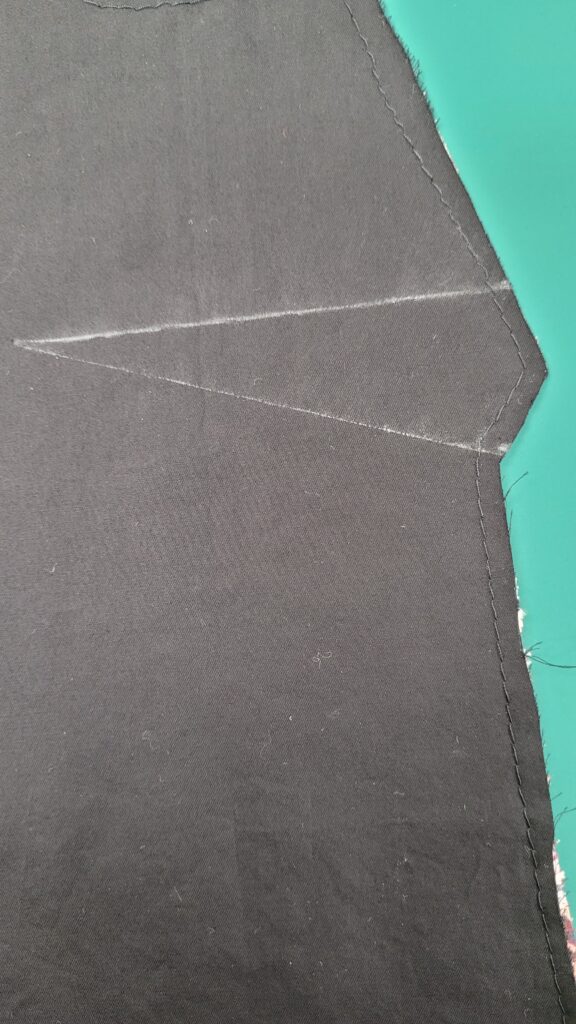
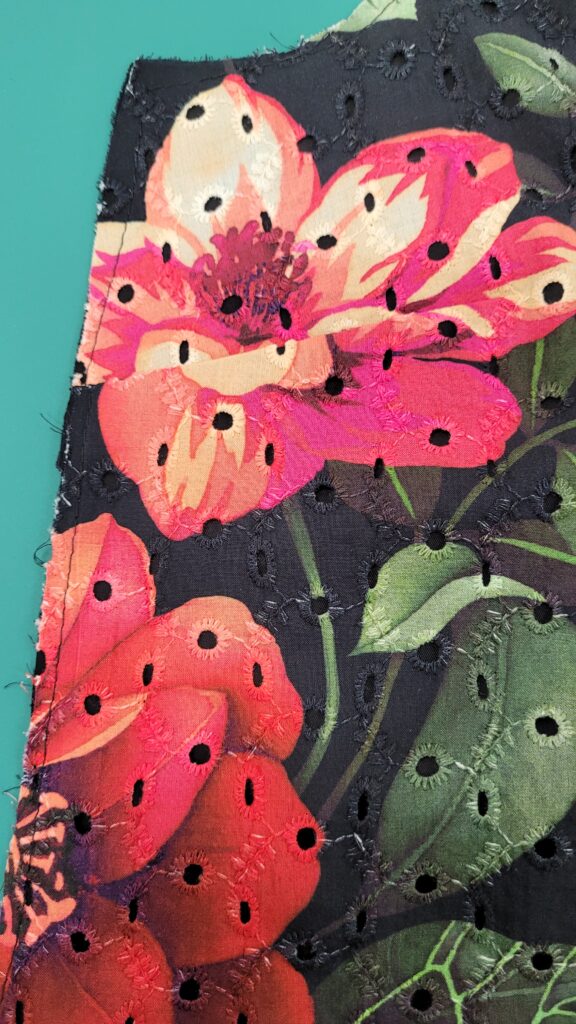
If your garment has any darts, mark and sew these while treating both layers of fabric as one. You may want to hand baste through the layers along the centre of your dart, to make sewing the dart easier. If you do, make sure to remove this hand-basting after the dart is sewn.

Sew your garment up following the sewing instructions, again treating the underlining and main fabric as one.
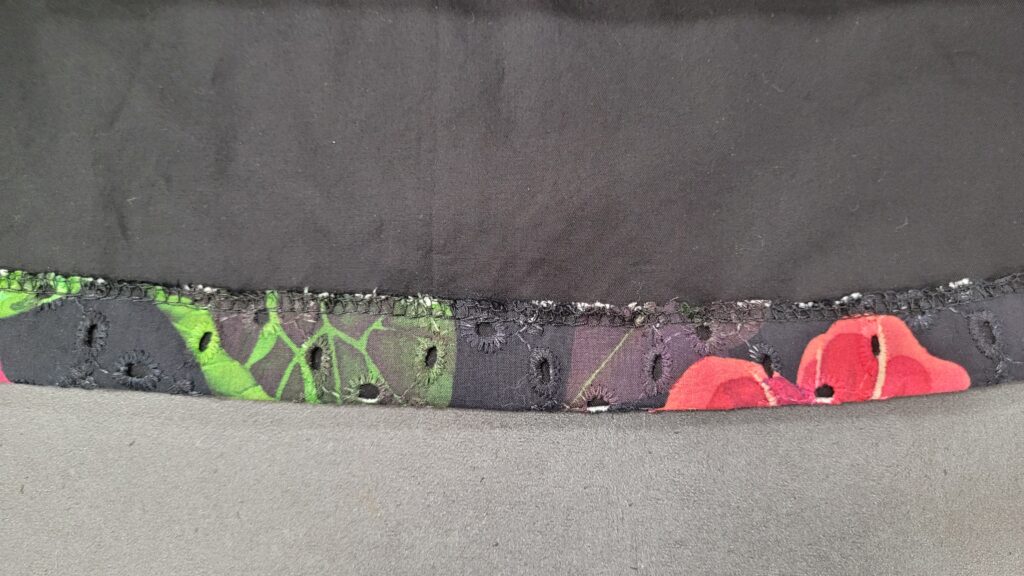
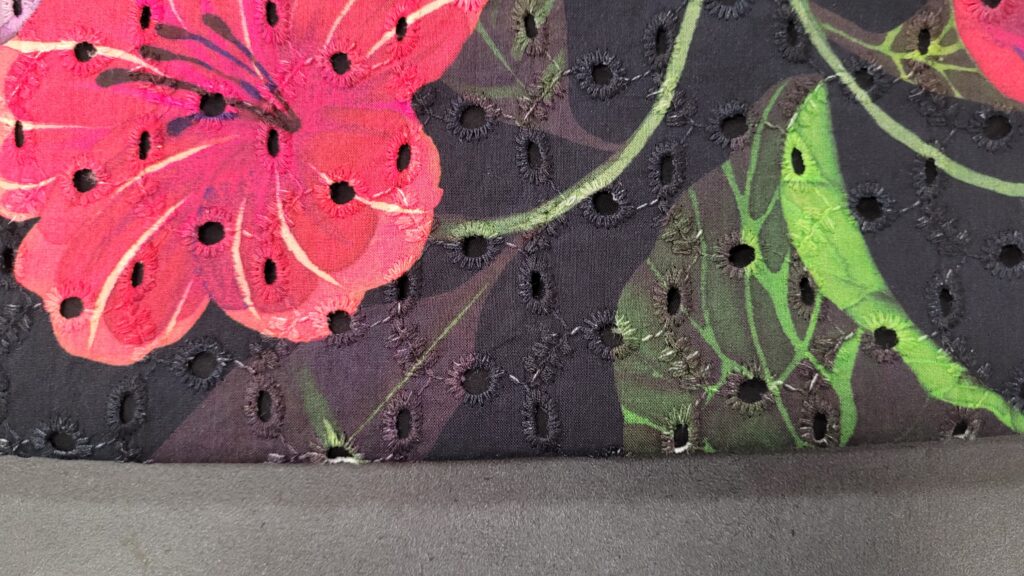
When hemming your garment, if you have a more open fabric such as this eyelet (or noticed the fabric stretching/growing during the basting step) you may want to slipstitch your hem in place, just to the lining layer. This allows the main fabric room to move or grow in the future, without causing any puckers or pulling.
Are you planning on working on a project where this method may help? Let us know us know what fabric you’re using and what fabric you used as an underlining. If you have questions or other tips to share, please let us know in the comments.


4 thoughts on “Tips for Underlining Fabrics”
Thank you, this method is so much easier than traditional separate assembly lining! I have several lace fabrics to use this on but was hesitating because of the degree of difficulty. This inspires me to go ahead with one!!
Do you have any of this fabric left? I can’t find anything like it online, even in your store 🙁
Hello Arlee. We have lots of solid-coloured eyelet available. This printed eyelet is currently sold out, BUT we have reordered it. We should have it back in stock in about 4 weeks. I hope this information helps!
I just purchased some eyelet material on the weekend knowing I could easily insert a lining using this tutorial. So glad I knew to bookmark it! Thanks for your easy to follow directions!