Winter has a lot of beautiful qualities to it; you can enjoy a hot beverage by a crackling fire, frolic in the snow, go skiing, skating, and it’s an amazingly fun festive season! However, something none of us enjoy is being too cold! Whether you’re like me and need to stay extra warm because of circulatory issues or you just like staying toasty warm, hand warmers can be a lifesaver! This craft is easy to make, customisable, and we separated it into two parts so you can use your hand warmers over and over again without worry! So whether you’re making this craft for yourself or as a gift, you can rest assure that you’ll get a ton of use out of it!
What you’ll need
- 1/4 yard or less of non-stretch Fleece
- 1/4 yard or less of medium weight cotton
- Matching thread
- Scissors
- Ruler
- Fabric Pen or Chalk
- Lentils or Rice
- Hand sewing needle
- Straight pins
- Free Hand-warmer pattern (download below)
These measurements will make 1 set of hand warmers (interior and outer layer). However you will likely have extra fabric left over! The best idea is to use a 4″ by 4″ inch scrap piece of Medium Weight cotton to sew the interior of your pocket and use your extra fleece for other projects!
This project is super customisable; consider adding felt shapes to your outer fleece layer to turn your hand warmer into a bunny, a lobster, a comet or something equally creative!
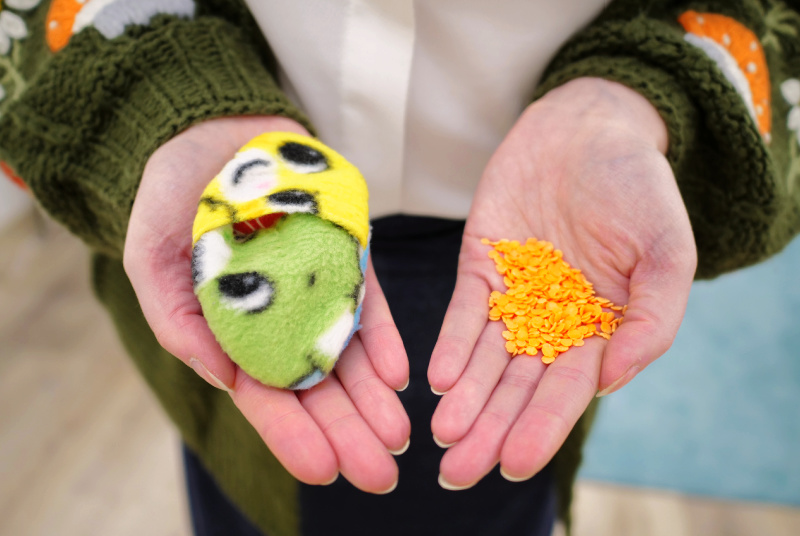
Fleece is the ideal fabric to use for the outer layer of your hand warmers because it will keep the heat in and it doesn’t need to be hemmed! This will keep the material from fraying/wearing out, and guarantee you’ll have something cozy and soft to hold onto. We used our “Care Bear Cheer Fleece” for this project.

Additionally, we used Lentils for the interior of our hand warmers because they’re great at retaining heat and they are inexpensive to purchase. Make sure to do some research on which stuffing would be best for you and how long it can go in the microwave safely. For us the lentils can go in the microwave for 30-45 seconds at a time.
Sewing Instructions: Interior Layer, Microwaveable Pocket
We decided to separate the sewing instructions for the interior pocket and the outside portion of the hand warmers. These next few steps are for the interior pocket, and this is the only portion of the hand warmer that should go in the microwave! The fleece portion (outer pocket) should not go in the microwave.
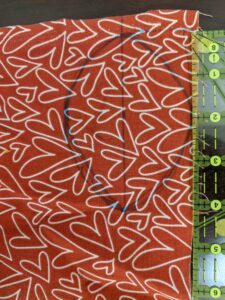
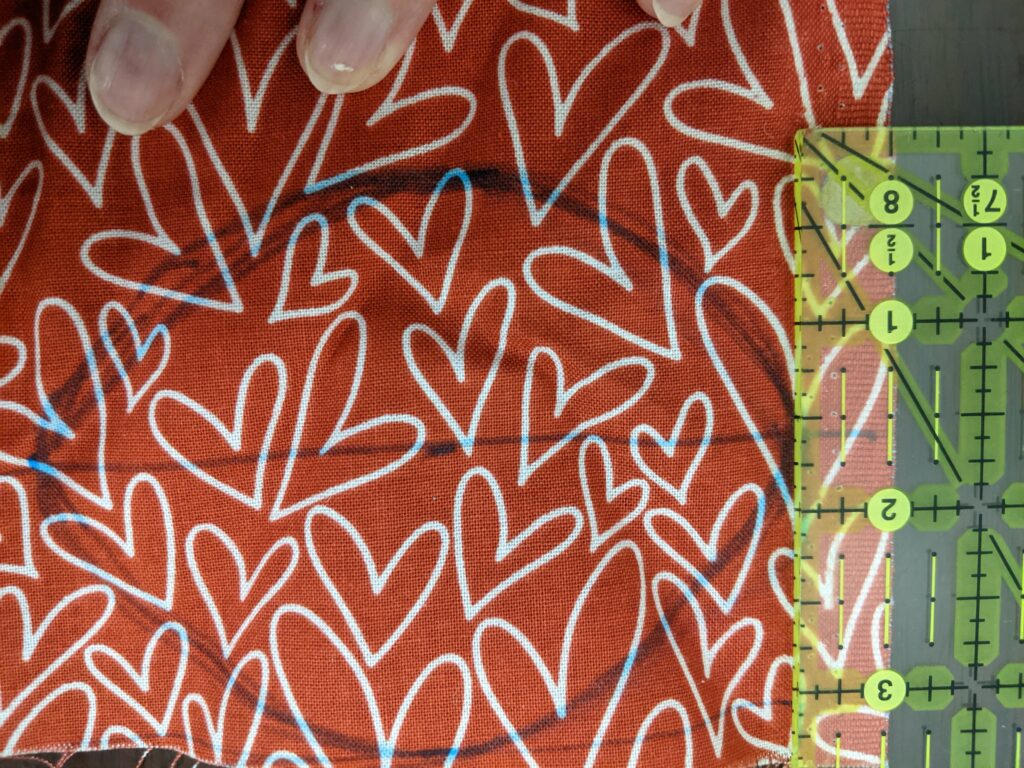
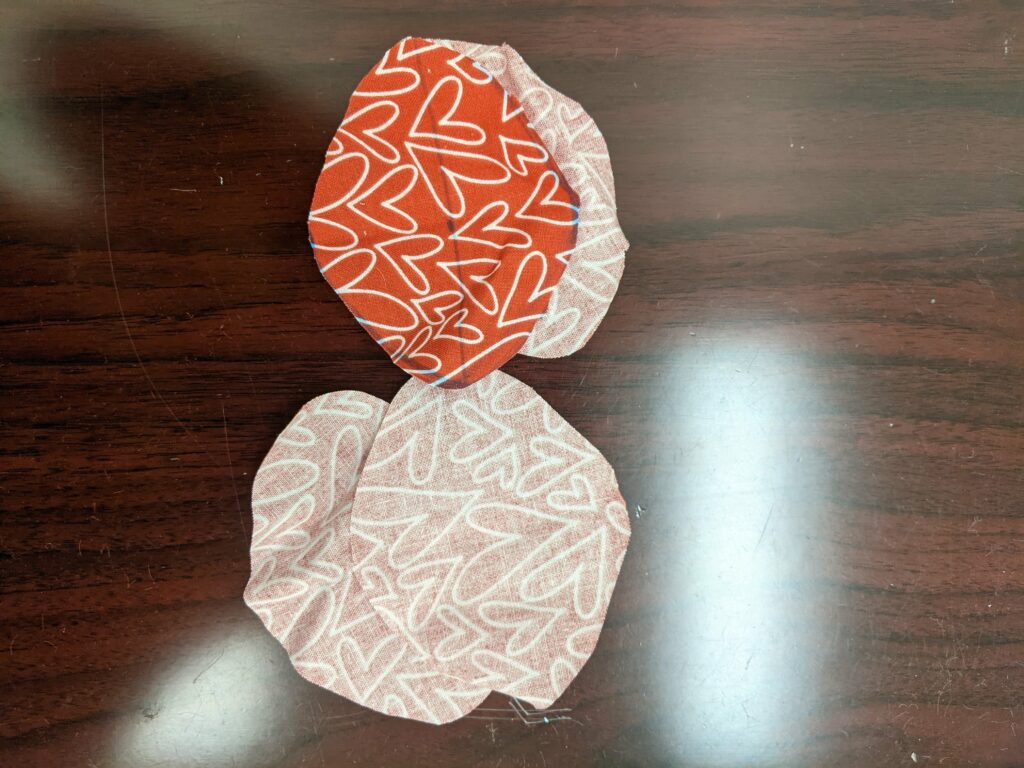
Step 1: Either draw directly onto your Medium Weight Cotton with a fabric pen, or create a pattern using some scrap paper. Measure out 4″ by 3″ at your pocket’s highest and widest parts. Connect these two points with a curved line. You can use a bowl to help create a fluid curve, or draw it by eye.
Cut out 4 pieces of your oval. To make sure your oval is symmetrical you can take two layers and fold it in half twice and trim. You should now have 4 symmetrical ovals!
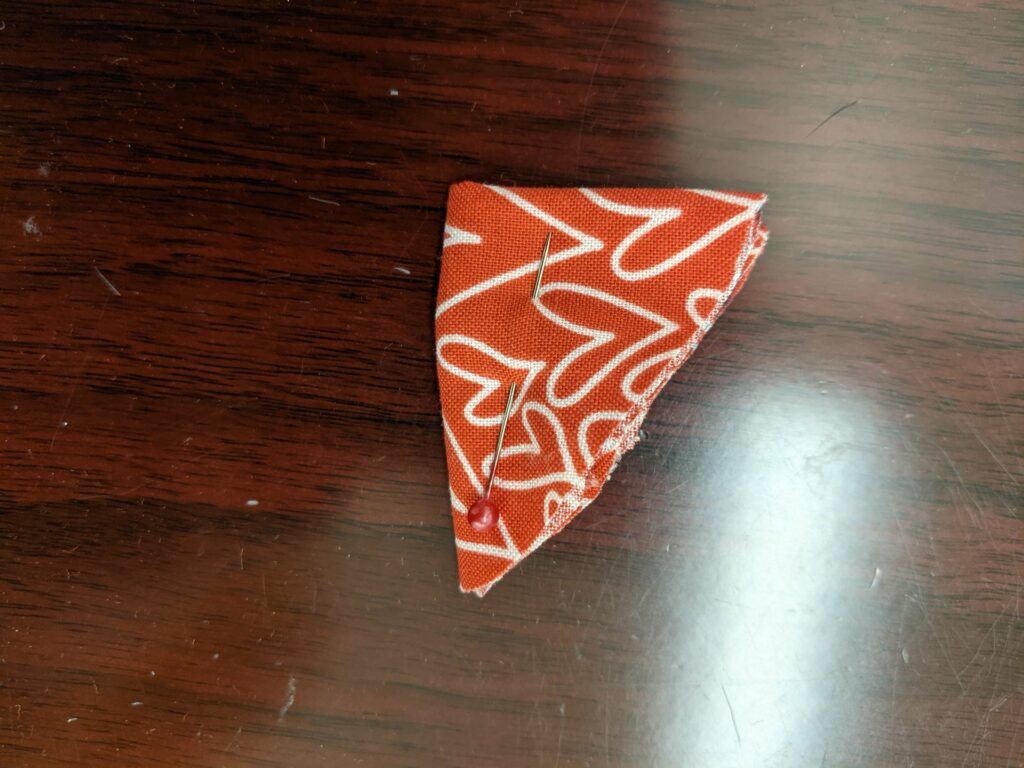
Step 2: Pin two of your ovals together with the right side (print side) facing inward. Sew around the outside edge of your oval using a 1/4 seam allowance, leaving a 2″ hole on one side of your oval. Repeat this for your other set of ovals. You should now have 2 “pockets” with a small hole at the top.
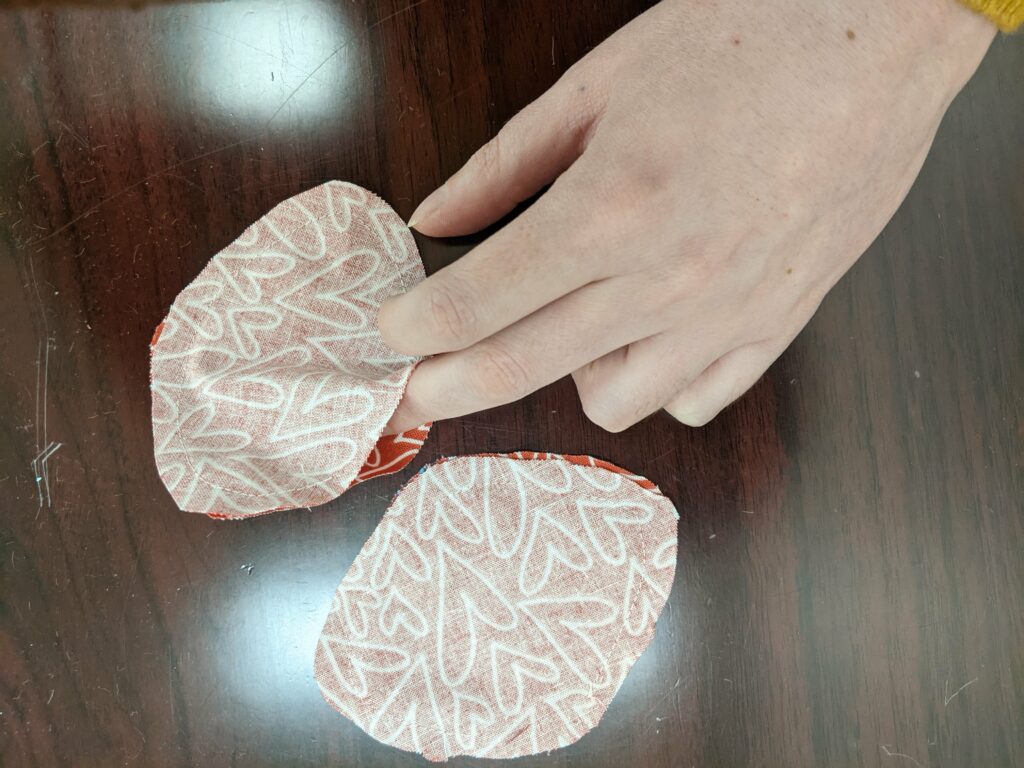
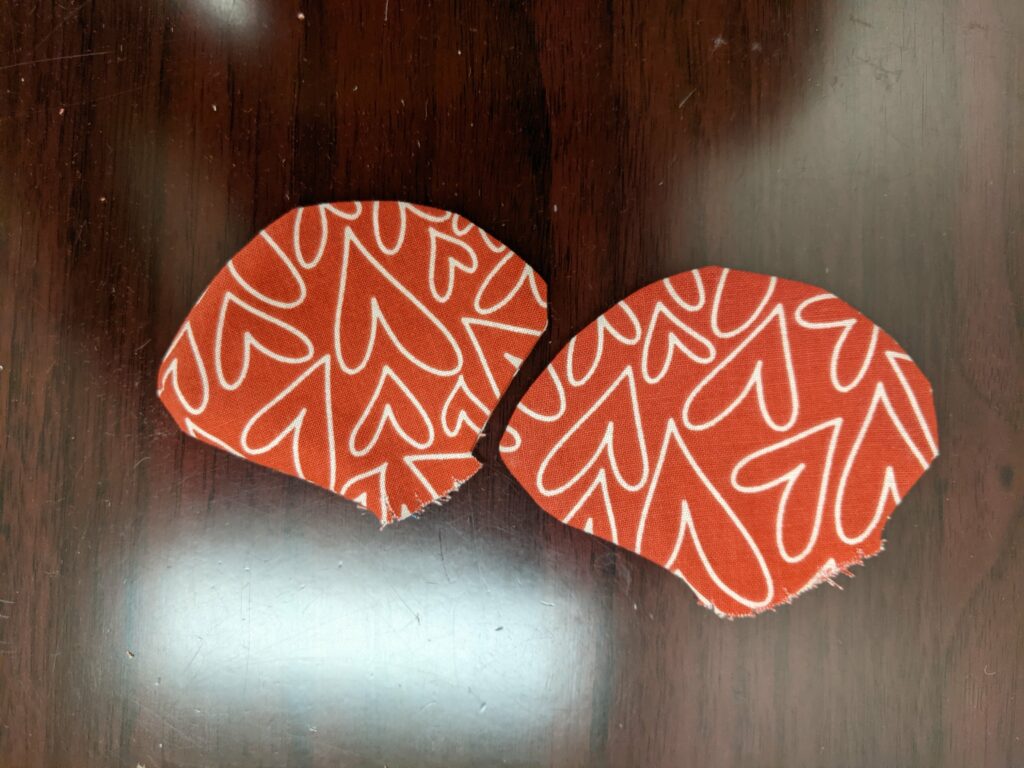
Step 3: Trim around the outside edge of your pocket, making sure not to cut too close to your sewn line. This should create a “fan like” pattern on the edge of your fabric, taking care not to trim the fabric by the “hole” in your pocket. This technique is called grading. Once you’ve done this, turn your pockets right-side out so you can see the pattern.

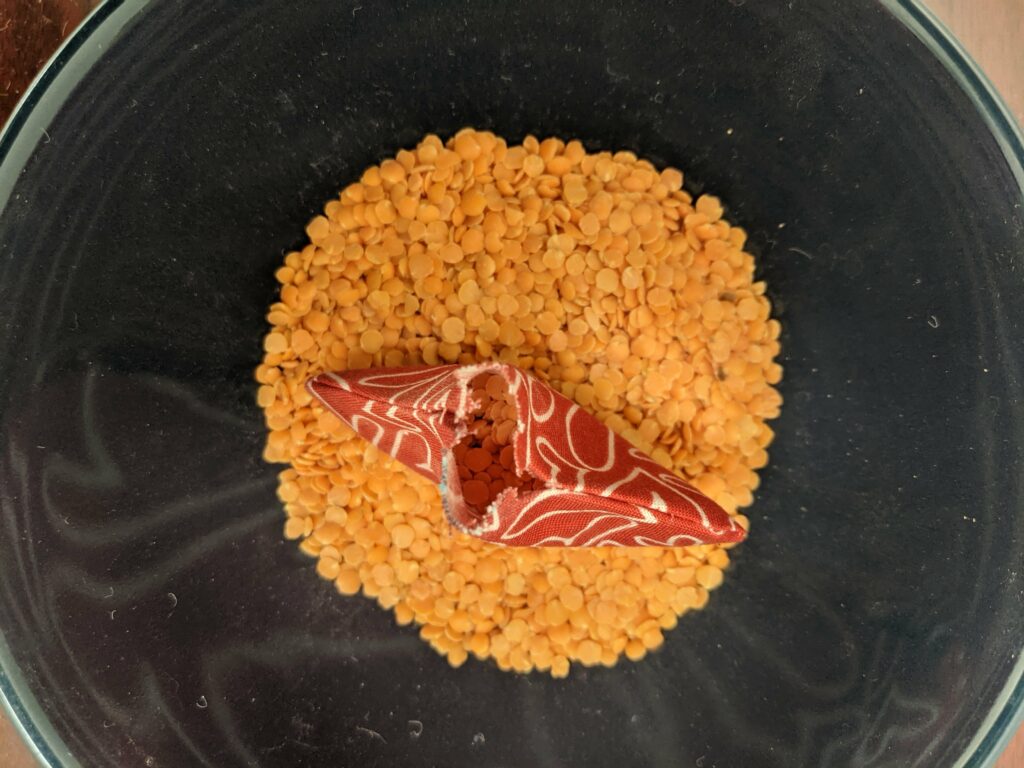
Step 4: Fill your pockets with lentils, using the small hole at the top, be sure not to overfill your pockets. There should be at least an inch of space from the “hole” and the level of lentils inside the pocket and it should not be difficult to hold the seam shut. To avoid spilling, use a bowl to rest your pockets inside of while you fill it. Your interior pocket should fit comfortably in your palm and shouldn’t be puffy or too thick; while flat against a surface the pocket should have room to shift the lentils around and should be as thick as 3 quarters stacked on top of one another. Once you’ve filled your pocket, use a slip stitch to close the hole or fold the hem inwards and sew the hole closed at the sewing machine.
Step 5: Take your pockets to the sewing machine and top stitch around the outside edge of your pocket to secure everything in place. It may be easier to switch to a zipper foot to avoid sewing through any of the lentils, but you can use a regular sewing foot as long as you take it slow and carefully push the lentils out of the way as you sew.
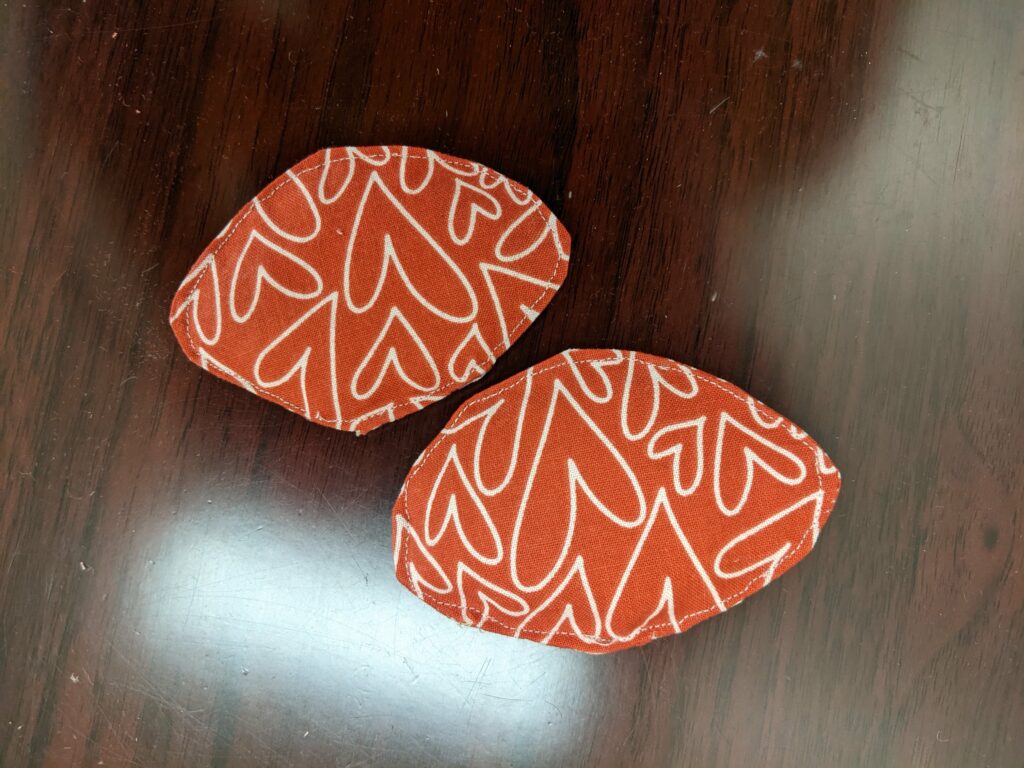
And that’s it for the interior pocket for your hand warmers! Now on to the outer layer.
Sewing Instructions: Outer Layer
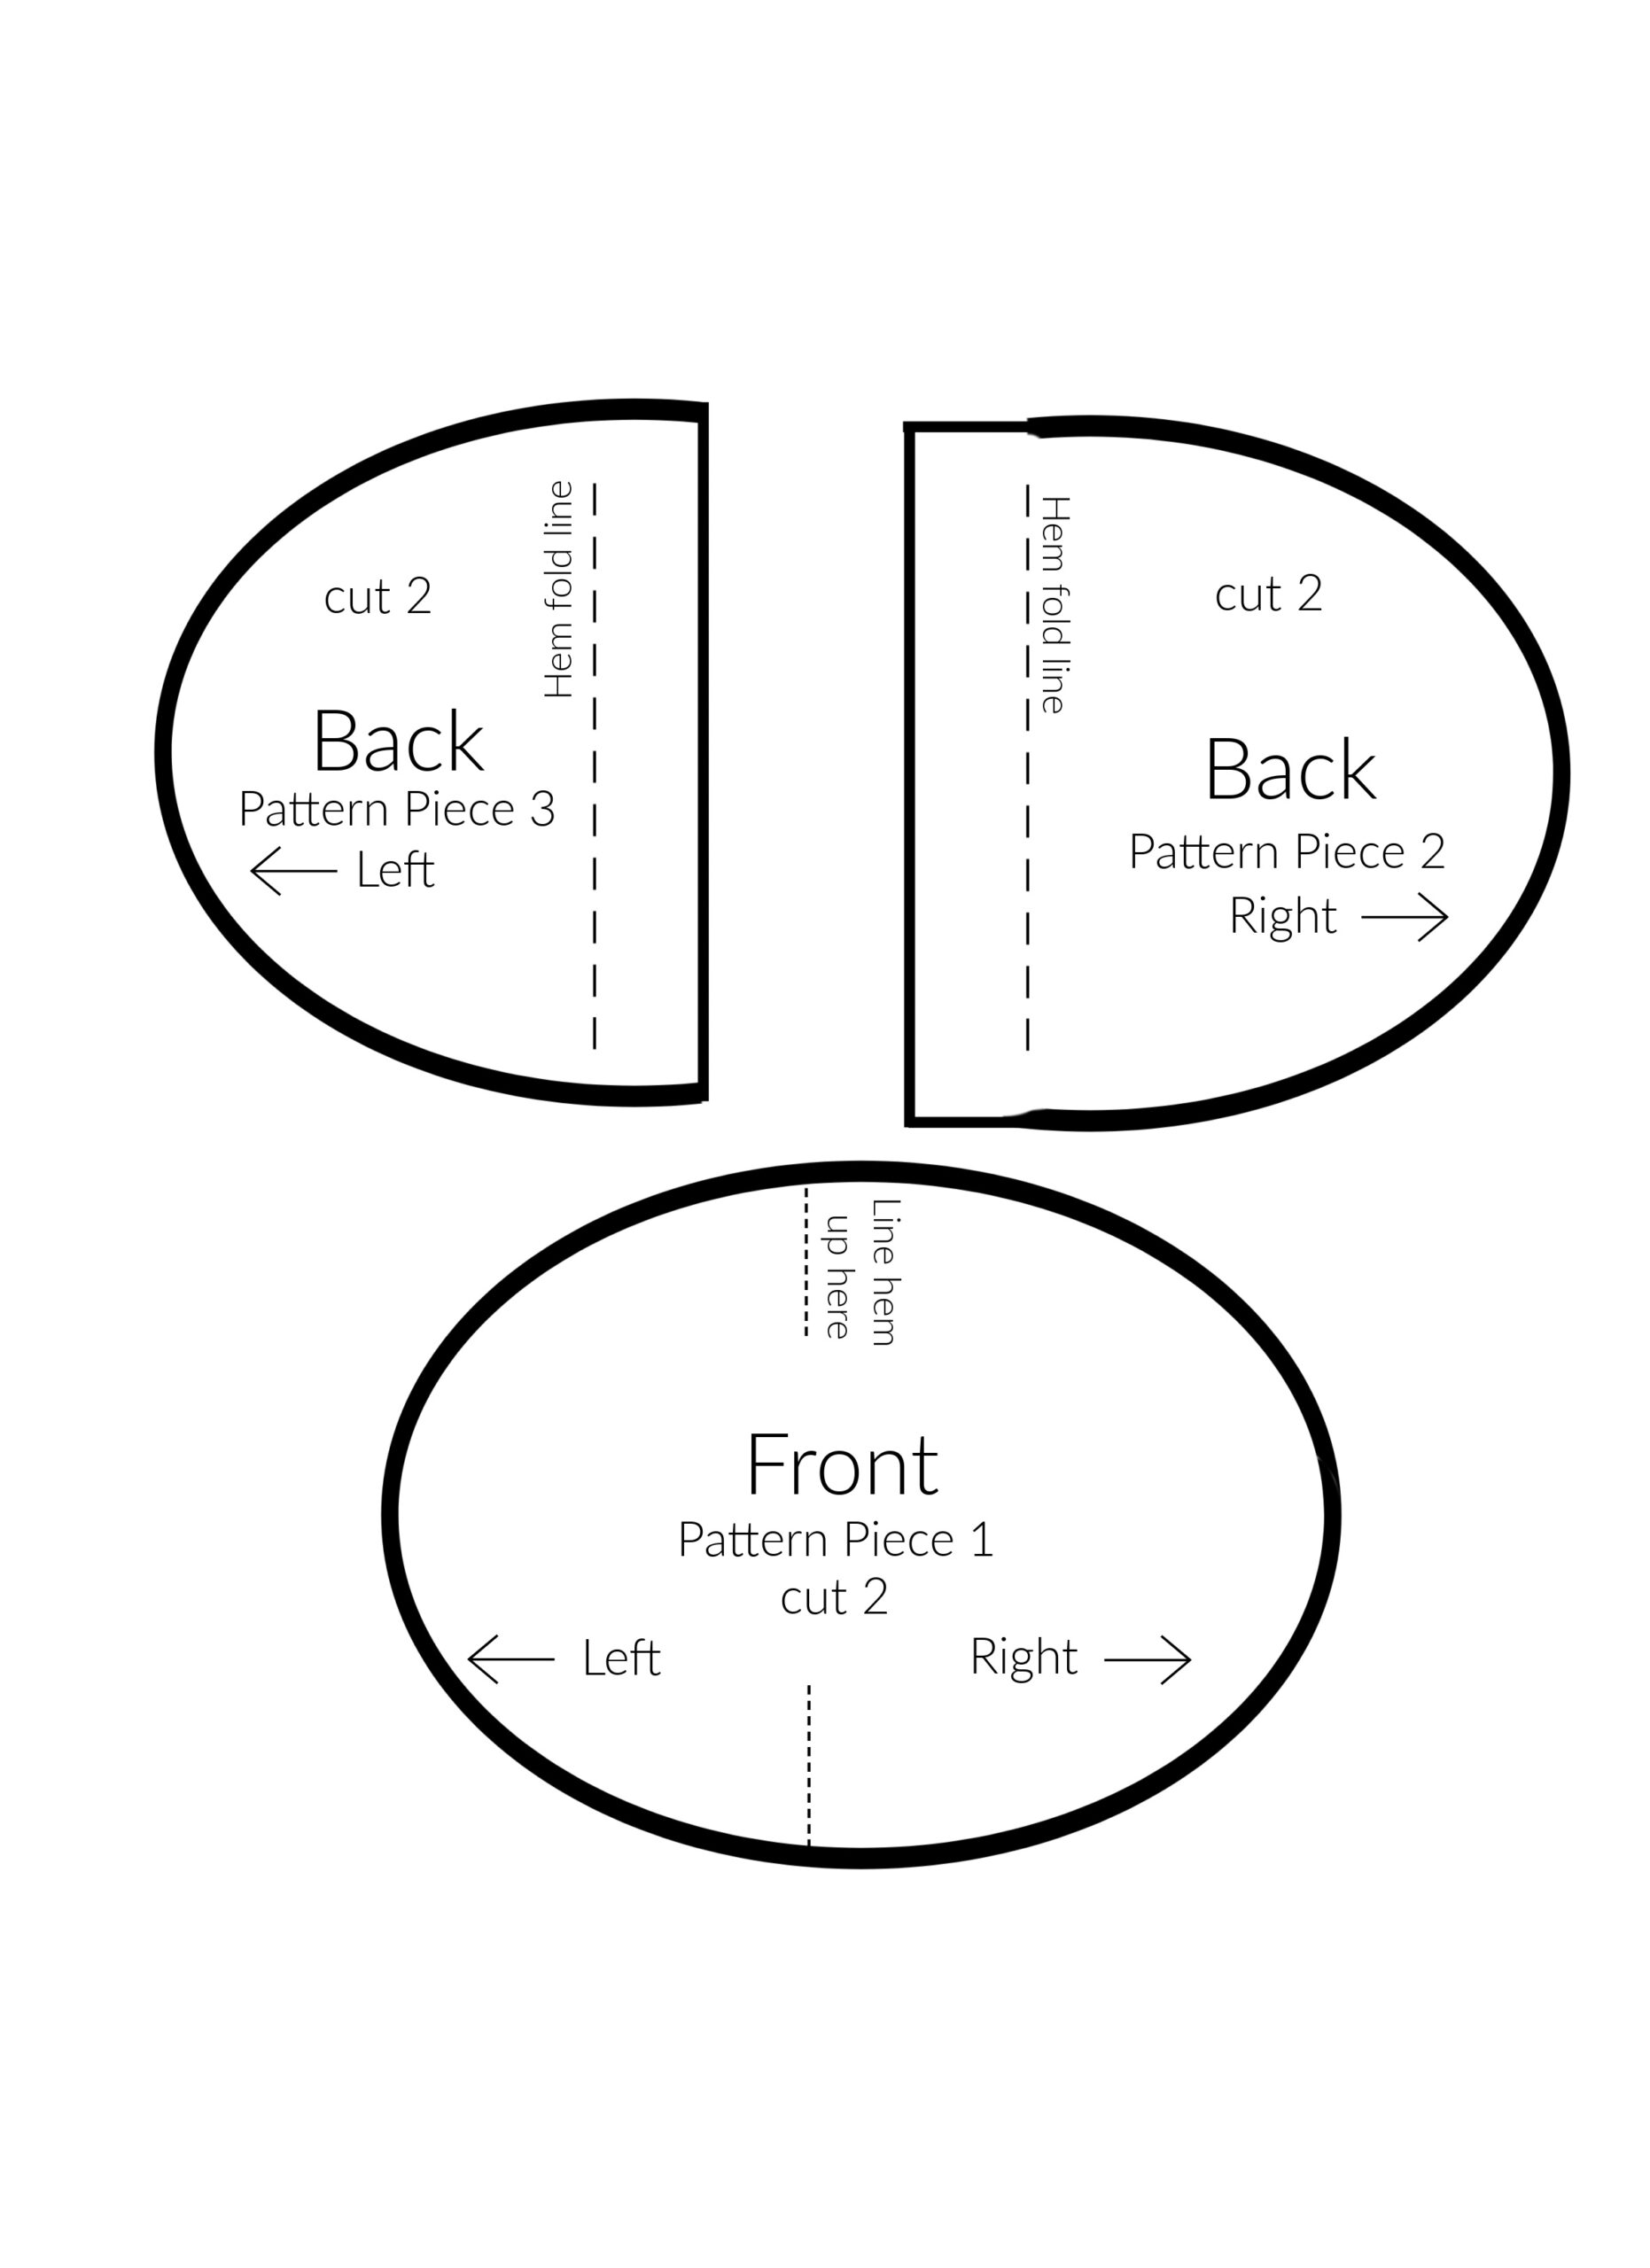
Step 1: Cut our your pattern; cutting 2 of the large oval and 4 of the smaller half ovals. Note, the two half ovals are slightly different sizes so make sure each hand warmer has at least 1 of the smaller size and 1 of the larger size. From now on we will refer to the “complete full oval” as Pattern Piece 1, the larger of the half ovals as Pattern Piece 2, and the smaller half oval as Pattern Piece 3.
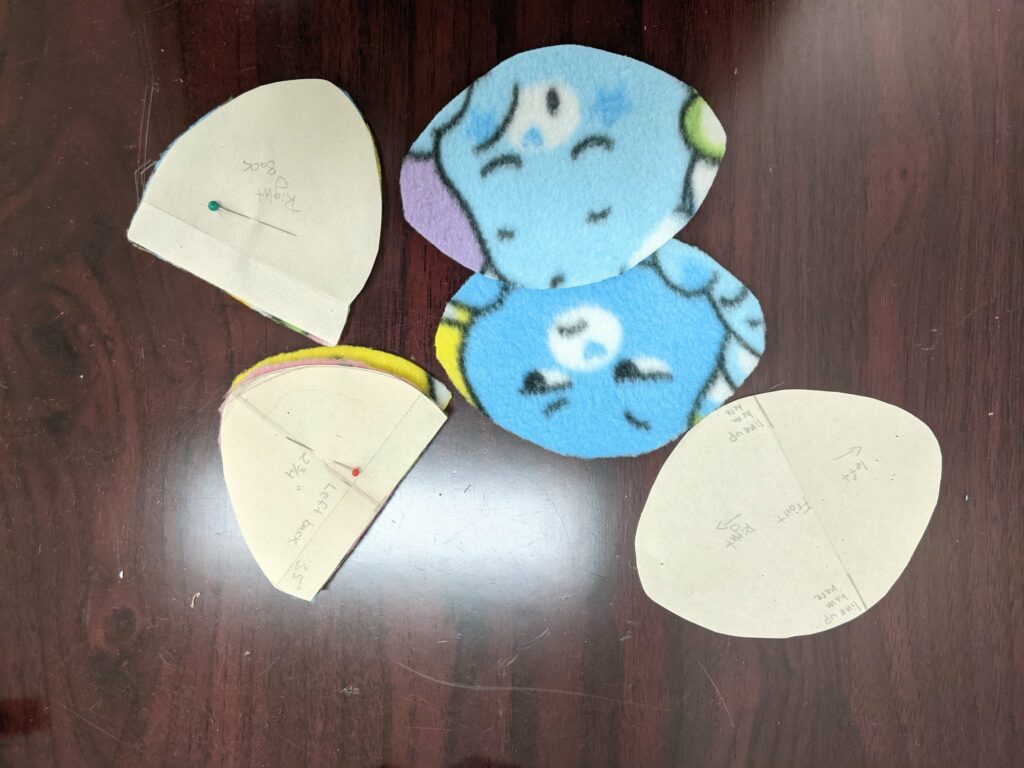
Step 2: Fold over the indicated hem on both Pattern piece 2 and Pattern piece 3 and sew. The fold over should be about a 1/4 of an inch.
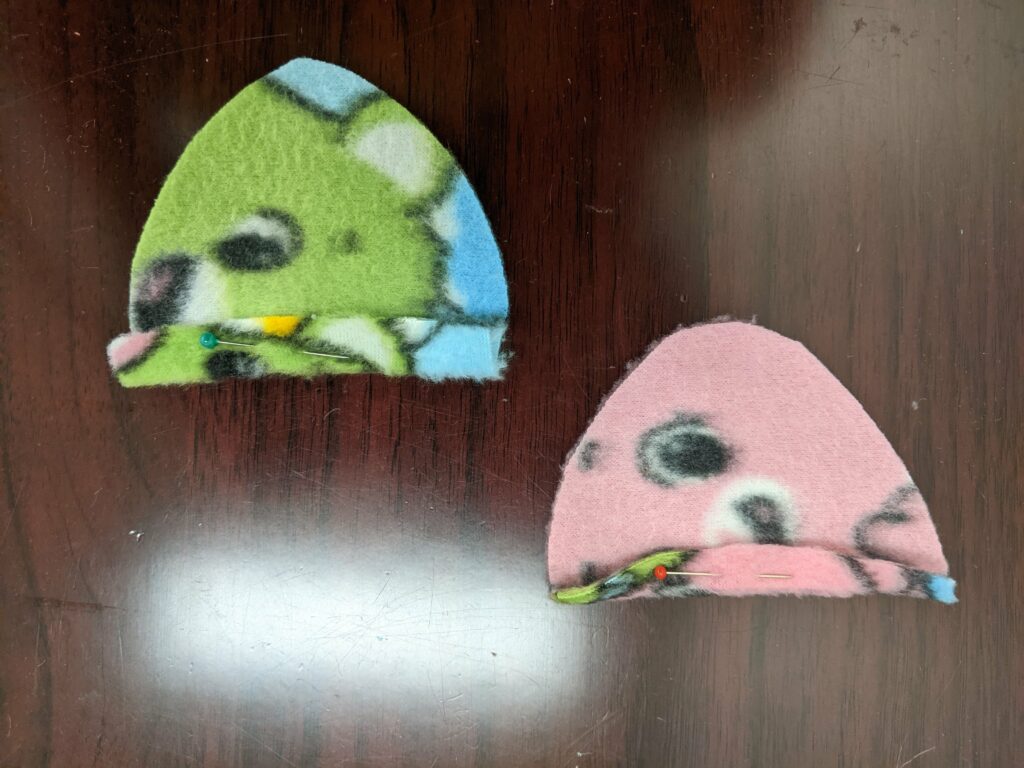
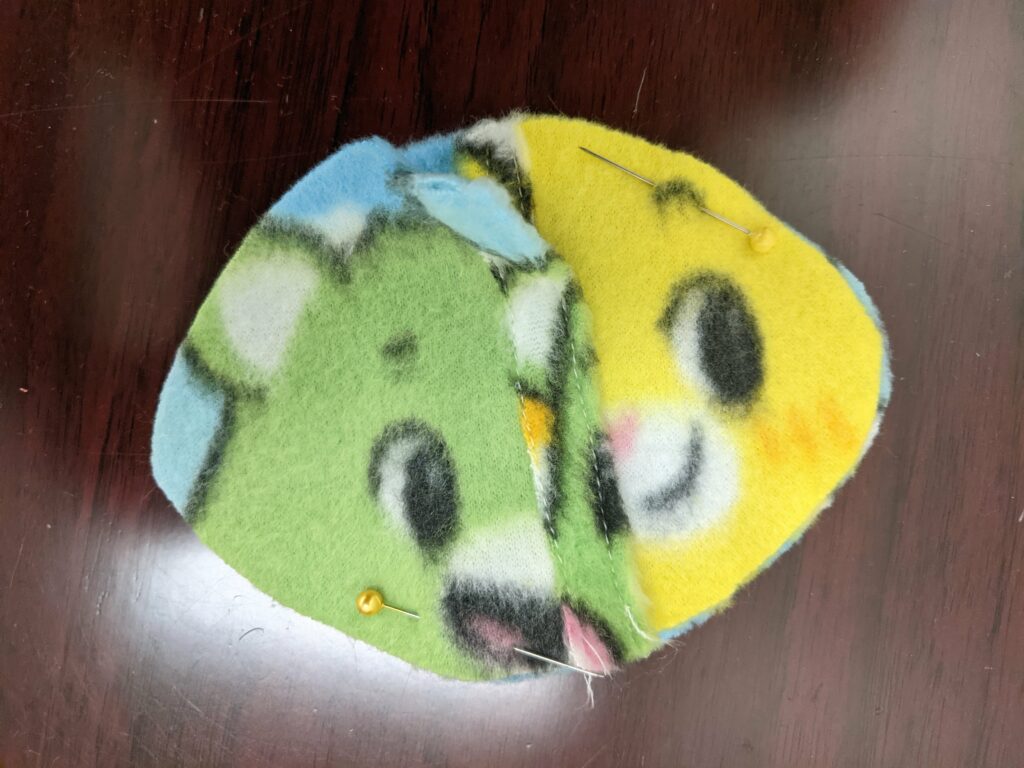
Step 3: Pin Pattern Piece 2 and 3 to Pattern Piece 1 as shown below. Make sure the right side of the fabric (the pattern side) is facing inwards. Pattern Piece 2 should be “under” Pattern Piece 3, so when you turn your project the inside out it will overlap with Pattern Piece 3. Be careful to only sew around the outside edge and not across the middle! You want to keep this “open overlap” open so you can insert your interior pocket. Before your turn your pocket inside-out grad the seam by trimming close to the sewn line so it is less bulky.
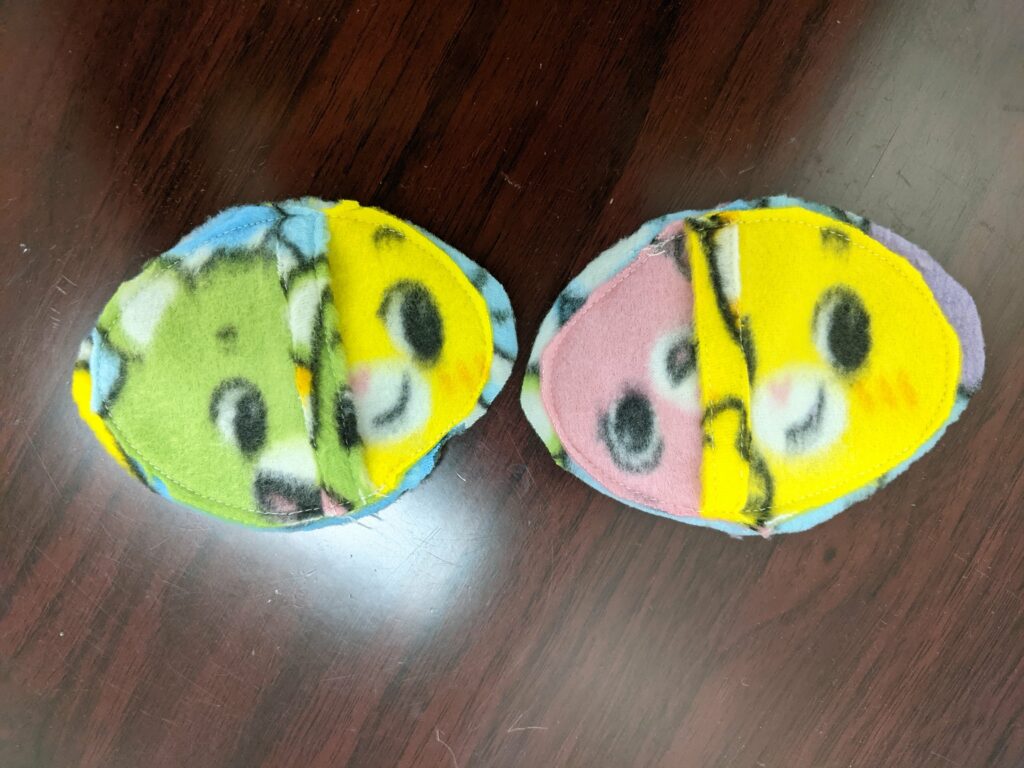
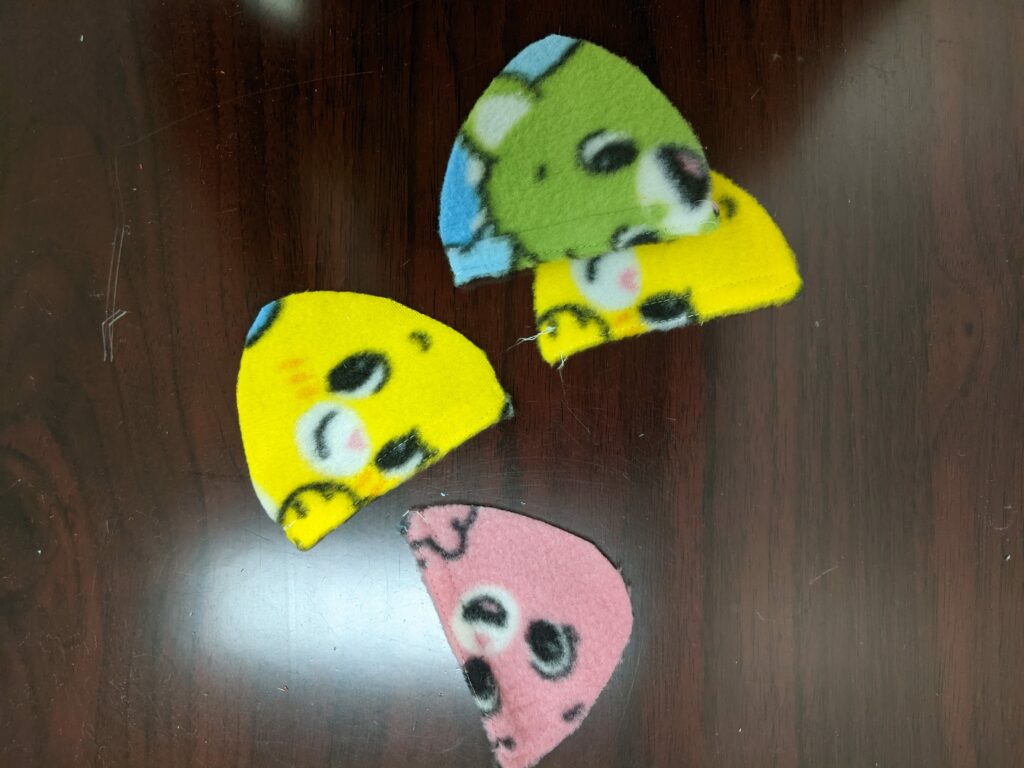
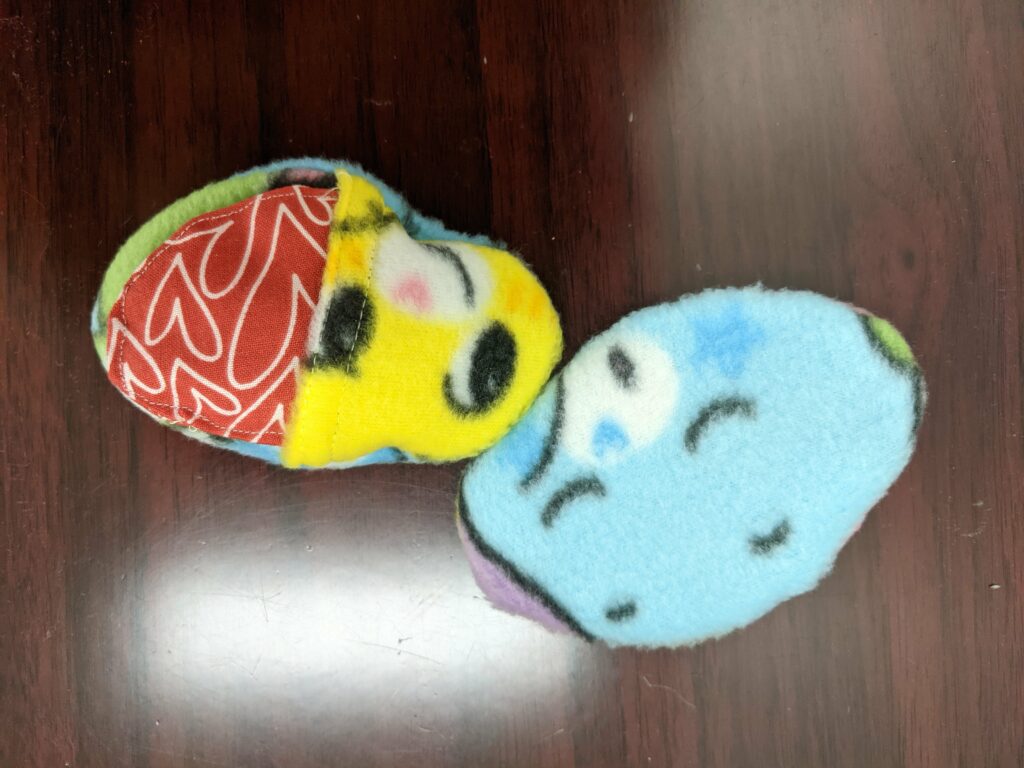
Turn your hand warmer inside-out and just like that you’re finished the outer layer! Now you just need to put the two halves together and you have one complete hand warmer set!


