Want the perfect stocking stuffer? The best house warming gift? And the perfect way to keep your home bug and bad odour free? Why not make this super easy scent sachet to liven up your linens, and keep everything smelling fresh in your home. It’s chemical free, environmentally friendly, and so easy to sew you could make it with your first grader!
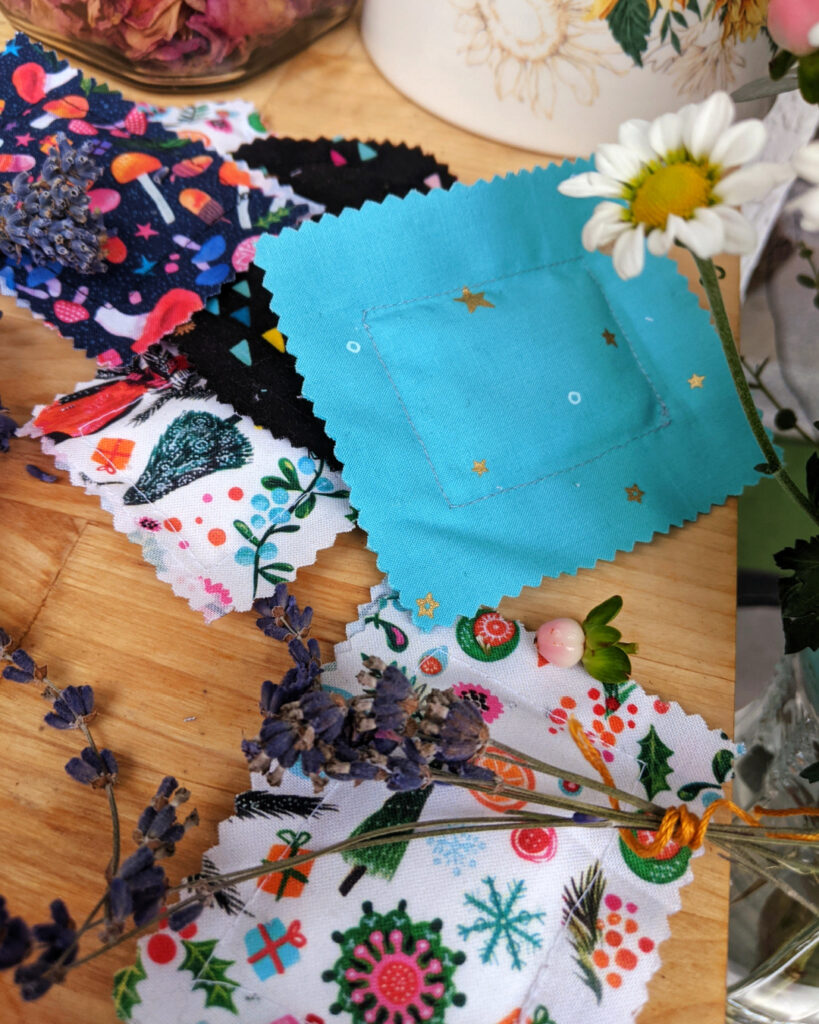
Unlike most tutorials we post, the fabrics you choose to use for this DIY makes a huge difference. You must select fabrics that are both light weight, and visually appealing. But the fabric must be stable, easy to sew, and it can’t have holes like lace or tulle. In order to guarantee that the wonderful scent of your sachet remains intact while also providing a stable base, we highly recommend using Cotton Voile as the inner pouch fabric and a light/medium weight craft cotton as the outer layer.
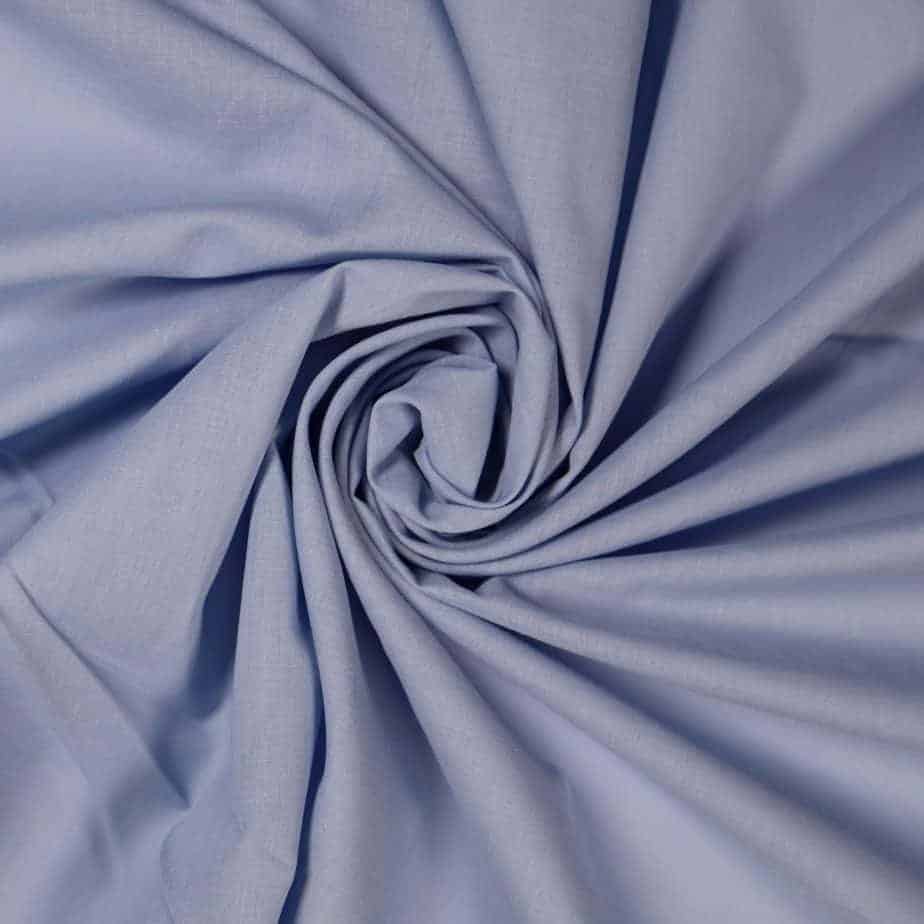
We used a cotton voile for the inside pouch because of its incredibly light-weight fibres, and it is 100% cotton.
Typically used for summer garments, this woven fabric isn’t slippery and will provide a perfect base for your sachet.
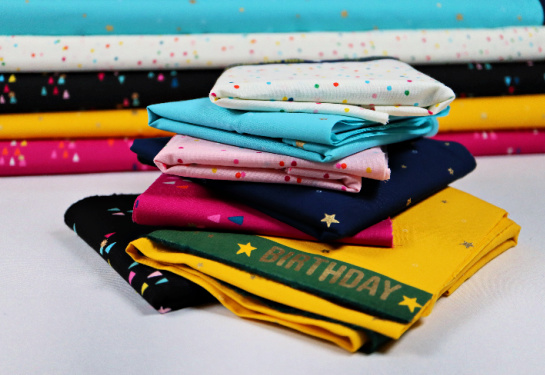
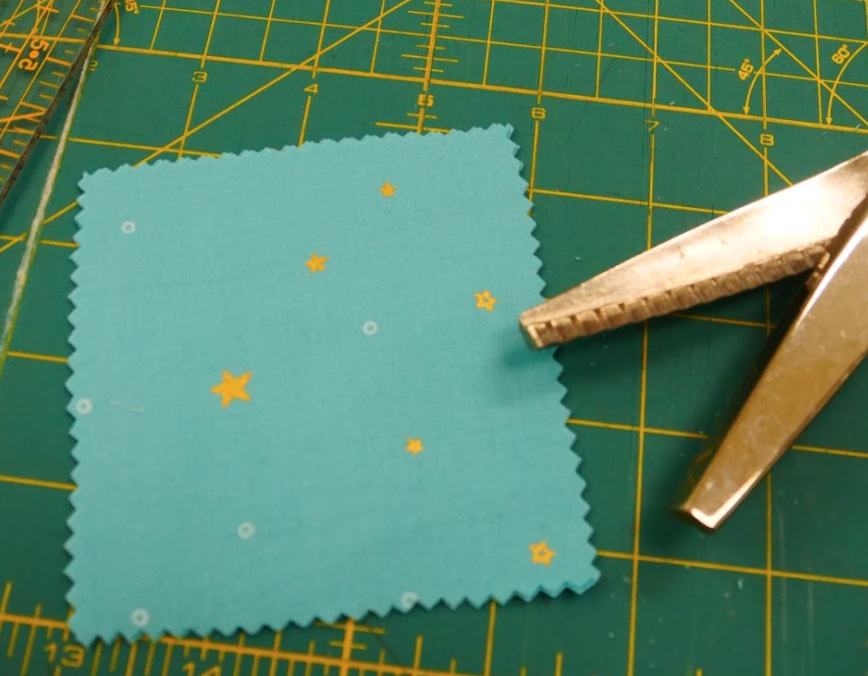
This fun print is a medium weight cotton that provides the perfect splash of colour to our project. The pattern is sparing which makes it easy to use on tiny projects, plus it’s 100% cotton and easy to use in a variety locations in the home.
Both these fabrics together allow the wonderful scents to escape while remaining stable.
Additionally, you should consider carefully what scents you are going to be using and why. Different flowers and ingredients provide different benefits, and depending on what you want to focus on changes what scents you should use. These are the 4 scents we are focusing on and the benefits they provide.

Lavender helps fight fungal growth which makes them perfect for storing linens or seasonal clothing. Lavender also has a strong odour which makes it perfect for bathroom potpourris, under sinks, and rarely opened closets. Plus, their scent also repels moths and are great to use in dryer bags.

Paired with Lavender, Dried Rose Petals are fantastic to go into bathroom potpourris to create a soothing and more subtle fragrance for the bathroom. Their soft scent also makes them perfect for aromatherapy and are a great additions to your nightstand drawer, or your car glovebox.

Baking powder or Baking soda is great to use to keep areas fresh, and to discourage the growth of mildew. These sachets will have a shorter shelf life compared to the other fragrances, but if you’re like me and find the smell of lavender too powerful, baking soda is a wonderful alternative.
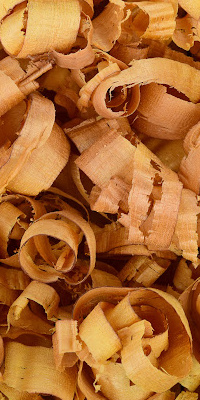
Cedar shavings** on the other hand are ideal for repelling insects! They are known for repelling fleas, ants, mites, moths, mosquitoes, spiders, and silverfish. Cedar shavings or chips are also great for freshening up pet beds to remove pet odours. If used responsibly, cedar is perfect for your home.
**WARNING** Be careful not to overuse the cedar shavings, and if you do decide to use them place them in areas you are not frequenting (the back of closets, corners, under the bed frame, etc). Cedar can cause respiratory issues in people and pets, especially those with asthma.
I dried lavender and roses over the summer in preparation for this project, but you can purchase dried flower petals at soap or candle stores. Additionally, I grabbed some cedar cut-off from my local hardware store and planed the planks myself to get these shavings, but you can find cedar shavings at some craft stores or you can always suck up to your local handy-man to get some cut-offs for free!
What you’ll need
On to the tutorial! Phew, thanks for sticking that out. We feel it’s important to give everyone upfront information in order to keep people safe, and so you don’t accidentally create a disappointing product. You will need a working sewing machine, as well as these materials.
- 1/4 yard light/medium weight craft cotton 45″ (yields 8-10 sachets)
- 1/4 yard 60″ cotton voile (yields 20-38 sachets)
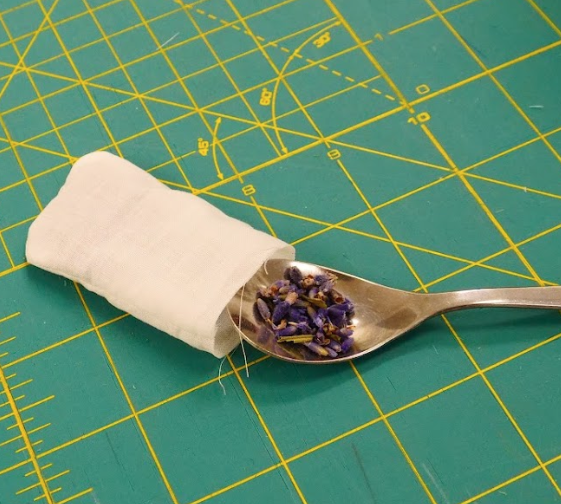
- Your chosen dry ingredients for scents!
- Pinking shears
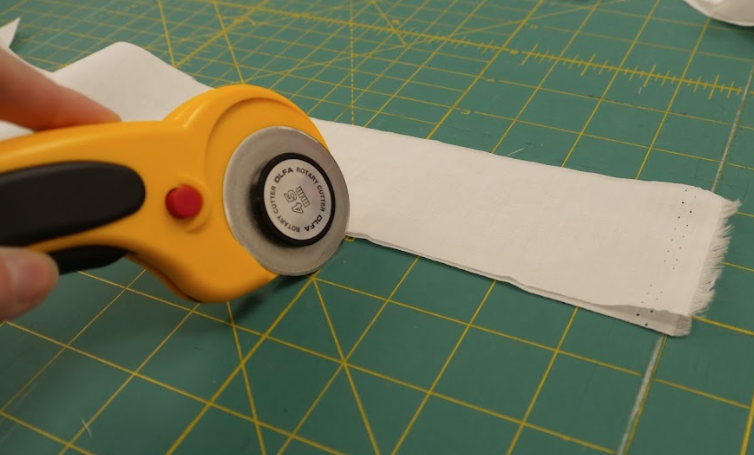
- Regular sewing scissors or rotary cutter
- Straight pins
- Matching threads (for all fabrics)
- Ruler
- Hand sewing needle (optional)
- Snaps or Velcro (optional)
- Tailors chalk (optional)
If you are going to be using your scent sachets in the dryer, or in an area where they may get wet, be sure to wash your fabric before starting the project.
Sewing Instructions
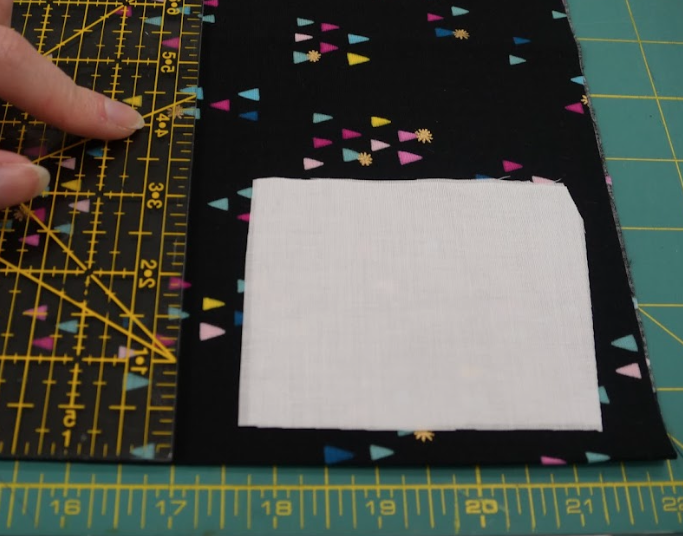
1. We will be sewing the inner pouch to begin with. Cut your Cotton Voile into 2 inch x 3 inch strips if you are making a “square” sachet. And cut your strips 3.5 inches x 3 inches if you are making “round” sachets. Make sure to cut off the bias (the frayed edge of the fabric).
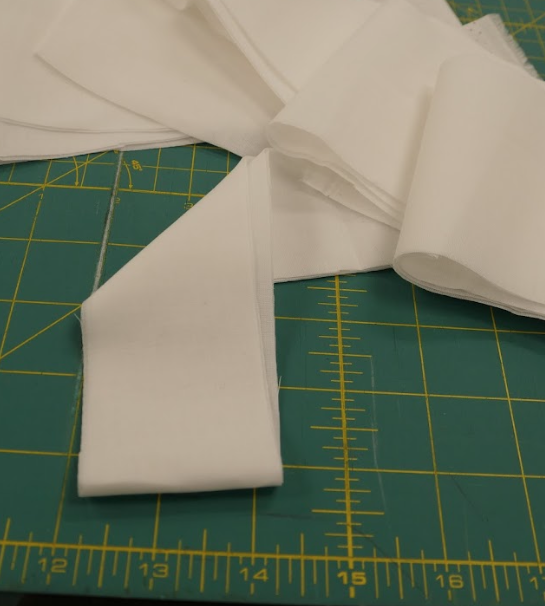
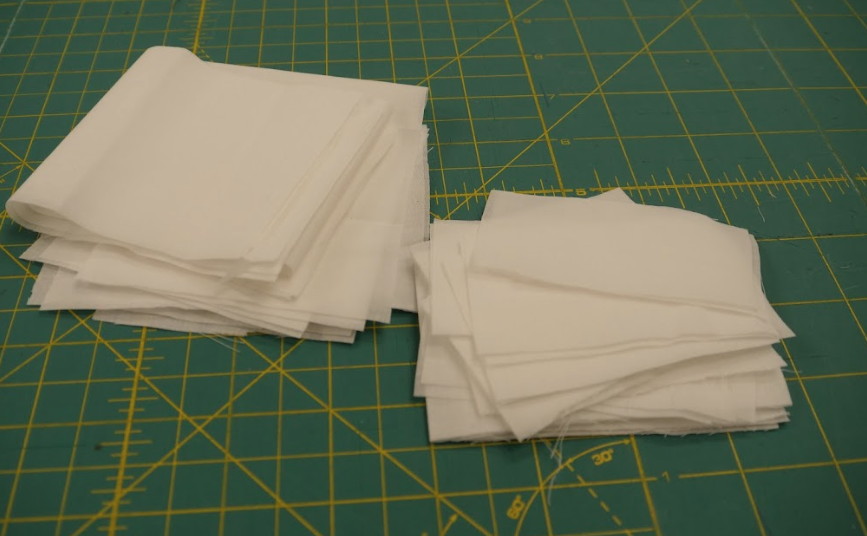
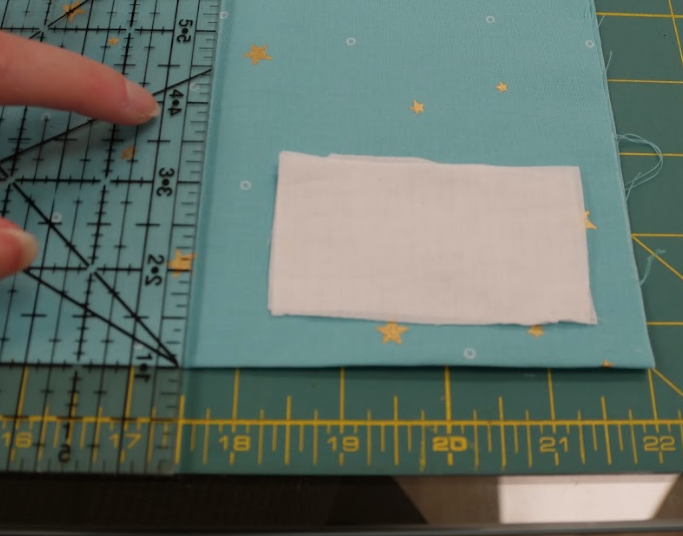
2. Grab your Craft Cotton and cut strips into 4.5 inch x 4 inch squares for “square” sachets, and 5 inch x 4 inch squares for the “round” sachets.
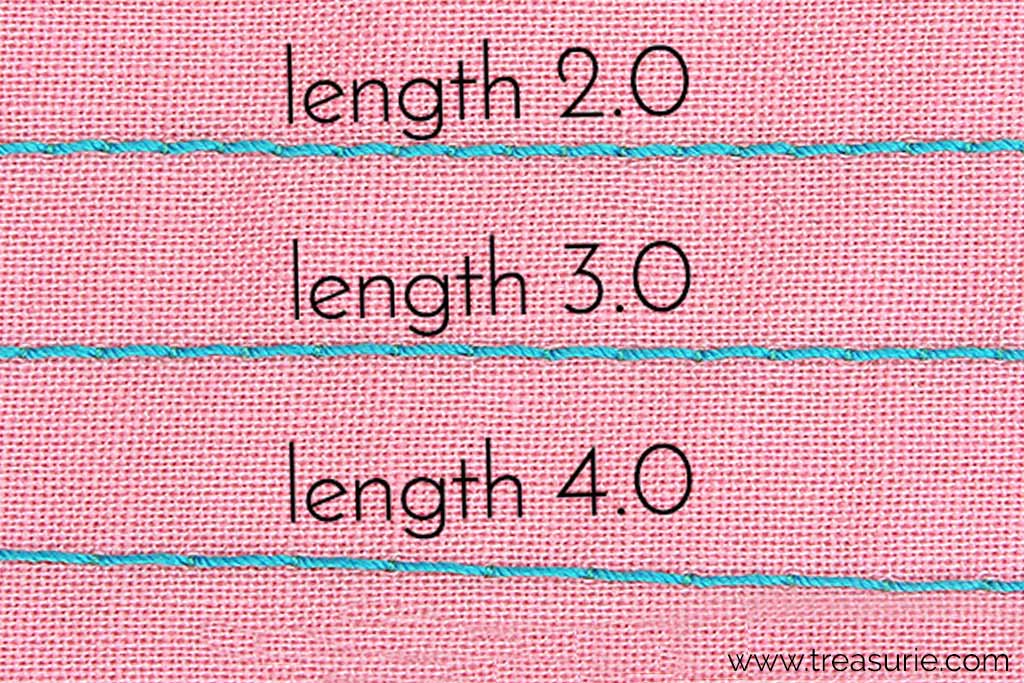
3. Using a 1.0 or 1.5 stitch length, and a 1/4 seam allowance, sewing two pieces of your Cotton Voile squares together on 3 sides. As a reminder, stitch length can be adjusted with a dial or a button on your sewing machine, and it makes your stitches “closer” together. This is important to do because it will guarantee that your dried ingredients do not fall out or get lose and make a mess.

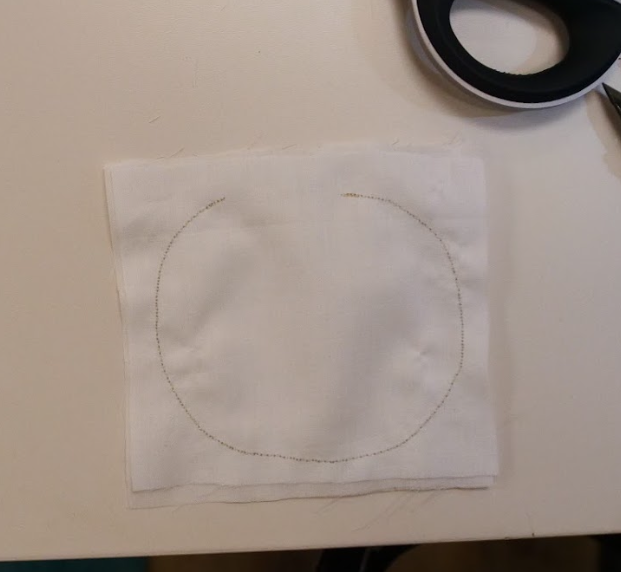
For the round sachets, follow similar direction, but sew in a circle or oval shape. If you have a hard time making a circle, draw it out with a fabric marker or tailor’s chalk beforehand so you can follow it as a guide. Make sure to leave a small 1 inch to 2 inch opening at the top of your pouch.
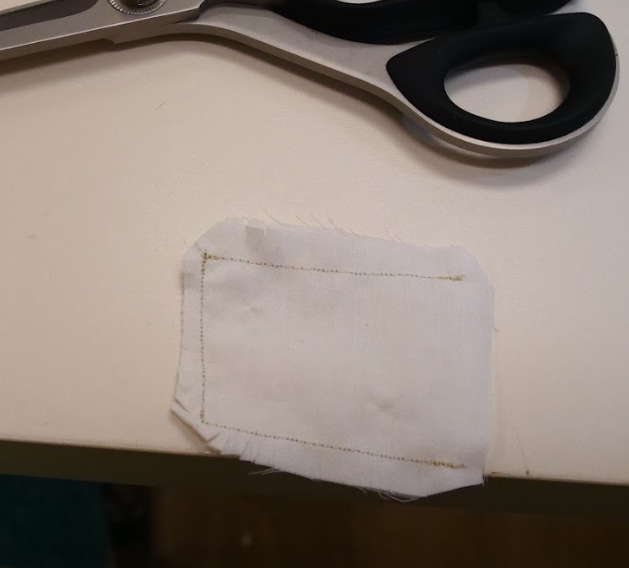
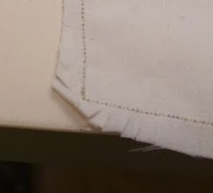
4. Clip the corners of your sachet, clipping inwards towards the stitches WITHOUT cutting the stitches to create a “fan” look. This makes it easier to turn the sachet right-side out. You can iron your pouch flat after your turn it right-side out if you want to have crisp corners.
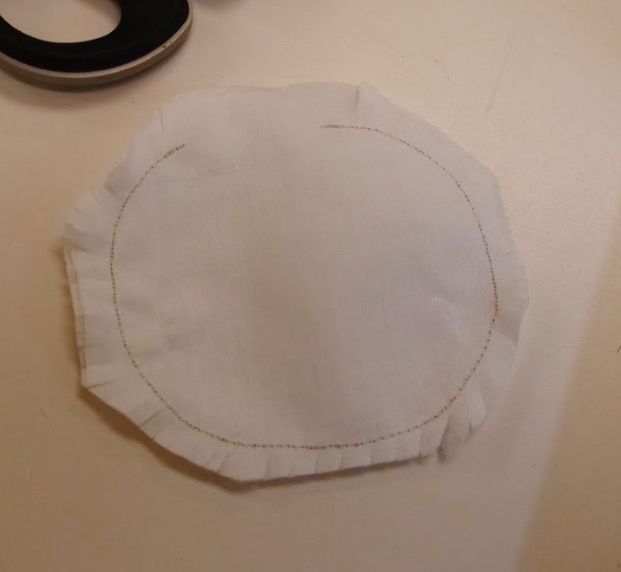
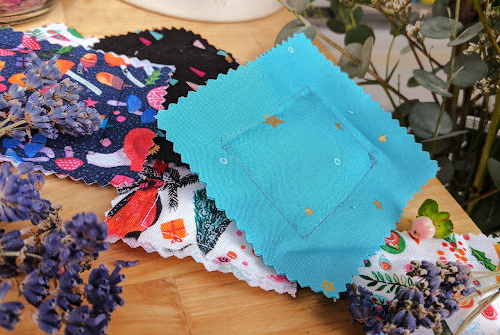
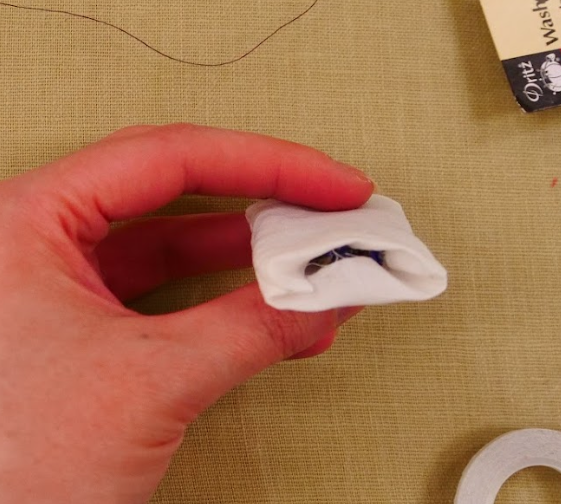
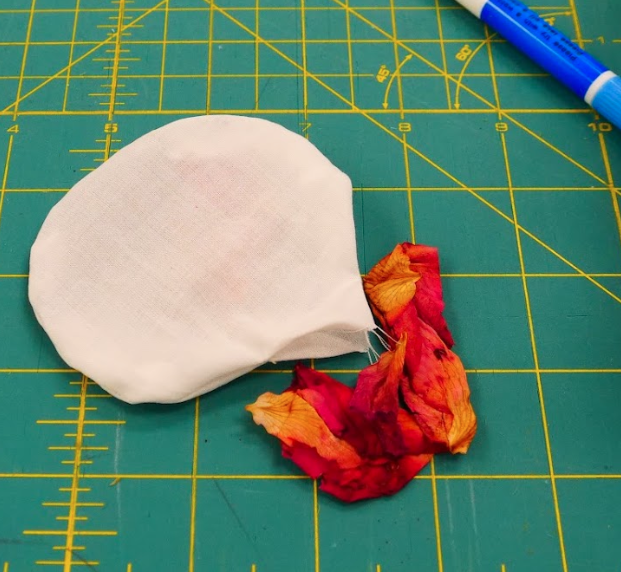
5. Fill your sachet with your dry ingredients. Make sure to leave some room so you can turn the hem of your pouch inwards (image 2). Don’t overfill your pouches or they will look “bulky,” your sachet should not be thicker than two quarters stacked on top of one another. Stitch the opening closed (image 3), you can do a hand-sewn ladder stitch instead if you prefer to have the seam appear invisible. Since we’re not going to see this seam in the end, I didn’t care if the stitching was visible.
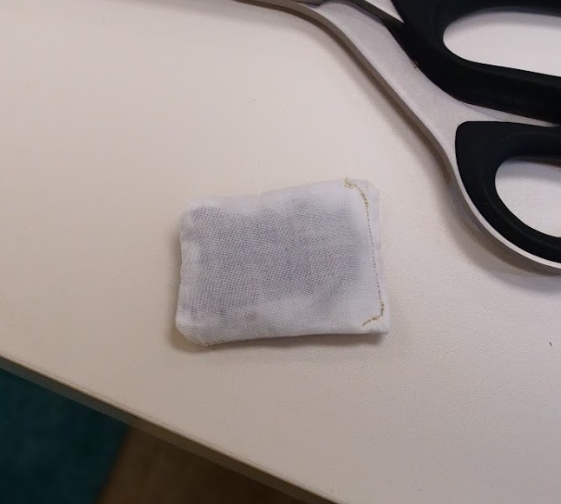
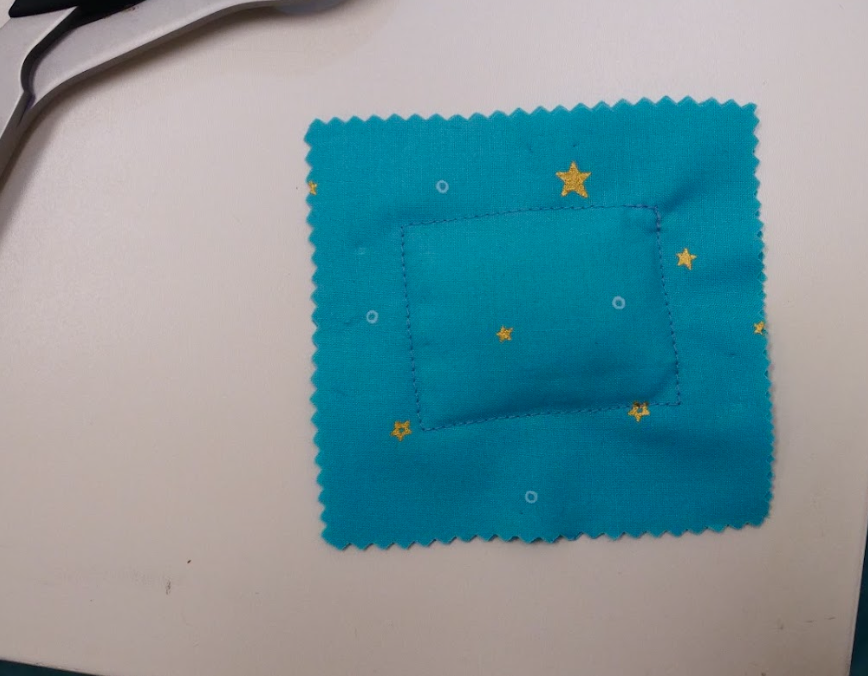
6. Grab your pinking shears and trim your Craft Cotton on all 4 sides. Then pin your Cotton Voile pouch inside the two layers of Craft Cotton. Start by pinning the outside four edges together, and then make sure your pouch is centred before pinning just beyond the edge of the pouch to keep it in place (image 2). Try to evenly distribute the “bulk” from the inner pouch so the “bump” looks even from both sides of your outer craft fabric. It should look like a fabric ravioli now!
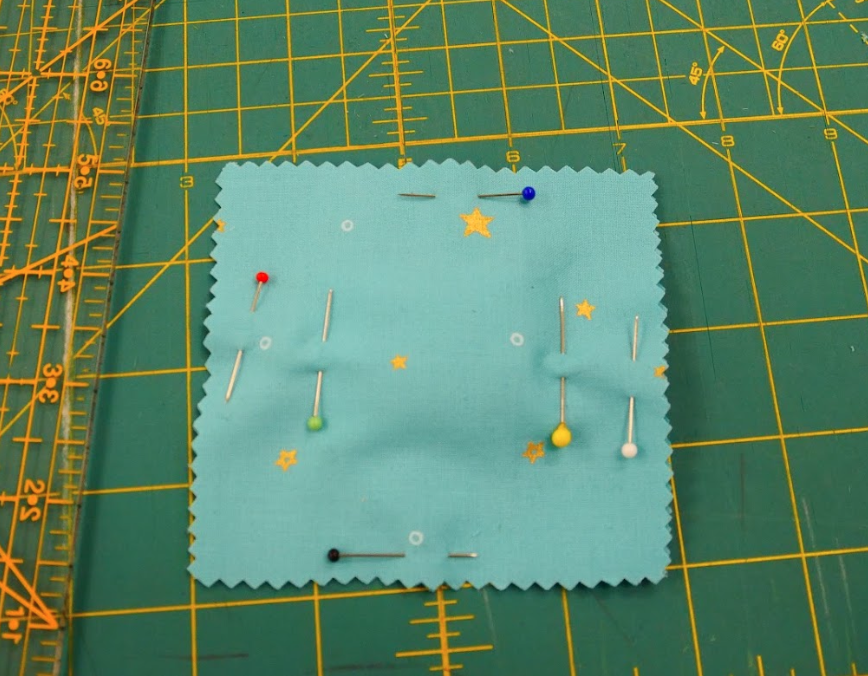
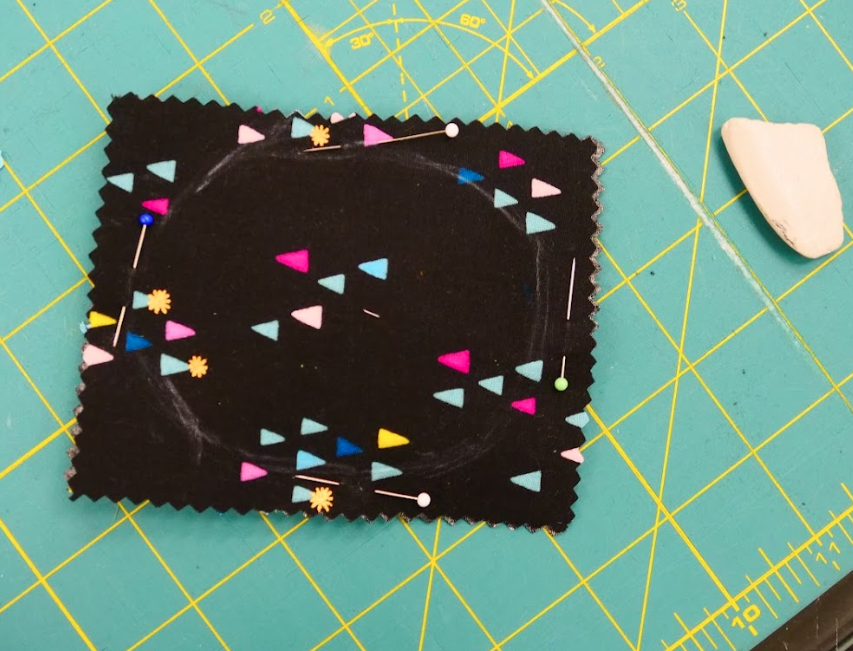
7. Take your little scent ravioli to the sewing machine and adjust the stitch length to 2.0 or 2.5 (regular stitch length). Sew around the outer edge of the inside pouch to secure it, without puncturing the inner pouch. Make sure to start and end with a backstitch. If this is too difficult to do, try drawing a guideline with tailors chalk so you can easily stitch along the edge without going astray. Pull your threads to the back and tie them off.
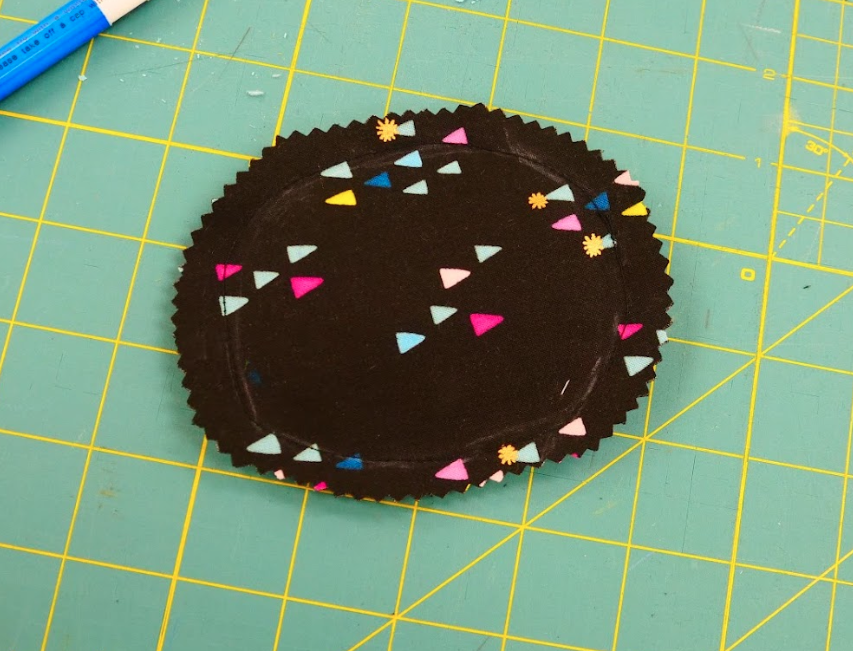
For the round sachet, once you’ve sewn it together, trim the edges with the pinking shears to create a round look.
And like that you’re all done! These fabric sachets should be perfect to place around your home as is! If you’re going to be using the sachets in the dryer, I would suggest finishing the edges with a hem, or repeating step 3-5 for the outer layer as well. If you want to make the scent pouch on the inside removable so you can use the sachets over and over again, leave one side of your outer layer open/unsewn. Then close it by sewing in a snap, or velcro.
Hope you enjoyed our little tutorial! If you did and found it useful, be sure to share our blog post with others, leave a comment, or follow us on social media!
Fabricana’s Facebook. Fabricana’s Instagram. Fabricana’s Pinterest. Fabricana’s YouTube. Fabricana’s Twitter.