As elastic runs short in many fabric stores and online it’s a great skill to learn how to make a bias tape face mask. This tutorial is for an Adult sized face mask, but once you make the mask it isn’t too hard to see how to measure it on your own to create a smaller mask for a child. This tutorial will also show you how to make your own bias tape if you’re unable to purchase any pre-ironed bias tape. Follow along for our easy and informative tutorial!
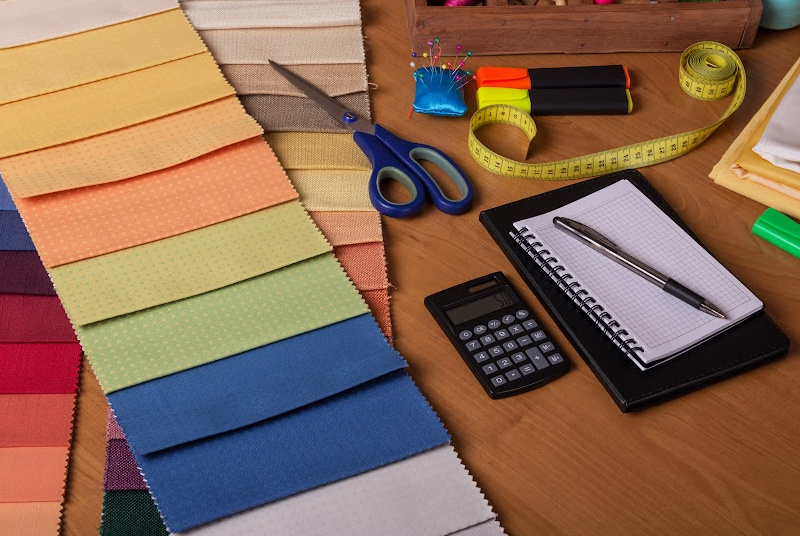
Supplies:
For every 30” length of fabric (based on approx. 45” width) you can make 5 masks.
Cutting Instructions:
For the main part of your mask cut a rectangle of your fabric that is 7.5”x15”
For the ties for your mask cut two pieces that are 1.5” wide by 36” long.
Instructions for Constructing the Mask:
Fold the fabric, right-sides together, matching up the short ends. Your piece should now be about 7.5” x7.5”. Using a 1/4” seam allowance, sew along the short edge making sure to backstitch at both ends. Turn your piece right-side out and iron your seam and your folded edge so they lay flat.


