Contact Us: 604-276-9332
     

BE MINE DOG BANDANNA: DIY

Leave a Comment

Your email address will not be published. Required fields are marked *

I don’t know about you, but I love dressing my dog up for each season! She’ll tolerate a sweater here and there, but my first priority is to make sure she is comfortable. So a perfect middle ground for us is Bandannas! It adds a fun flare for your pooch, and they’re super easy to make. This Bandanna will fit on any dog collar for easy application (since my dog loves to chew the ties of a bandanna, why not eliminate the ties all together?) This fun tutorial can be used for cats too!
UPDATE:  We’ve created more bandannas!  One of our team adopted a dog recently, so we’ve added new photos to the post.  For those of you who like working from a paper pattern we’ve added photos showing how to draft the bandanna on paper before cutting your fabric.  Enjoy!
Tools and Materials:
1) Light/Medium weight fabric 16”xWidth (40cm approx.)
2) Matching or contrasting thread
3) Fabric Scissors
4) Straight edge ruler
5) Fabric pen/chalk
6) Dog collar (size appropriate for your dog)
7) Lightweight Interfacing (optional)
Instructions:
Step 1: Measure and cut your fabric. Take your dog collar and place it on the fold of your fabric, measure the width of your collar, being generous on each side to allow ease of movement. For us that was 2.5”.
I went ahead and measured on my dog’s neck how long I wanted the bandanna to hang from her collar which was about 4”. This may vary from dog to dog depending on their neck size. A good rule of thumb is to measure to between their front legs, at mid chest.

I added the 2.5” width of the collar to my end length and marked the fabric at 6.5”.

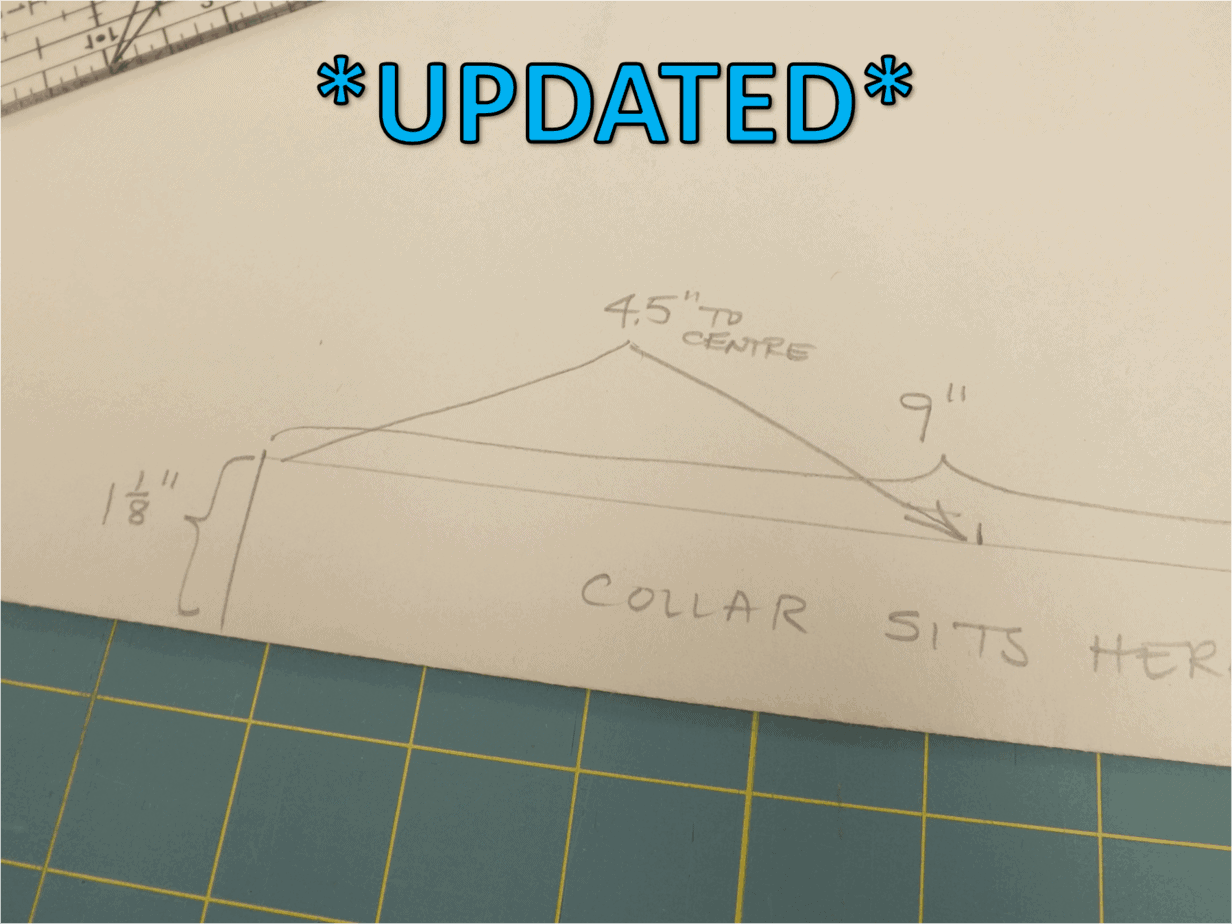
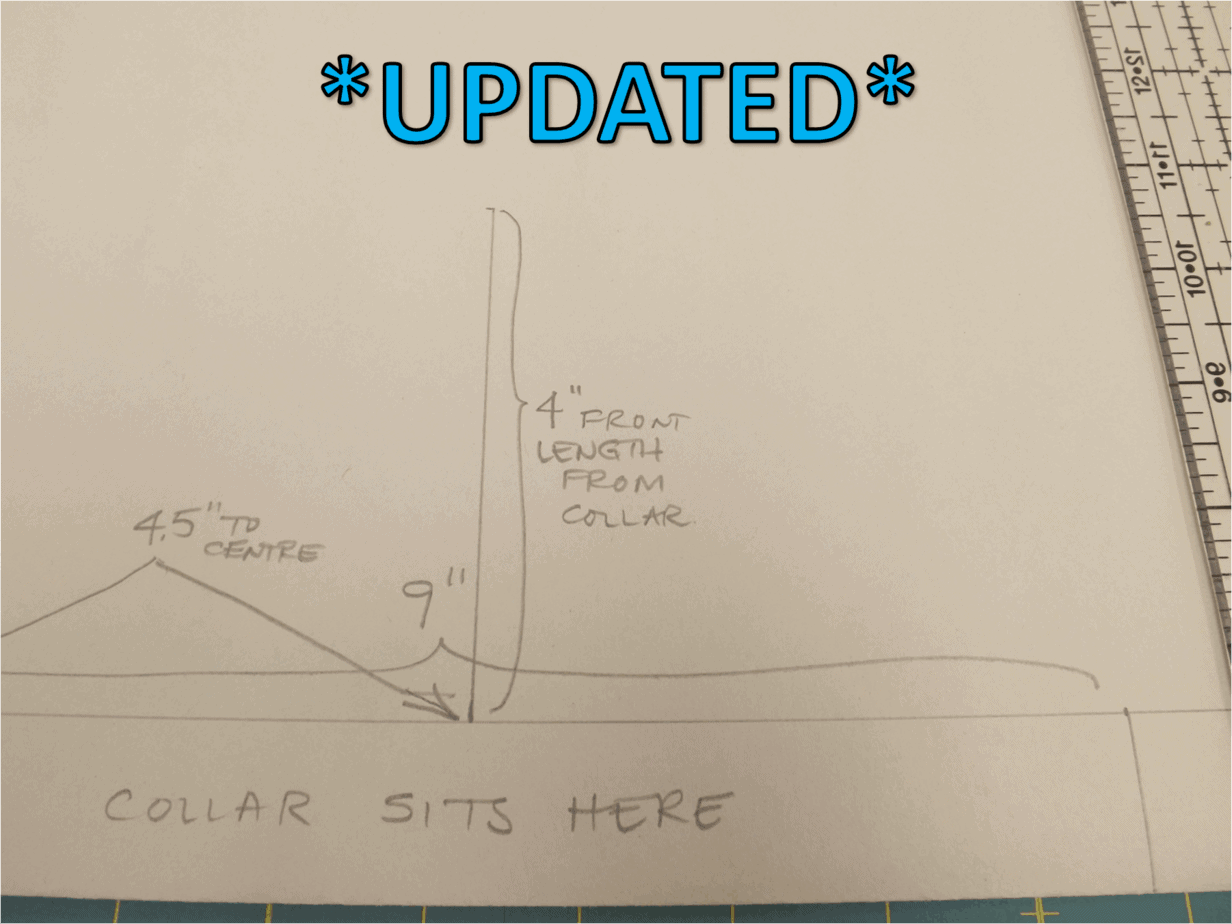
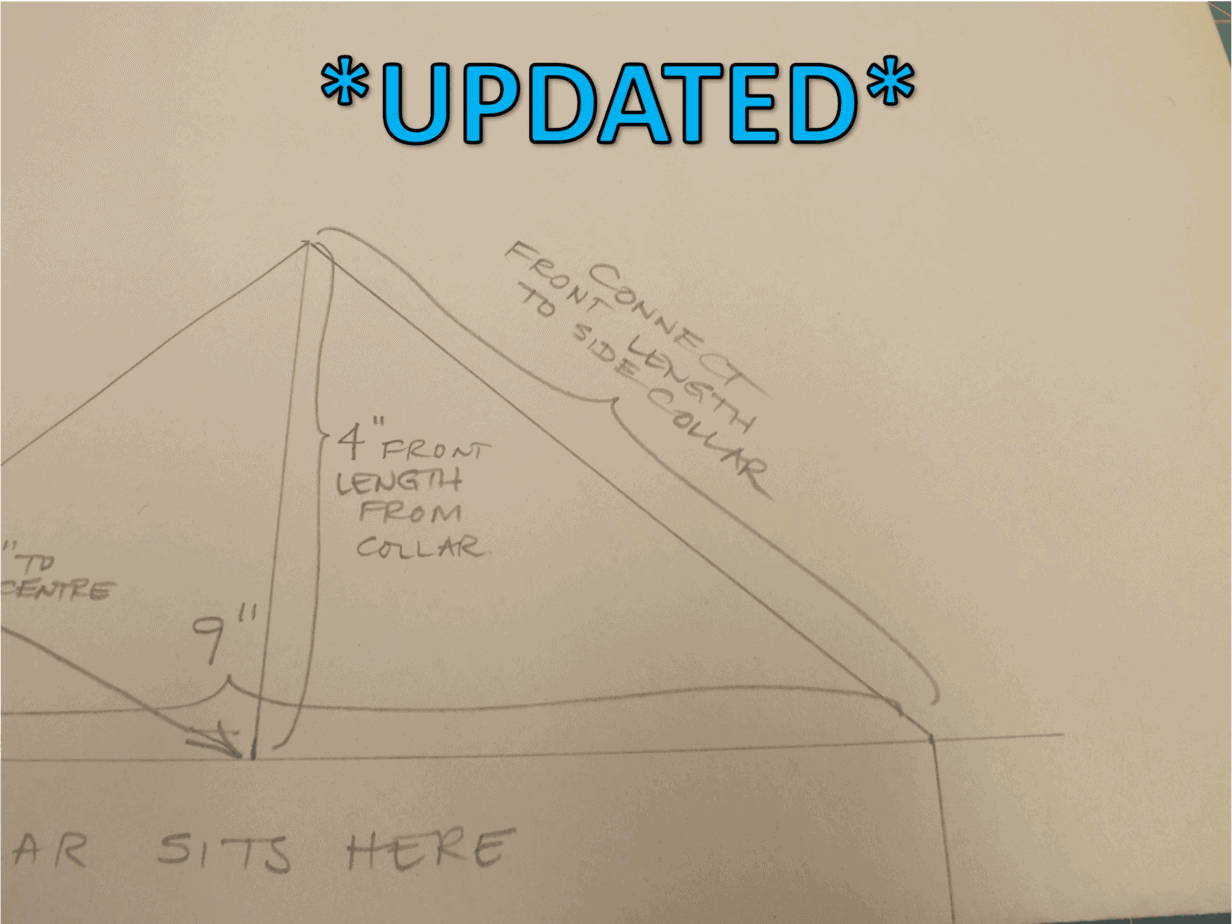
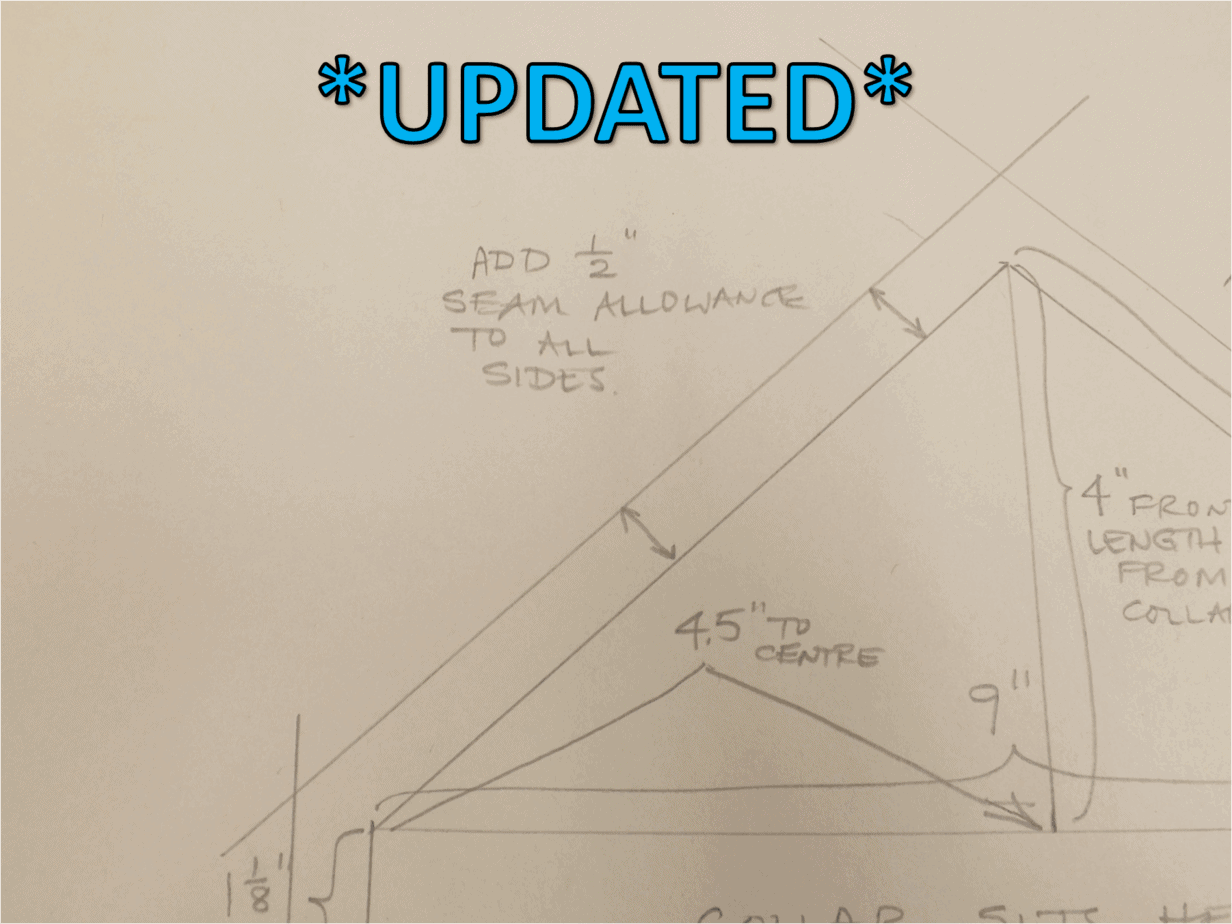
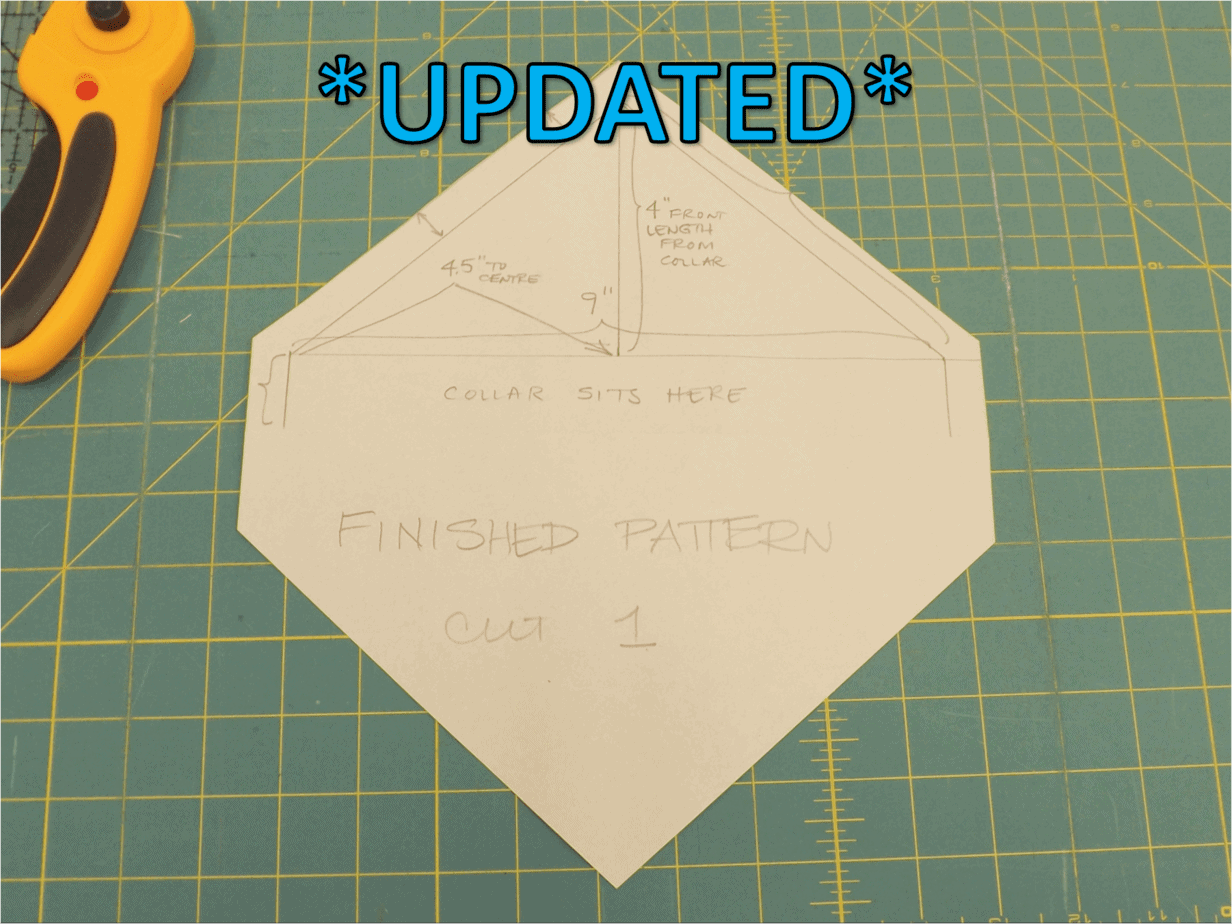
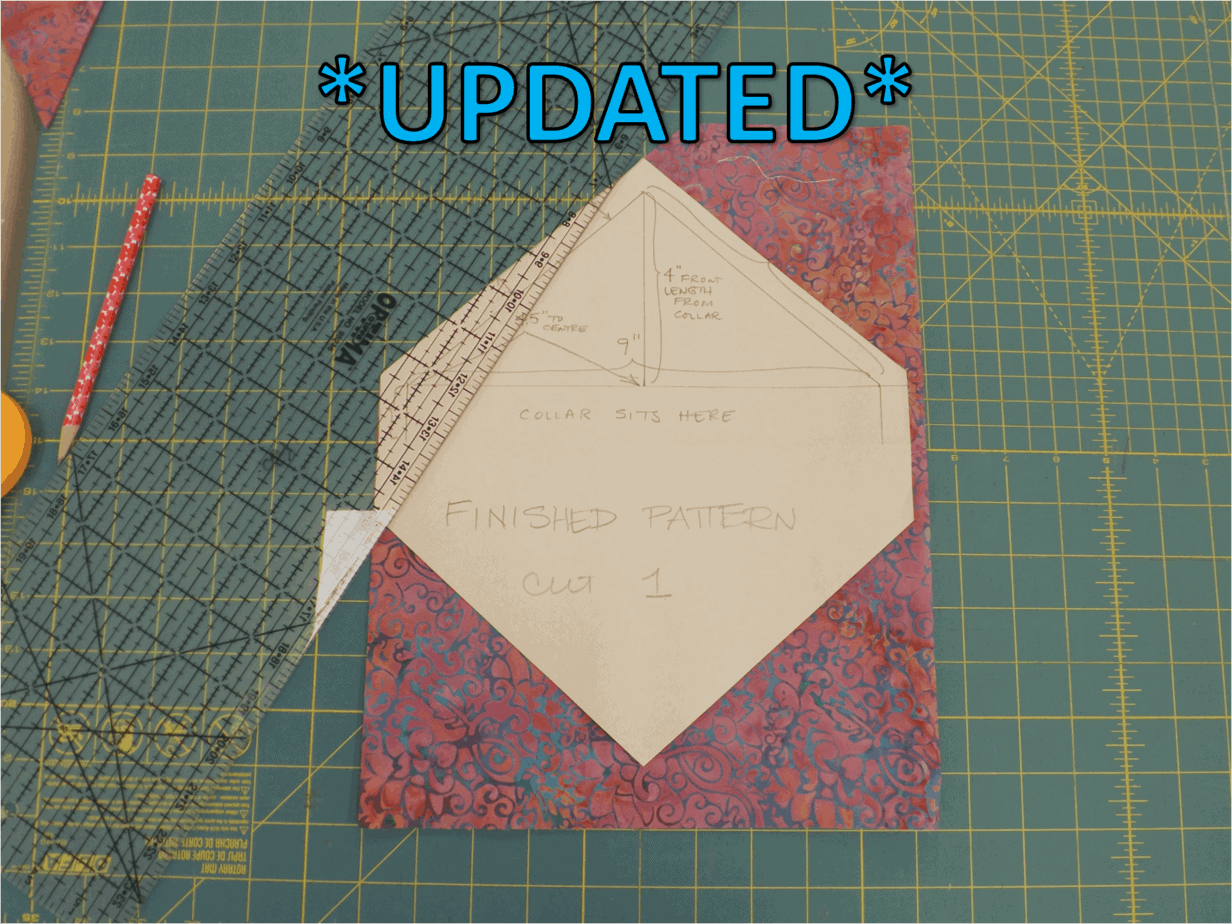
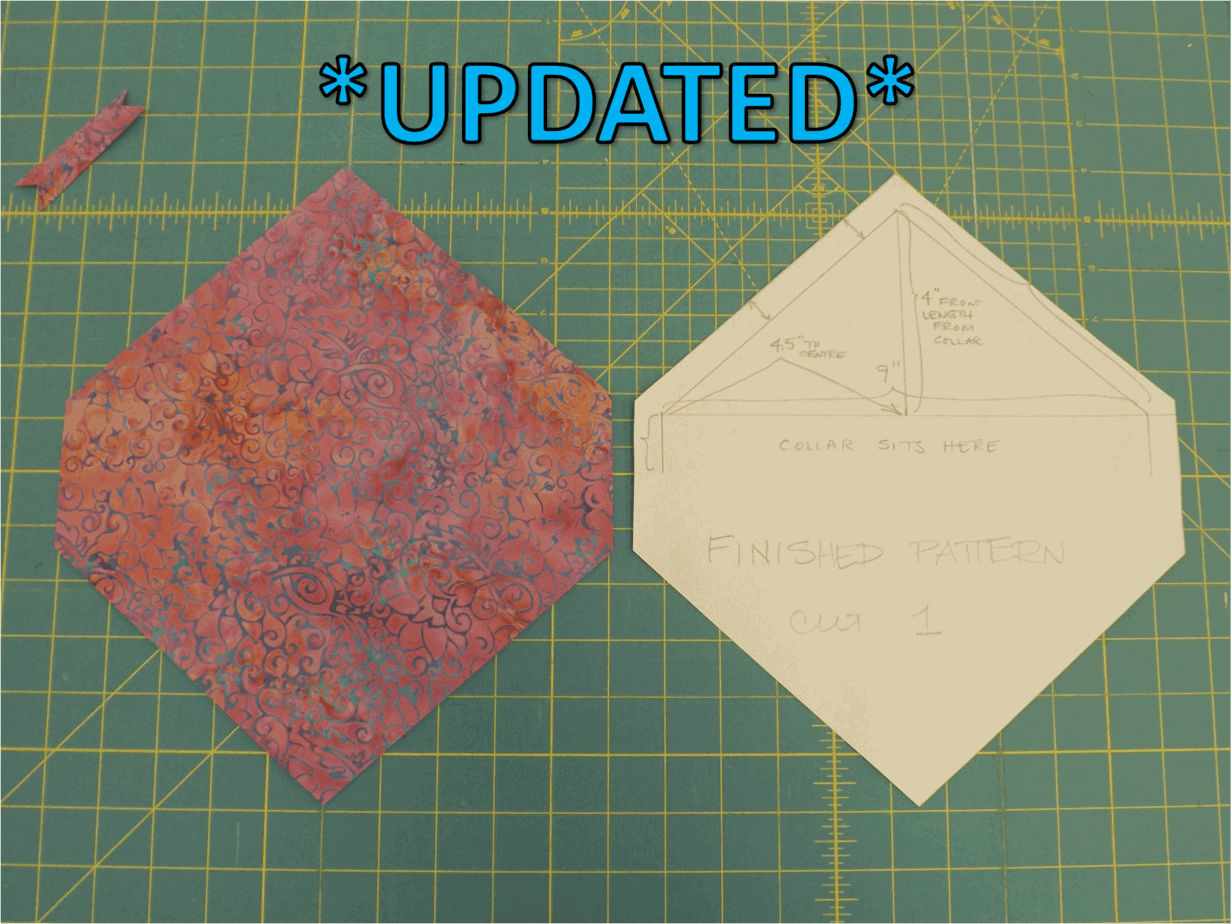
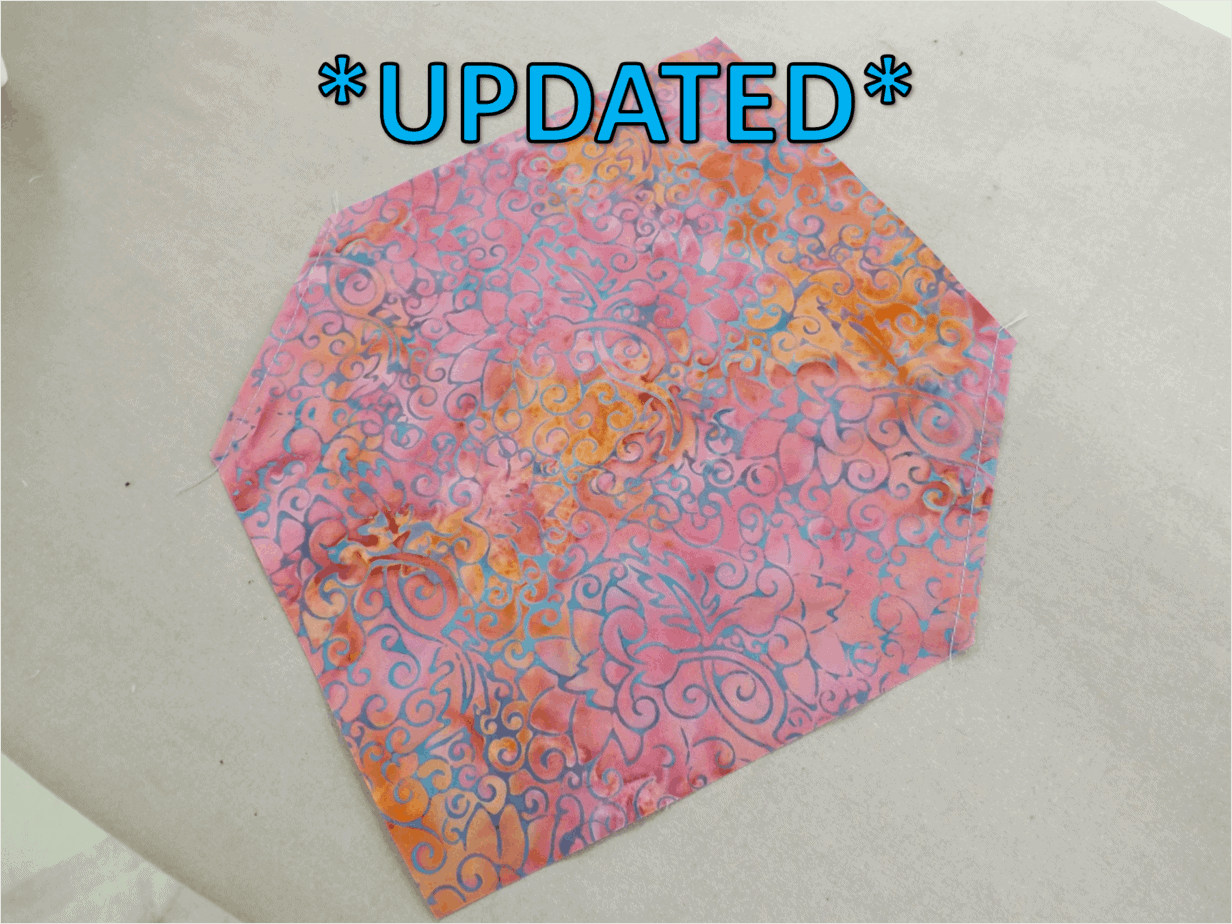
UPDATE:  If you’re making a paper pattern, fold your paper in half with the folded edge toward you.  Draw the width and length of the collar as shown in the second image below.

Step 2: Measure the top length of your bandanna. I measured the front of my dog’s neck so the bandanna extended about ½ “  to 1” beyond the curve of her neck. A good indication of how much your fabric should “wrap” around the neck is to measure your dog collar and to use just above half the length.
My cut length was 7.5”. (Collar is approximately 12.5”, just over half of that length is 7.5” allowing for a comfortable fit.)
Measure along your top length and find the exact middle. (For us that is 3.75”.) Make a mark from your middle point all the way down the width of your fabric at your 6.5” mark. This is the “point” of your bandanna and the top of the triangle shape.

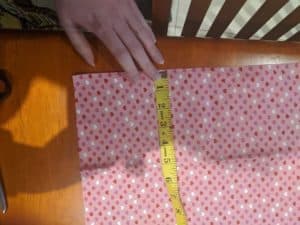
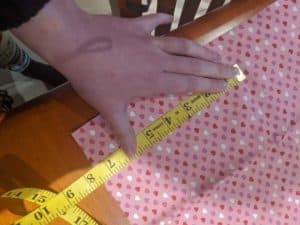
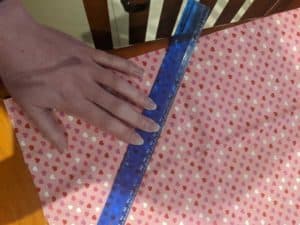
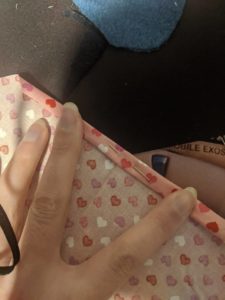
Step 3: Take a straight edge ruler and mark with your chalk a straight line connecting the “point” of your bandanna to the bottom edge of your 2.5” mark. Creating a triangle shape.

Cut out your fabric. I cut a 1/4″ – 1/2″ outside of my marked line for seam allowance. It should look like a triangle attached to two straight edges.

At this point if you’d like to interface your bandanna for that super crisp look you can do so. I suggest ONLY interfacing the triangle part and not the casing that will hold the collar.

Step 4: Open up your fabric and from the WRONG side of the fabric fold over the ‘two straight edges’, creating a double hem. This is the part of the bandanna that will see the most friction against the collar. I did a double hem and then top stitched it again for flare and extra stability.

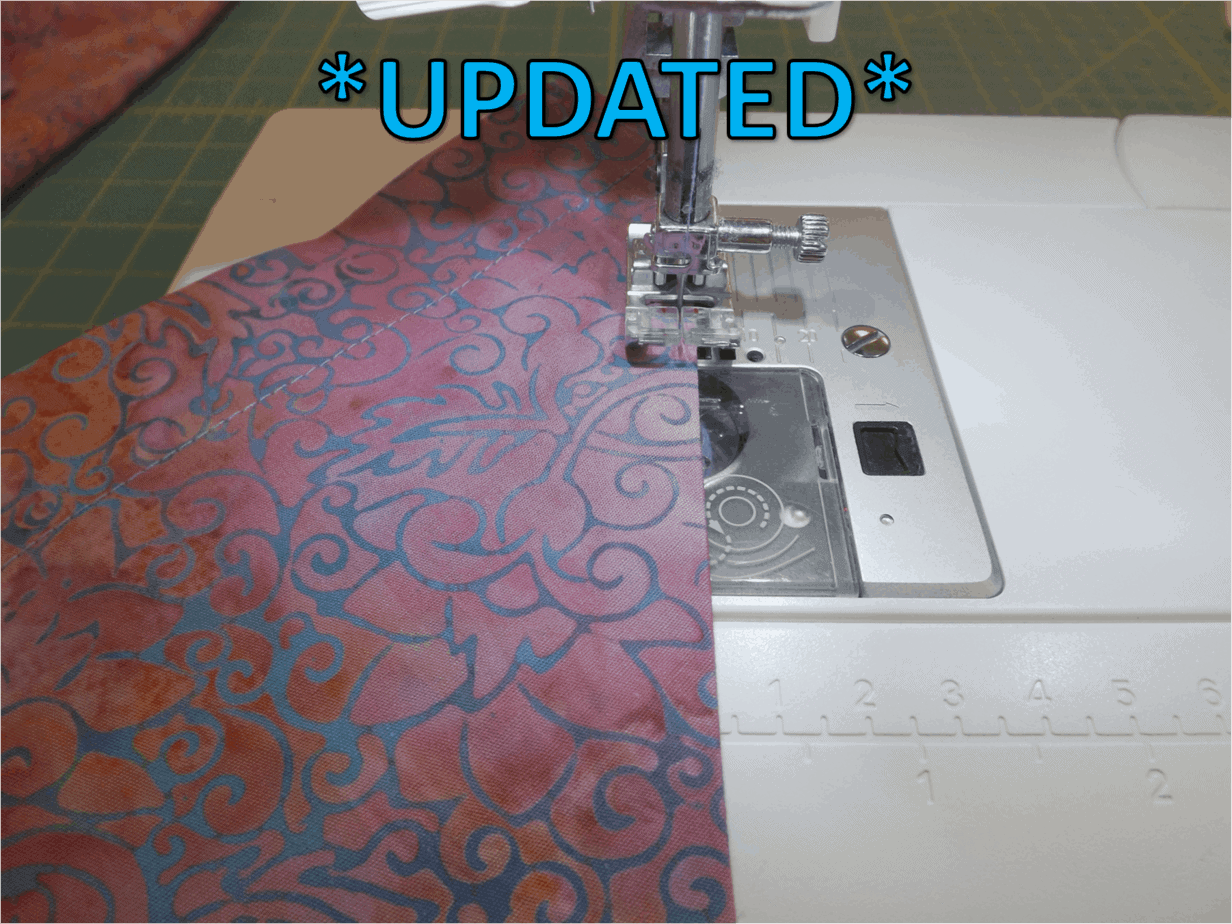
Step 5: From the WRONG side of the fabric stitch the triangle together from the bottom of the hem you have created to the point of the triangle and then back up.

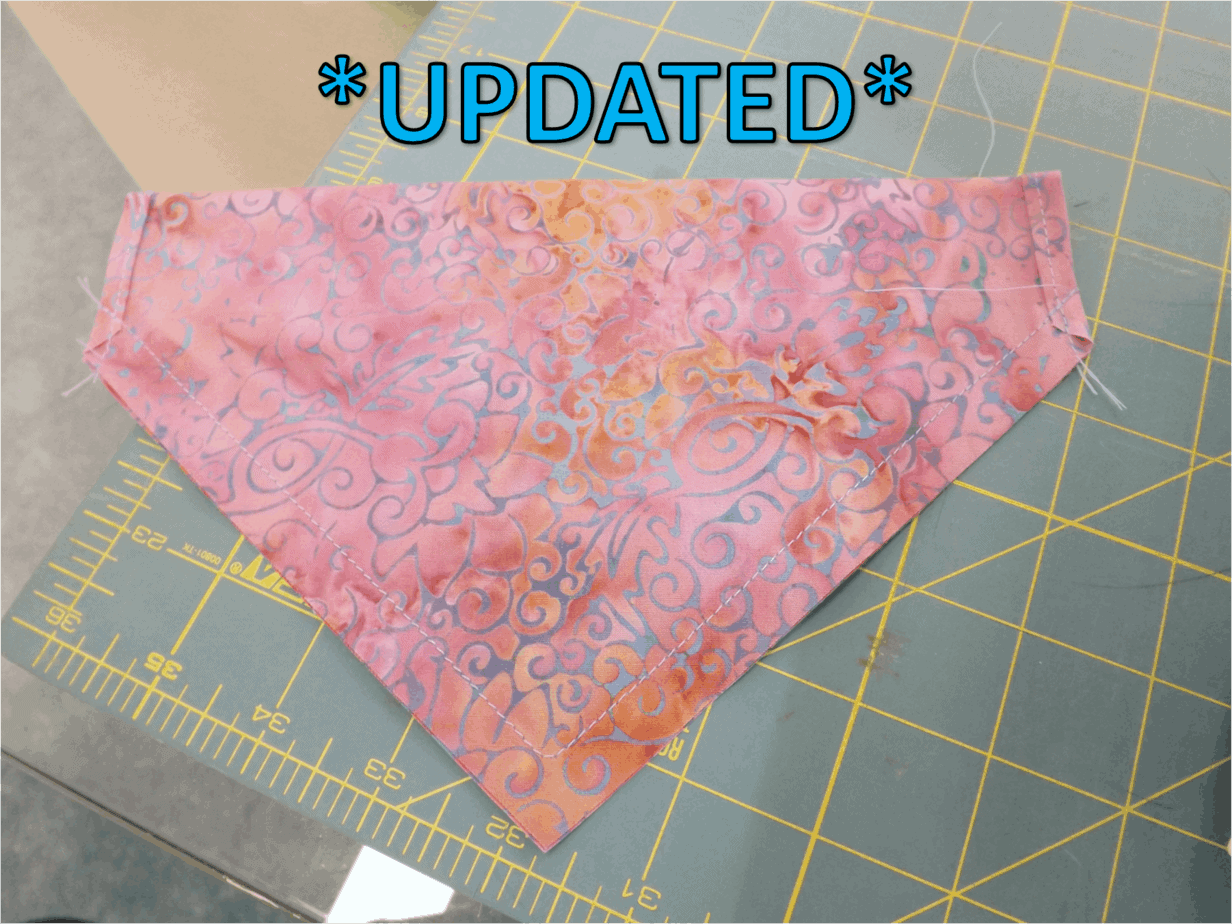
Step 6: Cut the tip of your bandanna triangle off, close to the stitching. This will create a sharper point.

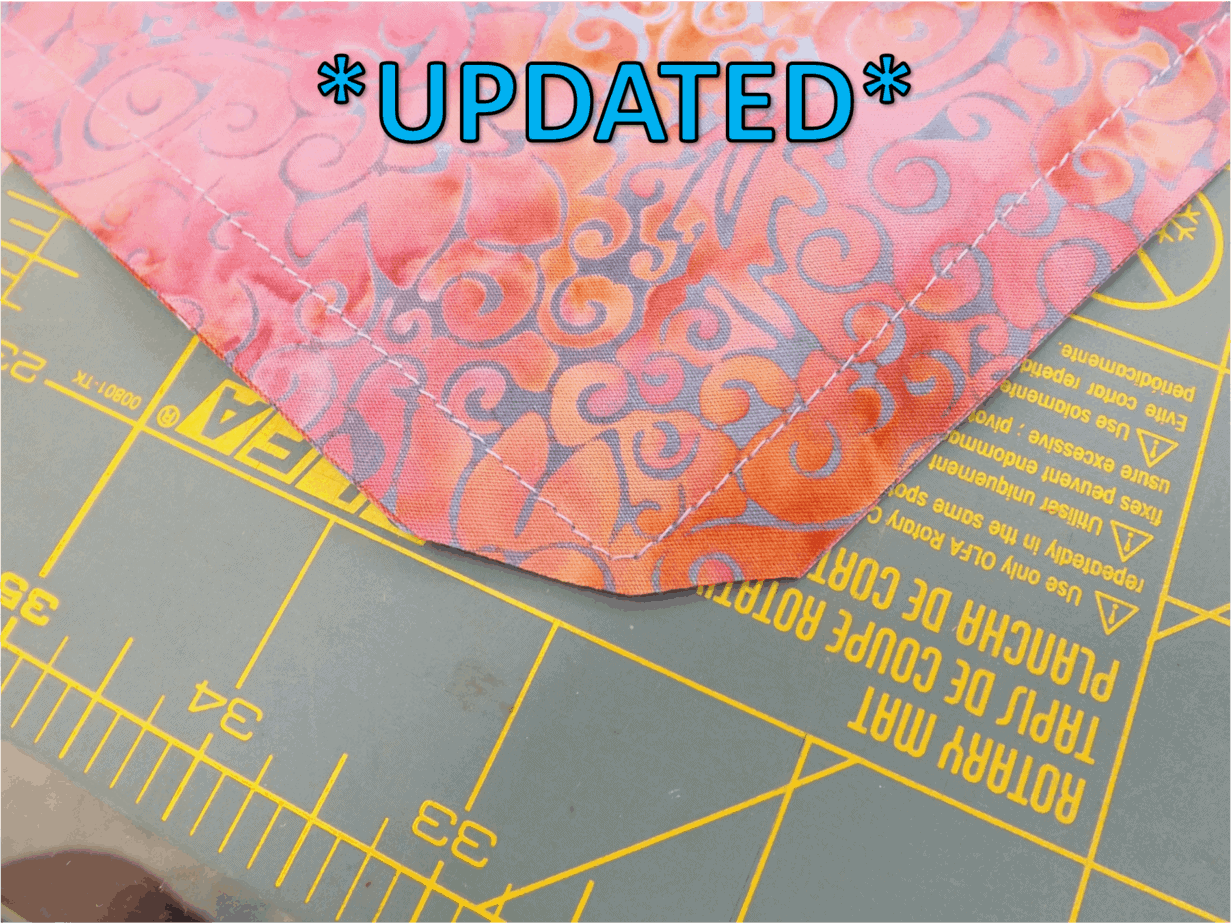
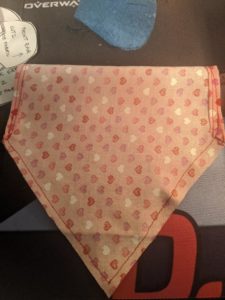
Turn your bandanna right side out, using the holes you left open at the top.

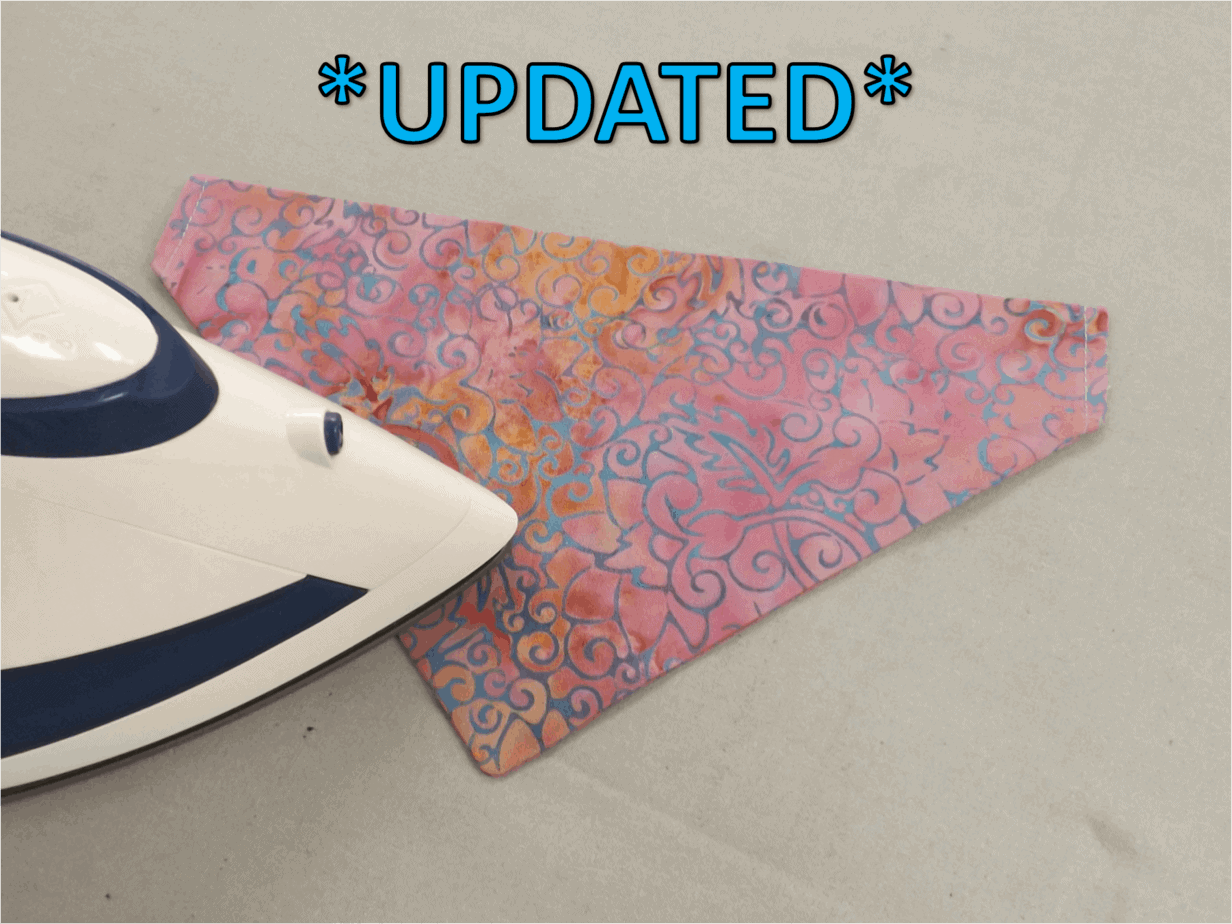
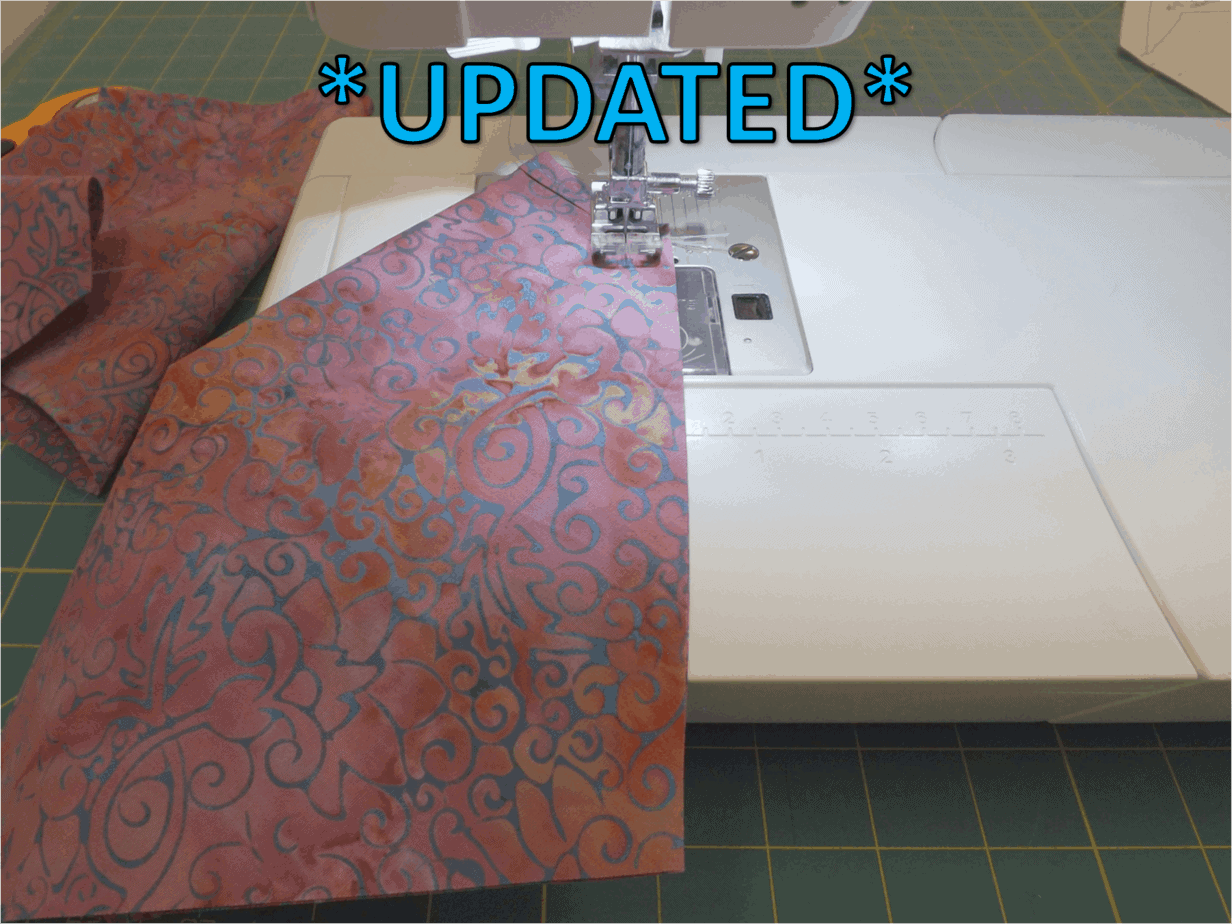
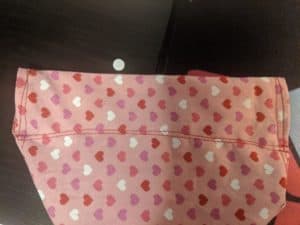
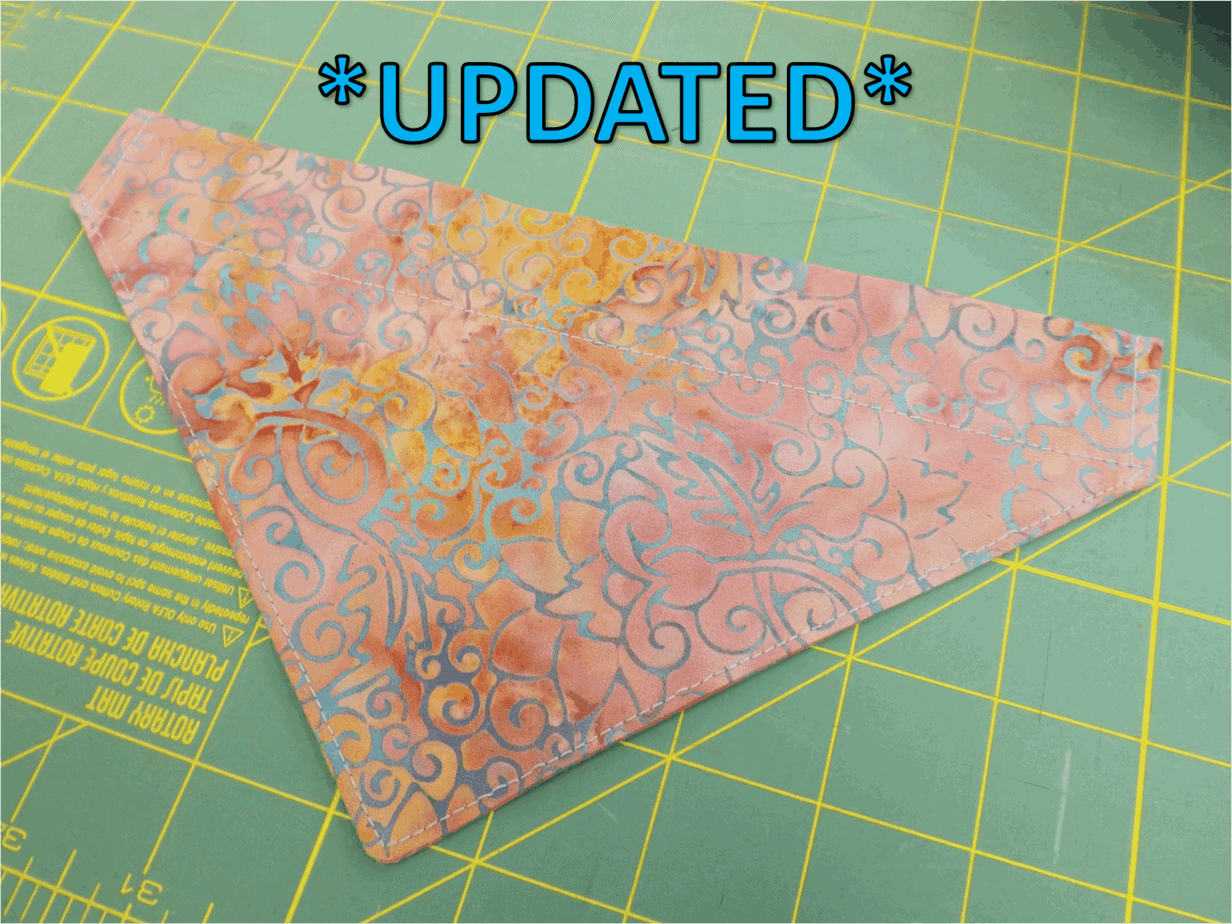
Step 7: Top stitch your bandanna. From edge to edge for the collar casing, stitch across the top in a straight line. I did a double top stitch to match my double stitched hem, and for stability.

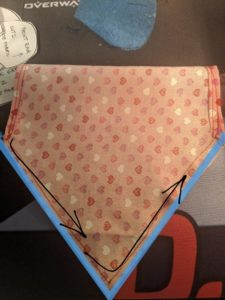
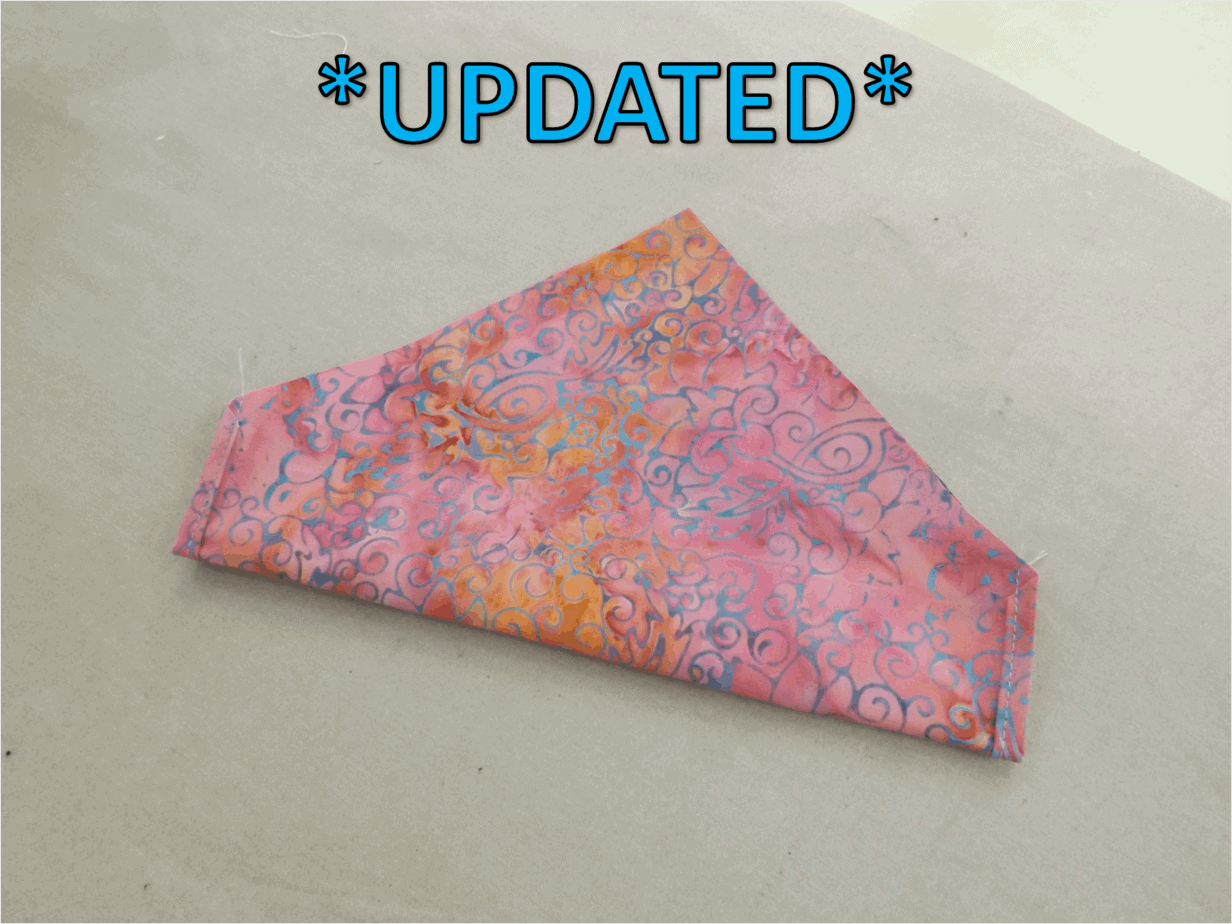
Stitch along the outside of your triangle from point to point again. This will keep your bandanna flat and crisp looking.

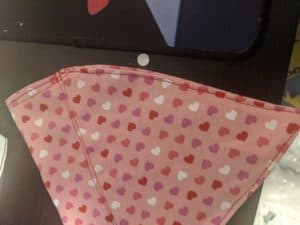
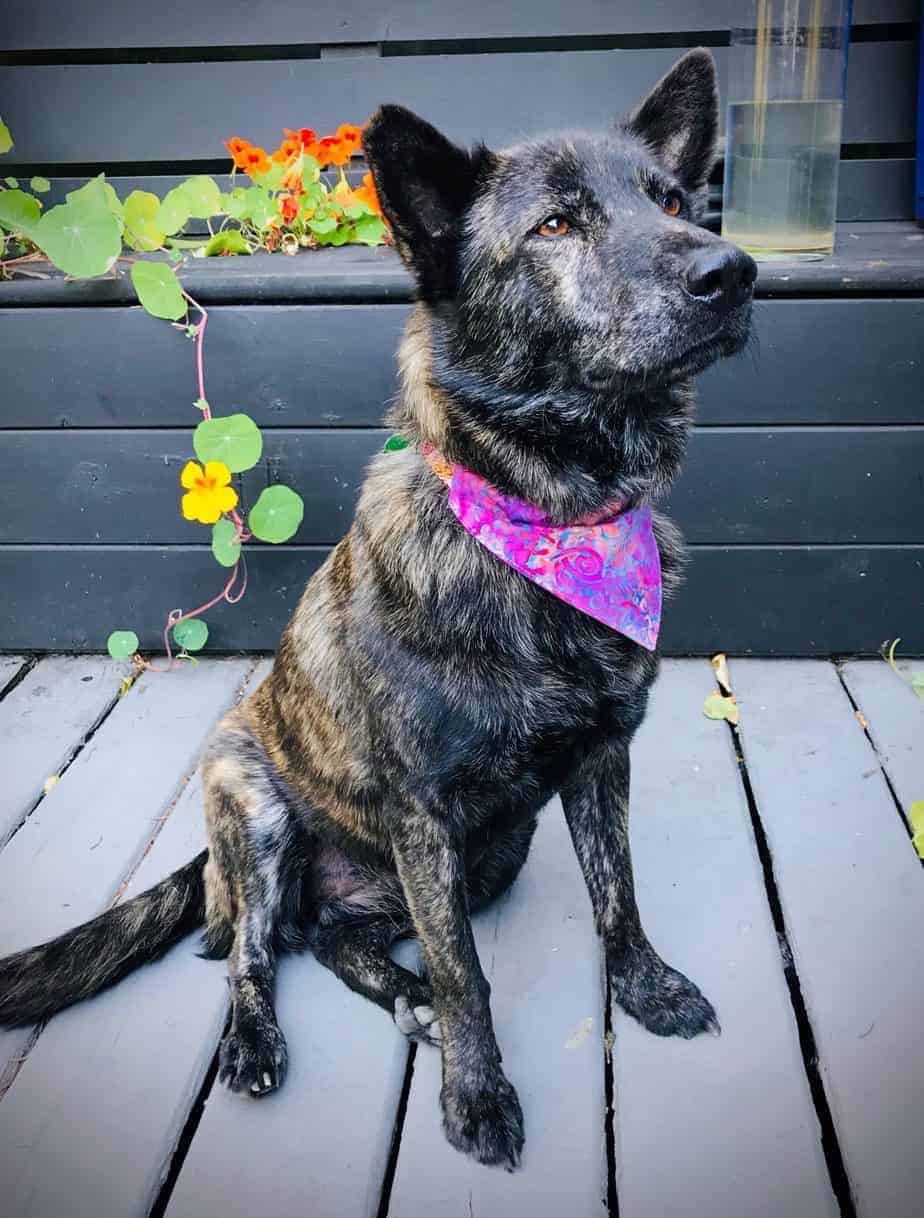
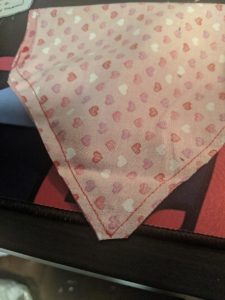
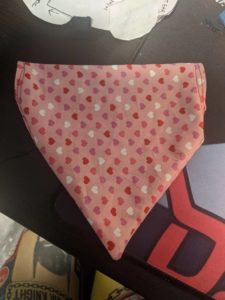
Easy, easy, just like that your bandanna is done and a perfect fit for your pooch! I whipped up this bandanna in under 30 minutes (while taking pictures!) and it fit my dog perfectly. Easy and fun to make, I adored the customization of this wonderful little bandanna and it was the perfect look for my black dog. We would LOVE to see your dog or cat sporting their fashionable looks! Now to pick out some themed fabrics for St. Patrick’s Day and Easter… hmmm….

Share:

Leave a Comment

Your email address will not be published. Required fields are marked *

Related Posts

Can’t stop the Crochet!

Some of you may remember seeing a short Instagram video where I was looking for a name for a tiny grey octopus that I had

A Visit to the Fibres West Show

As someone who has been sewing for nearly four decades, has studied fashion design, and worked in a fabric store for most of his career,

Home decorating. Home improvement.

5 Tips on Navigating a Home Fabric Department

Our homes say a lot about us, and reflect our personality to all our guests. Or, at least we want our homes to look that way, but it can be hard to get them there! Where do we start? How do we do it? What are the big unknowns you should prepare for?

Pompom Poof Easter Bunny Wreath

We’ve put together this 5 step Easter Wreath perfect for decorating your door this spring. Follow along with our pompom video and learn how to apply this easy to learn skill to this festive project. You don’t even need to sew!

Richmond Fabricana Memories

Fabricana Richmond was open for 53 years, and we want to share some of the wonderful memories from the store. Read along to hear from employees and customers alike.