
We just received a cool new fabric in our quilt department, and I wanted to give it a try and show how versatile it is. The fabric is from Art Gallery Fabrics and is called 2.5 Edition. It a printed cotton that can be cut into strips to create a unique and eye-catching binding.
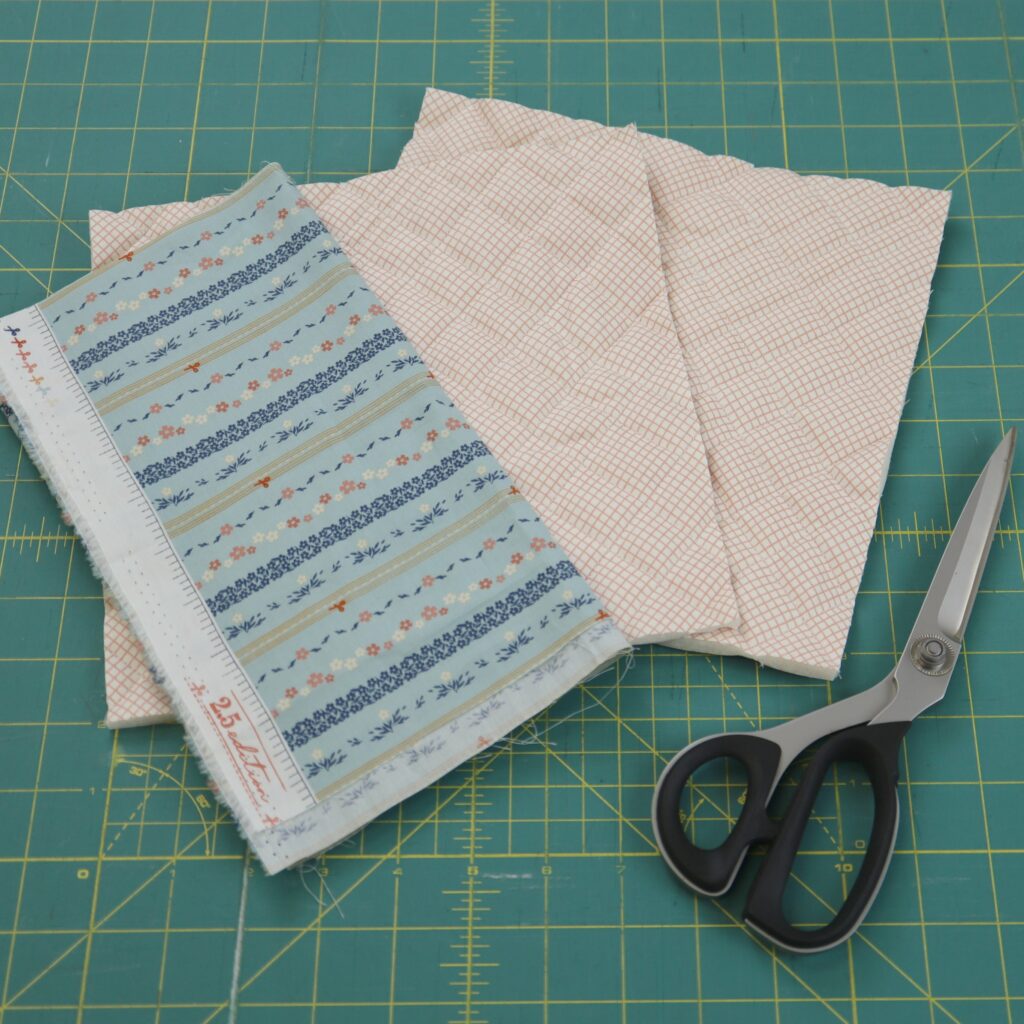
Here’s what you need:
Art Gallery Fabrics 2.5 Edition fabric (enough strips to bind your project)
Something to bind (we are binding 9” quilted pot-holders)
Scissors or rotary cutter
Thread to match your fabric
Hand-sewing needle
Sewing machine with straight stitch and an Iron and Ironing Board
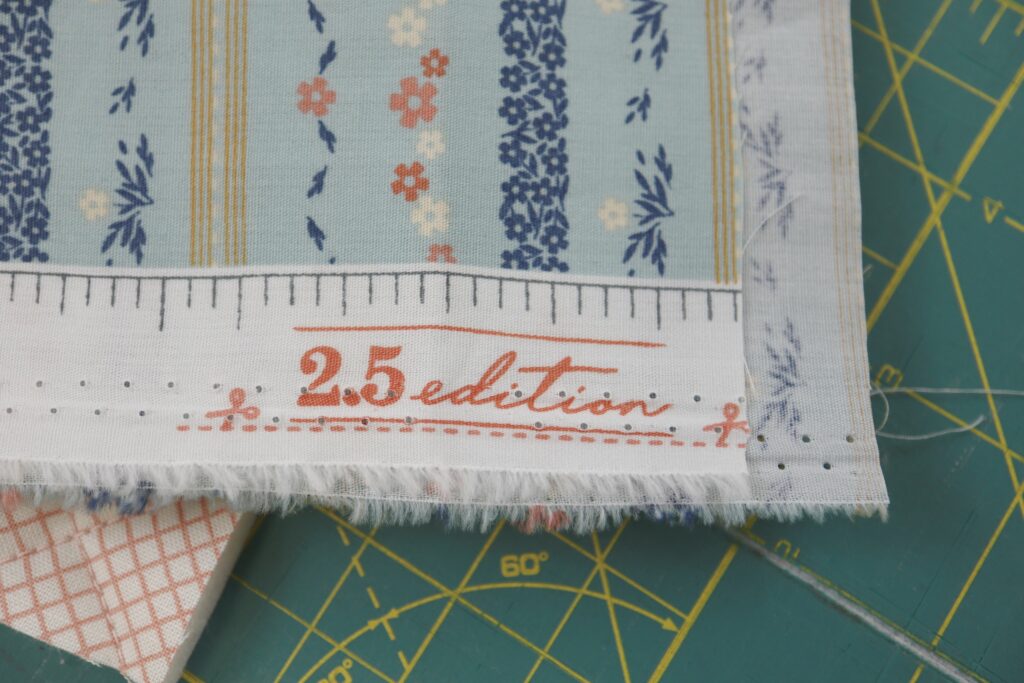
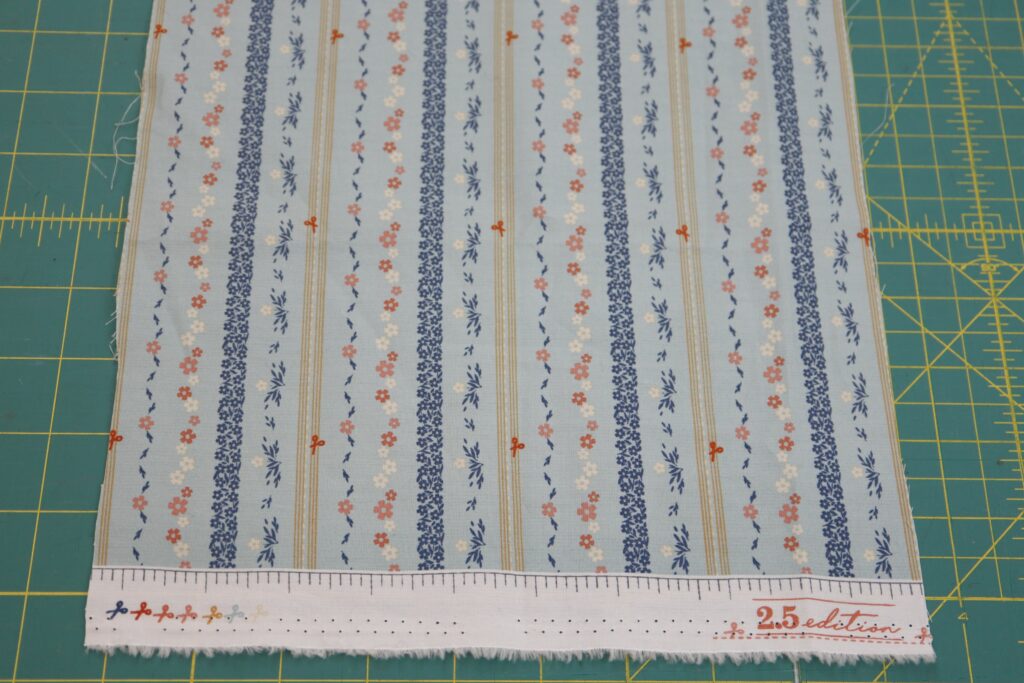
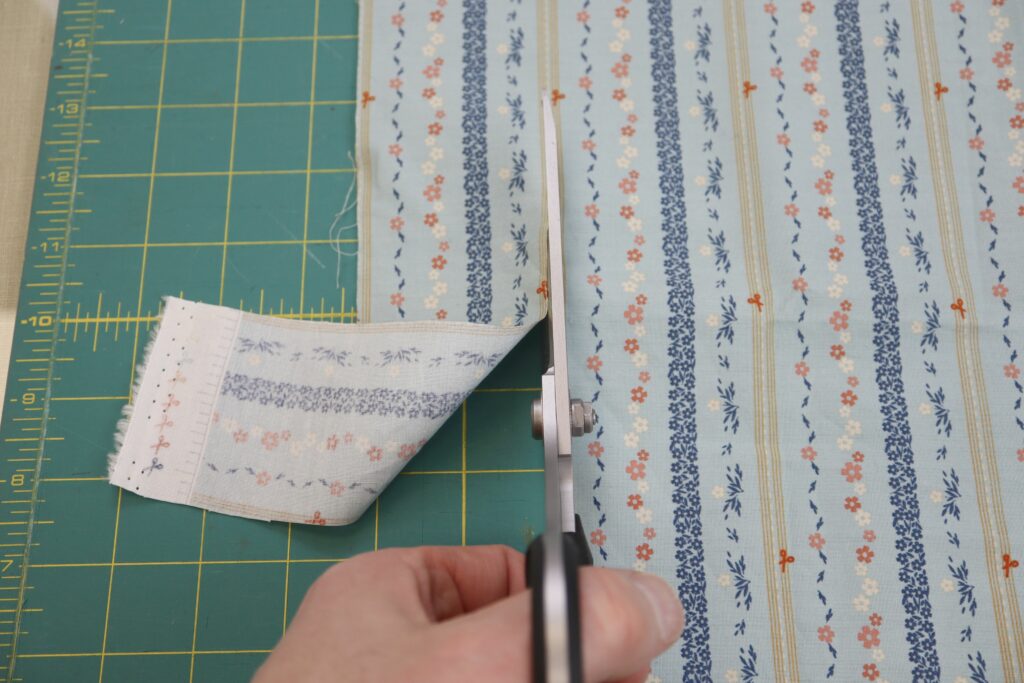
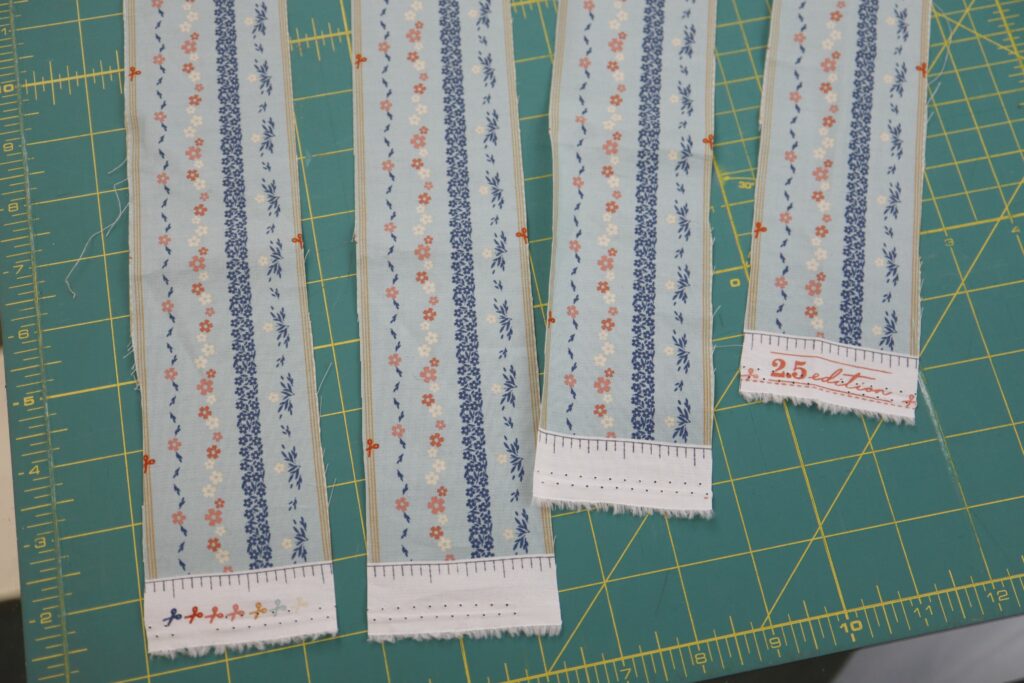
Open up the fabric and carefully cut the strips apart along the cutting line. You can use scissors or a rotary cutter.
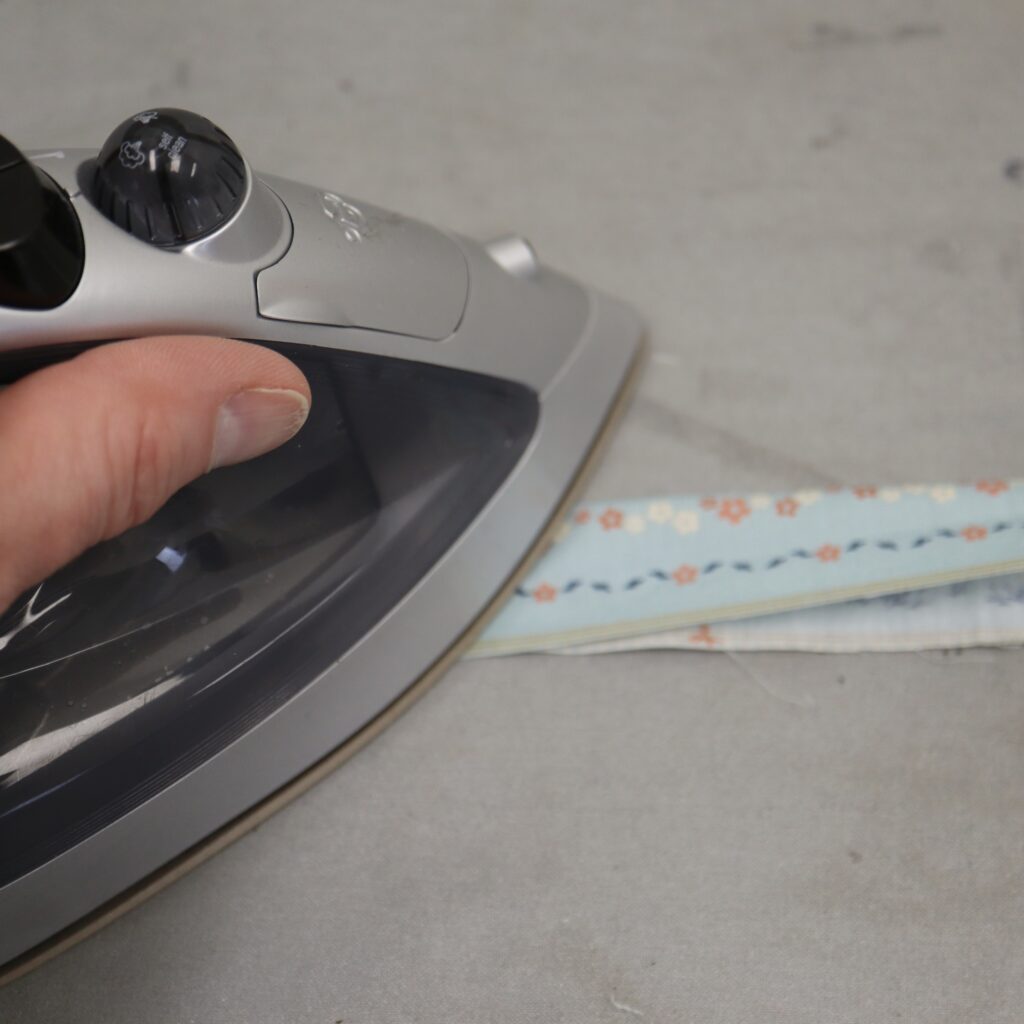
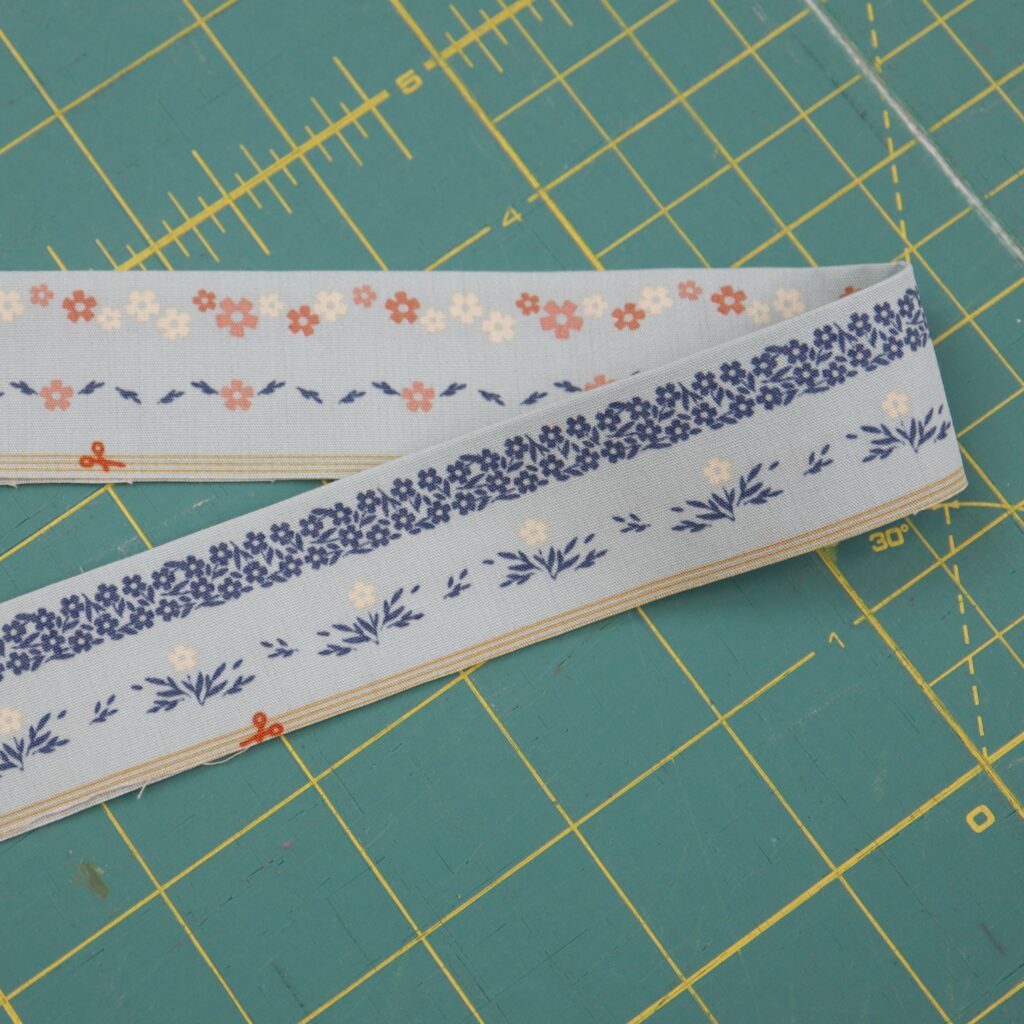
If you need to join strips together, do it now. It is best to join the strips with a diagonal seam. Press the seams of the joins open. It’s a one-way print, so make sure that the print is going the same way on all of the strips. Once you have your strips joined together, press the binding in half with wrong sides together as shown in the first image above. The second image shows what the binding should look like once it is pressed.
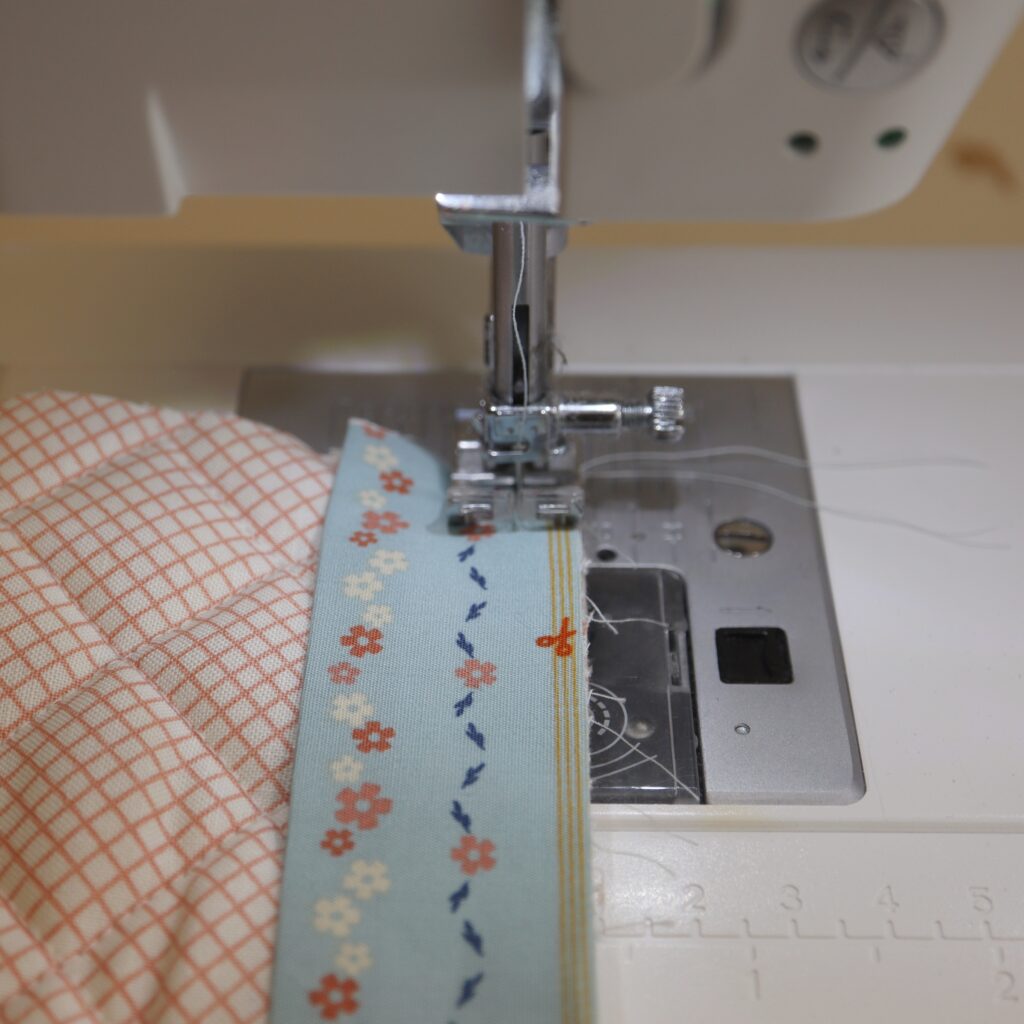
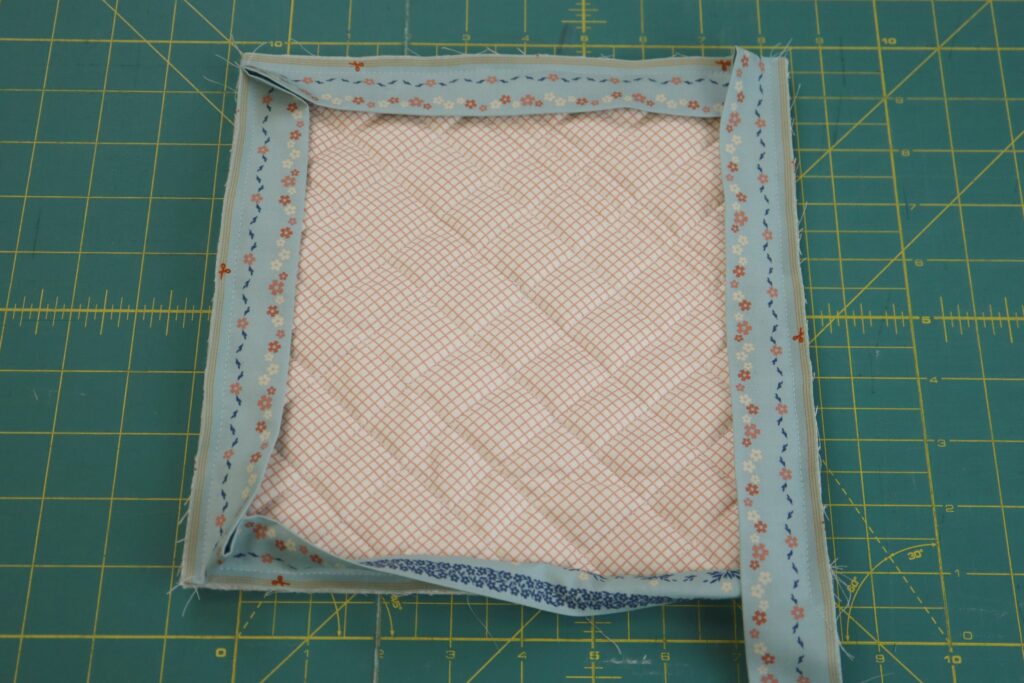
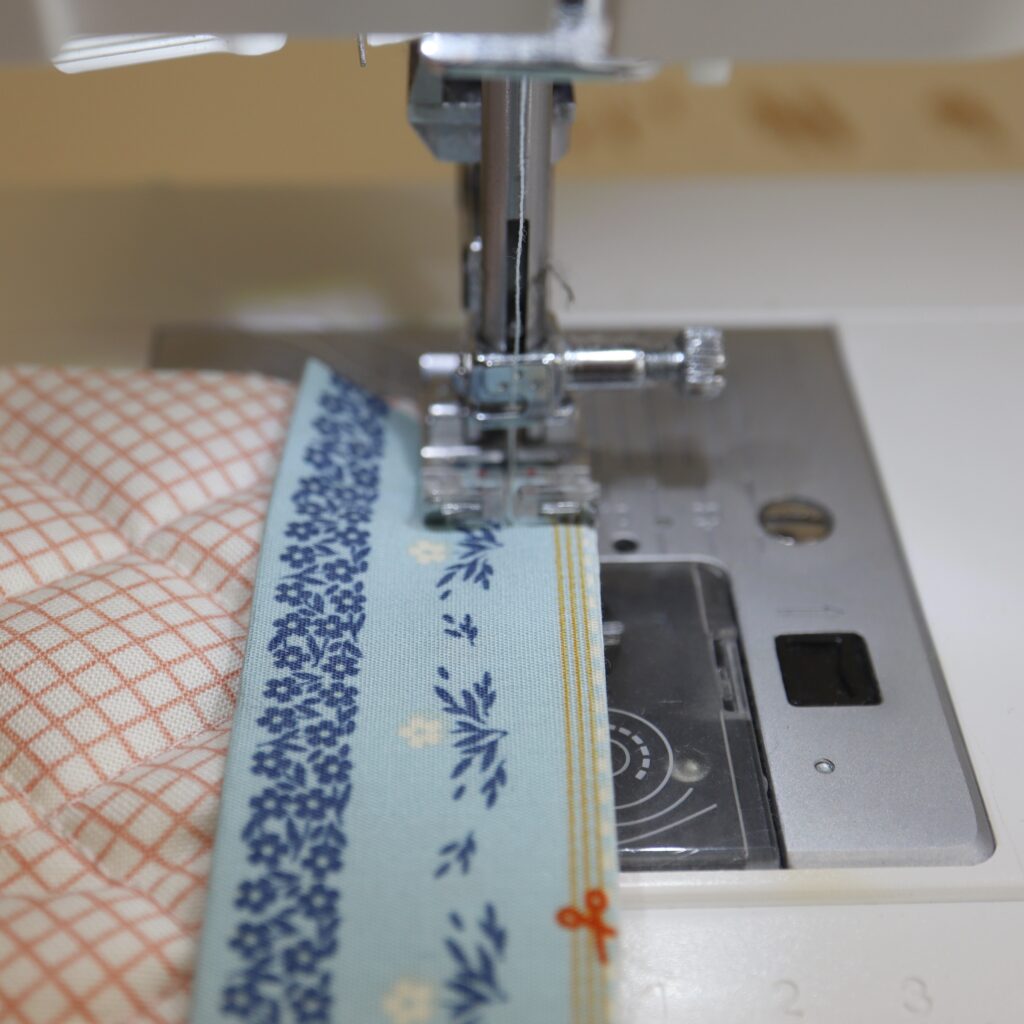
Version 1: Stitch your binding to the front of your project. We stitched between ¼” and 3/8” seam allowance. IMPORTANT: The side of the binding that is facing down, is the side that will be visible when you are finished.
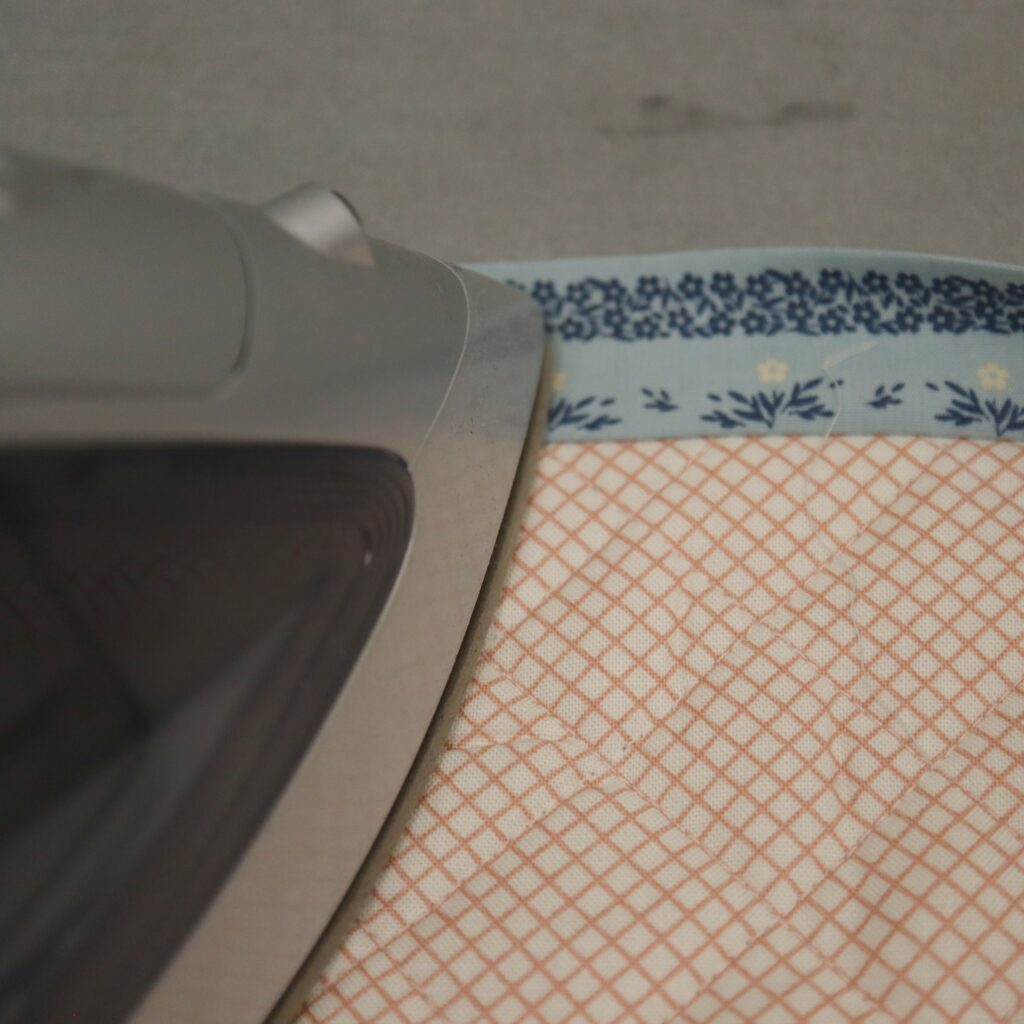
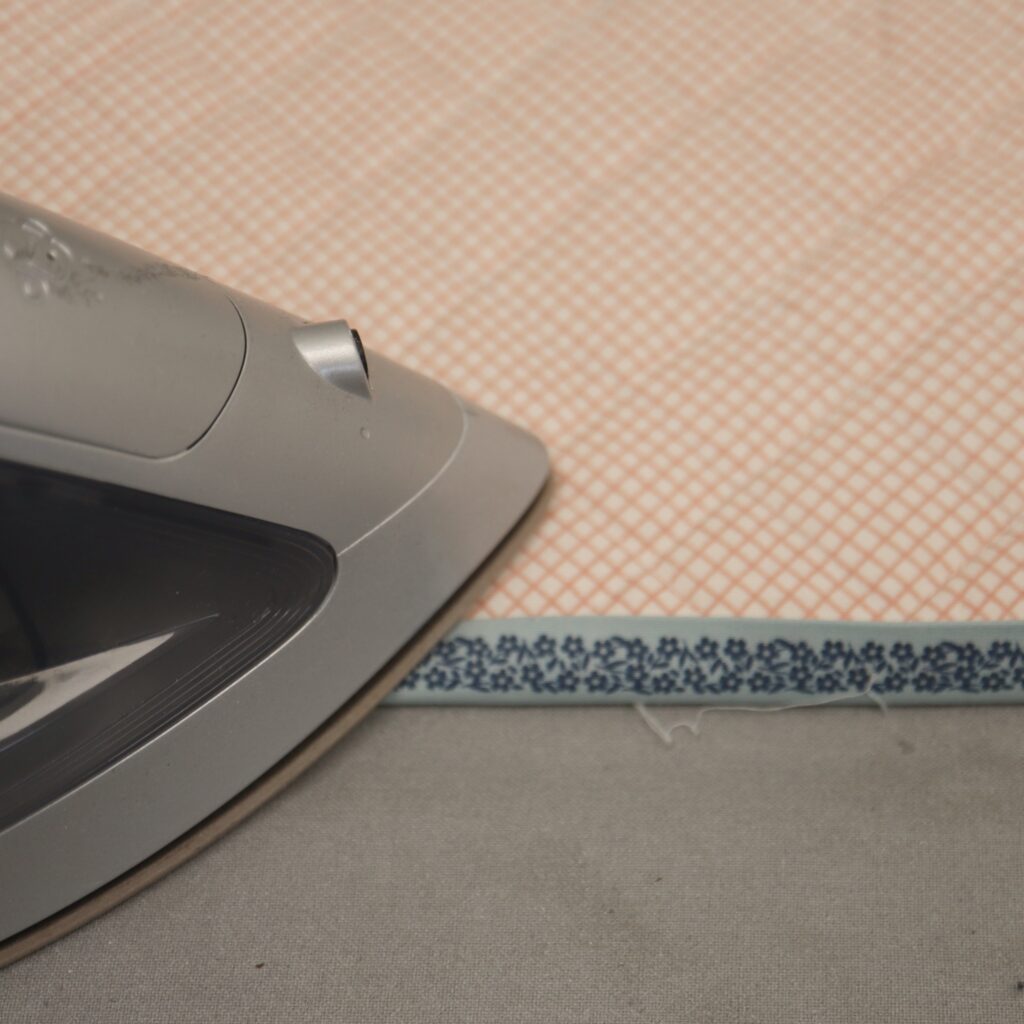
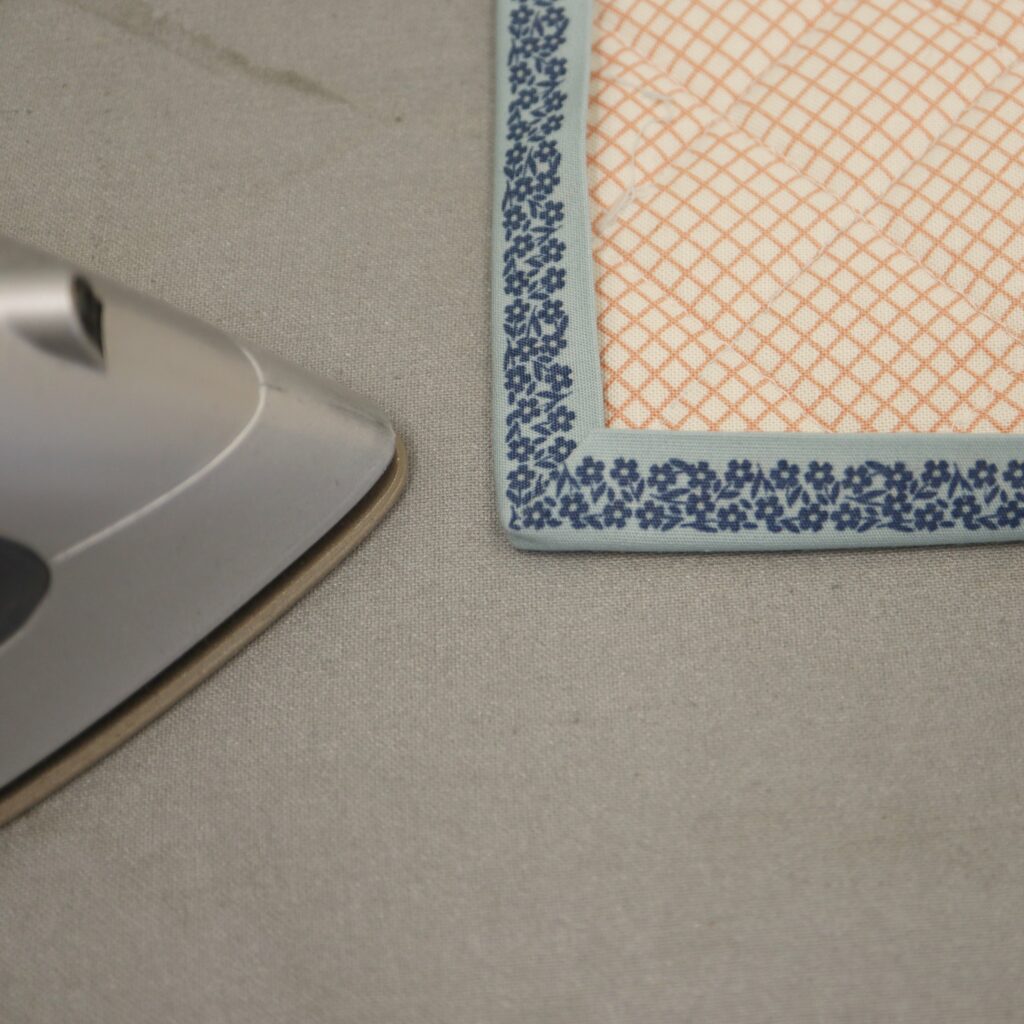
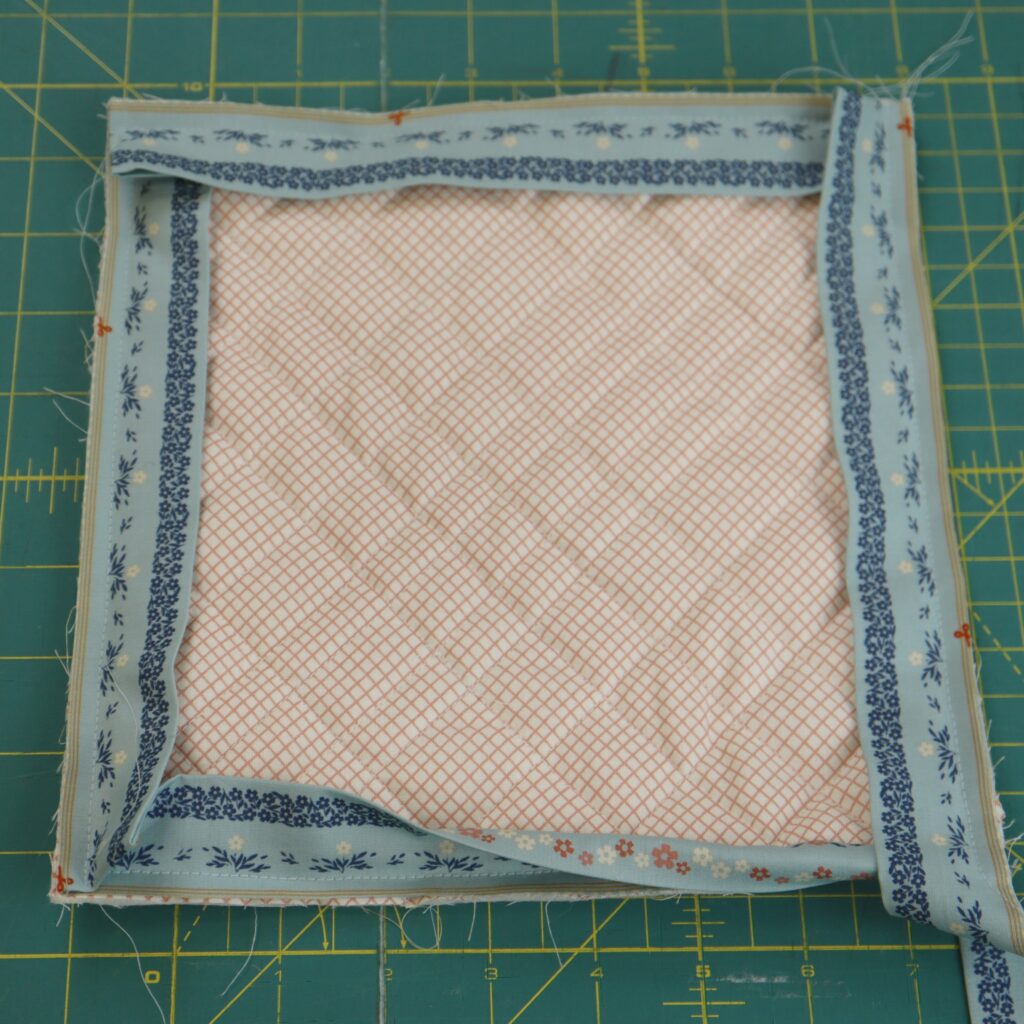
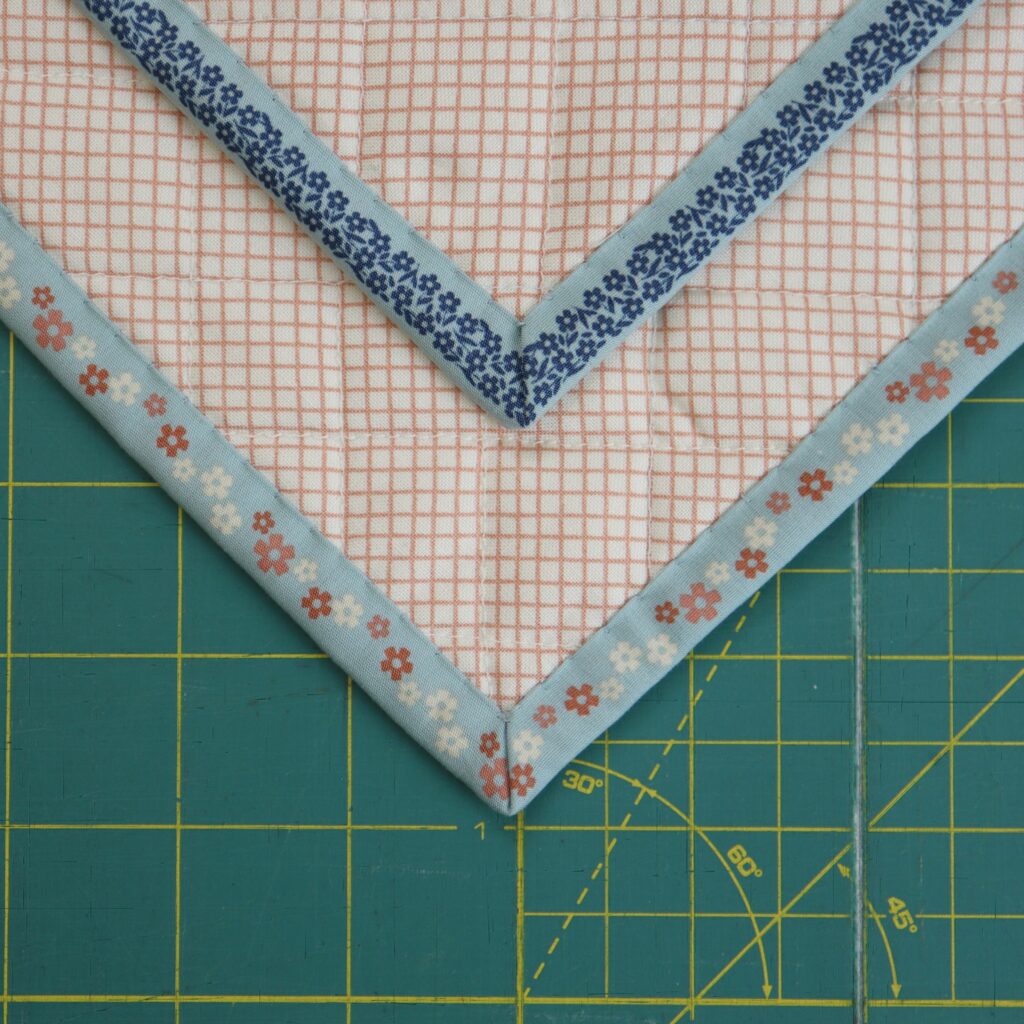
On the front side, press the binding toward the edge of your project along the stitching line, as shown in the first image above. Then flip your project over and press the binding toward the back of the project. We did a continuous mitered binding, so we pressed a nice miter at the corner on the back as shown in the third image above.
Version 2: To show the versatility of this fabric, we stitched a second sample with the other side of the print facing down.
We followed the same steps to press the binding that we did for the first version as shown above.
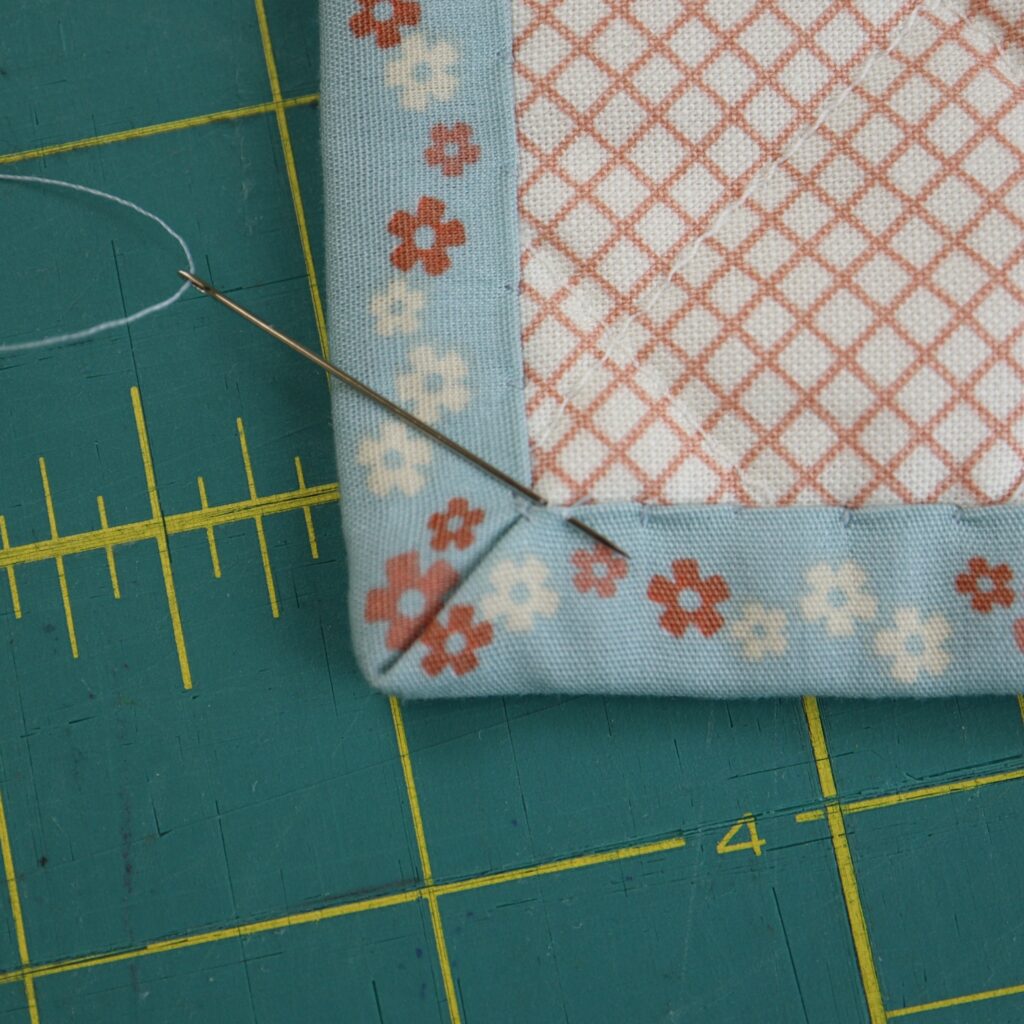
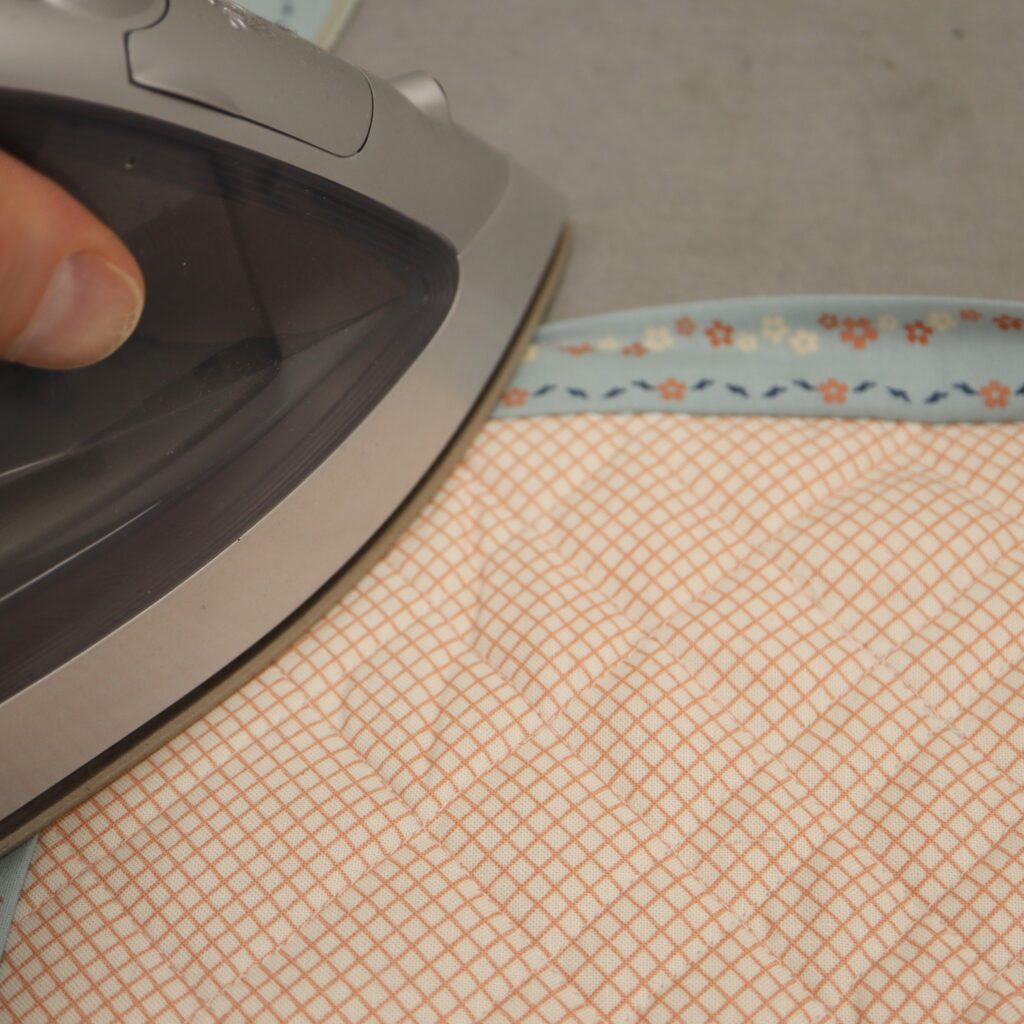
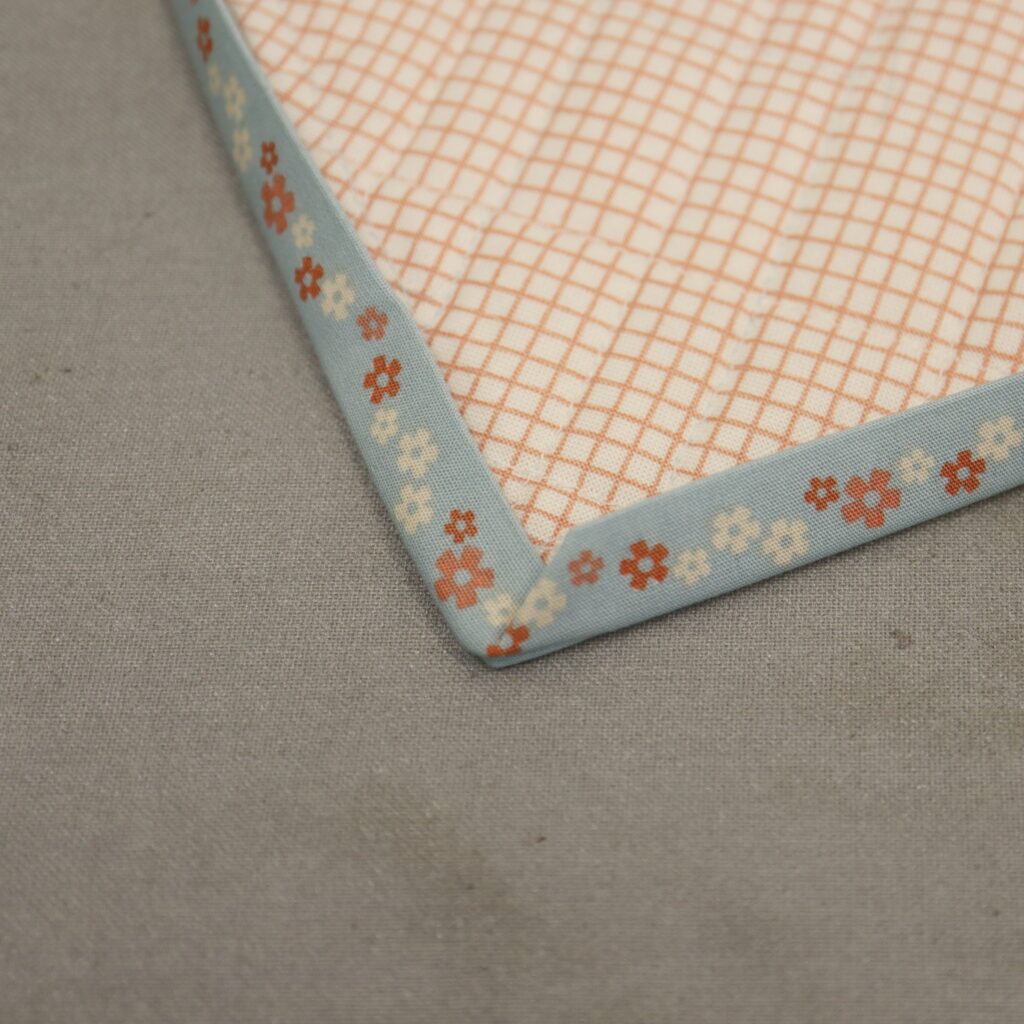
We then hand-stitch the binding in place on the back side of our samples. Make sure when you are stitching that you only catch the back of the project. You don’t want your stitches to show from the front of the project. The second image above shows the back of versions one and two with the hand-stitching completed.
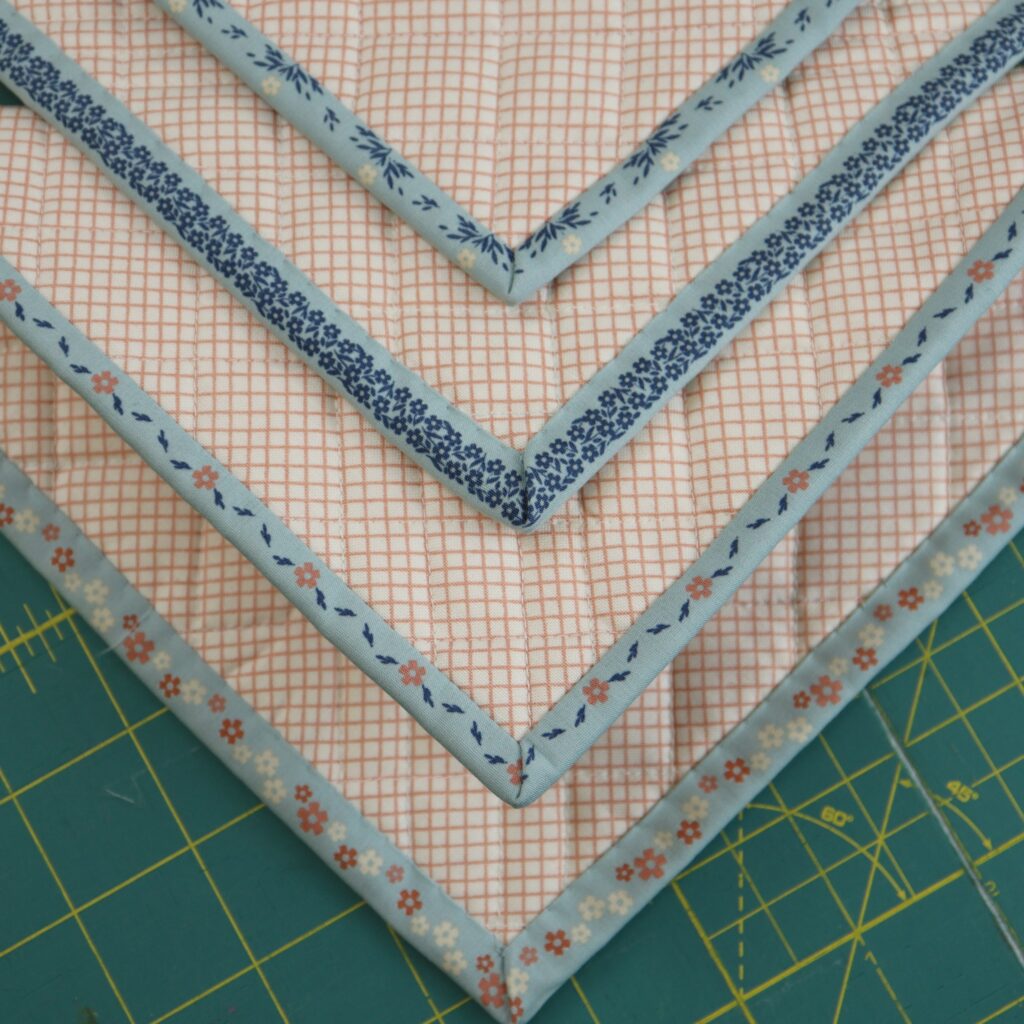
This photo from top to bottom shows version one front, version one back, version two front, and version two back. This binding was designed for quilts but could also be used as a decorative edge on a quilted jacket, to finish the top of a bag, the hem on a child’s dress, or anything else where you want an eye-catching edge detail.
If you’re interested in seeing more of the 2.5 Edition fabrics, we hope you will have a chance to drop into Fabricana soon!


