If you’re like me, you can never have enough tea towels. I have some that are plain, some that are seasonal, and some that are down, right cheeky. This tutorial is for a unique towel featuring a large reverse box pleat, so it looks very tailored while hanging conveniently in your kitchen. It offers a lot of towel, but it is nice and compact. Another great feature is how you can customize it for the season. Do I need to mention this also makes a fantastic host gift?
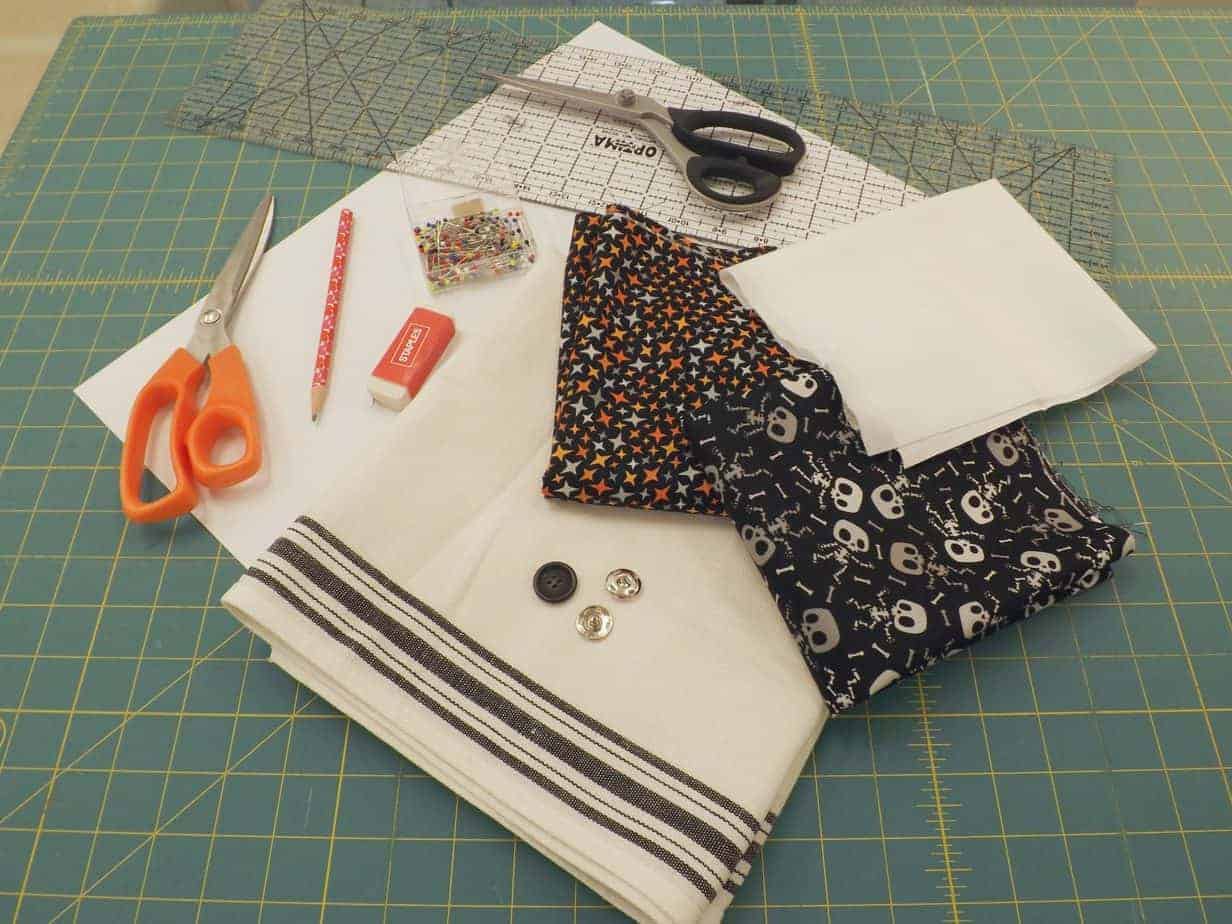
Here’s what you’ll need:
1 yard Classic Tea Towel fabric (ours comes with pre-hemmed side seams) you can purchase here.
3/8 Yard Cotton Print
3/8 Yard Second Cotton Print (Optional)
3/8 Yard Presto Interfacing. You can purchase, here.
1 Large Snap and 1 Large Button
Thread to Match you Cotton Prints
Fabric Scissors and Straight Pins
Large Piece of Paper, Pencil, Eraser, Ruler, Paper Scissors
Sewing Machine with straight stitch, Iron, and Ironing Board
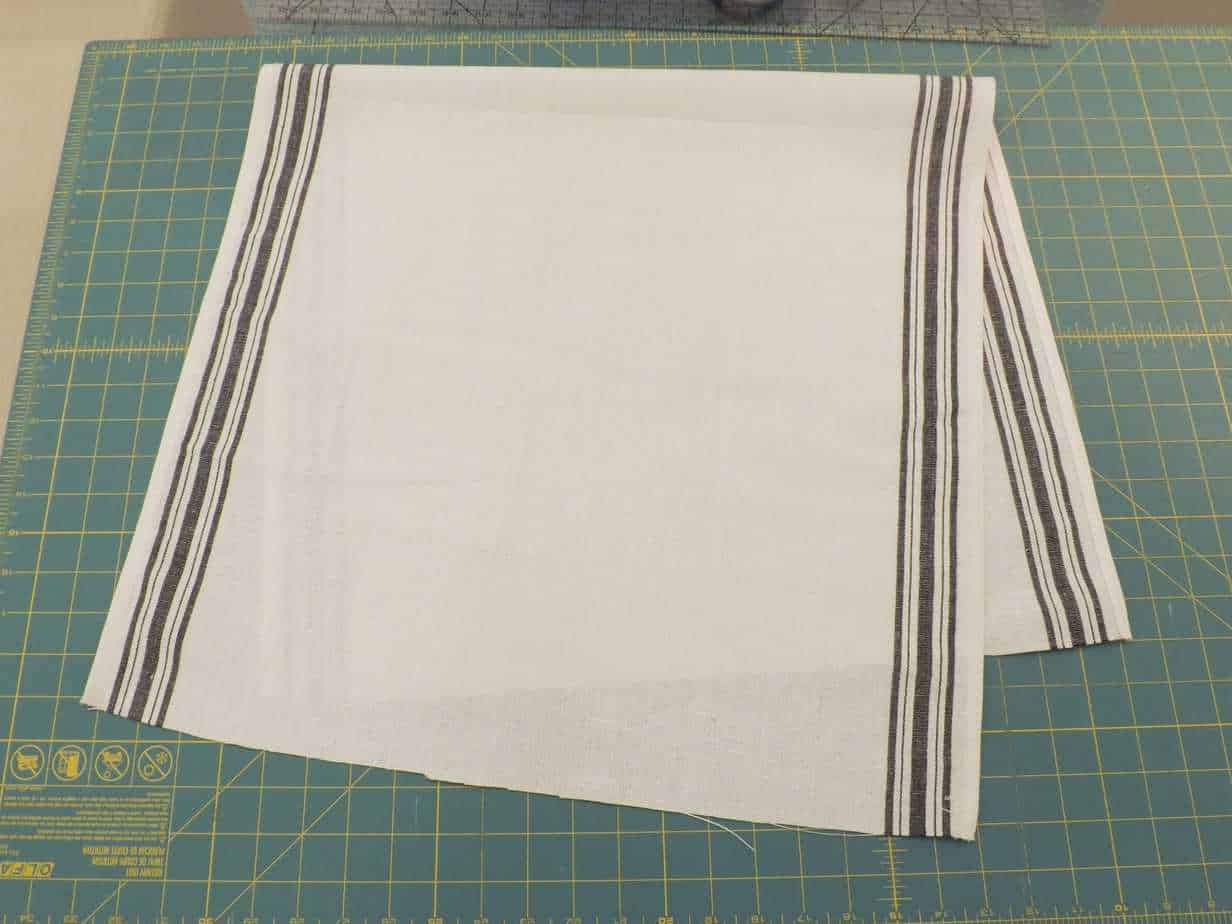
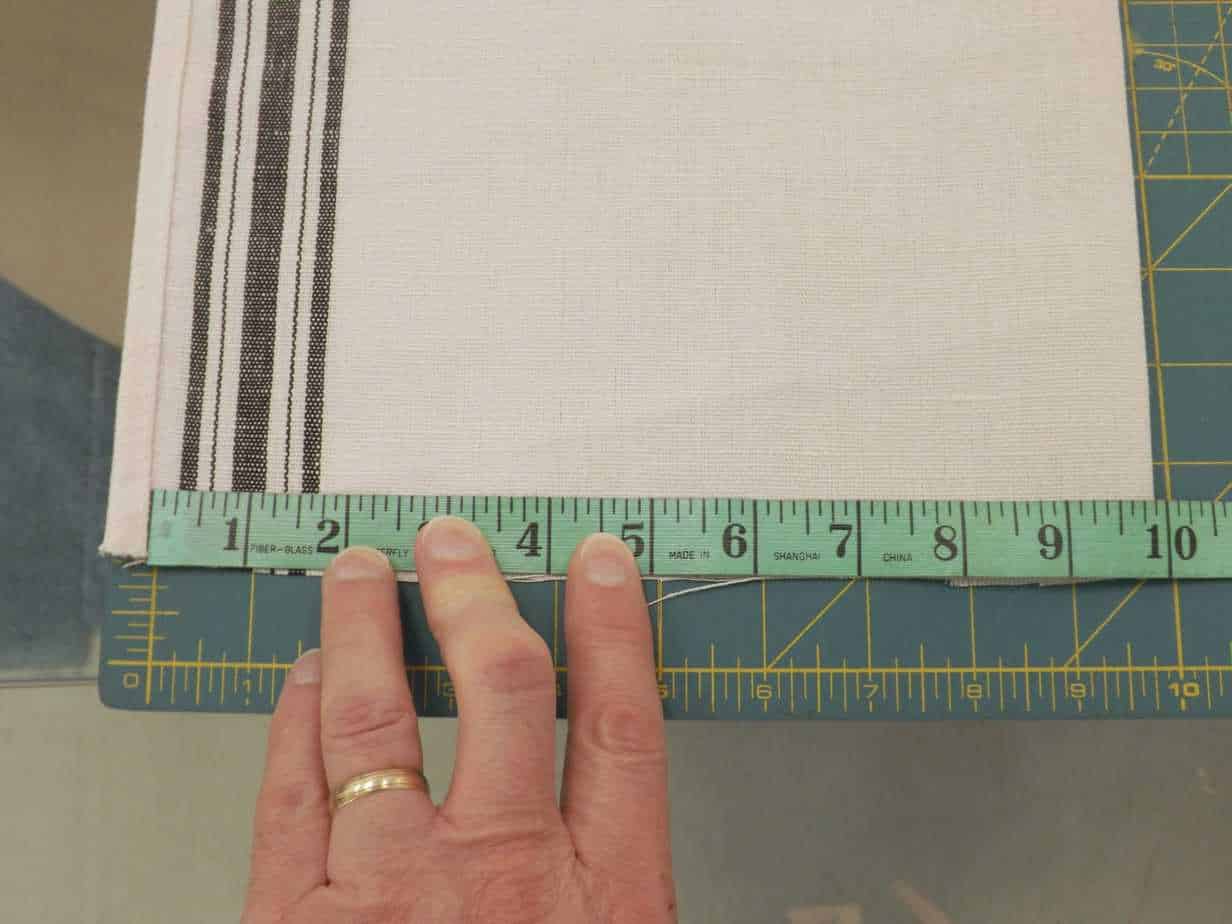

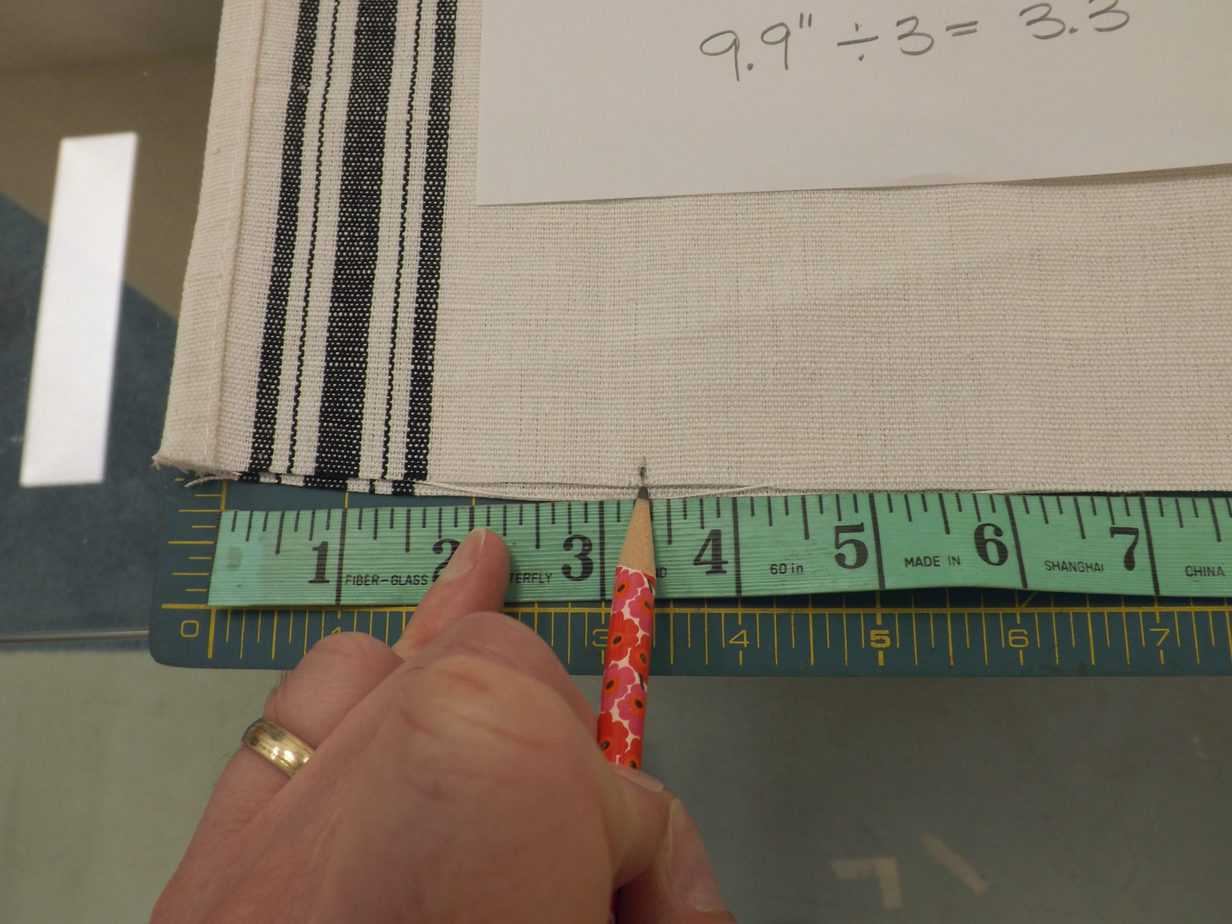
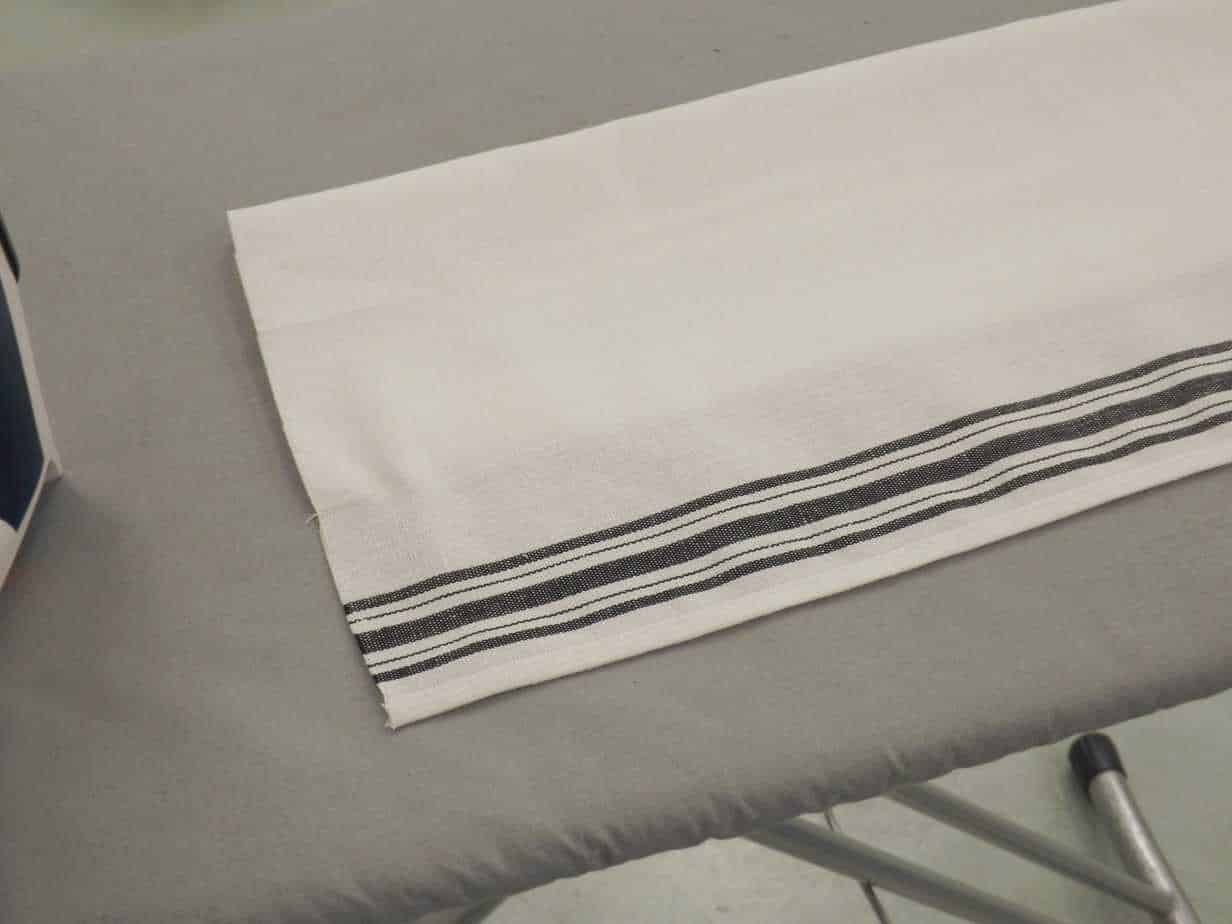
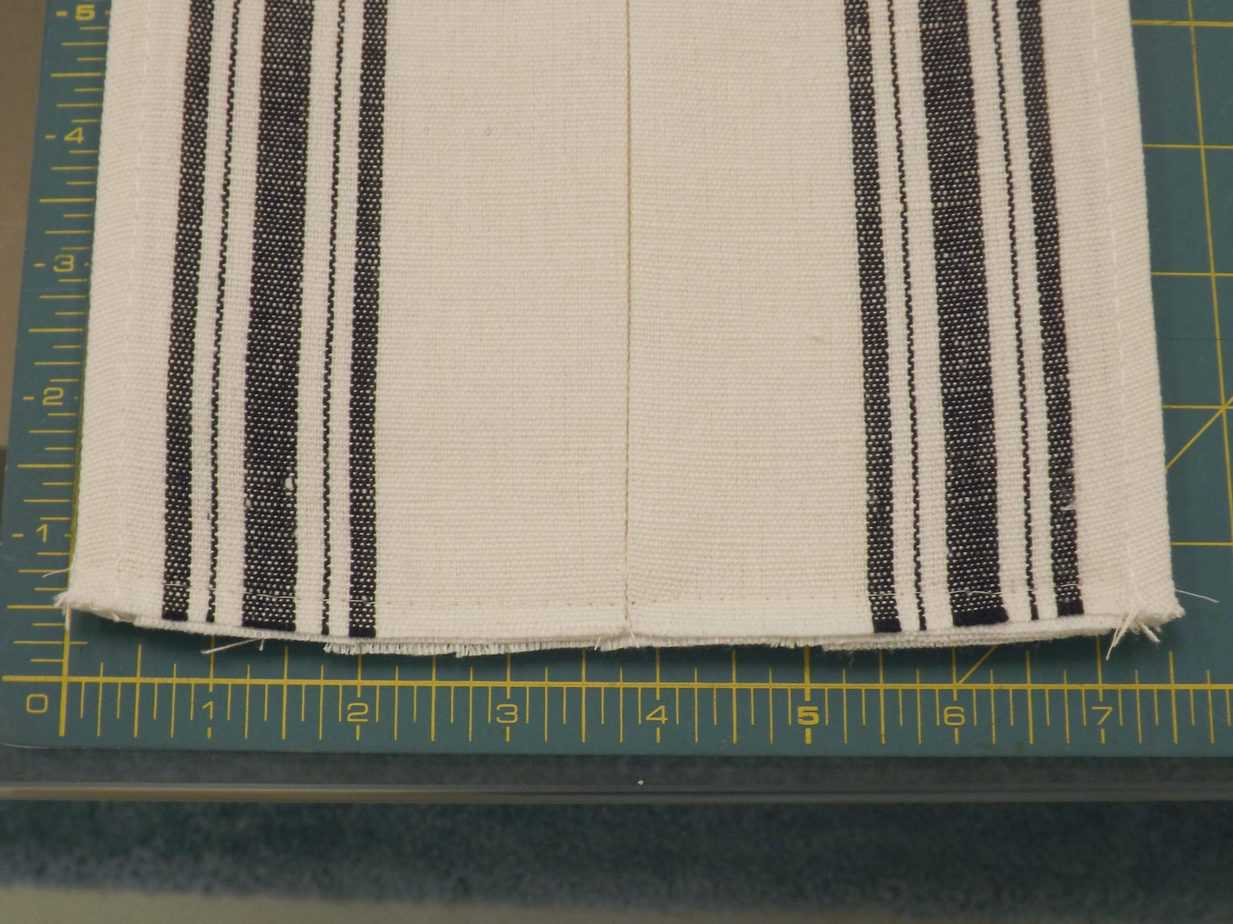
Take your main towel fabric and fold it in half lengthwise. Measure from the fold to the start of the hem (do no include the hem in this measurement). Our measurement was 9.9″. Take this measurement and divide it by three. For us the calculation was 3.3″. Measure this distance from the start of the hem toward the fold (do not include the hem in this measurement) and make a mark with your pencil.

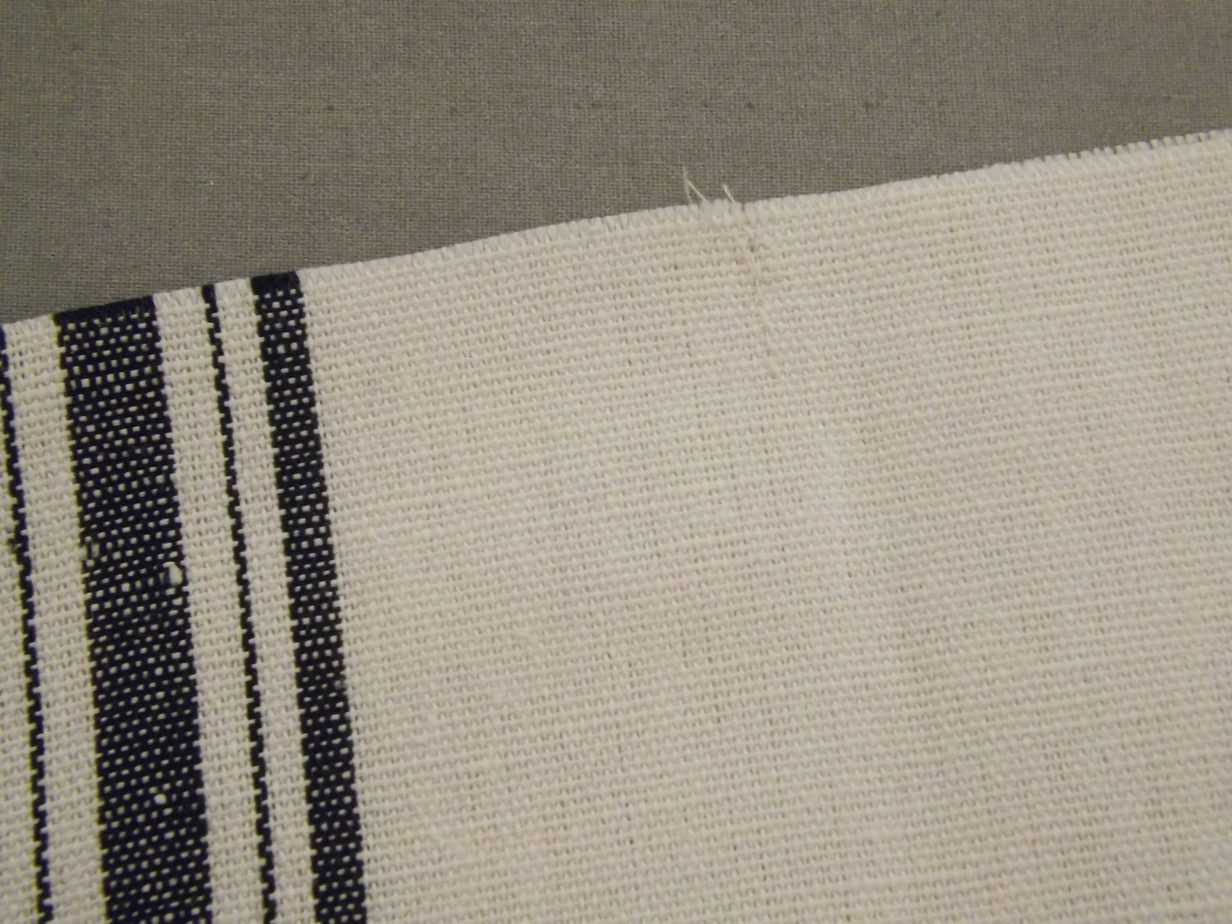
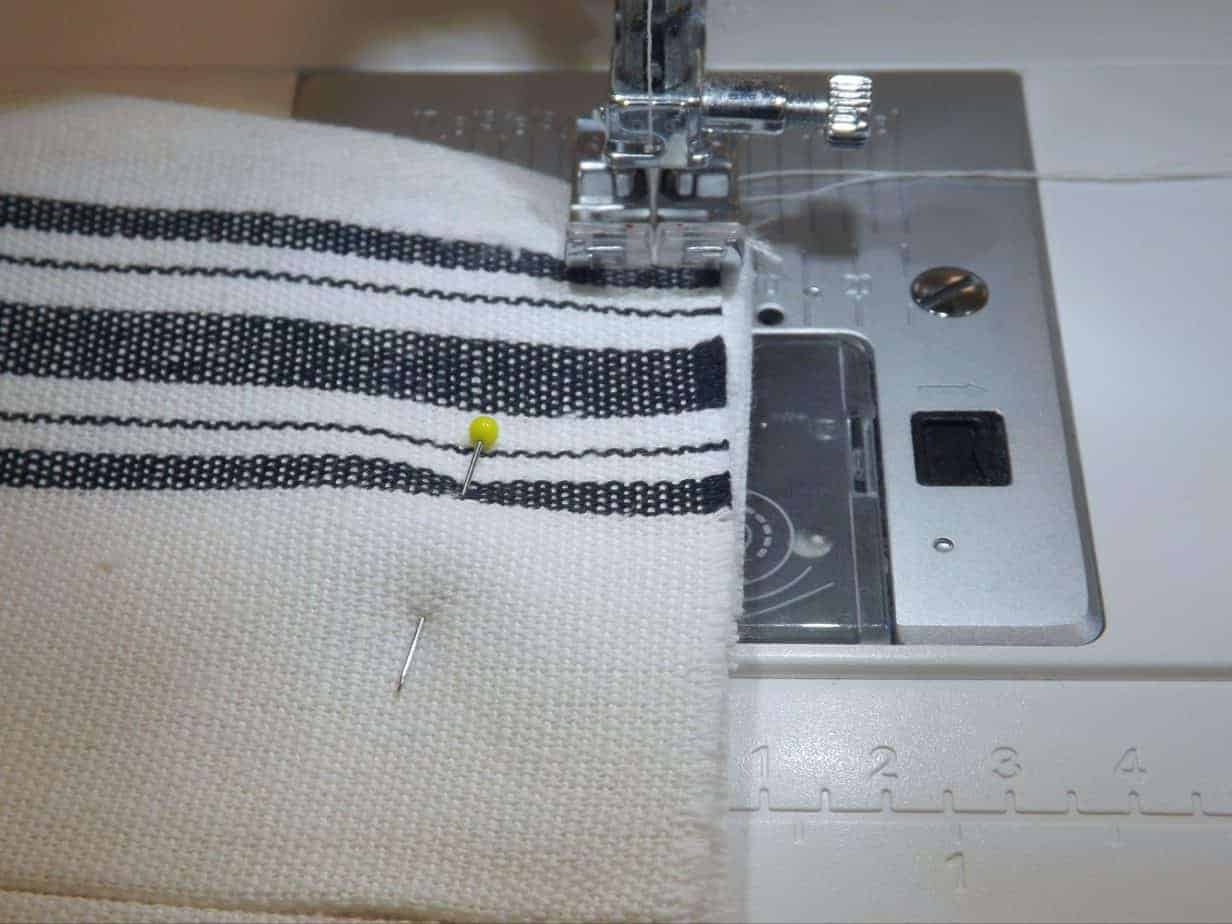
Bring the towel to your sewing machine and stitch through your mark (approximately 1/2″ long, parallel to the hemmed edge). Repeat the marking and stitching for the other end of the towel.
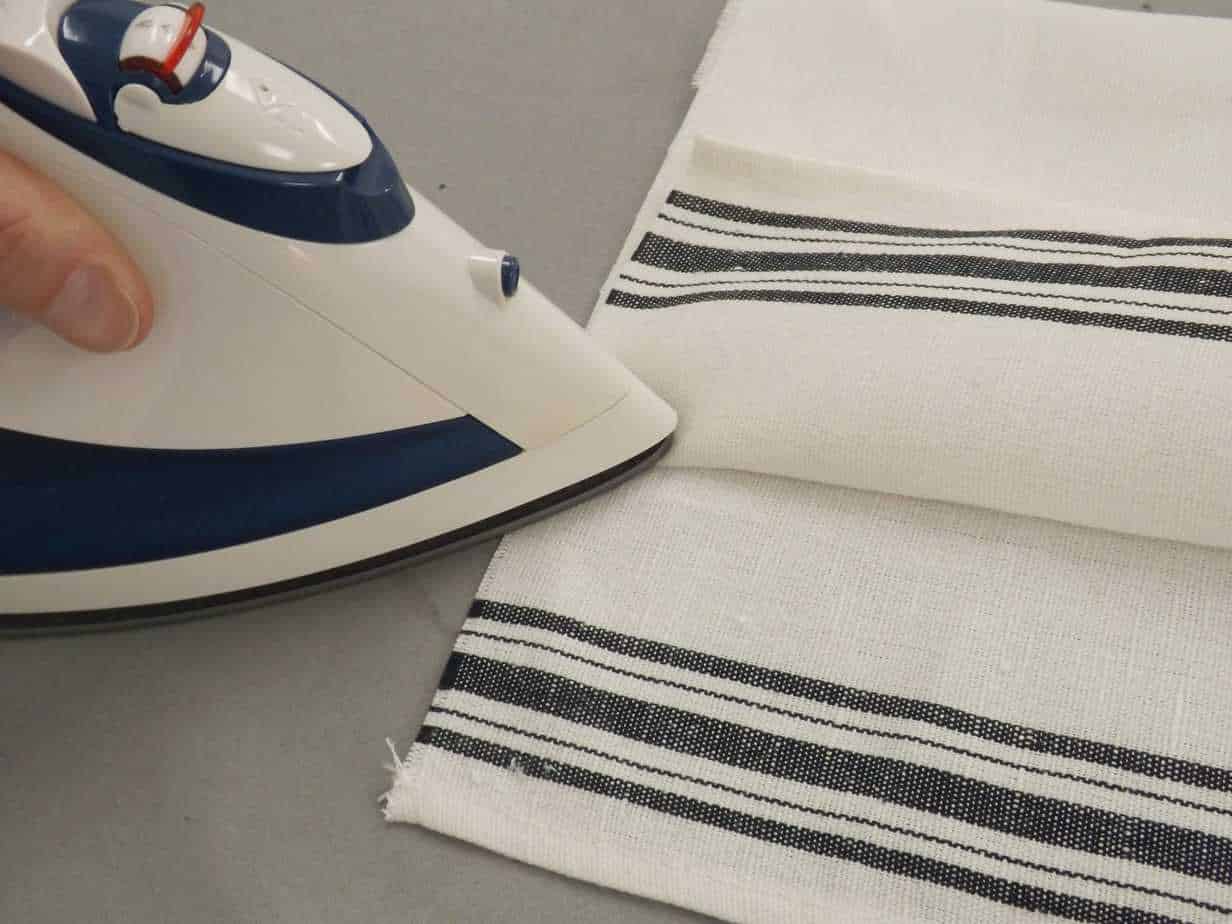
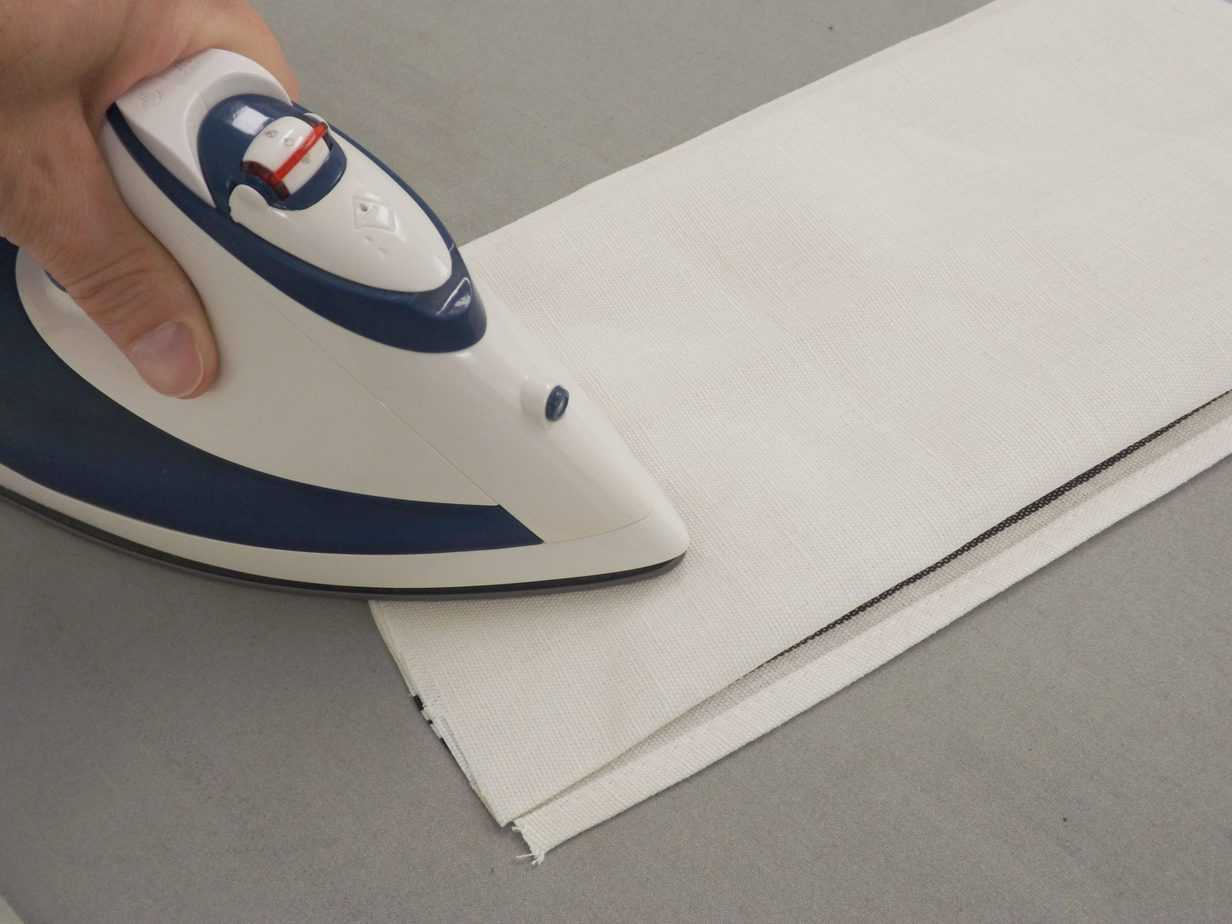
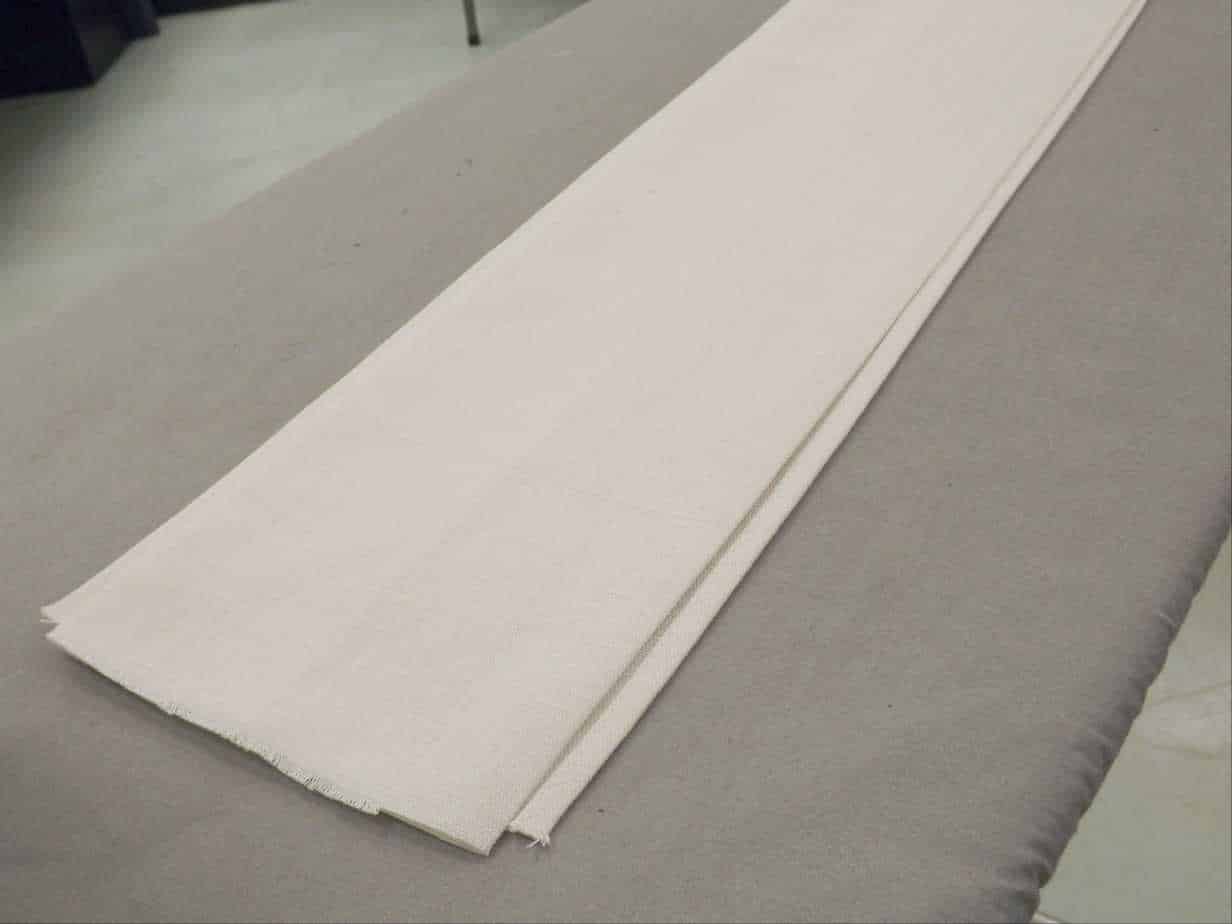
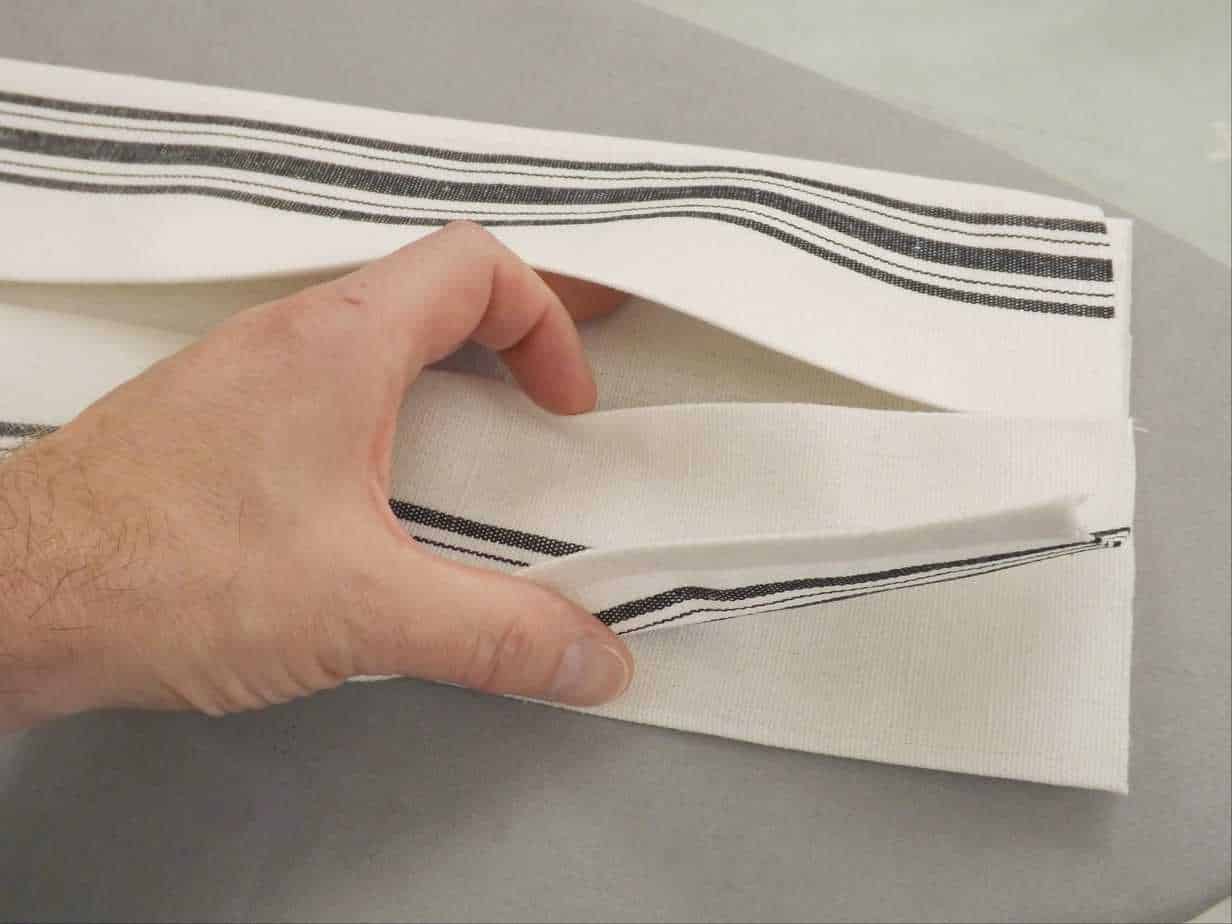
Open out the towel to where you stitched it and press. Press a nice straight crease along the entire length of the towel ending at the stitching at the opposite end.
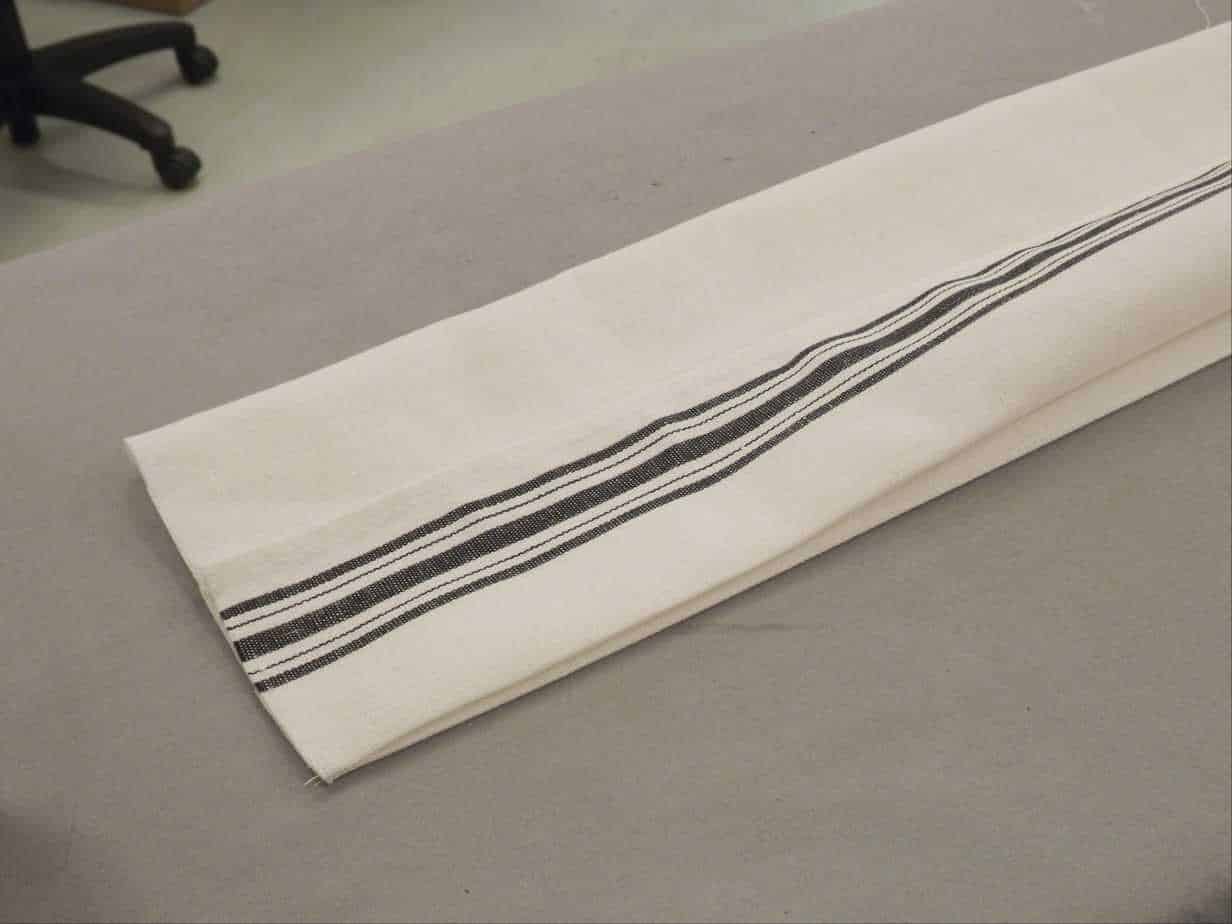
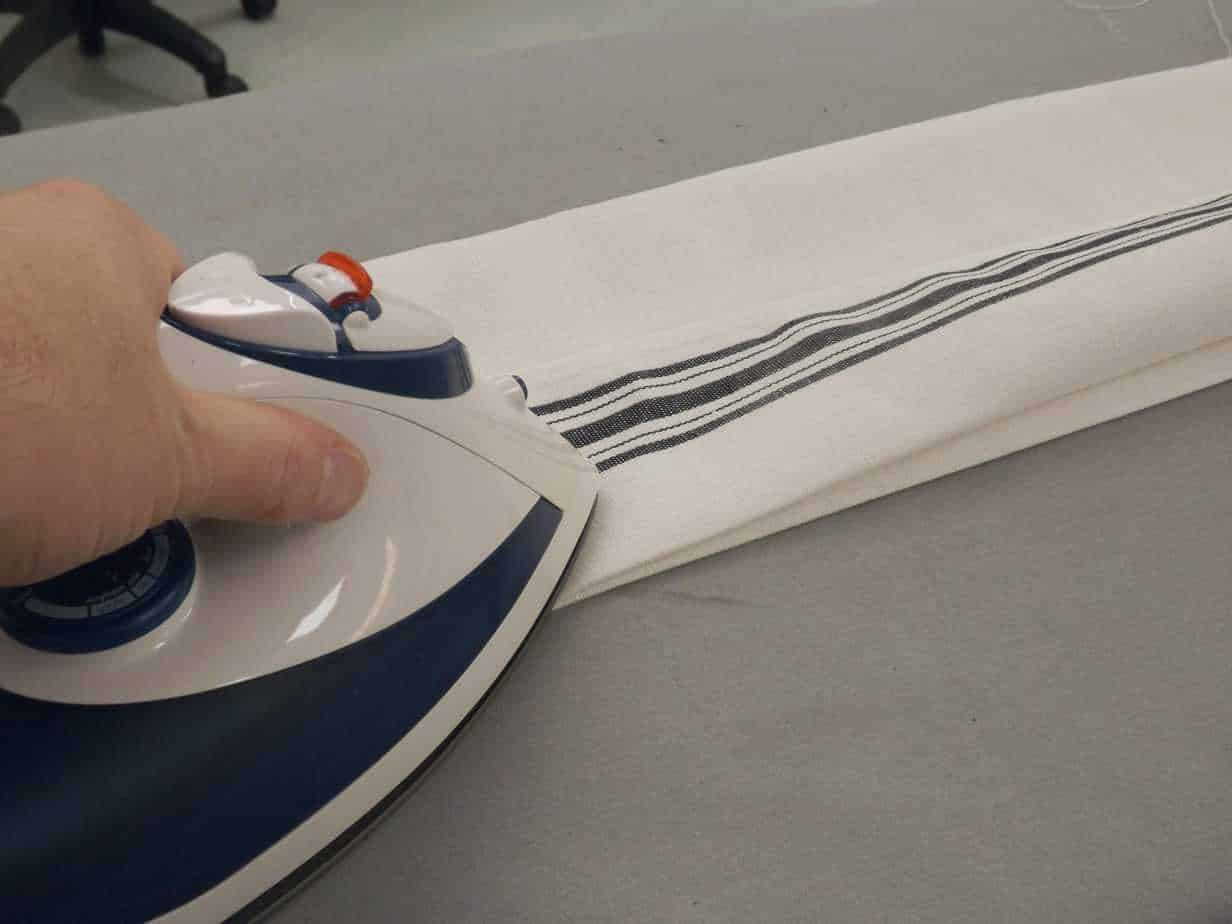
Turn the towel over. Fold back the other edge of the towel and press again along the entire length of the towel to the stitching at the opposite end.
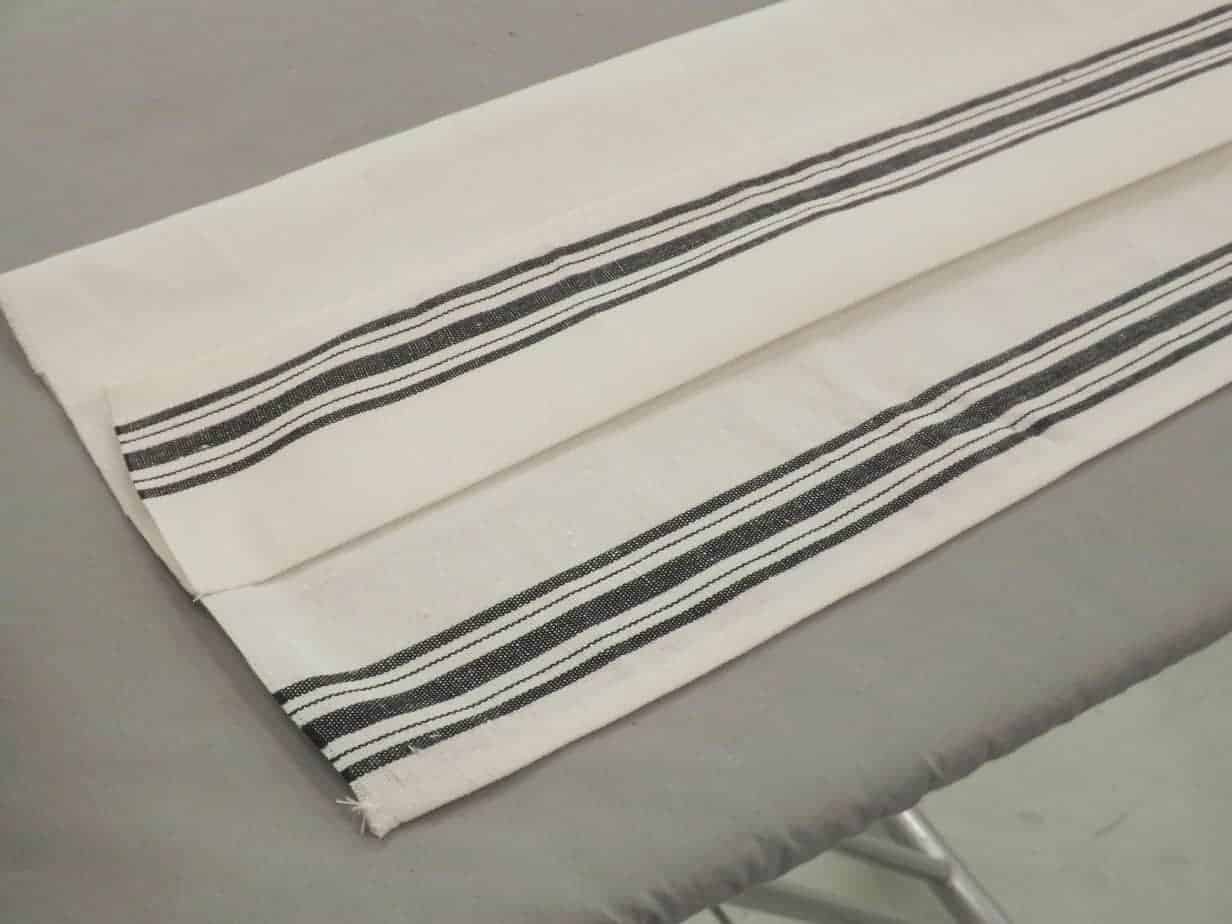
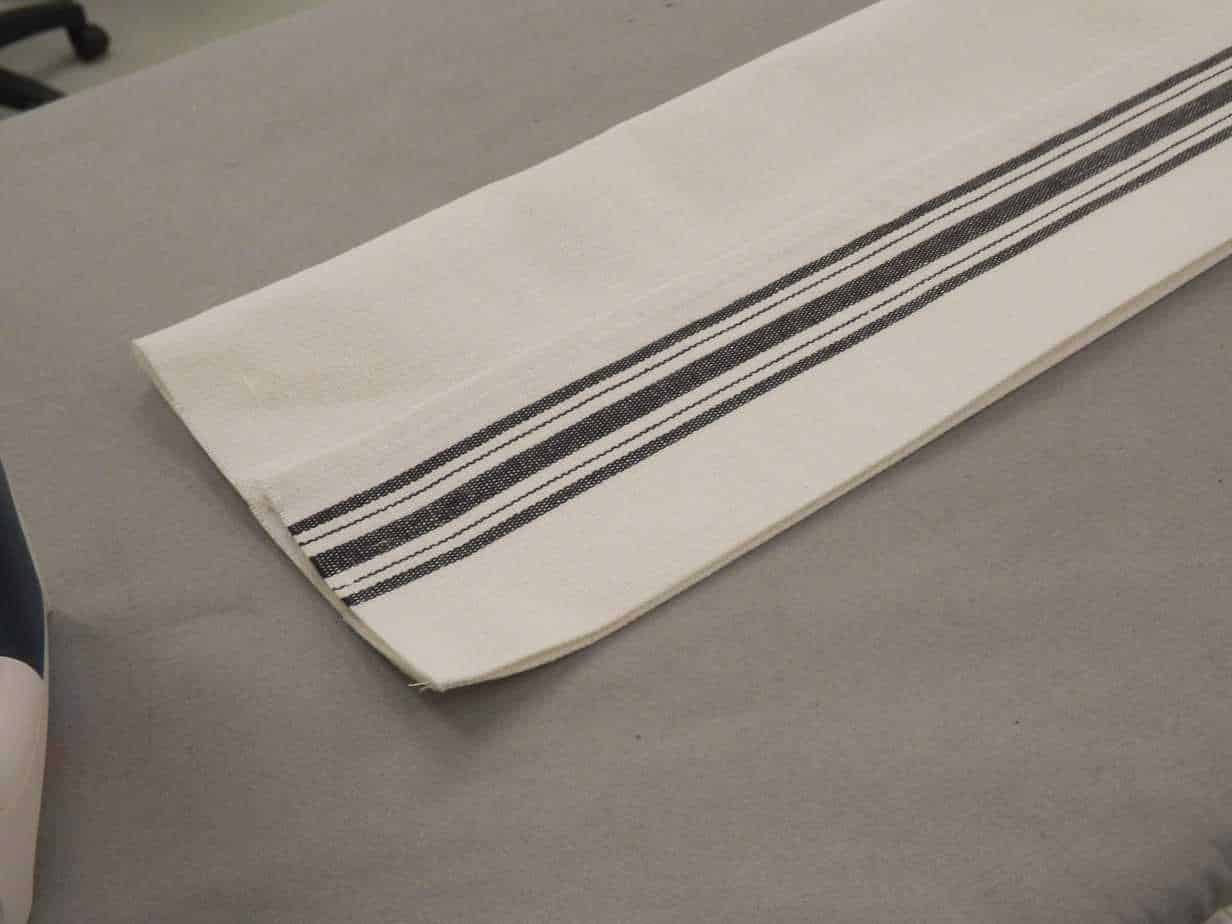
Lay the towel out so the stripes are facing the ironing board. Flatten out the towel as shown in the first image above. Press nice straight creases in the towel along the entire length of the towel.
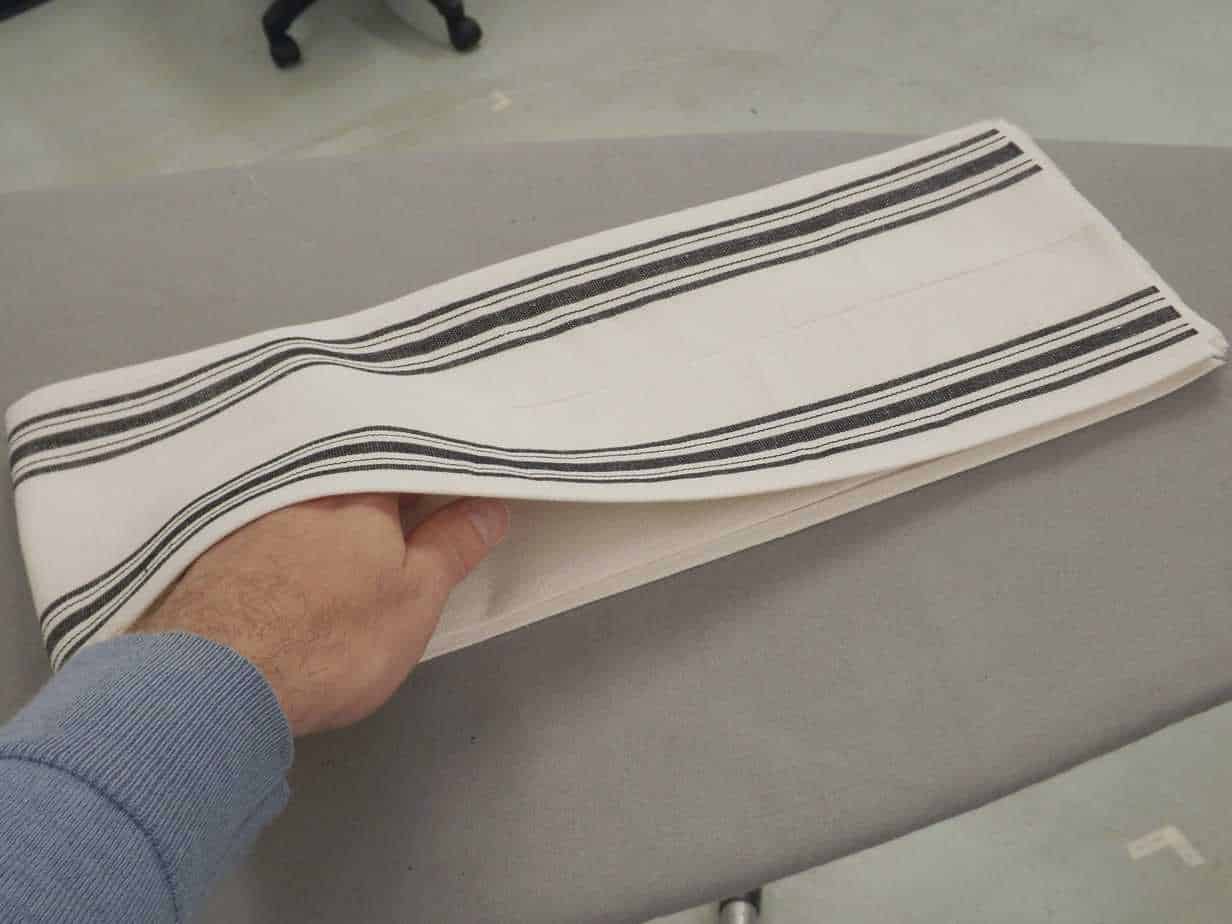
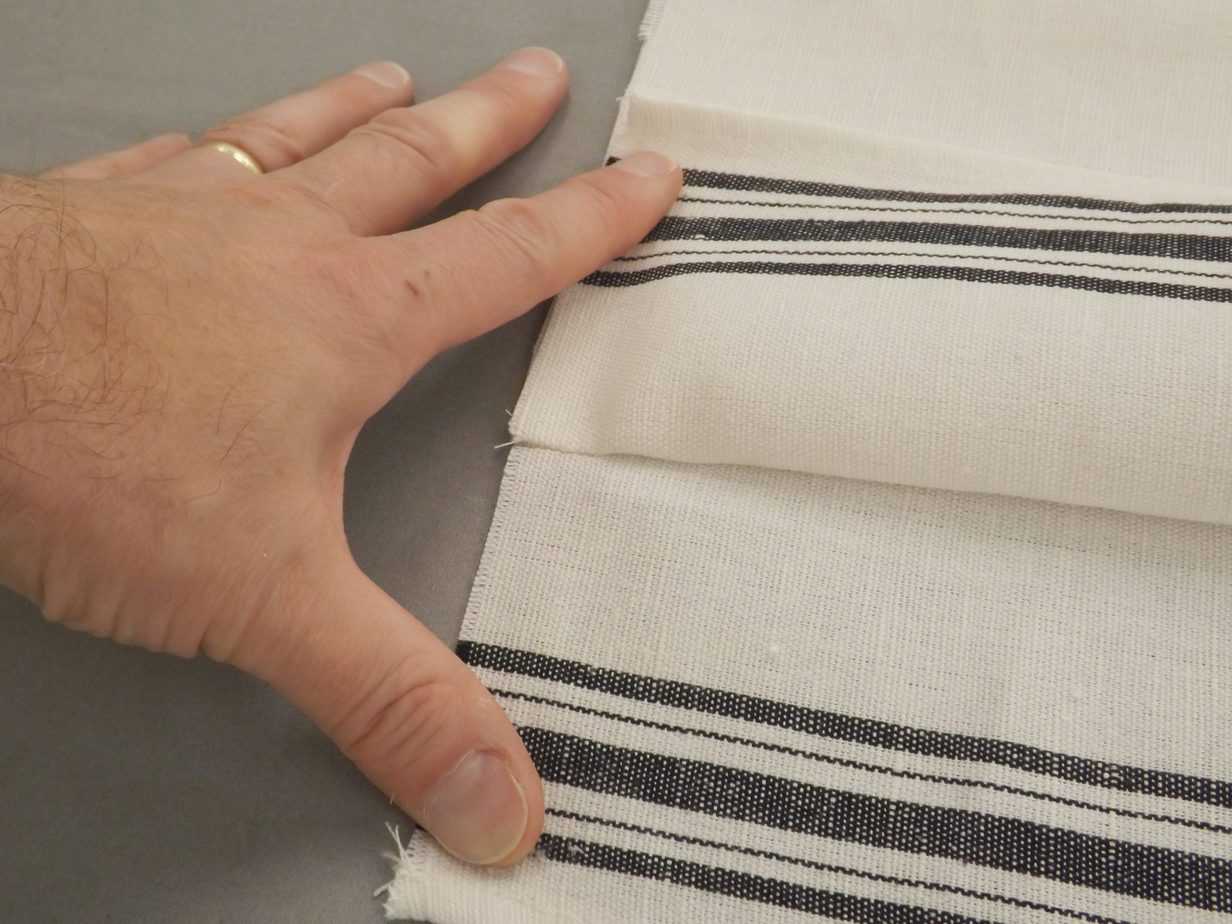
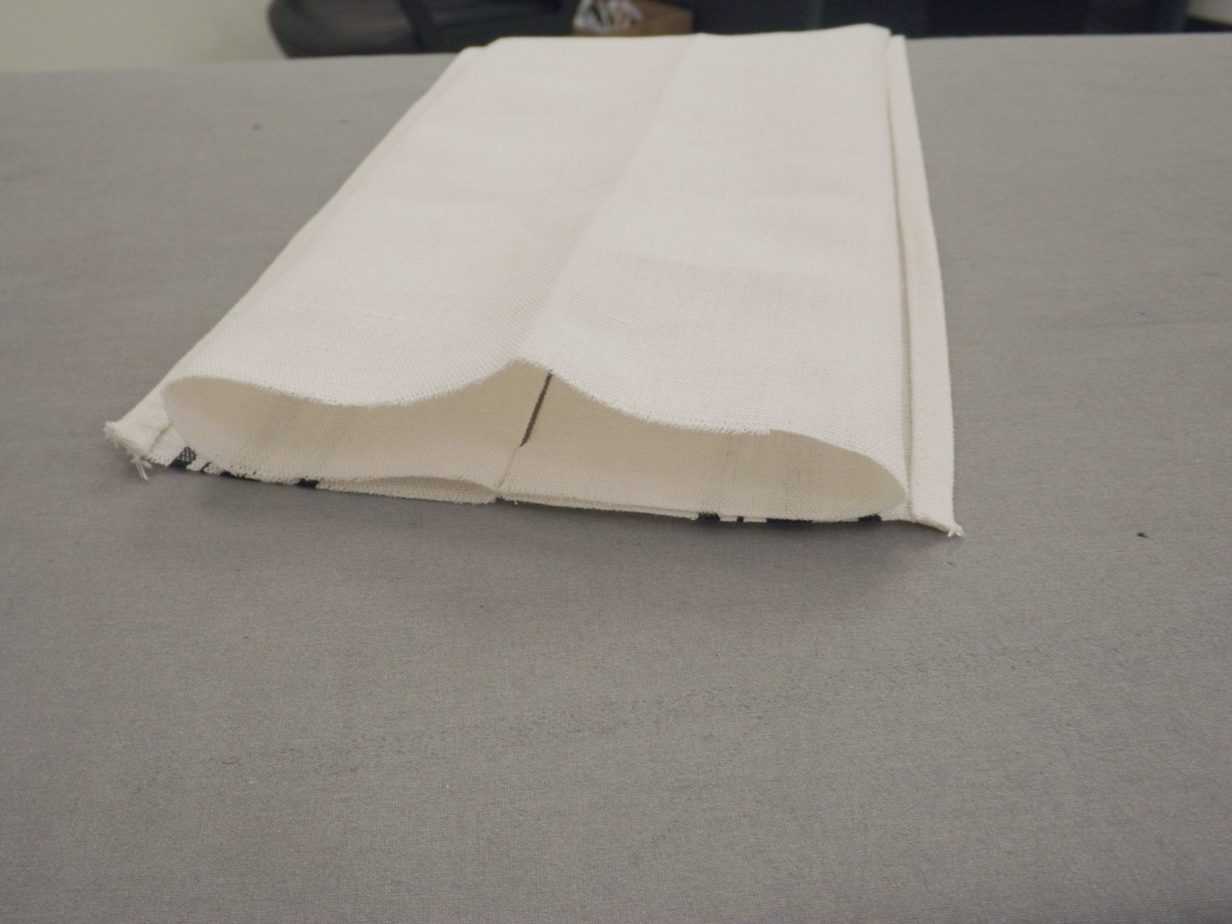
Fold the towel in half by bringing the two ends of the towel together. The stripes will be facing the outside of the towel. Baste the ends of the towel together through all layers using a 3/8″ seam allowance.
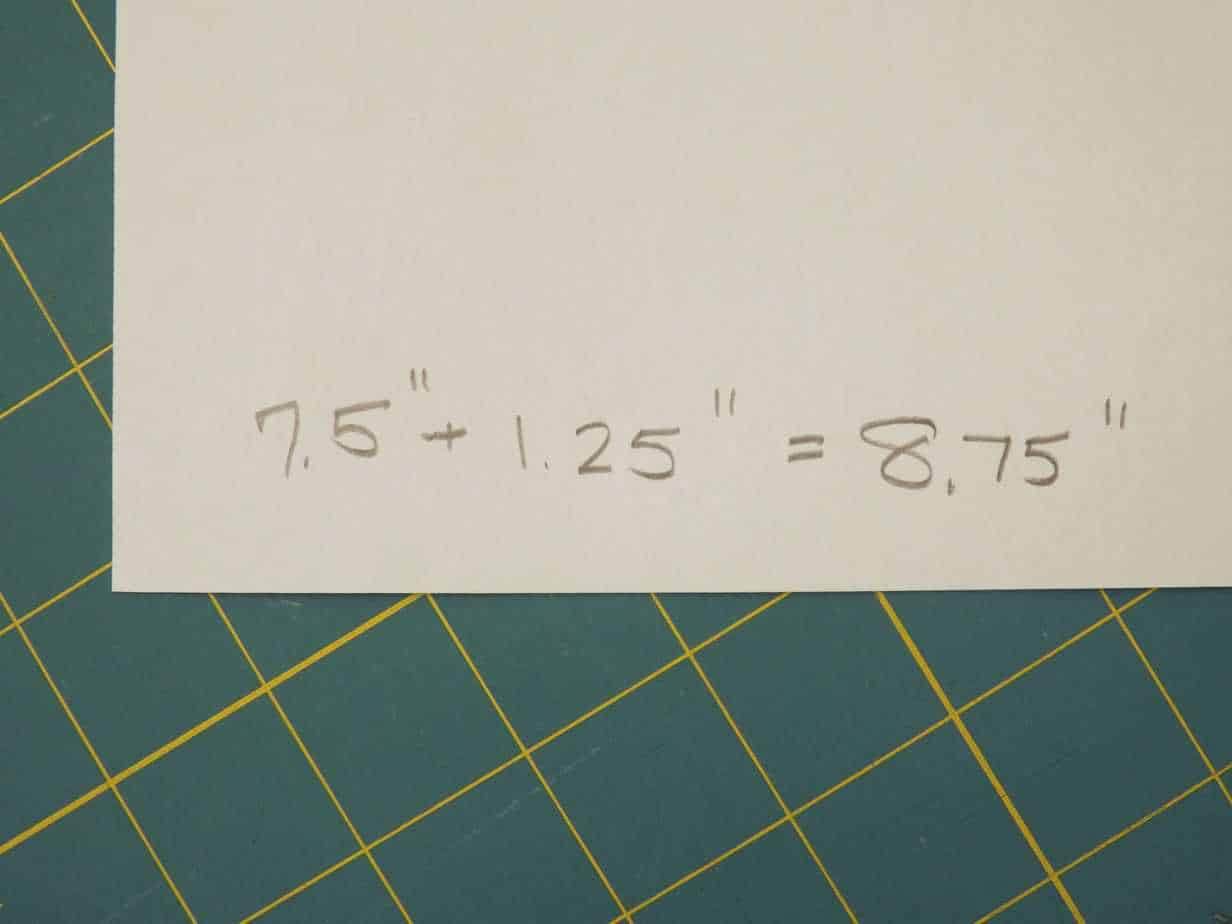
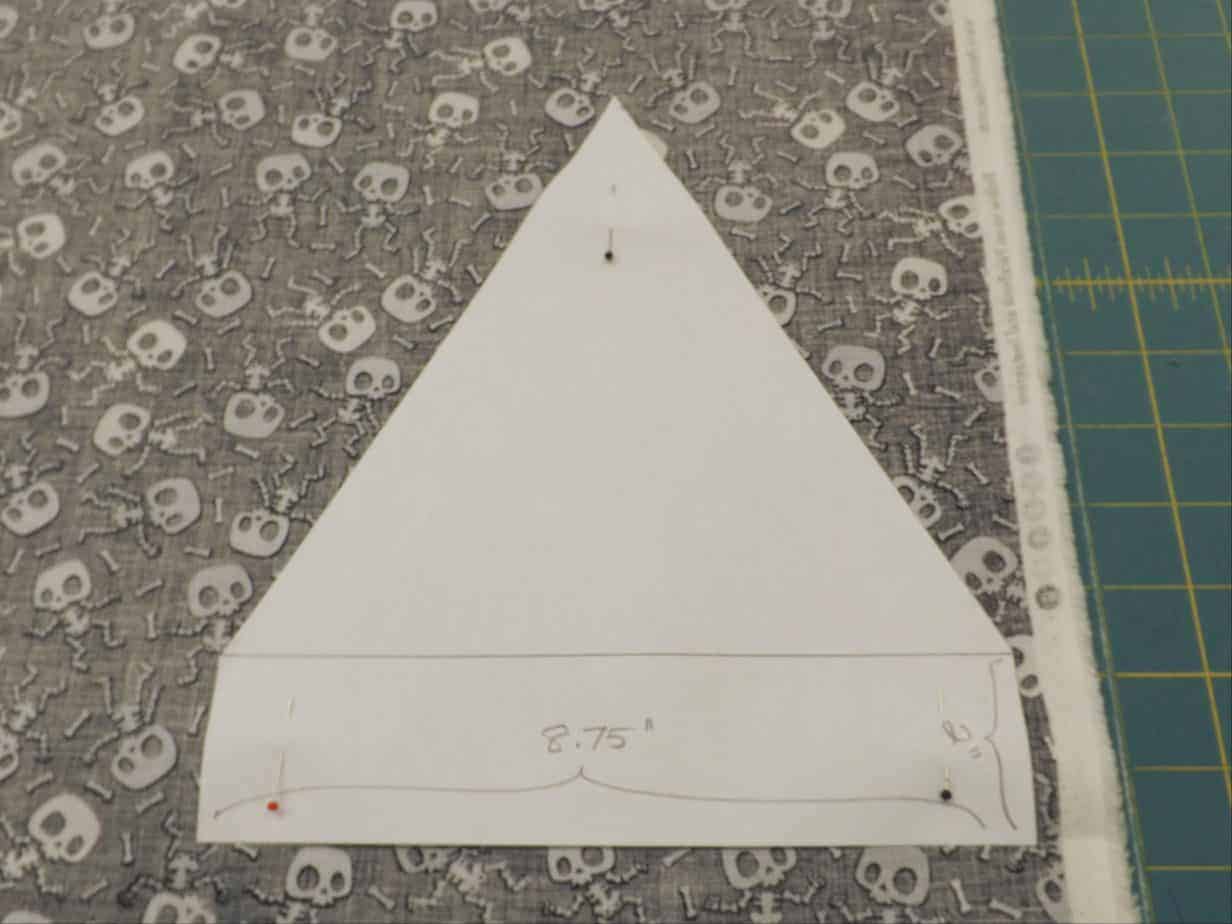
Measure the finished width of the towel (including the hems). Our towel measures 7 1/2″ wide. Add 1 1/4″ to this measurement. Our calculation comes out to 8 3/4″.
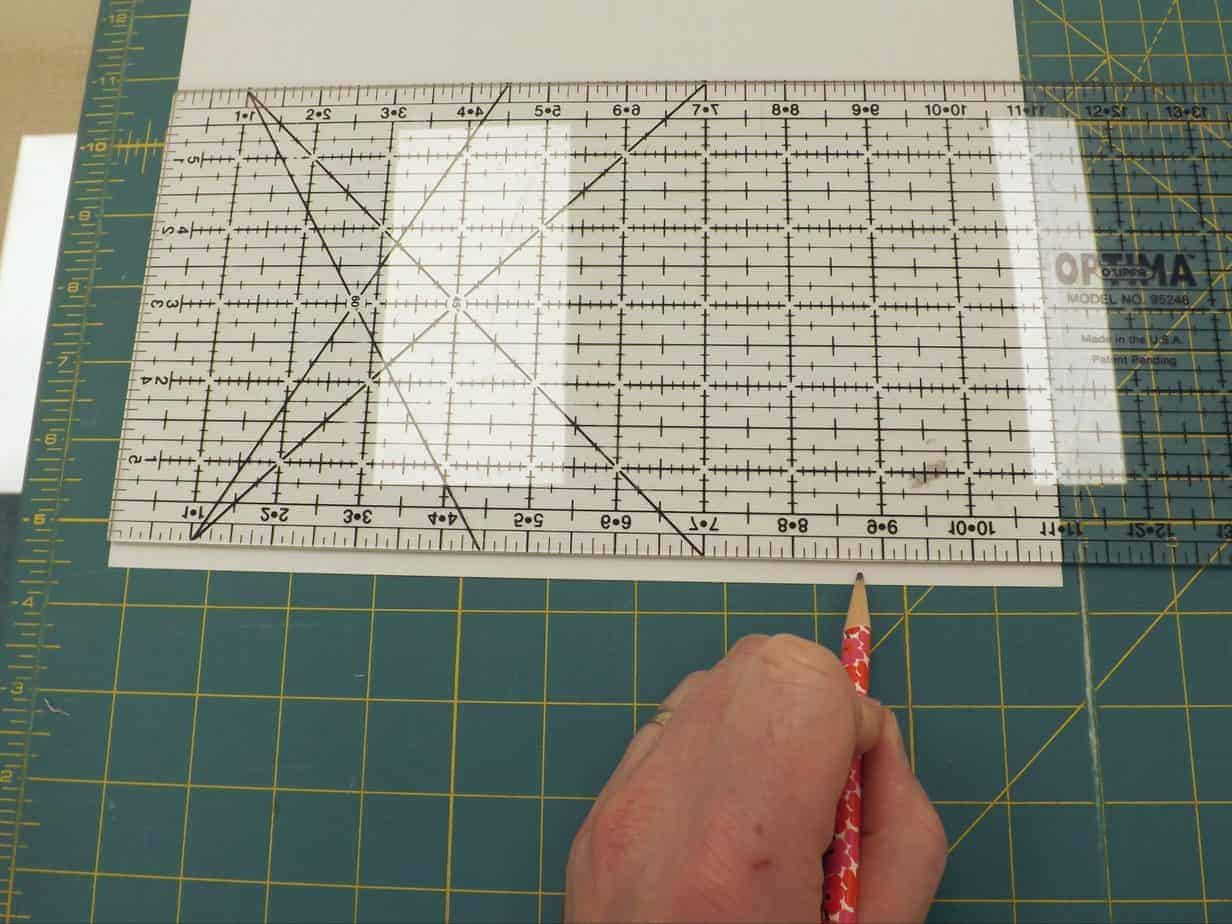
Let’s make a pattern for the hanger. From one corner of your paper, measure over the calculated amount above (8 3/4″) and make a mark. Draw a long, perpendicular line up from the edge of your paper from the marked point.
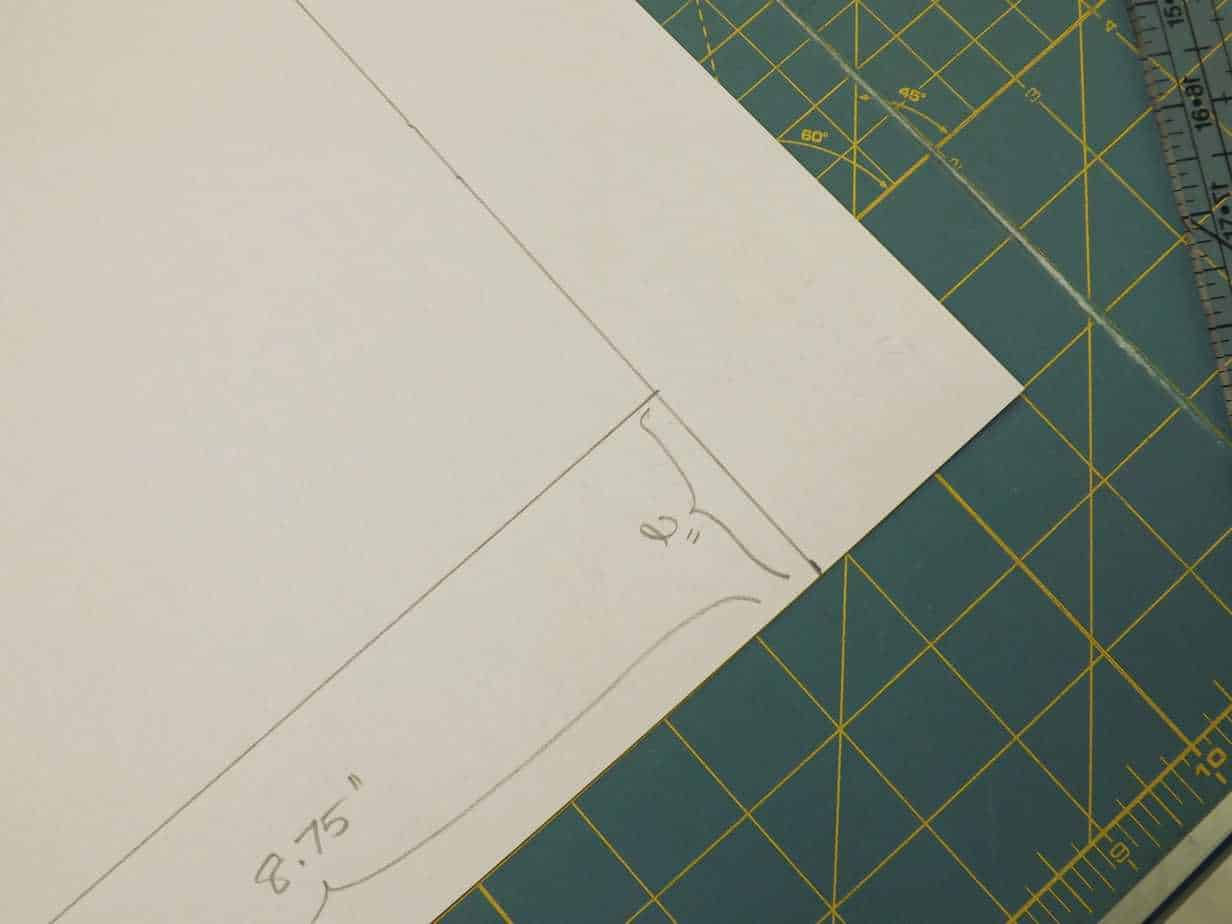
Draw a line 2″ up from the edge of your paper as shown.

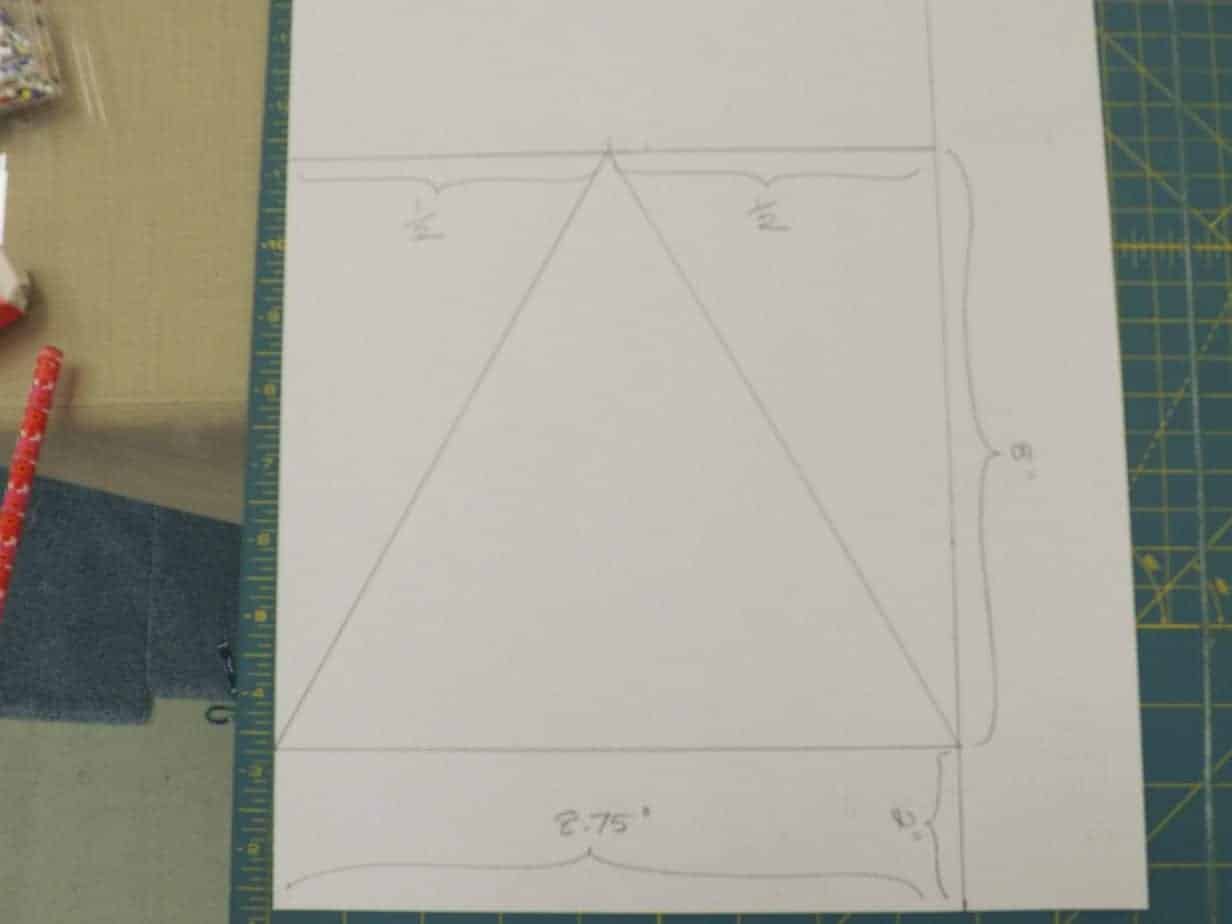
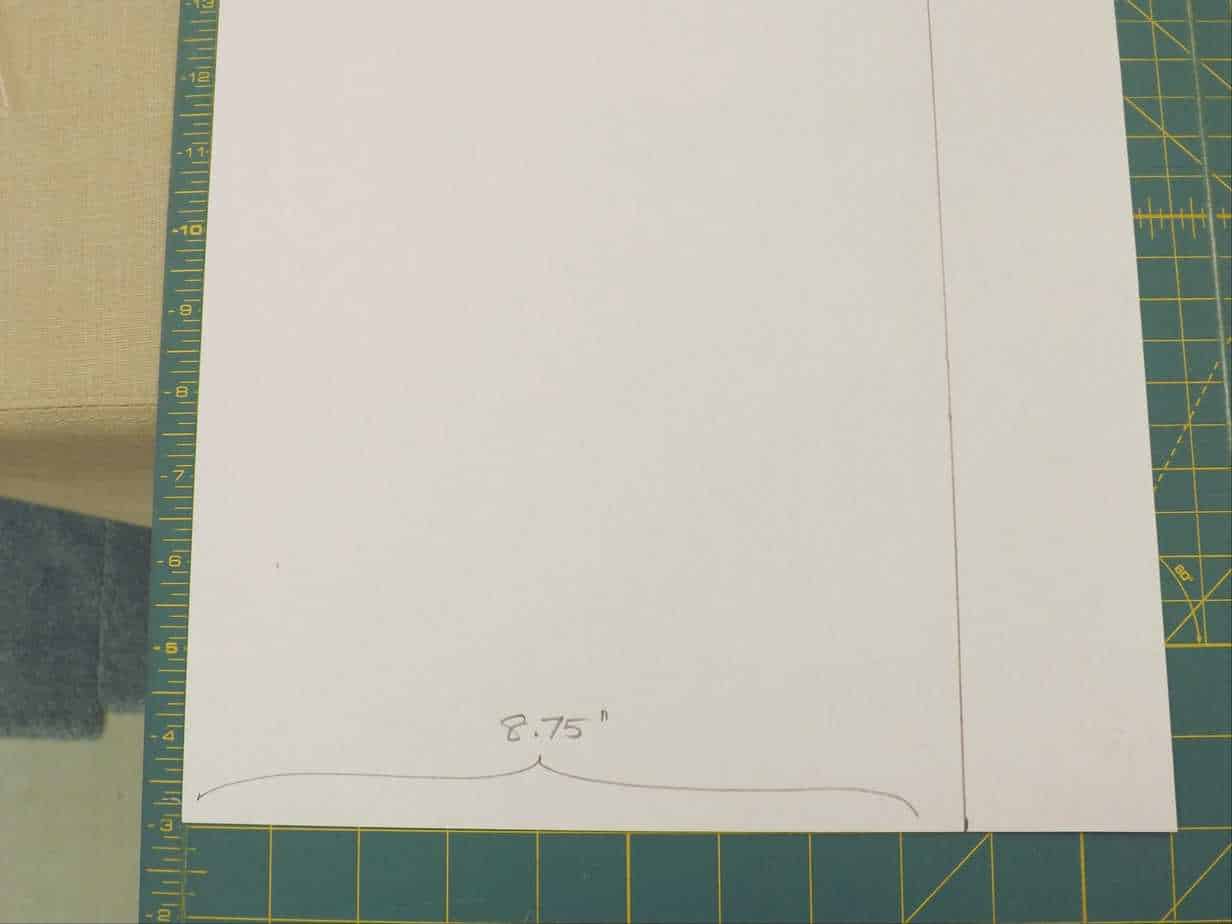
Measure an additional 8″ up from the line you just drew and draw a line. If you’re keeping up, you’ve just drawn a rectangle 8 3/4″ wide by 10″ long, with a line 2″ up from the bottom edge. Now divide the last line you drew in half. Our line was 8 3/4″, so we calculate 4 3/8″ as the halfway point. Connect the ends of the 2″ line to the halfway point you just marked.
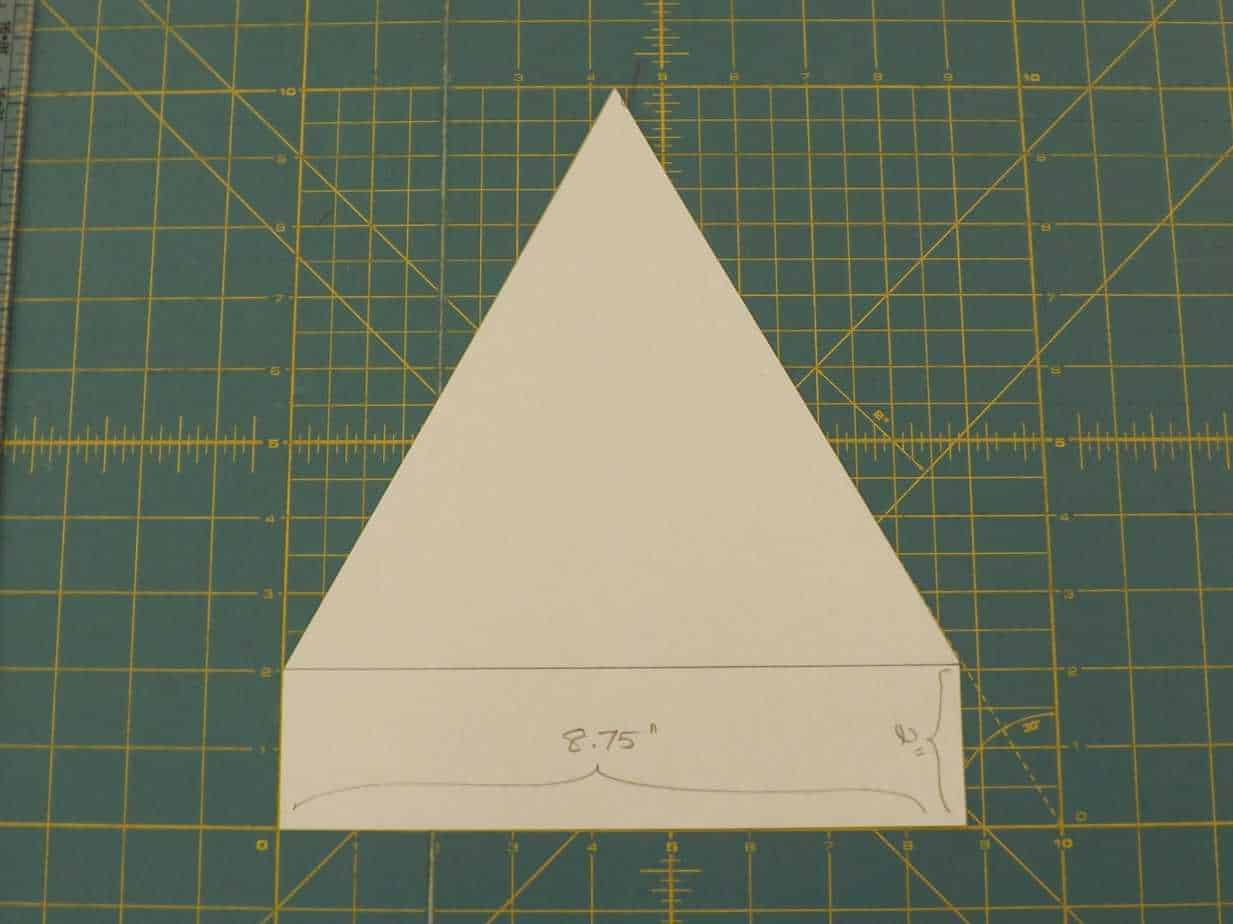
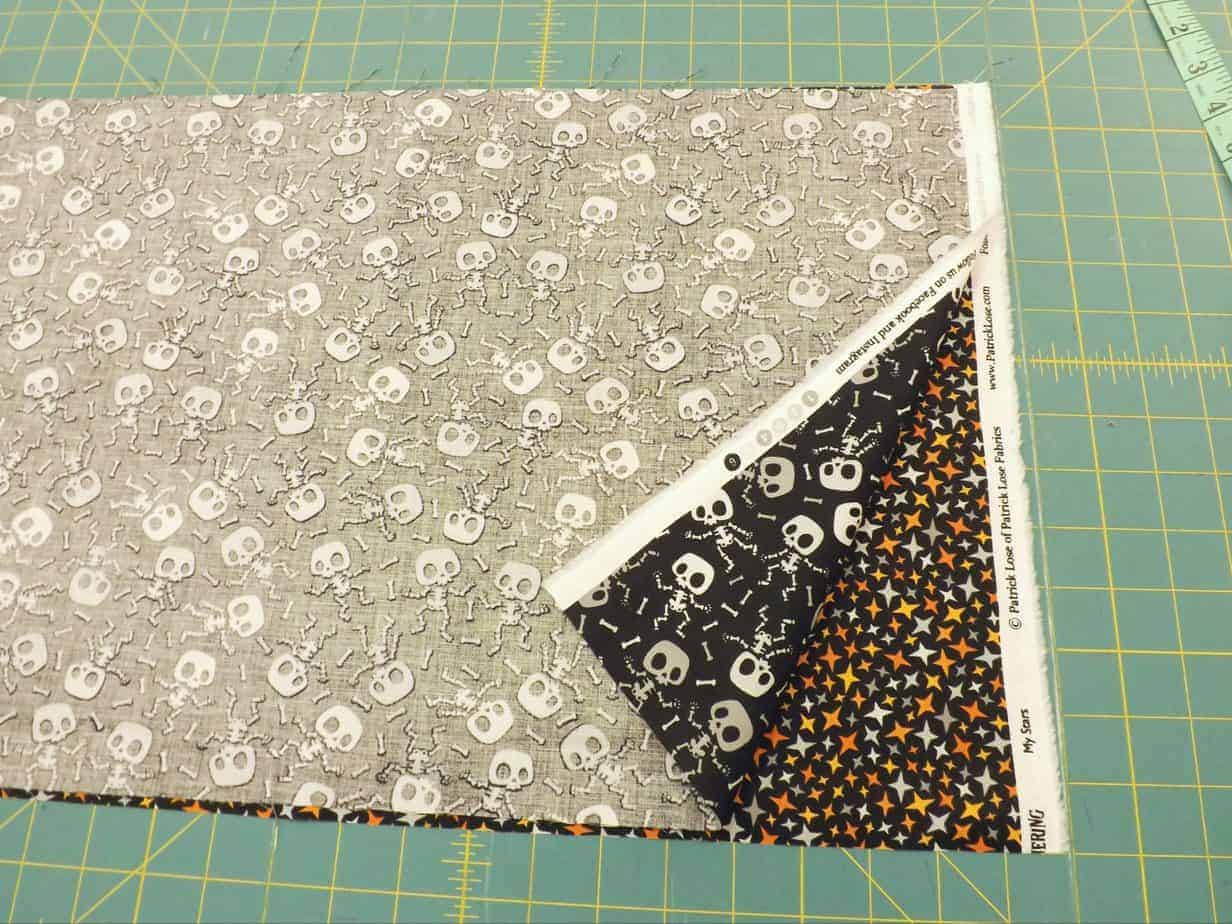
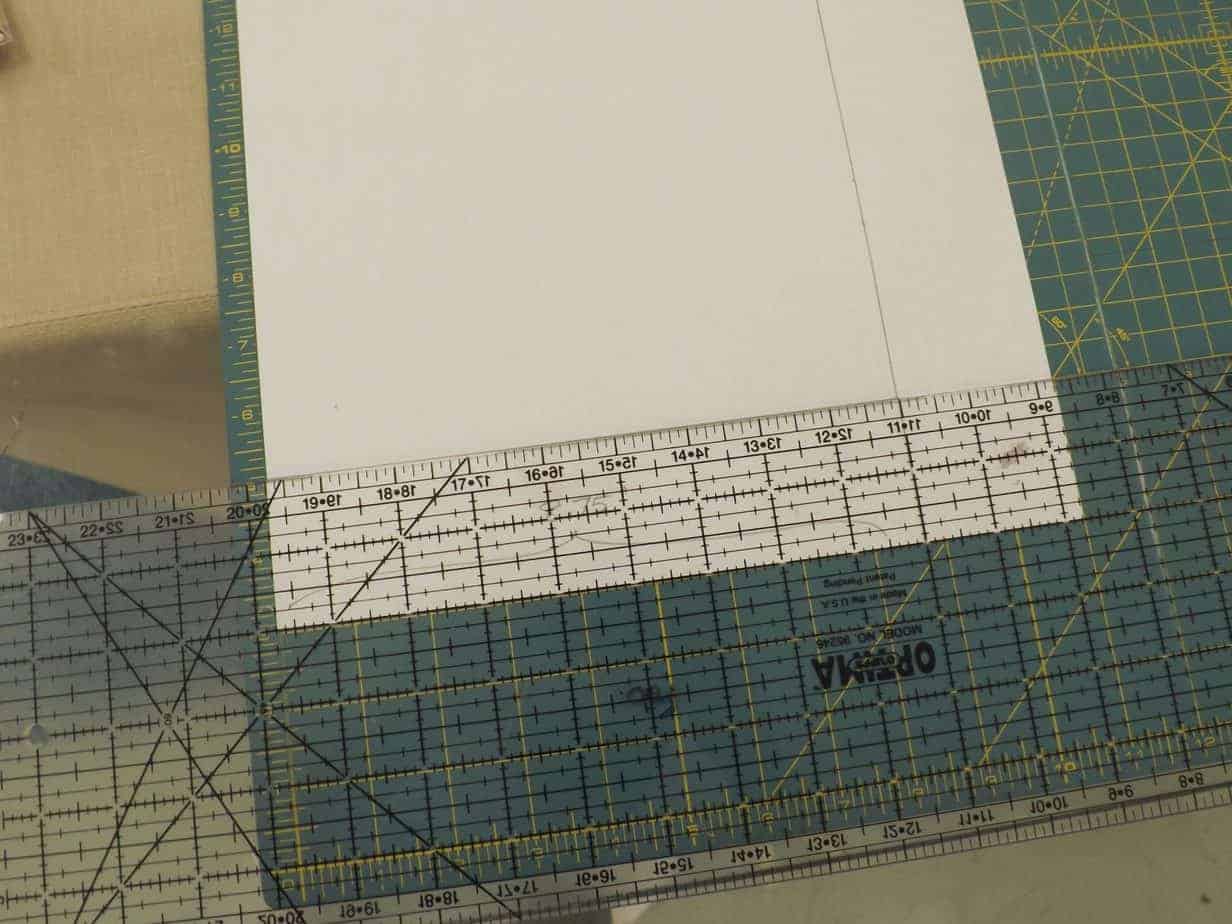
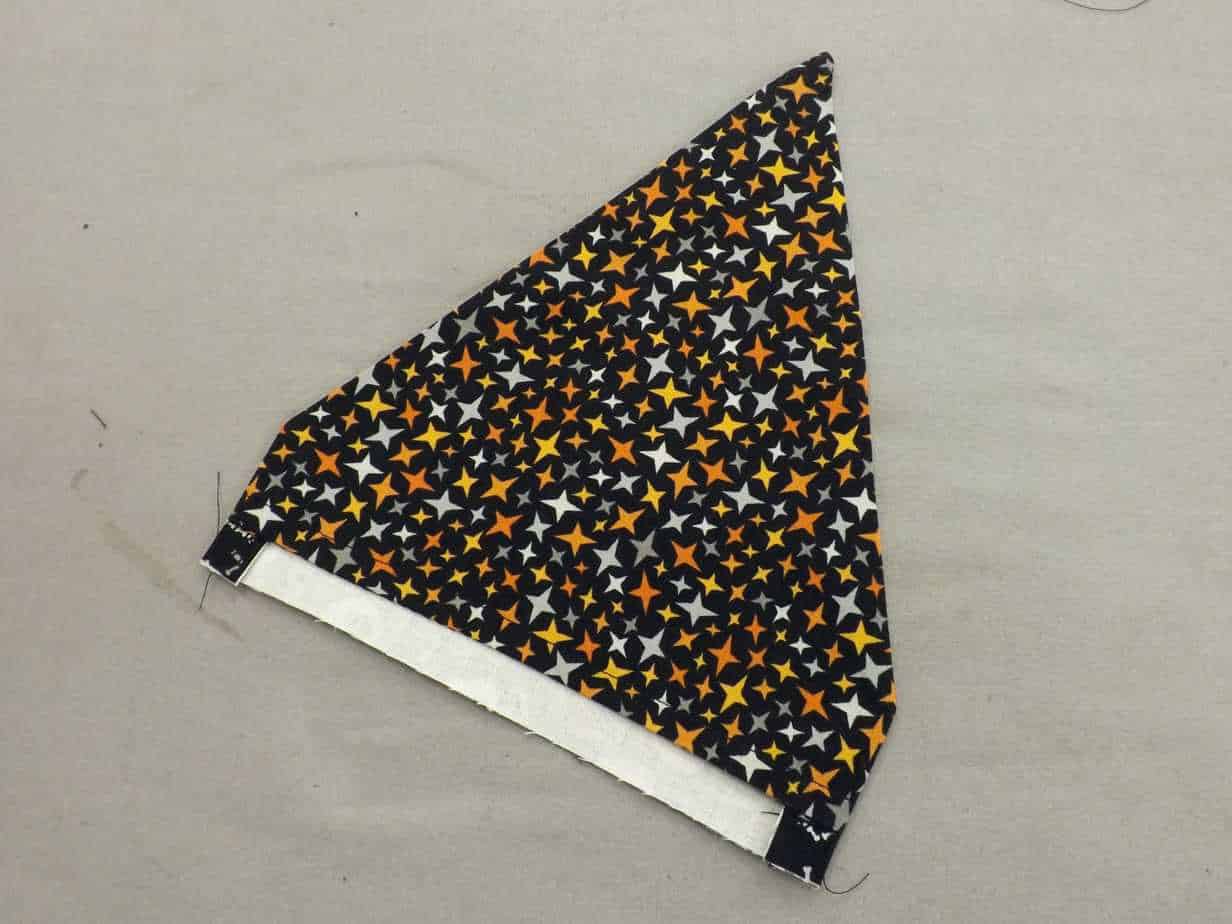
Cut out your pattern as shown in the first image above. Lay your two cotton prints together (right sides facing). If you are using one print, fold the fabric in half with the right sides facing.
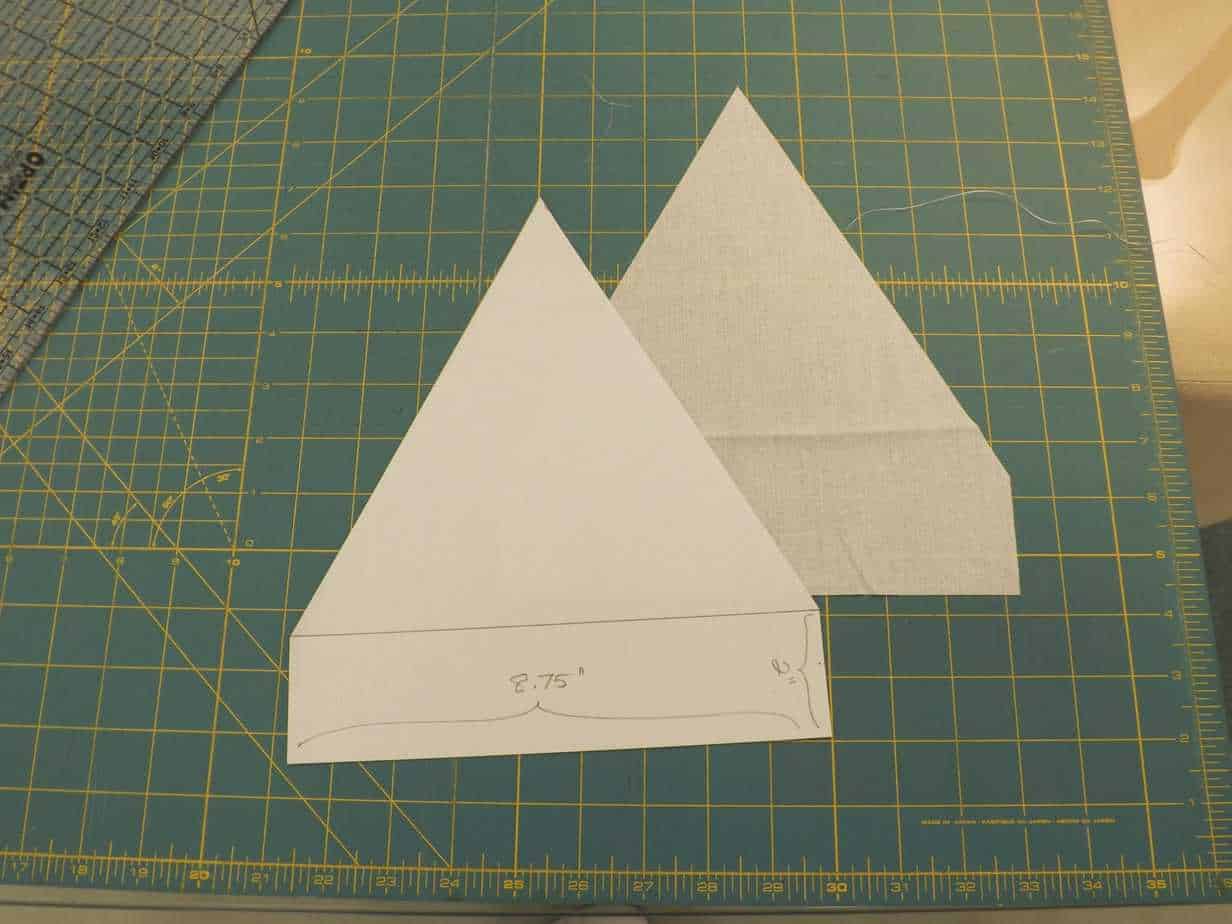
Pin your pattern to your fabrics and cut out your pieces. Set these aside. Use the same pattern piece to pin and cut out one piece of interfacing (i.e. single layer).

Take one of the print pieces that you cut and apply the interfacing to it. Make sure that the glue side of the interfacing is applied to the back of the fabric. With you iron at a wool setting, press the interfacing in sections. Do not slide your iron over the interfacing. Press one section, lift the iron and then press the next section until you have finished.
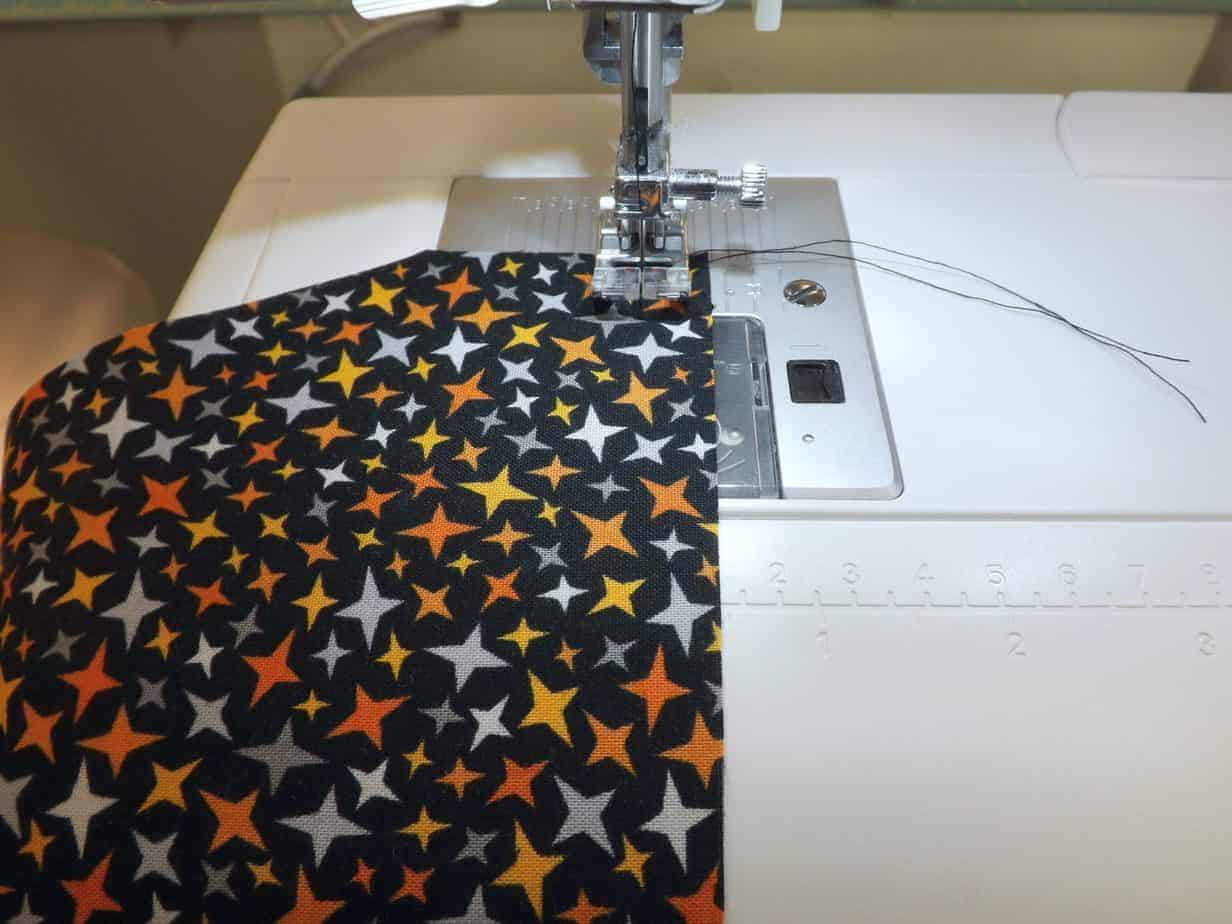
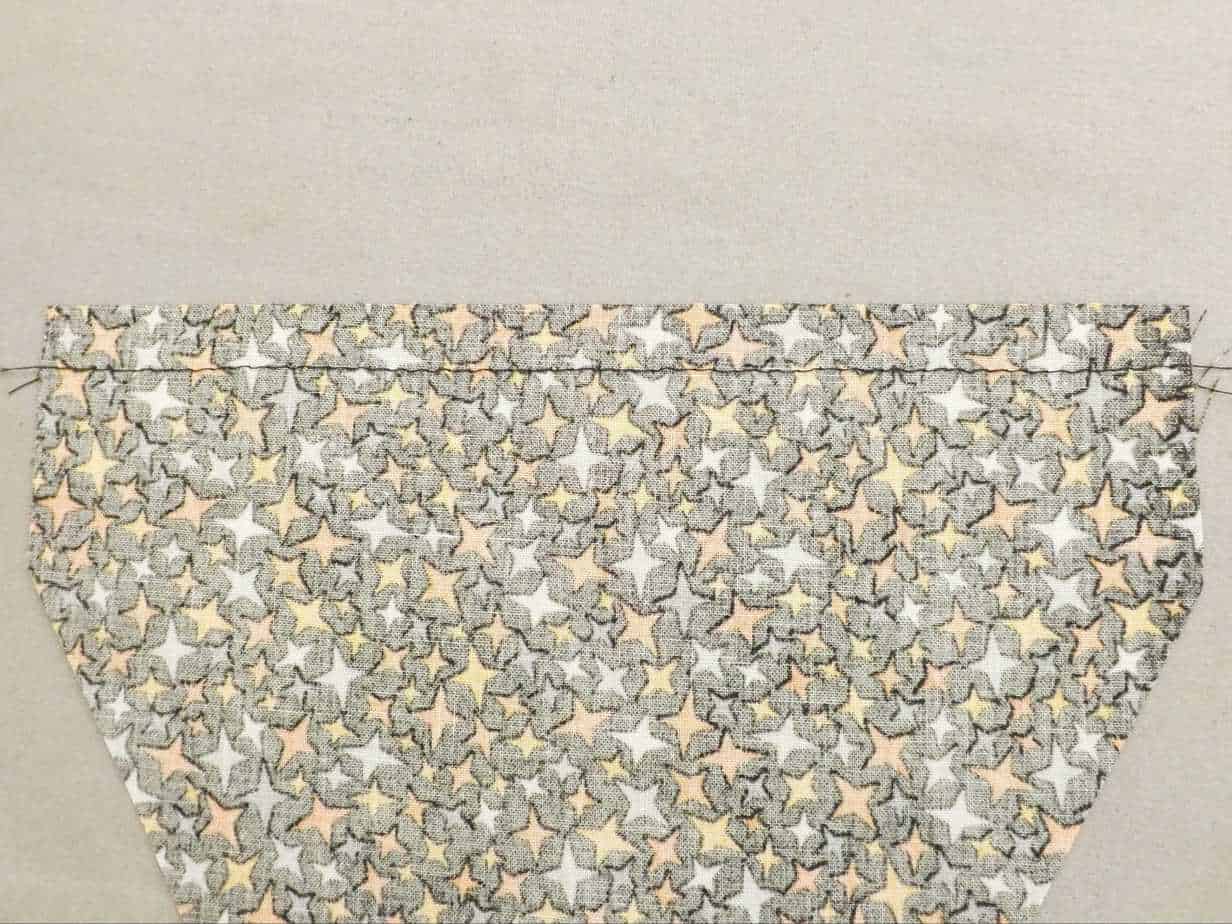
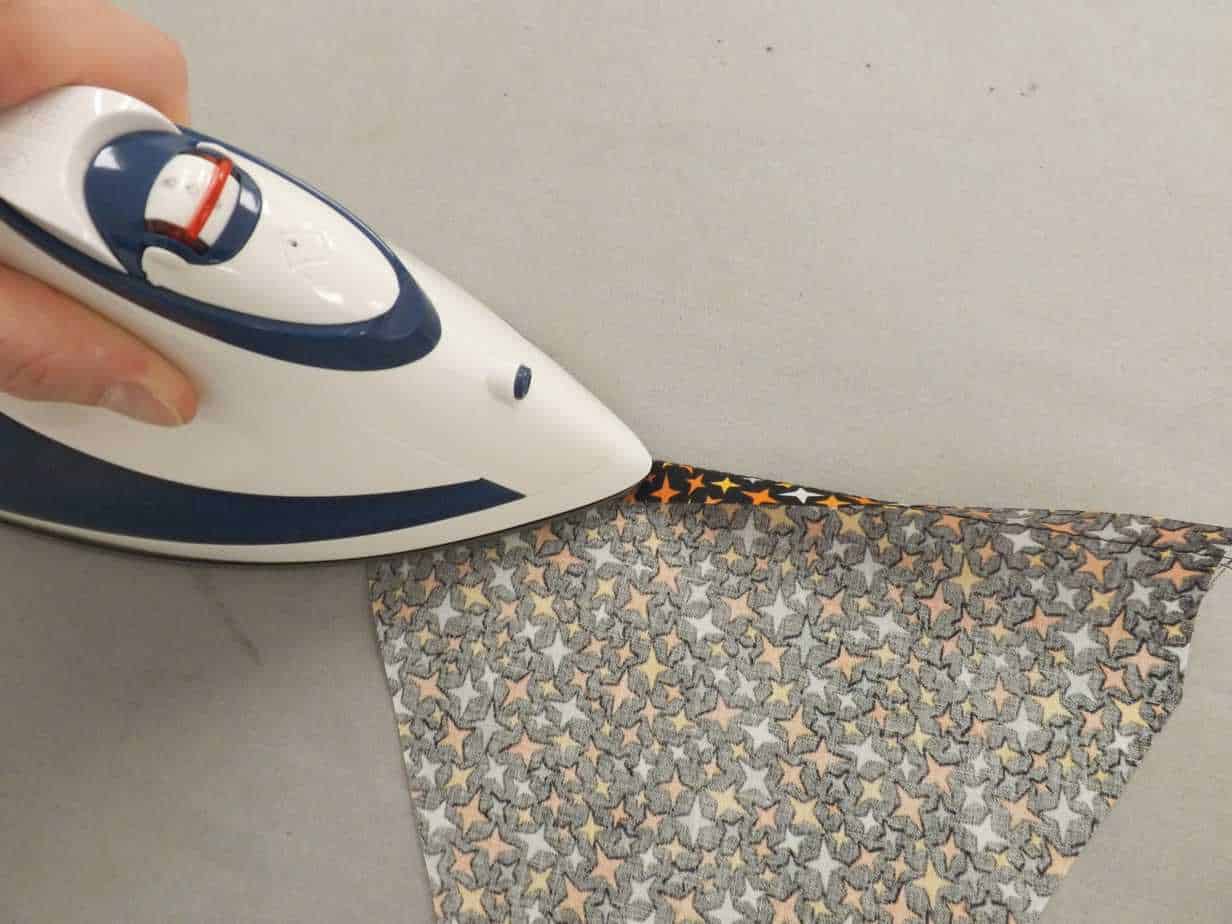
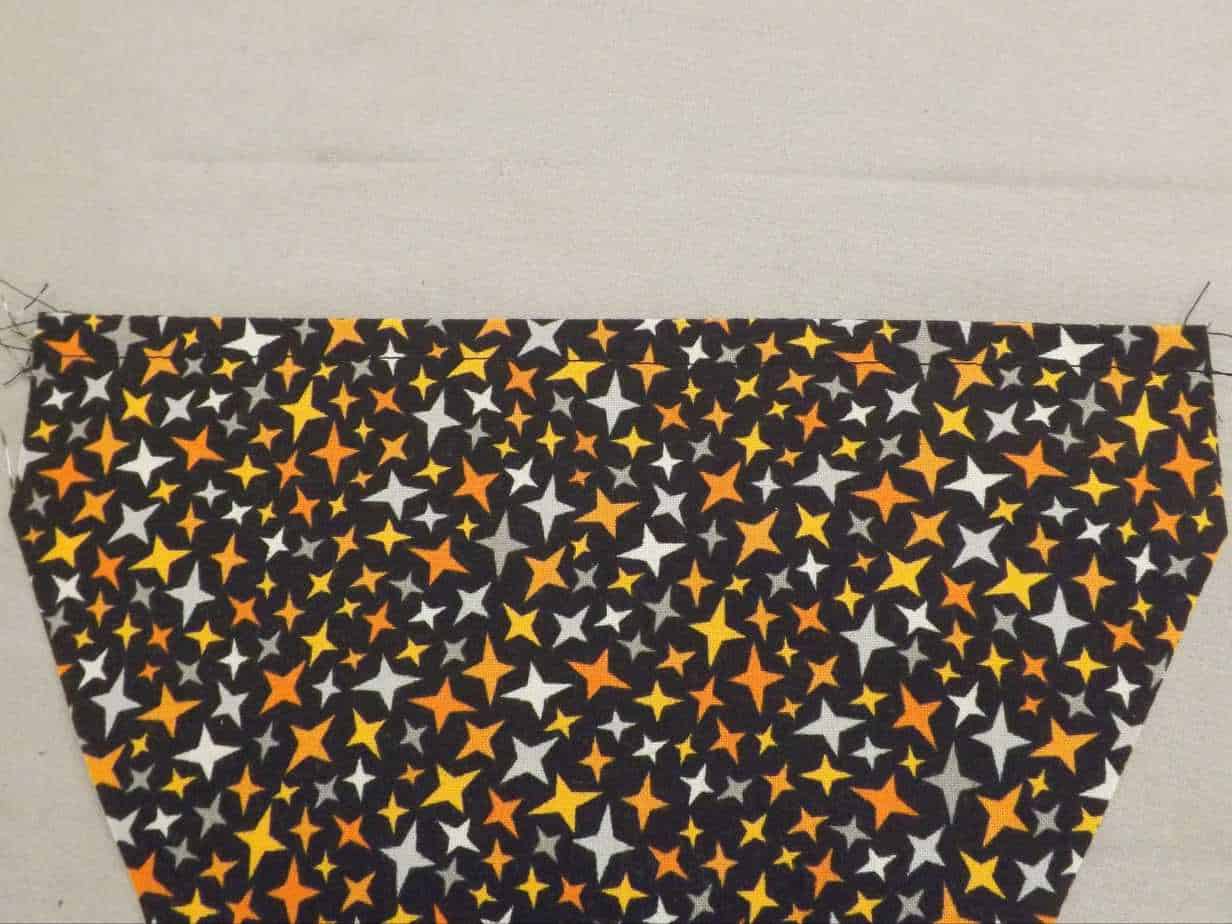
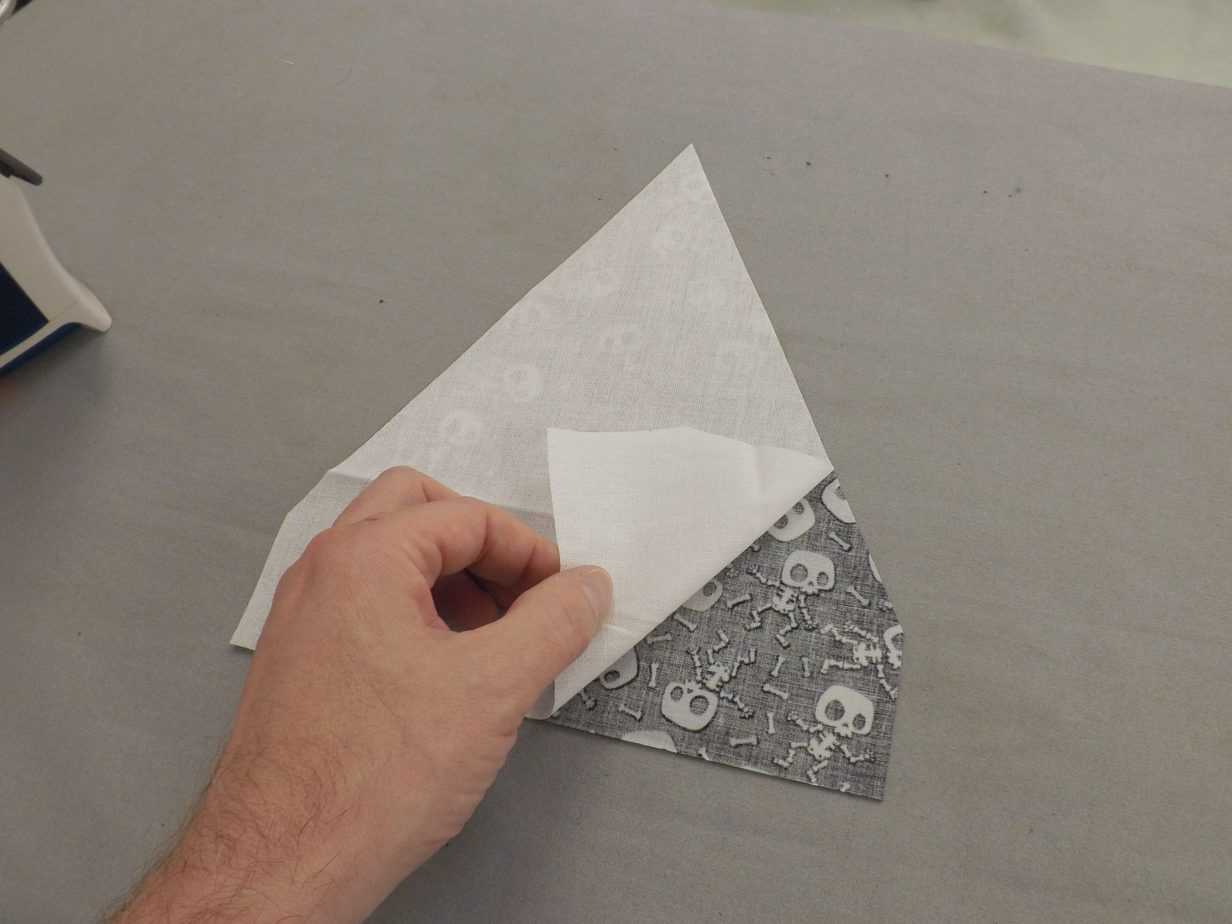
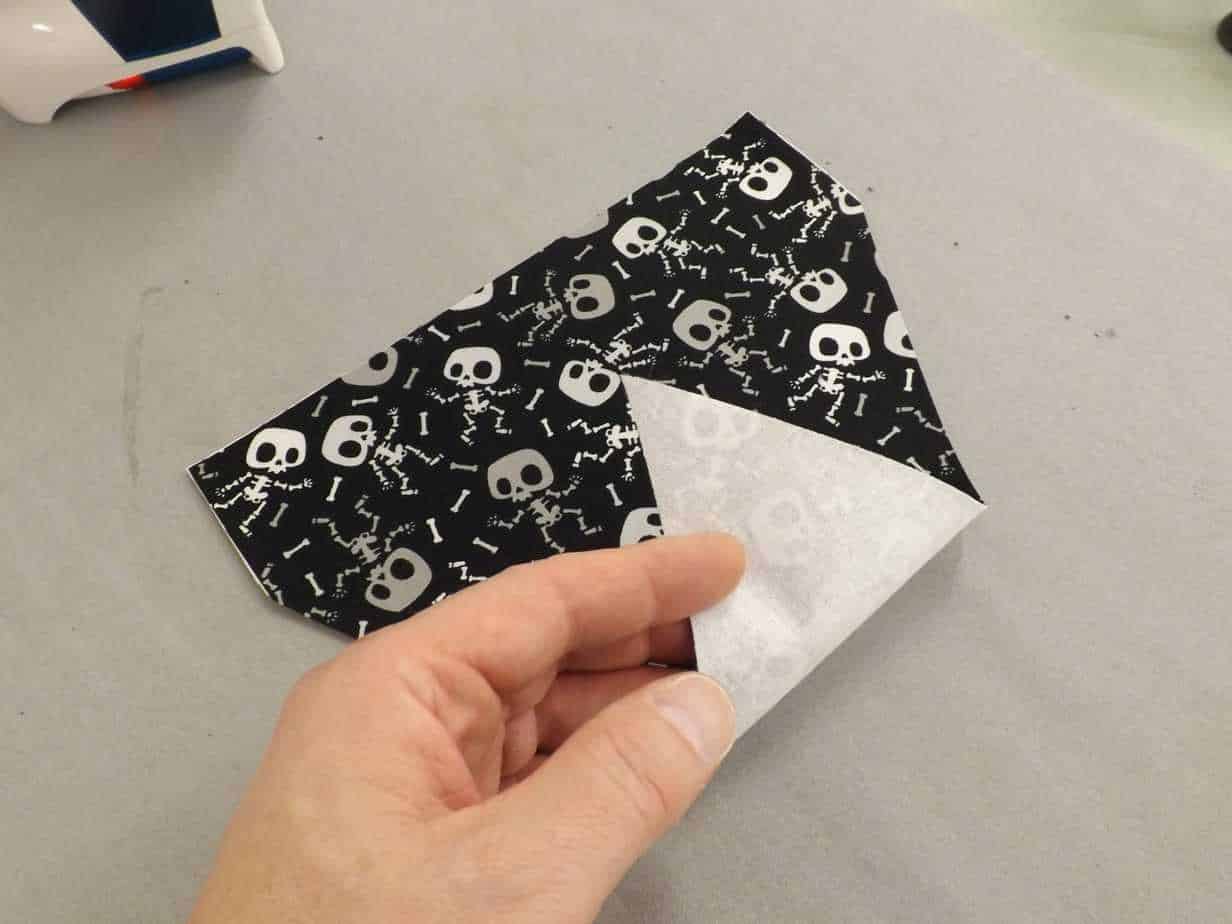
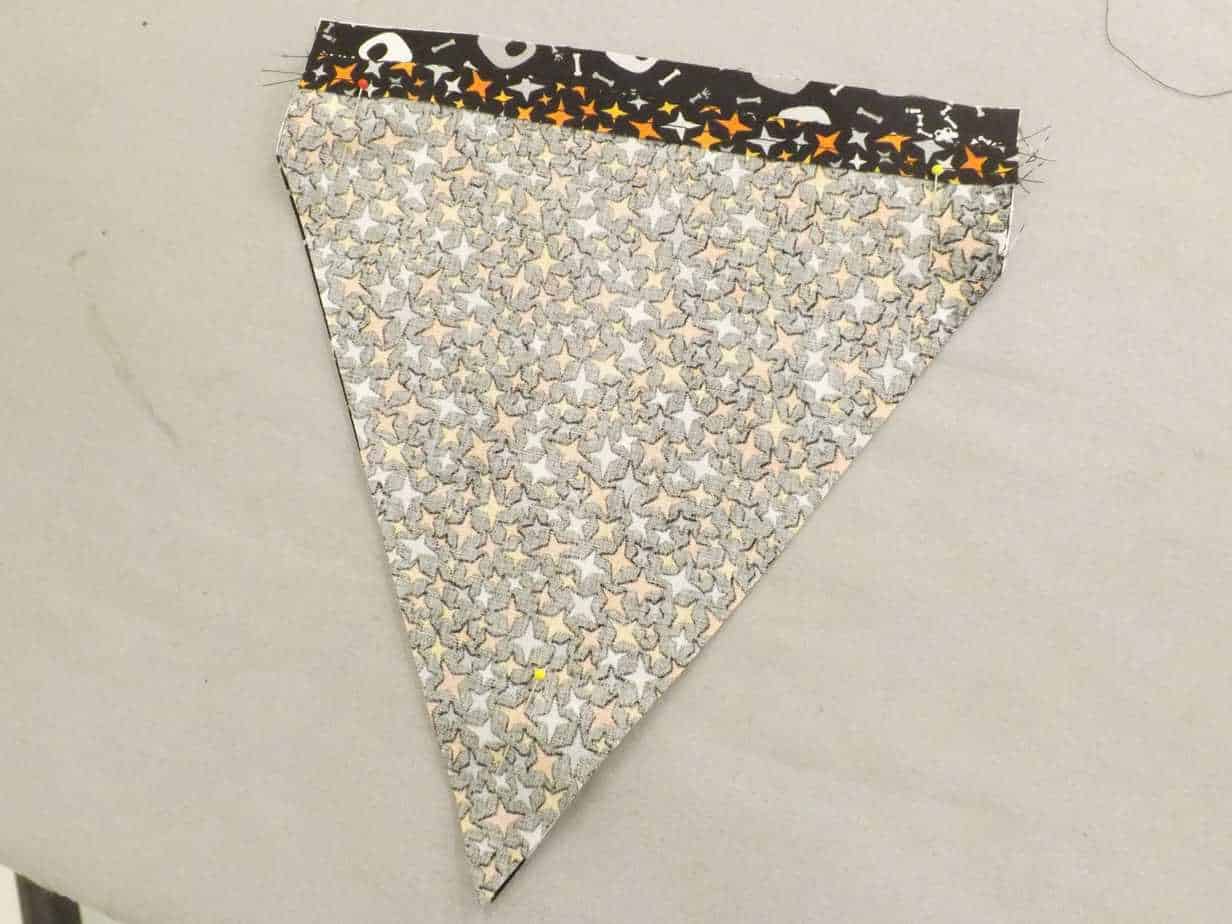
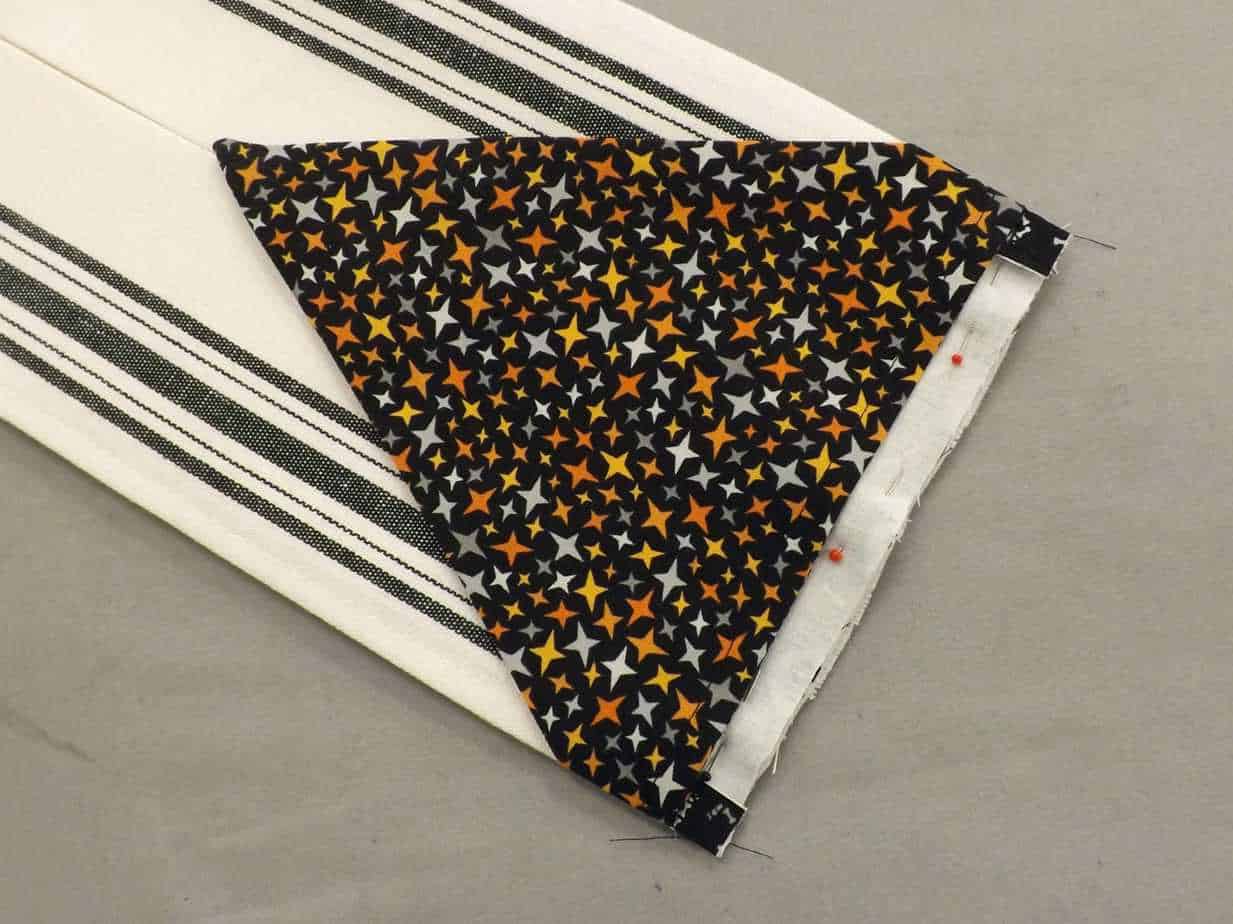
Take the other piece and run a basting stitch 1/2″ from the edge as shown in the first and second images above. Press along the basting as shown in the third image above. Turn the piece over and stitch through both layers about 3/8″ away from the folded edge as shown in the fourth image above.
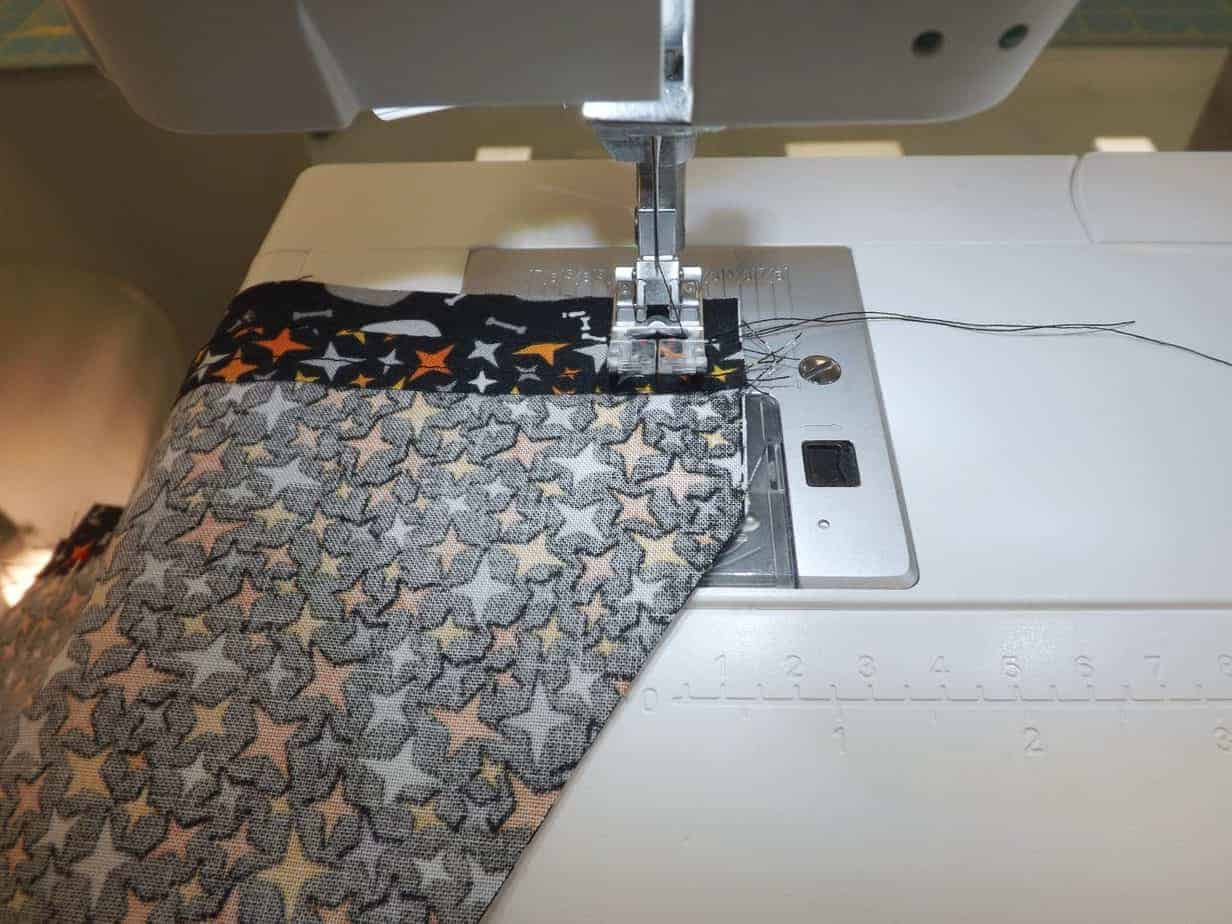
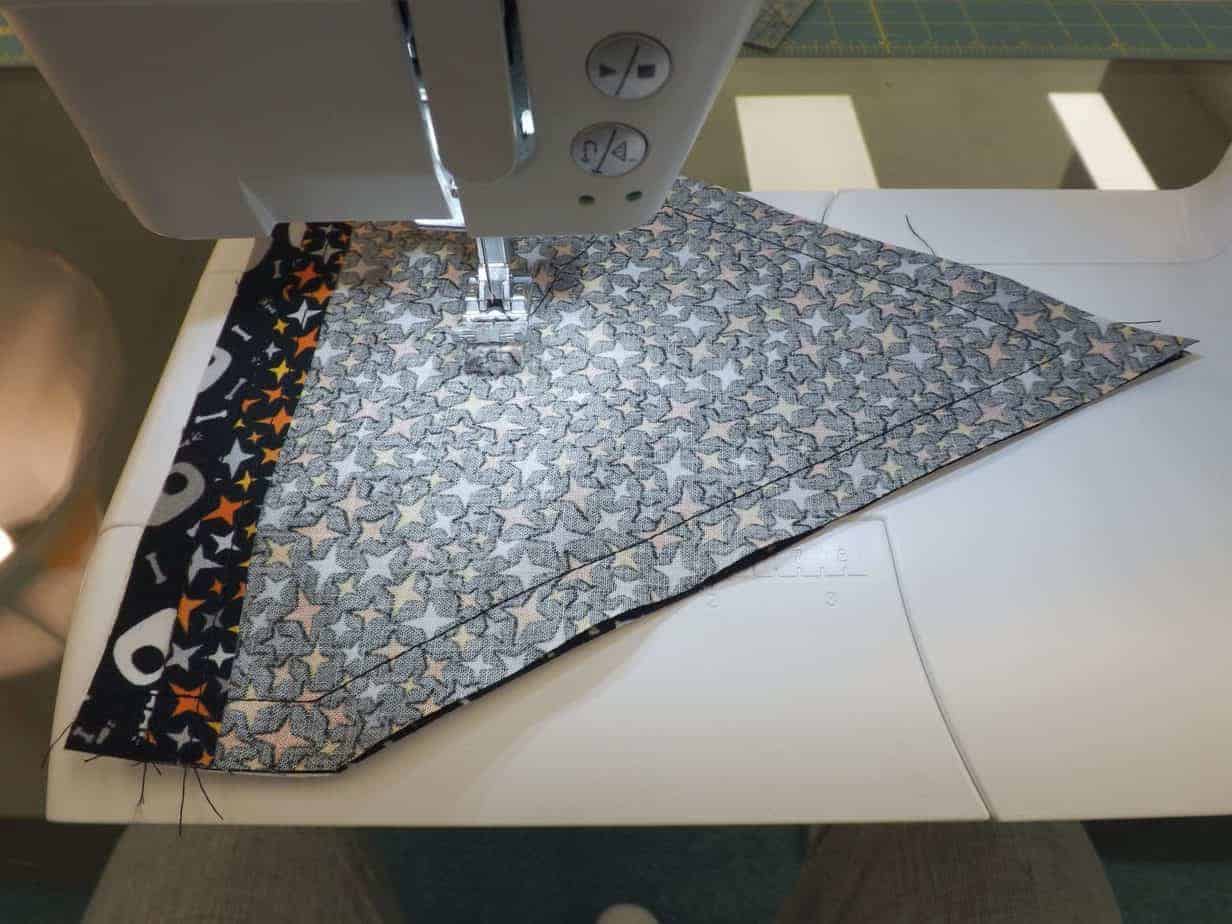
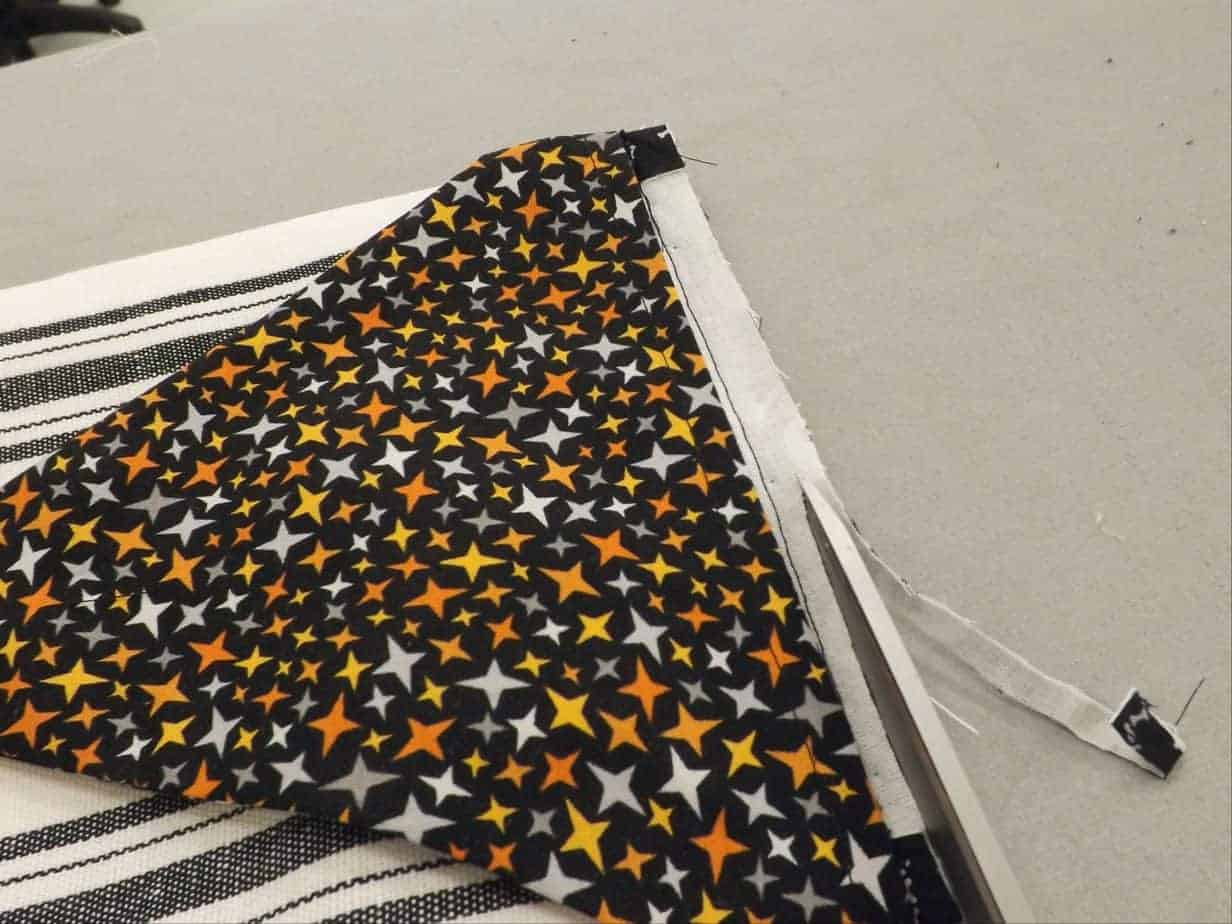
Lay the piece you just stitched over the piece with the interfacing. Make sure that the right sides are facing each other. Starting from the folded edge and starting with a backstitch, stitch along the outside edge with a 5/8″ seam allowance. Make sure to pivot at the corners. Stop stitching (and back stitch) when you reach the folded edge. Trim corners and grade seam allowances as shown in the fourth image above.
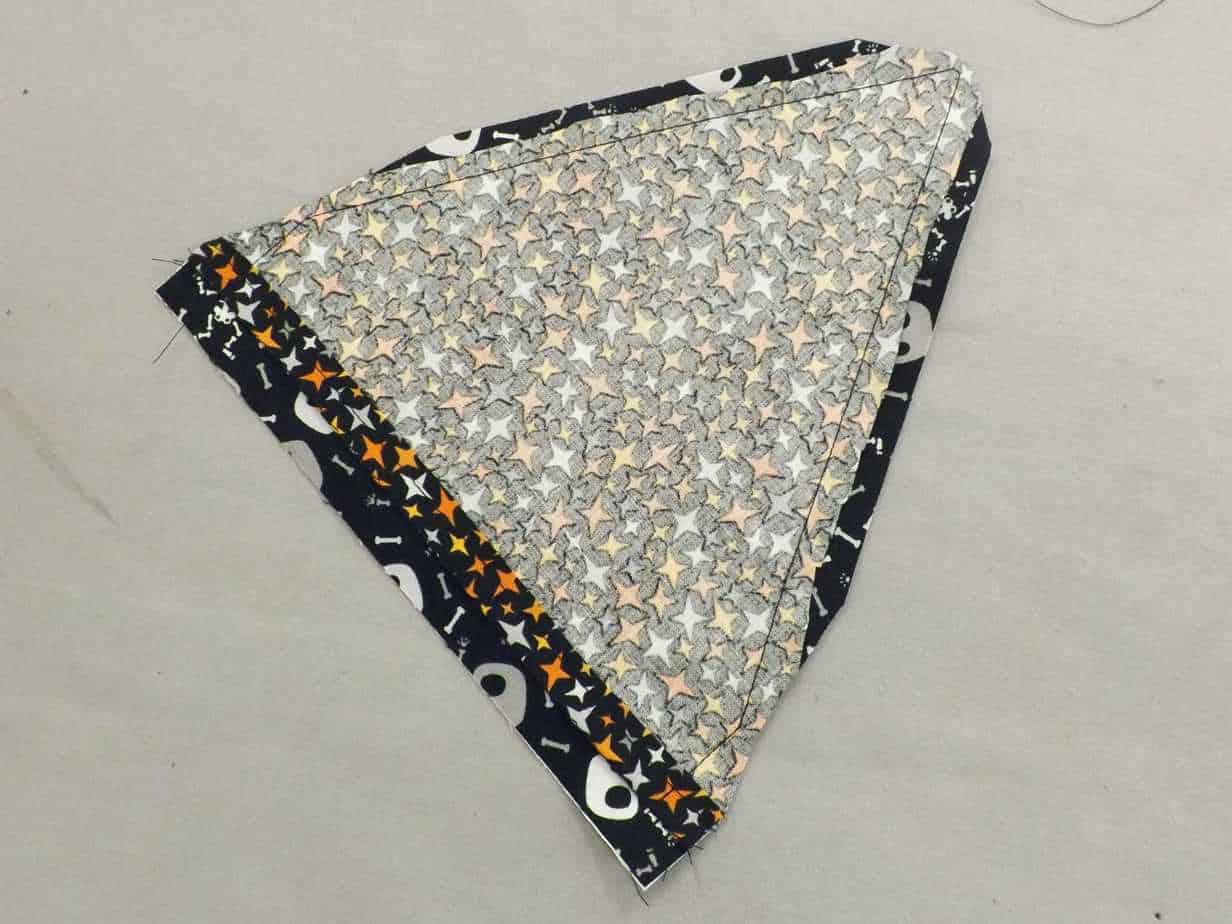
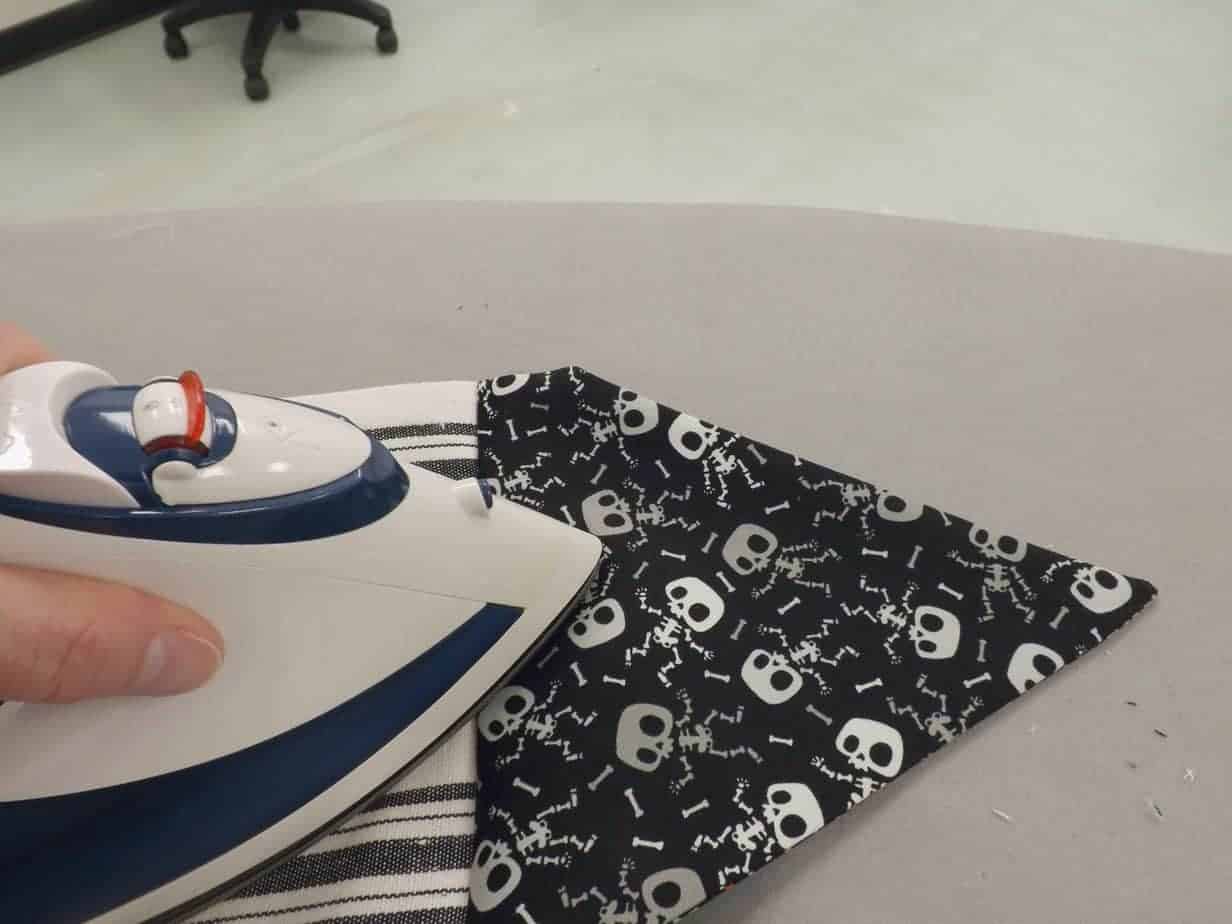
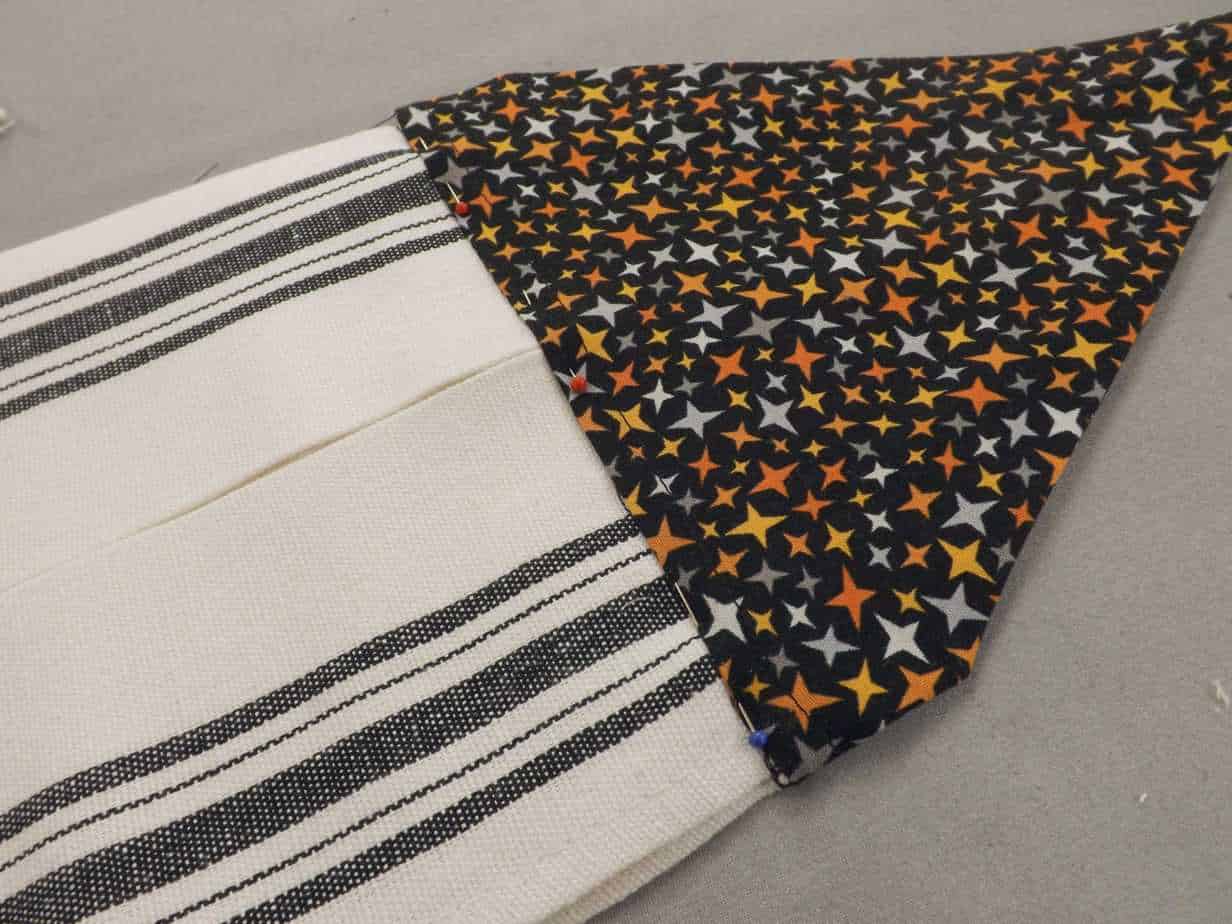
Turn your work right-sides-out making sure to fully turn your work so that all the corners are nice and sharp. Press these edges. Take this piece and line up with the raw edge of the towel. Pin together through all layers as shown in the second image above.
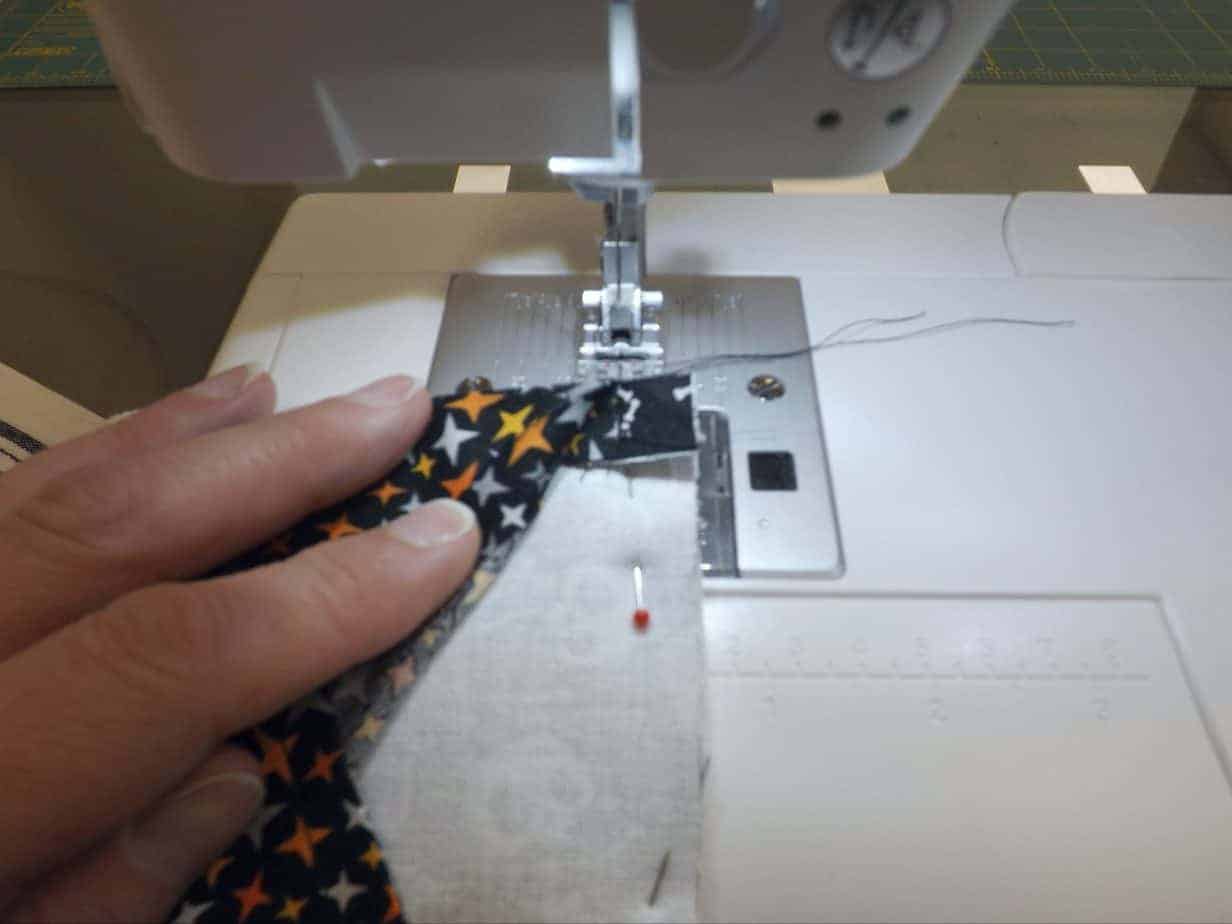
Using a 1/2″ seam allowance, stitch through all layers. Make sure to back stitch at the start and end of the seam. Make sure that you don’t catch the top layer of the print in your seam.
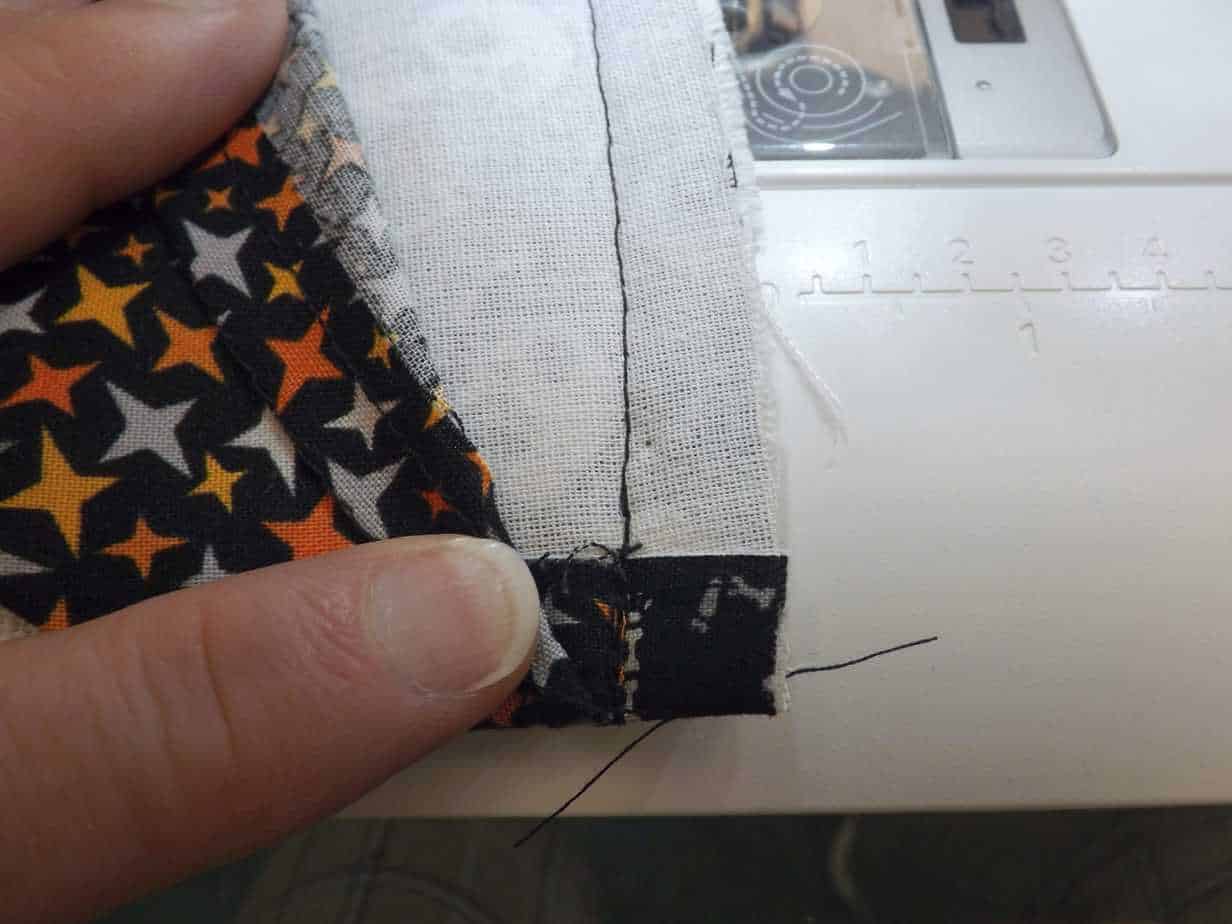
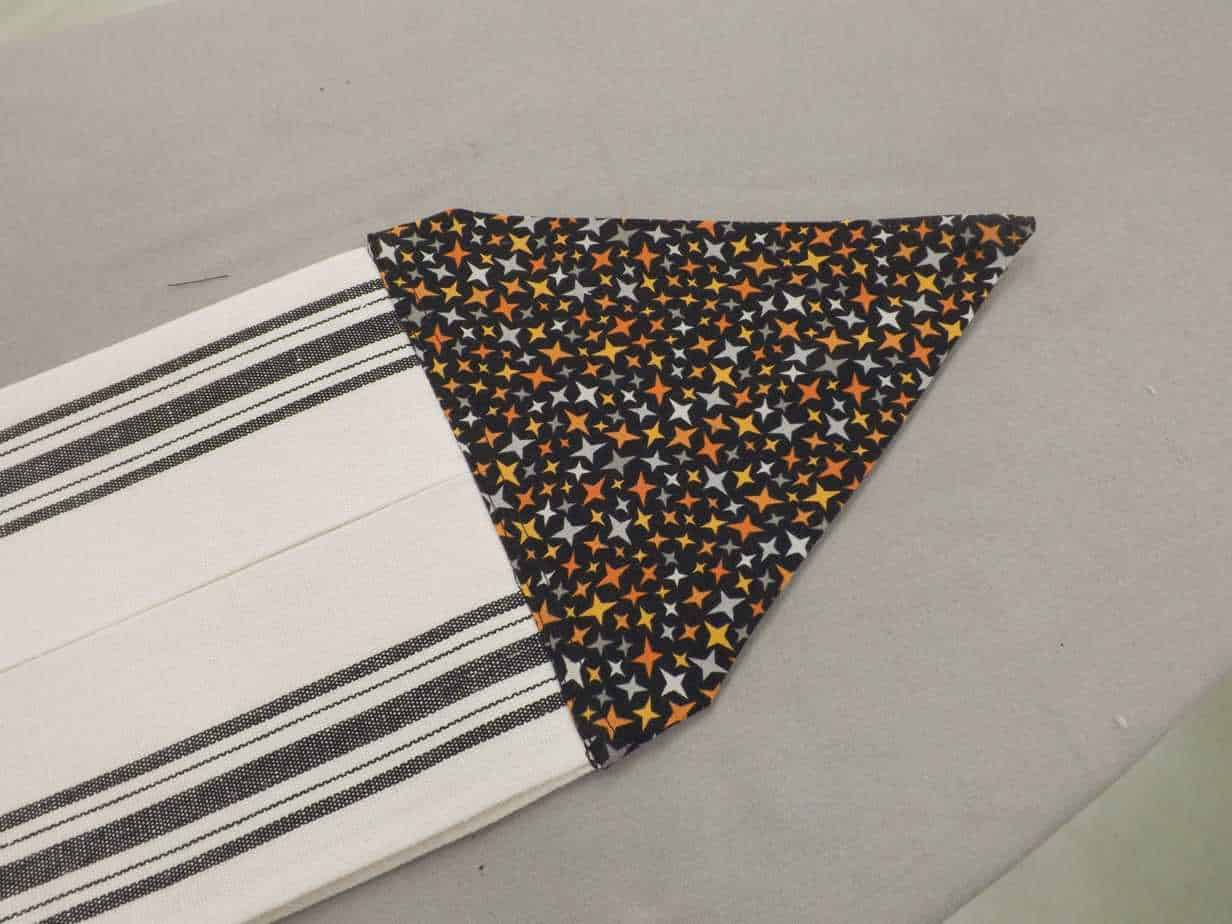
Grade the seam as shown in the first image above. We are trimming the seam allowance with the interfacing attached to about 1/4″. Turn your work over and press the hanger away from the towel.

Turn your work over again and tuck the raw edges in between the two printed fabrics. Pin the top print in place so that the folded edge just covers your stitching line. Stitch the top print in place. Stitch very close to the folded edge through all layers. We recommend that, instead of back stitching, you pull the threads to the back of your work, tie them off and then trim close to the knots.
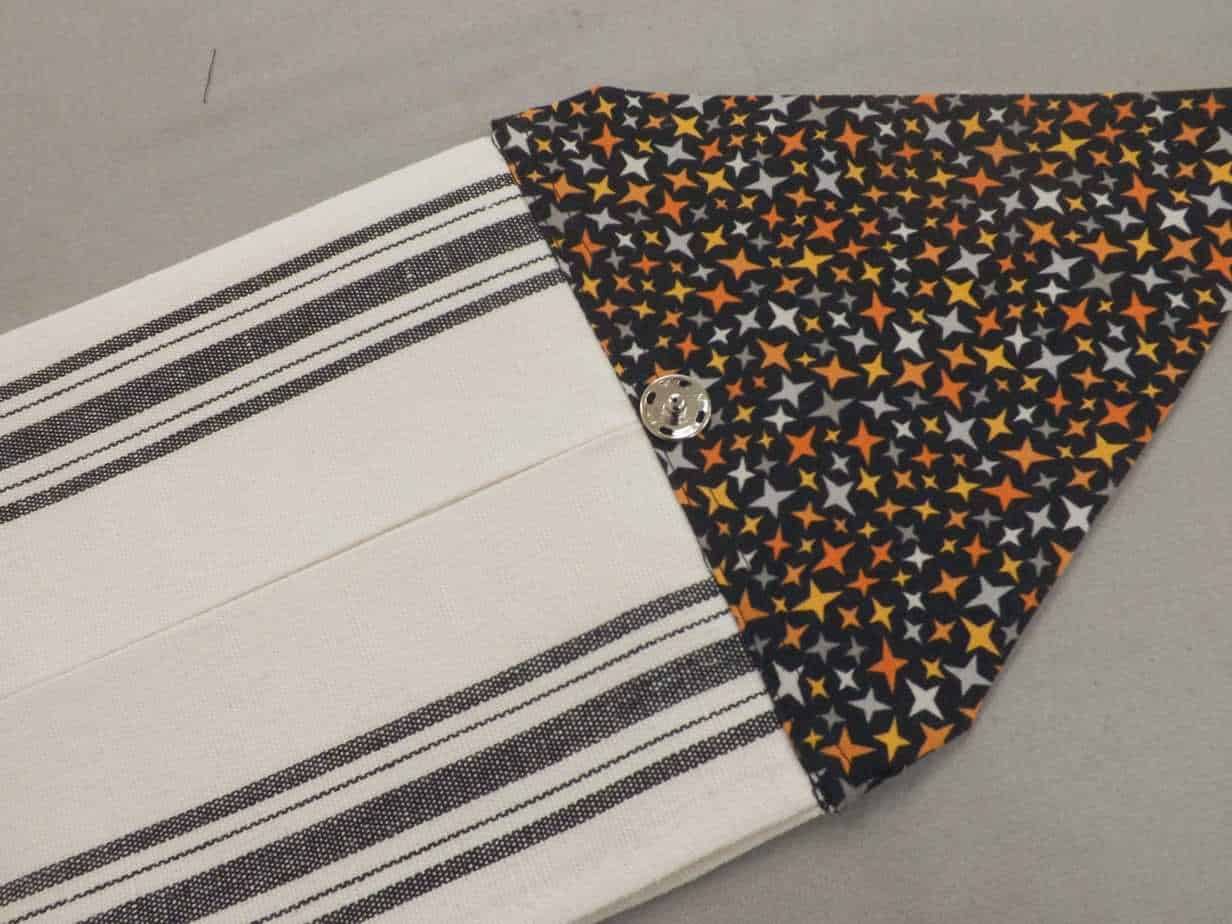
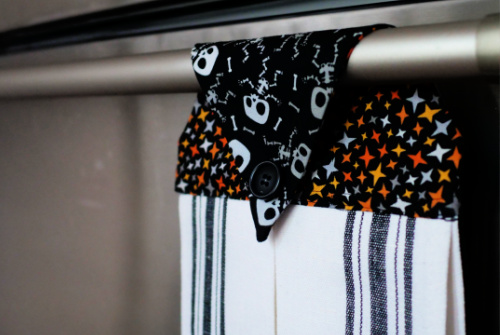
Okay! You’re just about finished! Place the ‘male’ end of the snap as shown. Hand stitch securely in place.
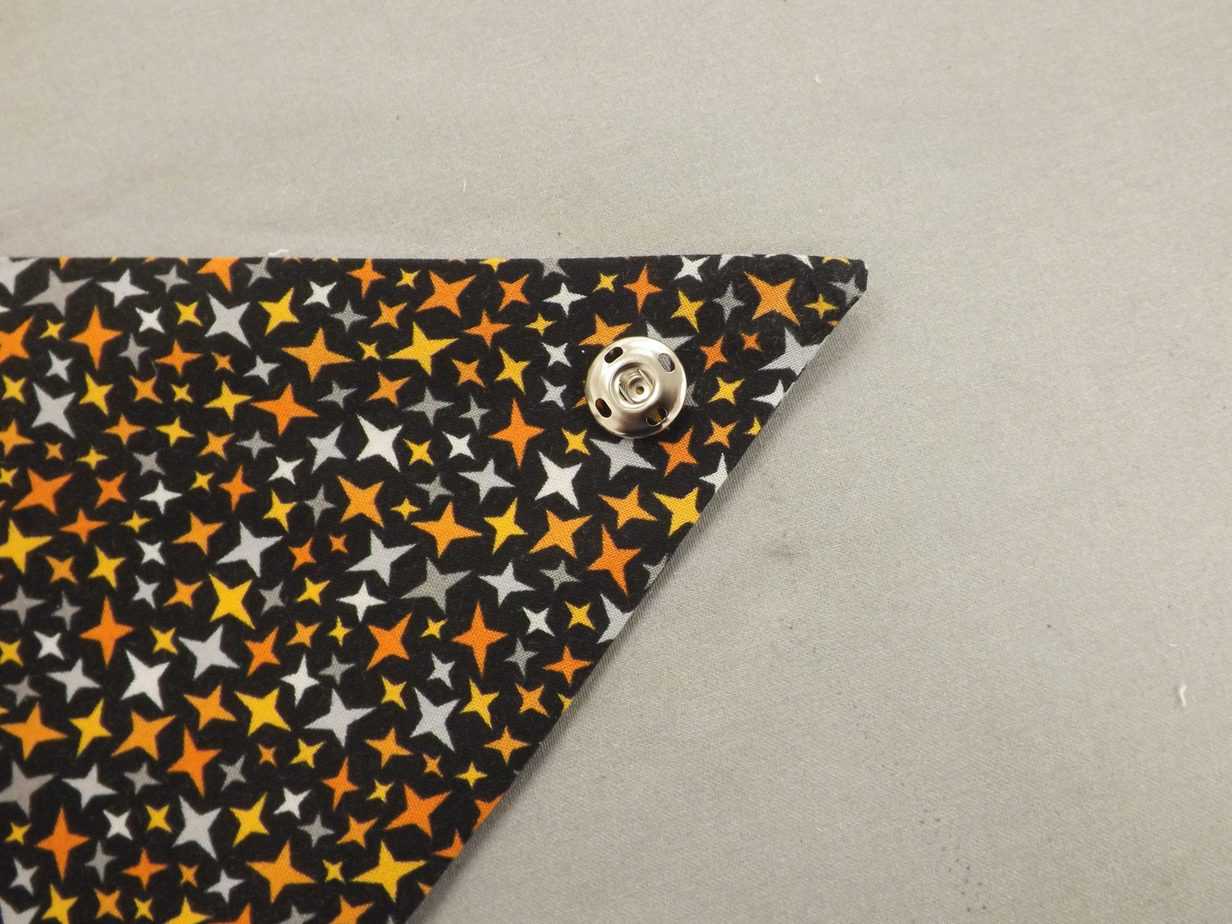
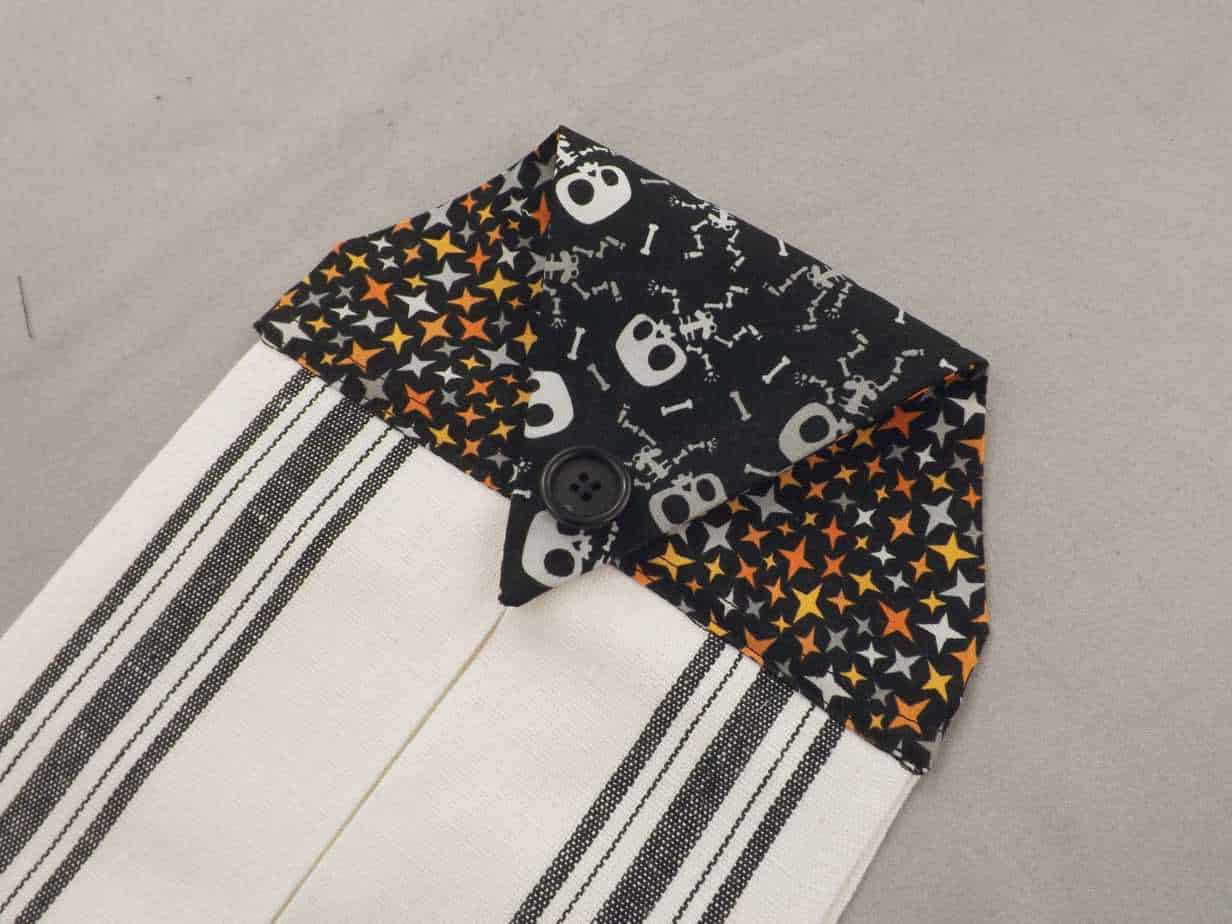
Place the ‘female’ part of the snap near the pointy end as shown. Hand stitch securely in place. On the side opposite the ‘female’ part of the snap, hand sew the button in place (optional – this is a non-functioning button).
Congratulation on making your beautifully tailored tea towel. Does anyone else suddenly have the urge to get creative in the kitchen?


