We had so much fun making our original coaster DIY, that we thought it would be fun to go back to making coasters with a new look. The original coaster consisted of four interlocking rectangles that created the look of a little 4-patch. The updated one is four interlocking triangles! We made ours with four gorgeous fabrics, three of them with metallic gold accents, for a touch of eye-catching sparkle. Let your imagination guide your fabric and colour choices.
These elegant coasters are a quick way to add something new to your décor if you are doing some entertaining. They also make a great gift. Your friends will love the personal touch of a hand-crafted gift.
Yield: 6 coasters

Here’s what you’ll need:
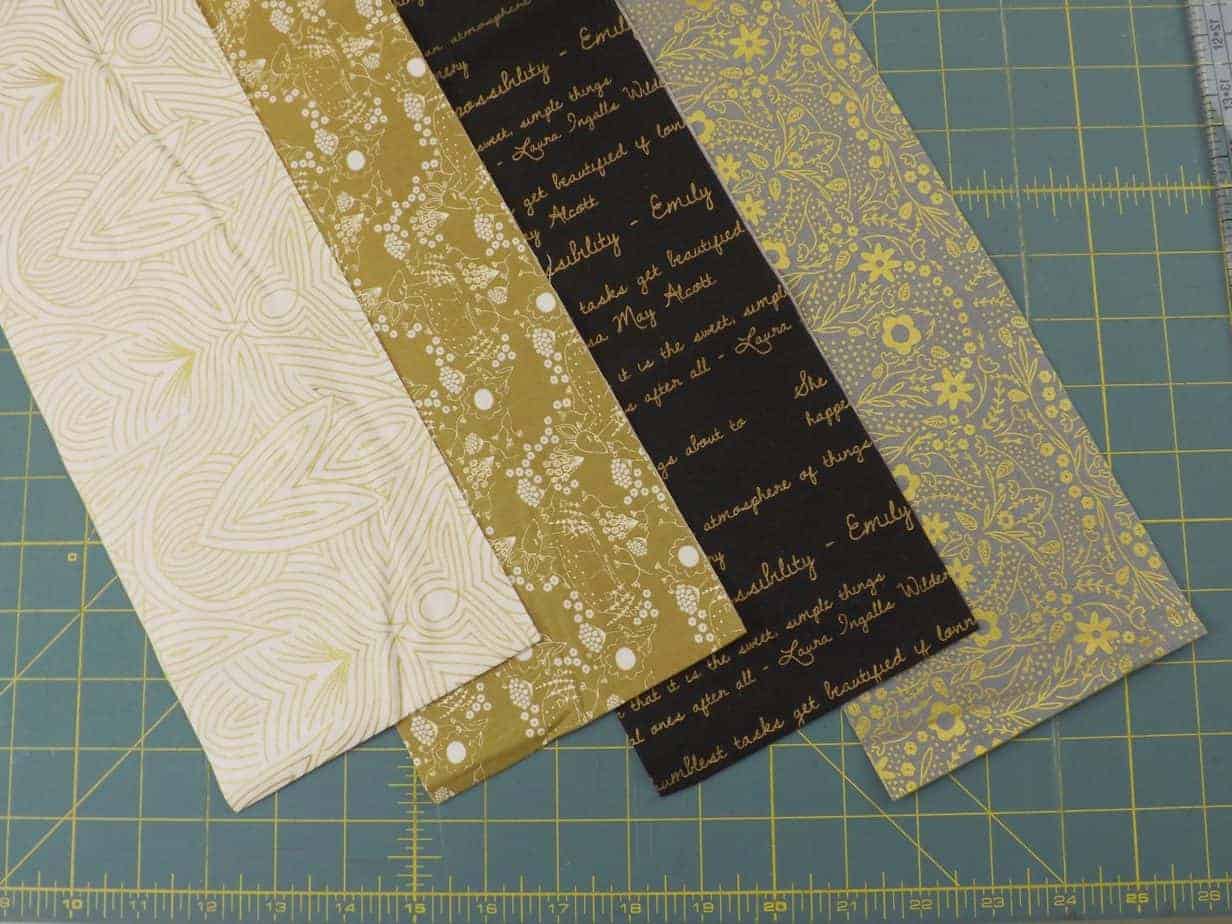
Cotton Prints – we used ¼ yard of four different prints from the Dwell in Possibility Collection www.fabricana.com/dwell-in-possibility
Matching thread
¼ yard of Insulite (or similar thin batting)
Rotary Cutter, Ruler and Mat OR Scissors, Ruler and Fabric Marker
Sewing machine with straight stitch
Iron and Ironing board
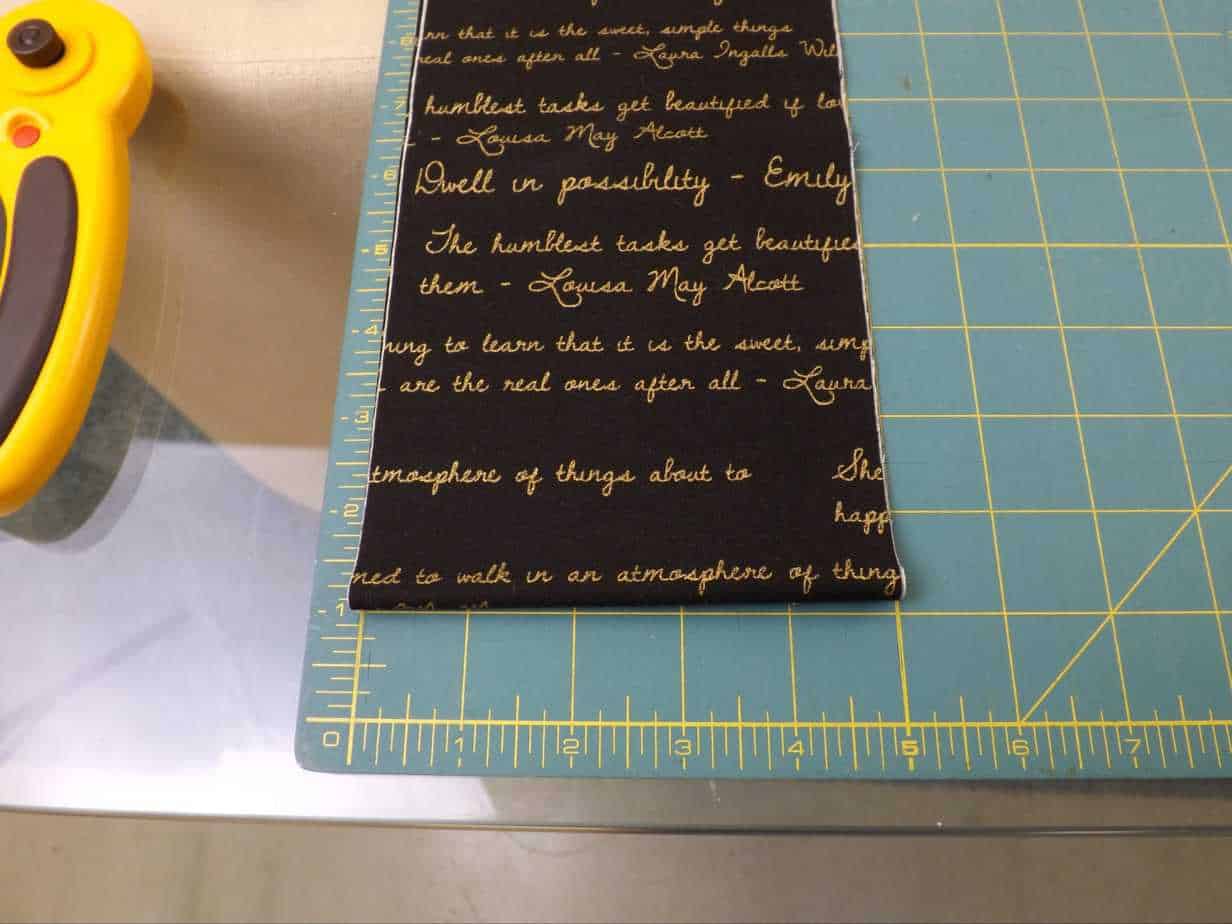
Cut four strips of 5” across the width of your fabric. Because we are using four fabrics, we cut one 5” strip of each fabric.
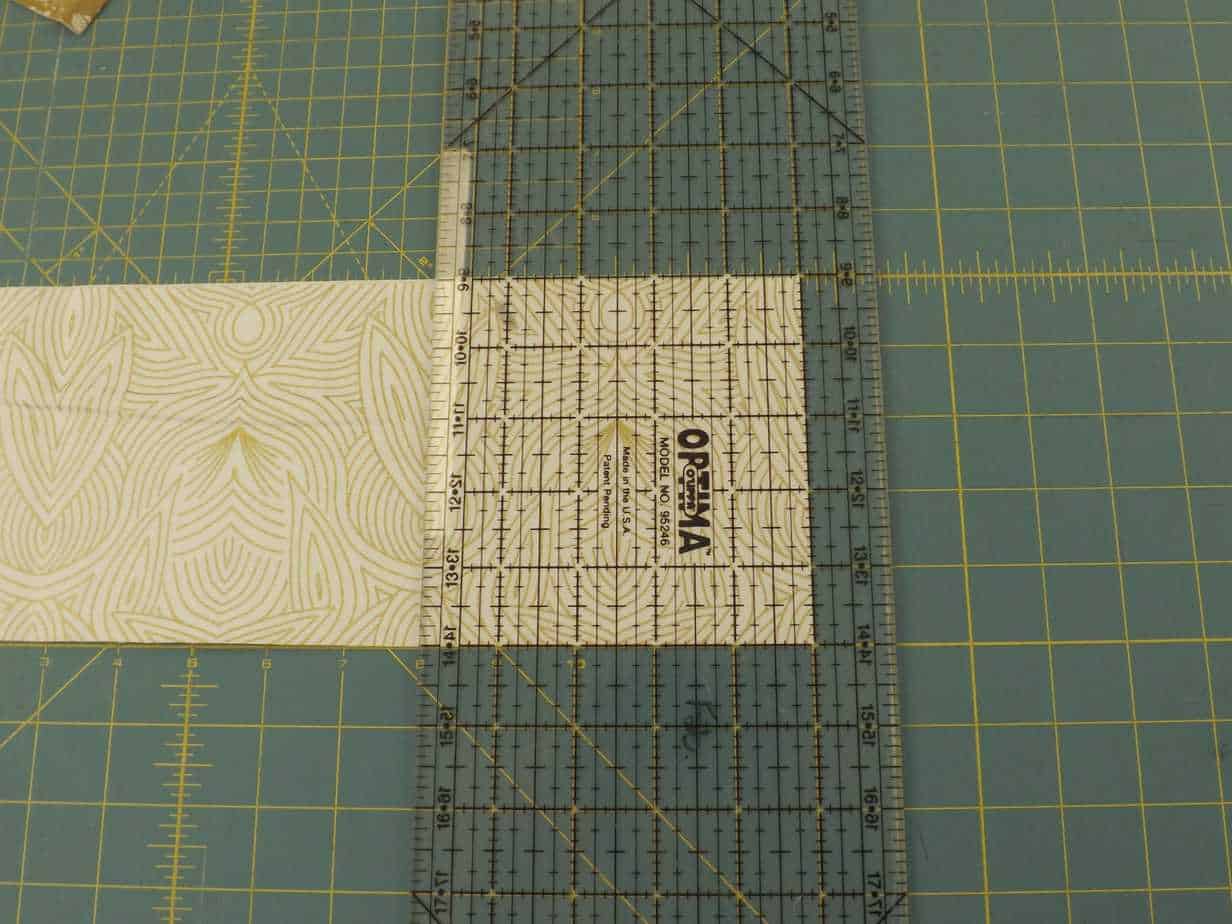
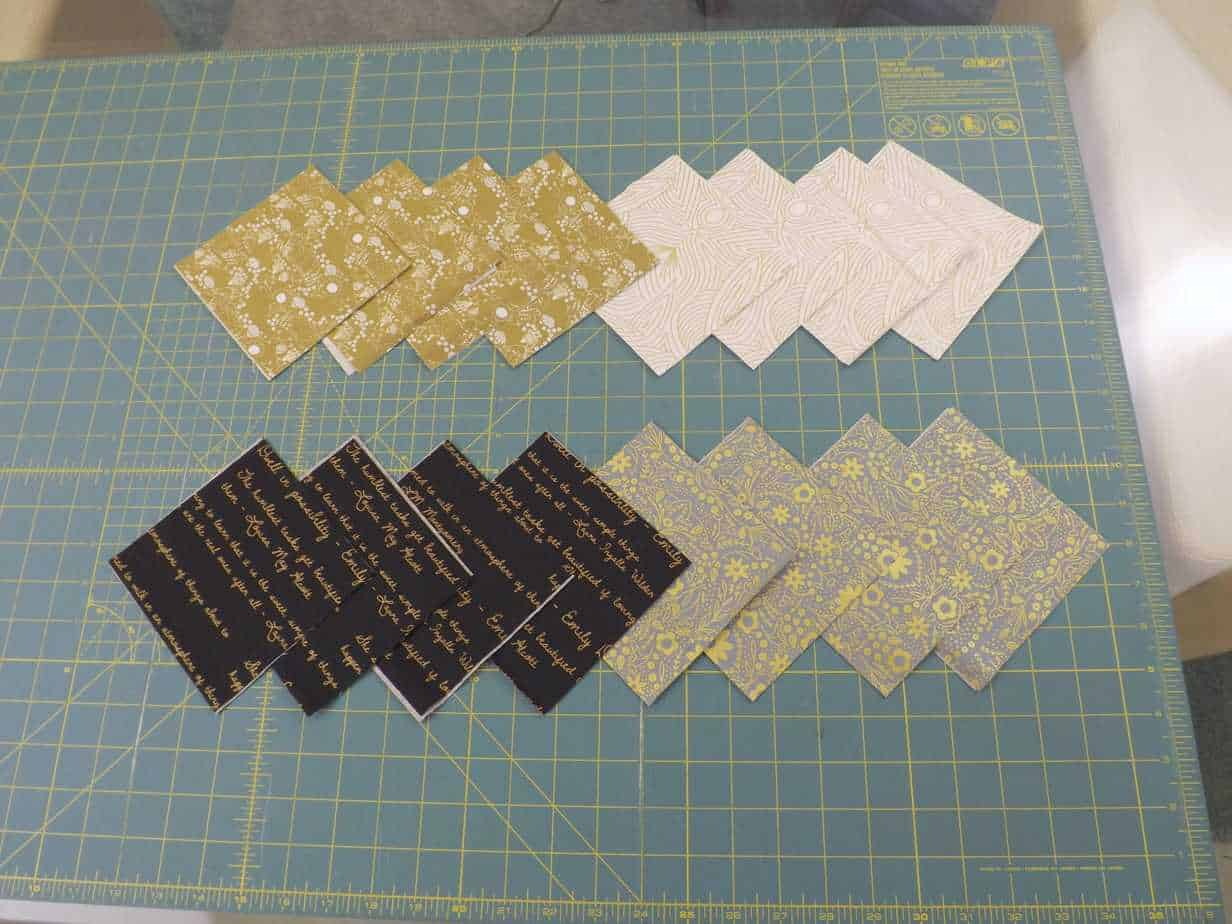
Sub-cut the 5” strips into 5” squares. We got eight squares (4 pairs) of each print.
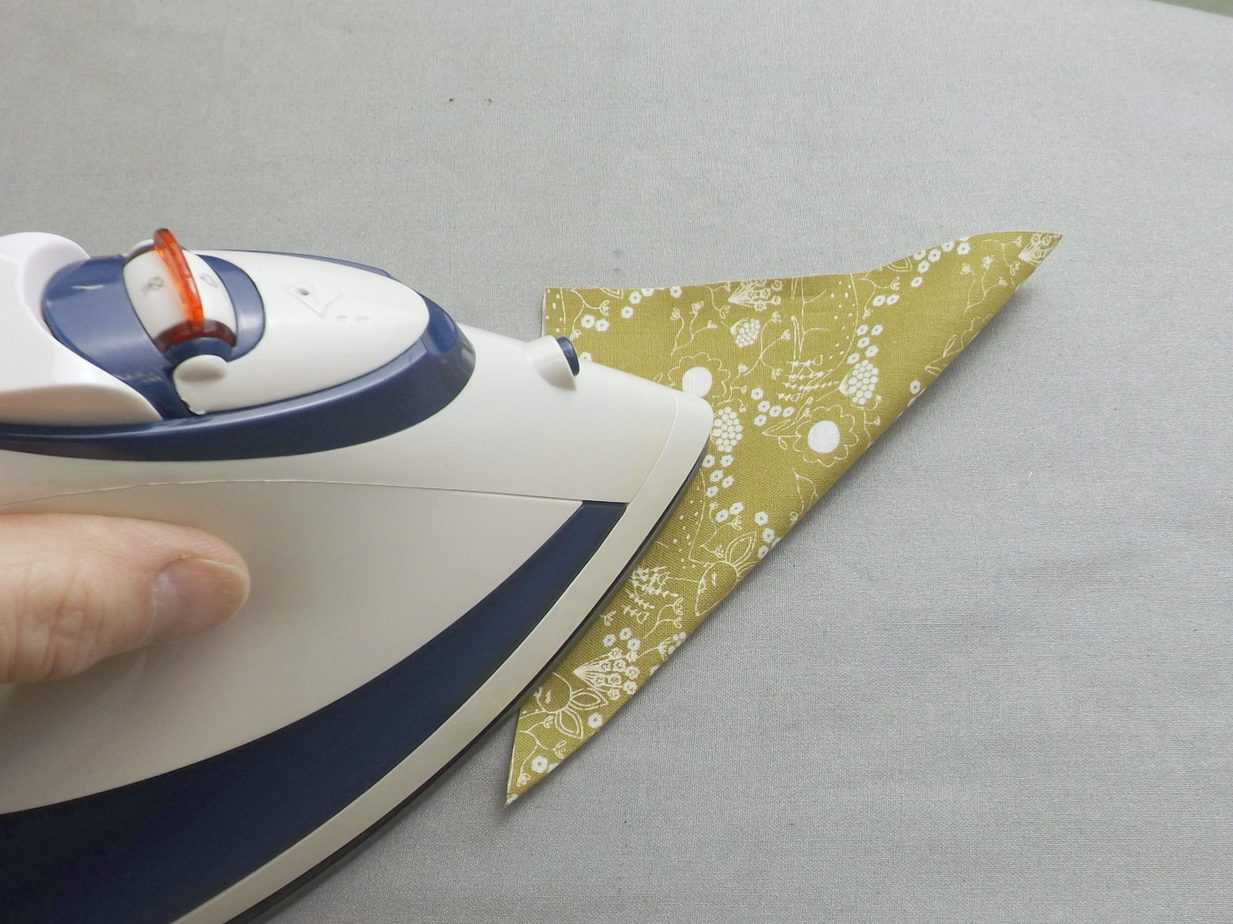
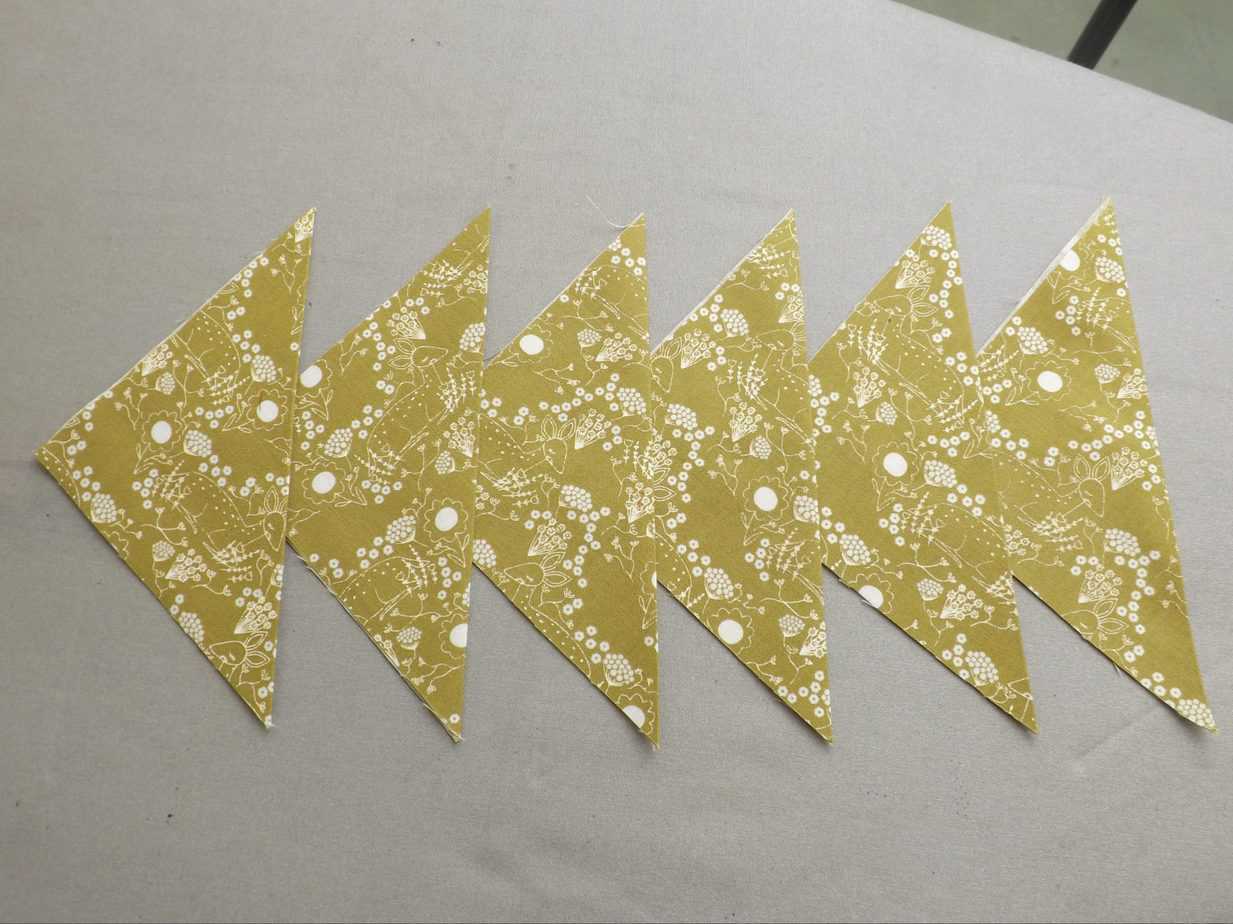
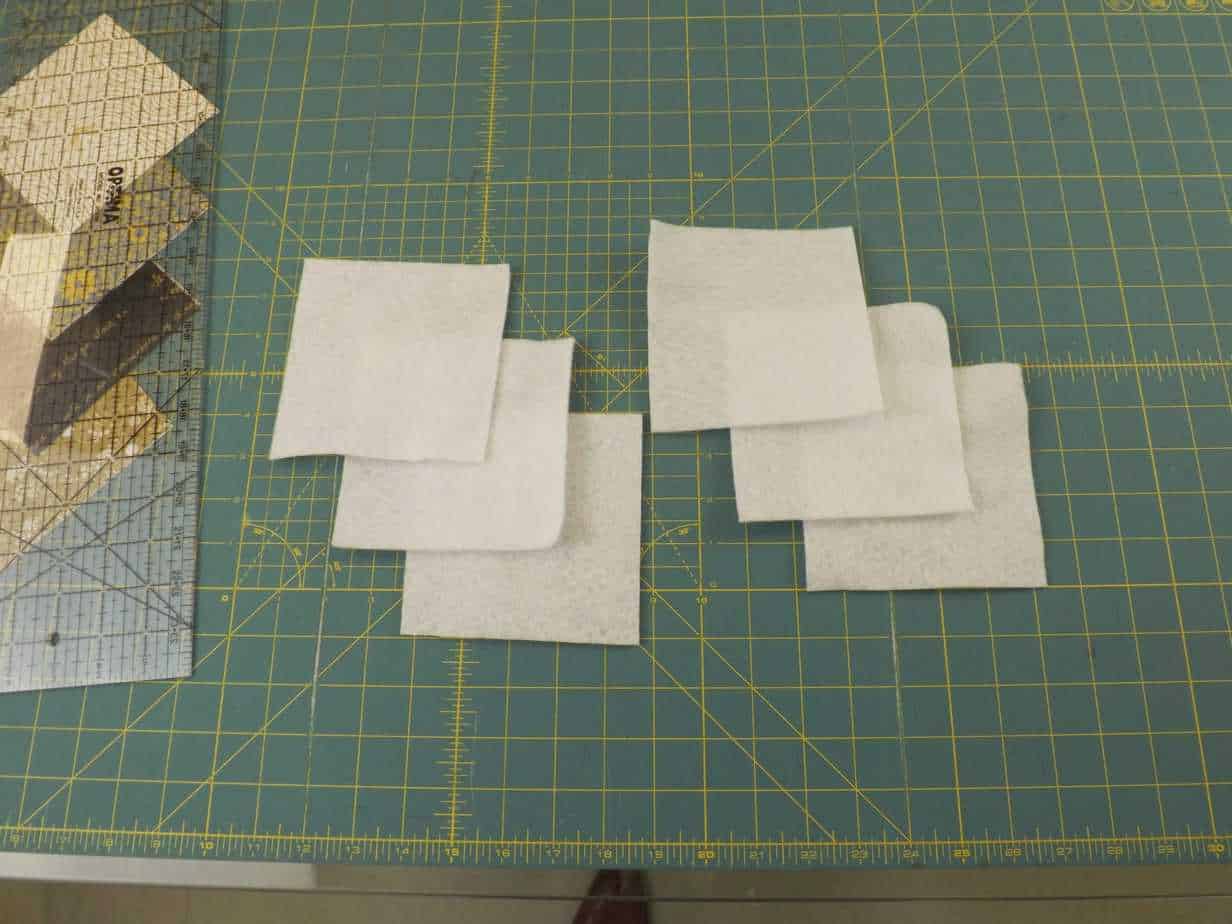
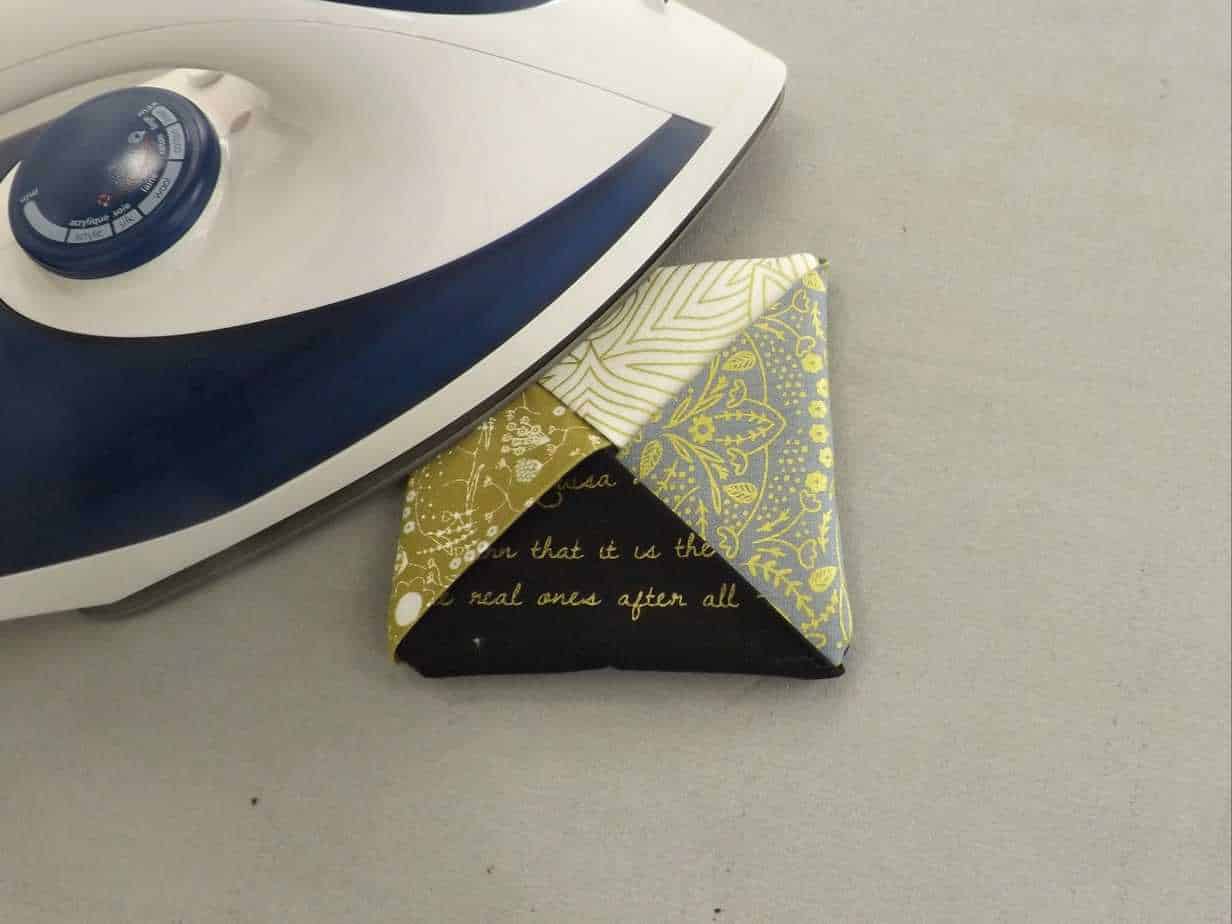
Press 24 squares in half on the diagonal as shown. We pressed 6 squares in each of our four colours.
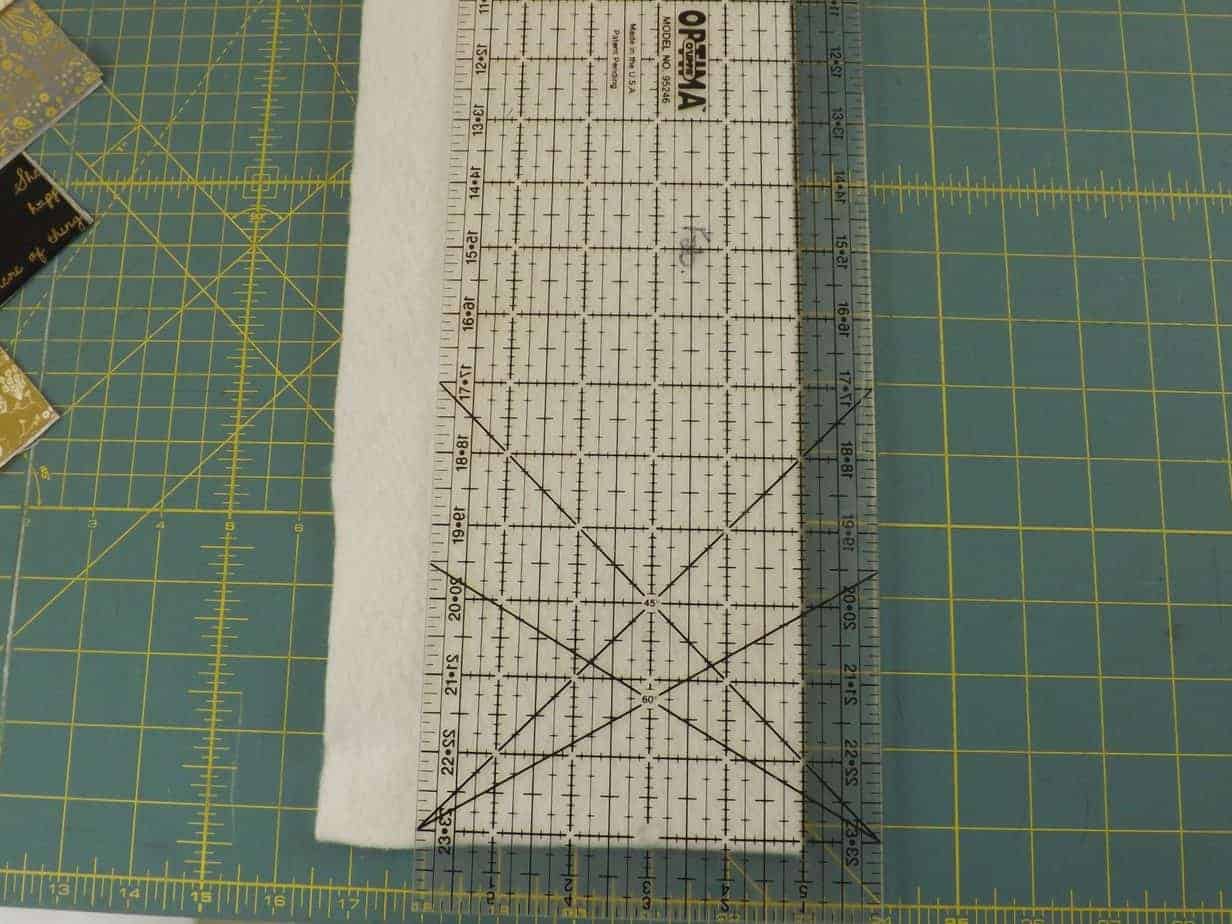
Cut six 5” squares of Insulite (batting) in the same way you cut out the prints.
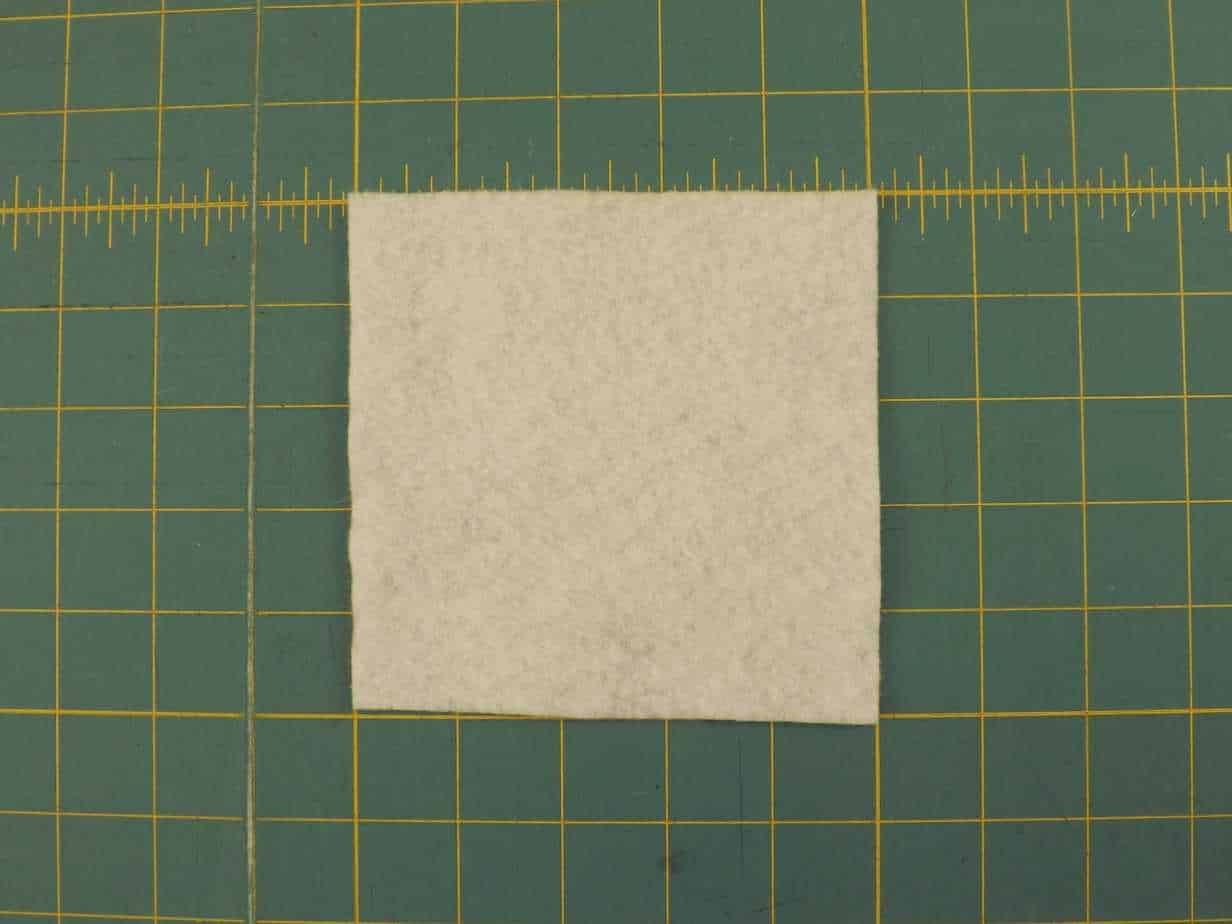
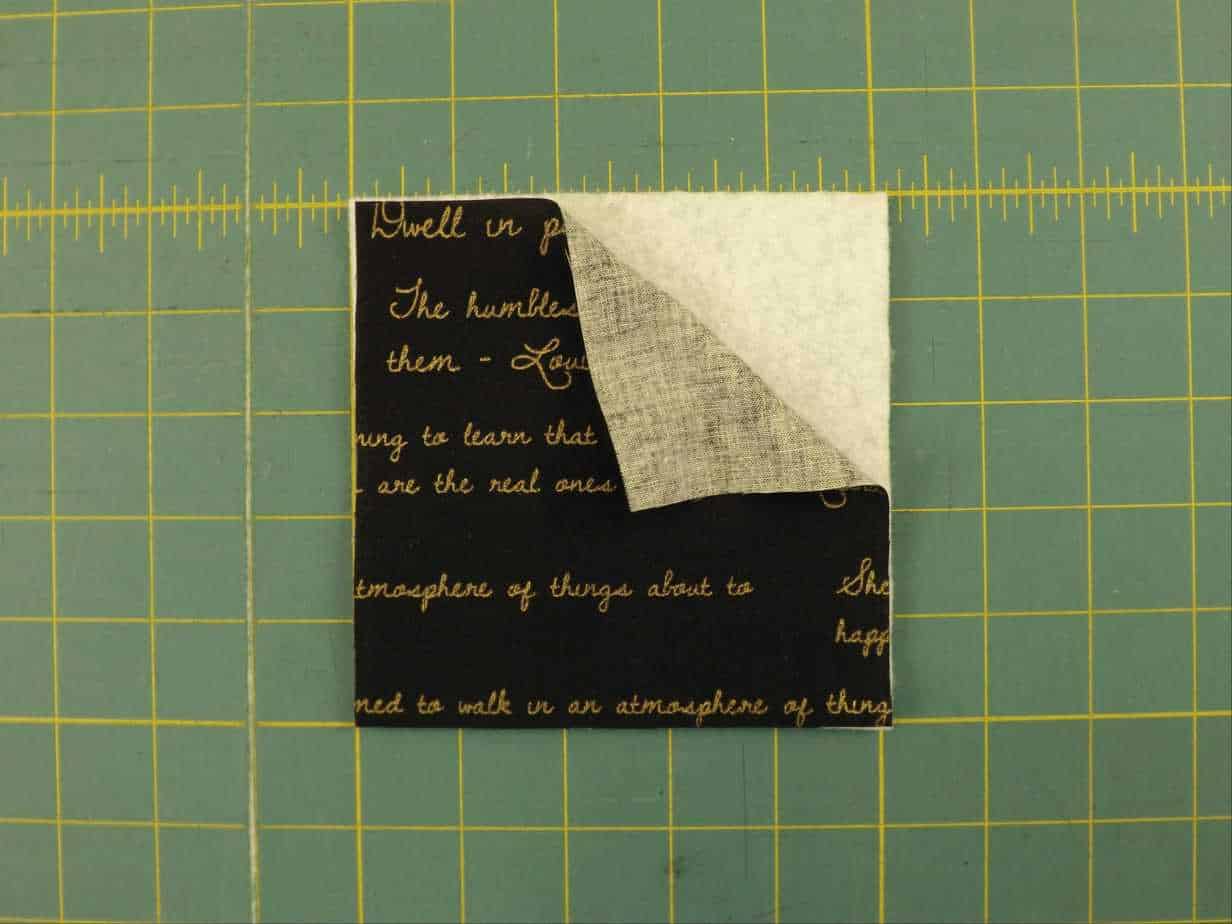
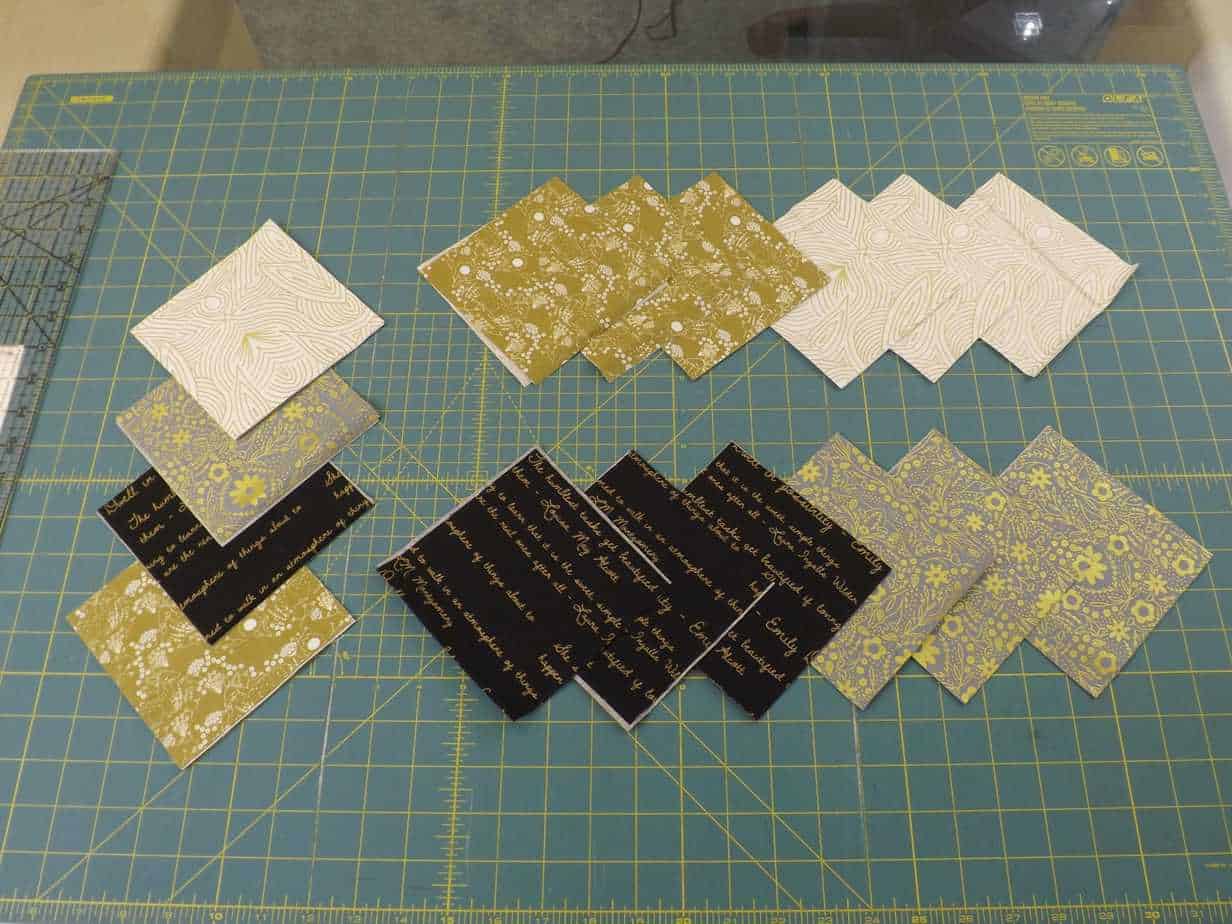
Take one square of Insulite (batting) and lay one of your extra (unfolded) squares over it facing up. This square will become the back of the coaster.
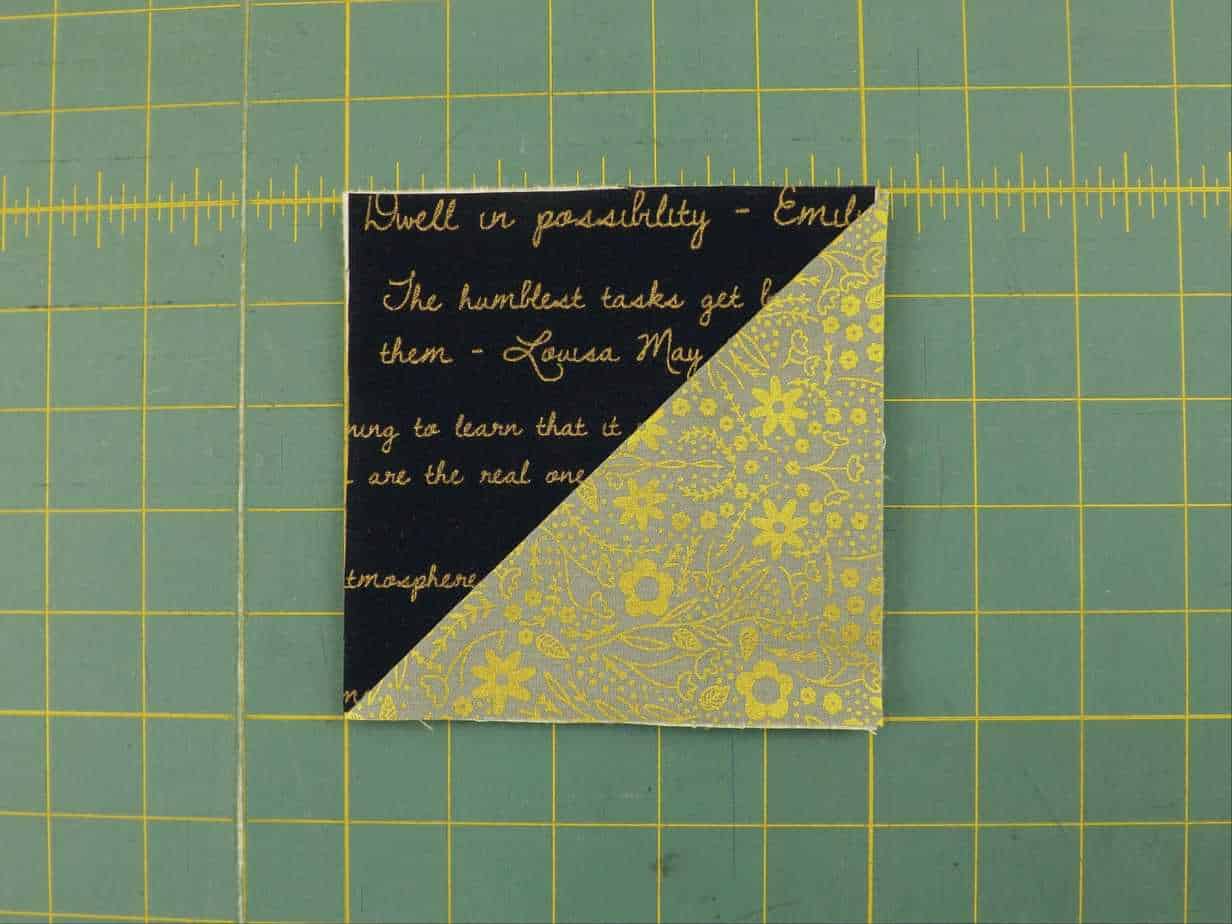
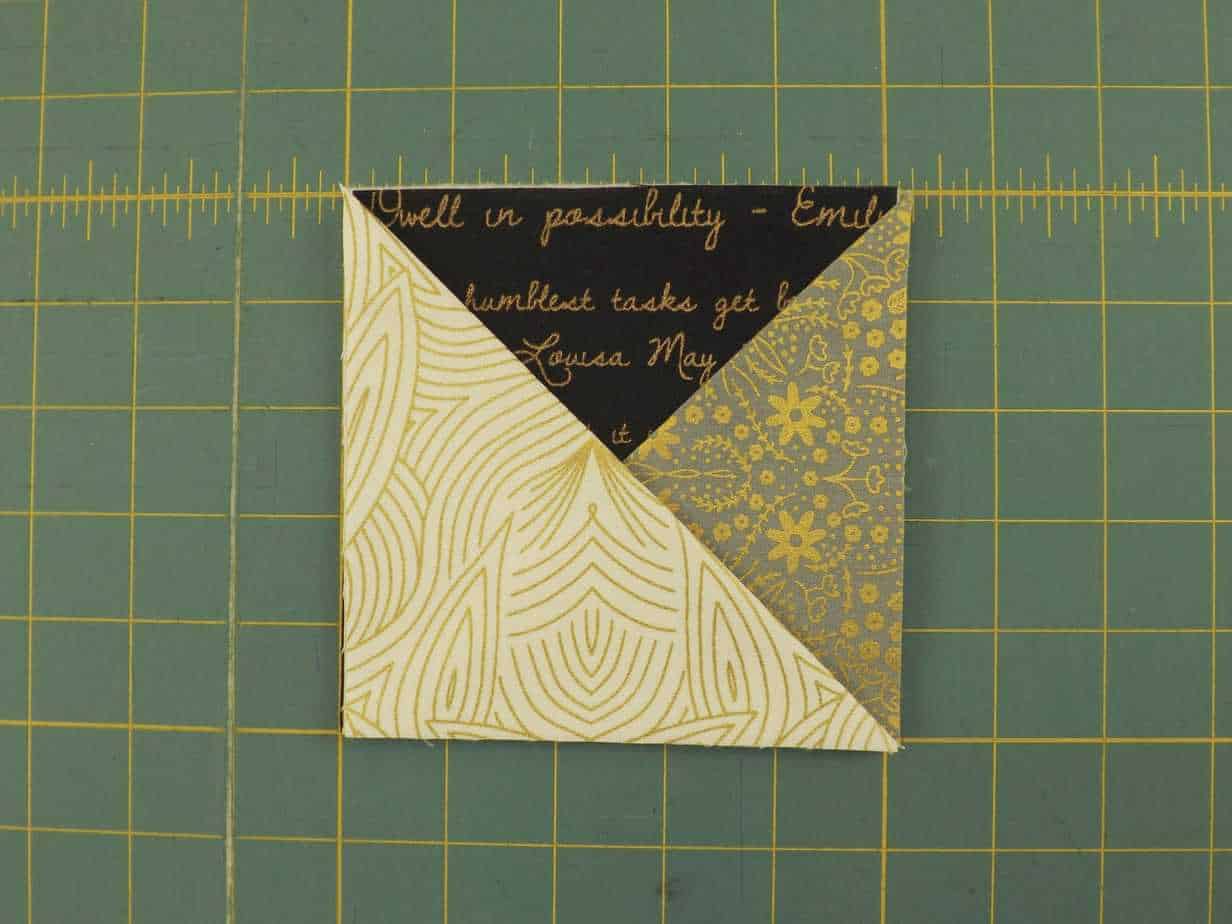
Take one of your folded squares and lay this triangle over the Insulite and print as shown in the first image above. Then take a second folded square and lay it on top as shown in the second image above.

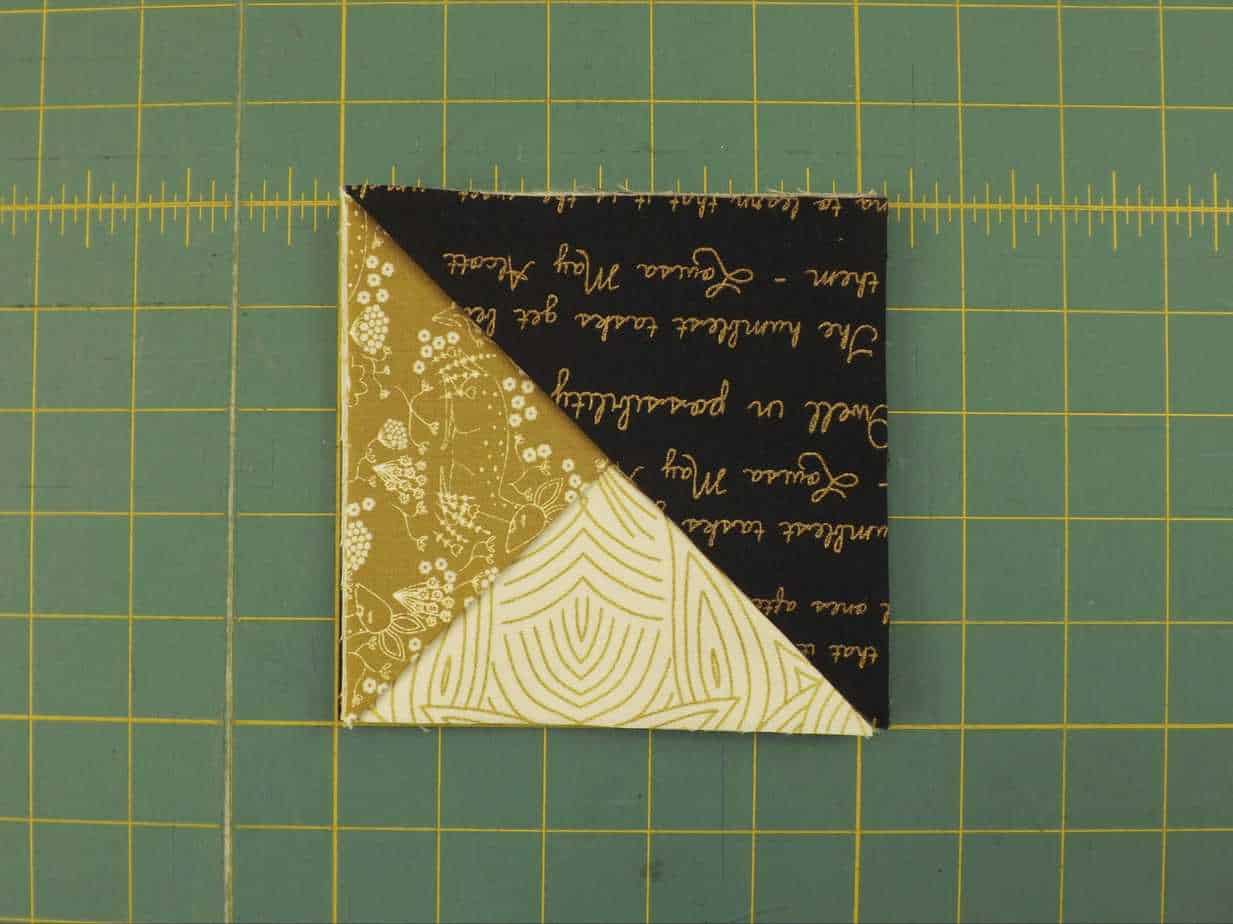
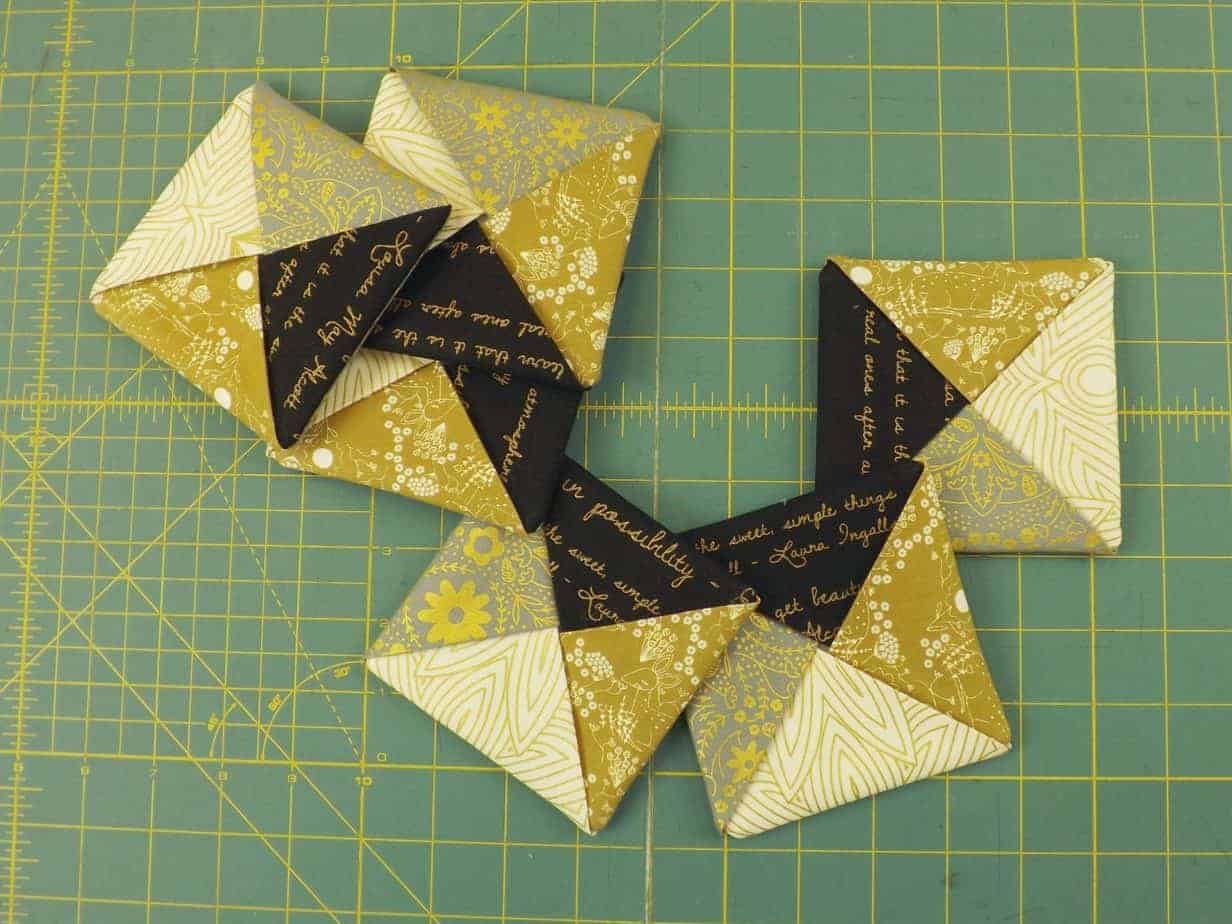
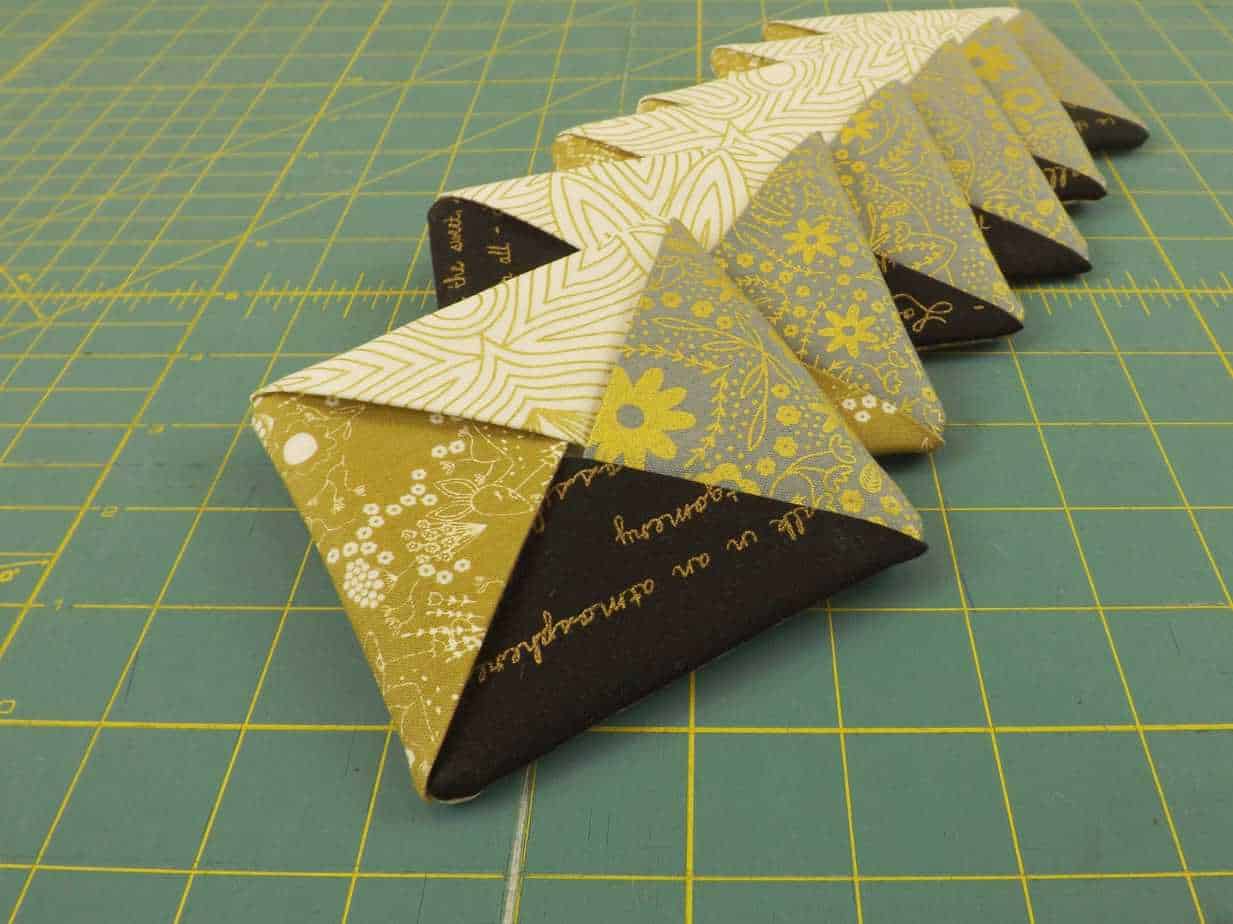
Take a third folded square and lay it on top as shown in the first image above. Take a fourth folded square and lay it on top as shown in the second image above.
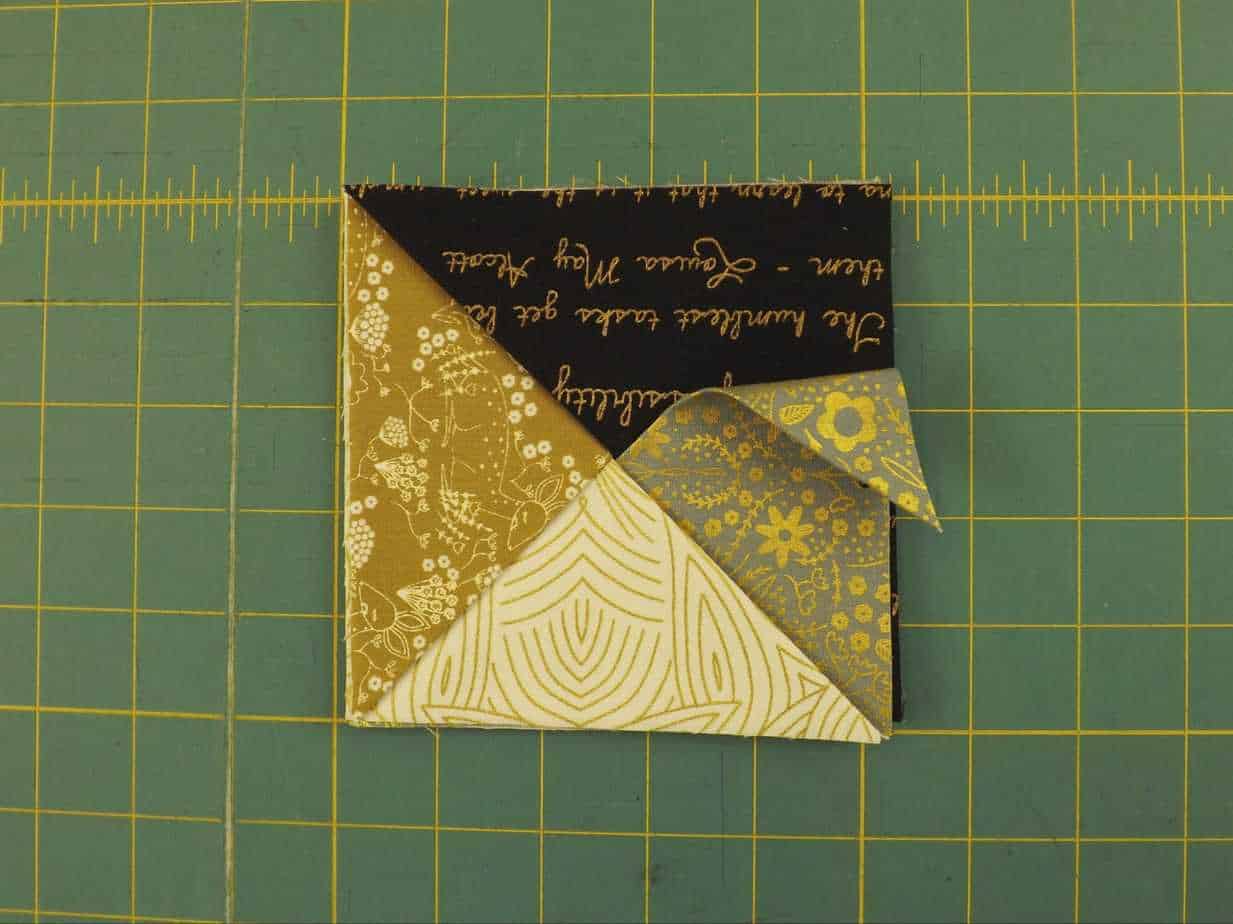
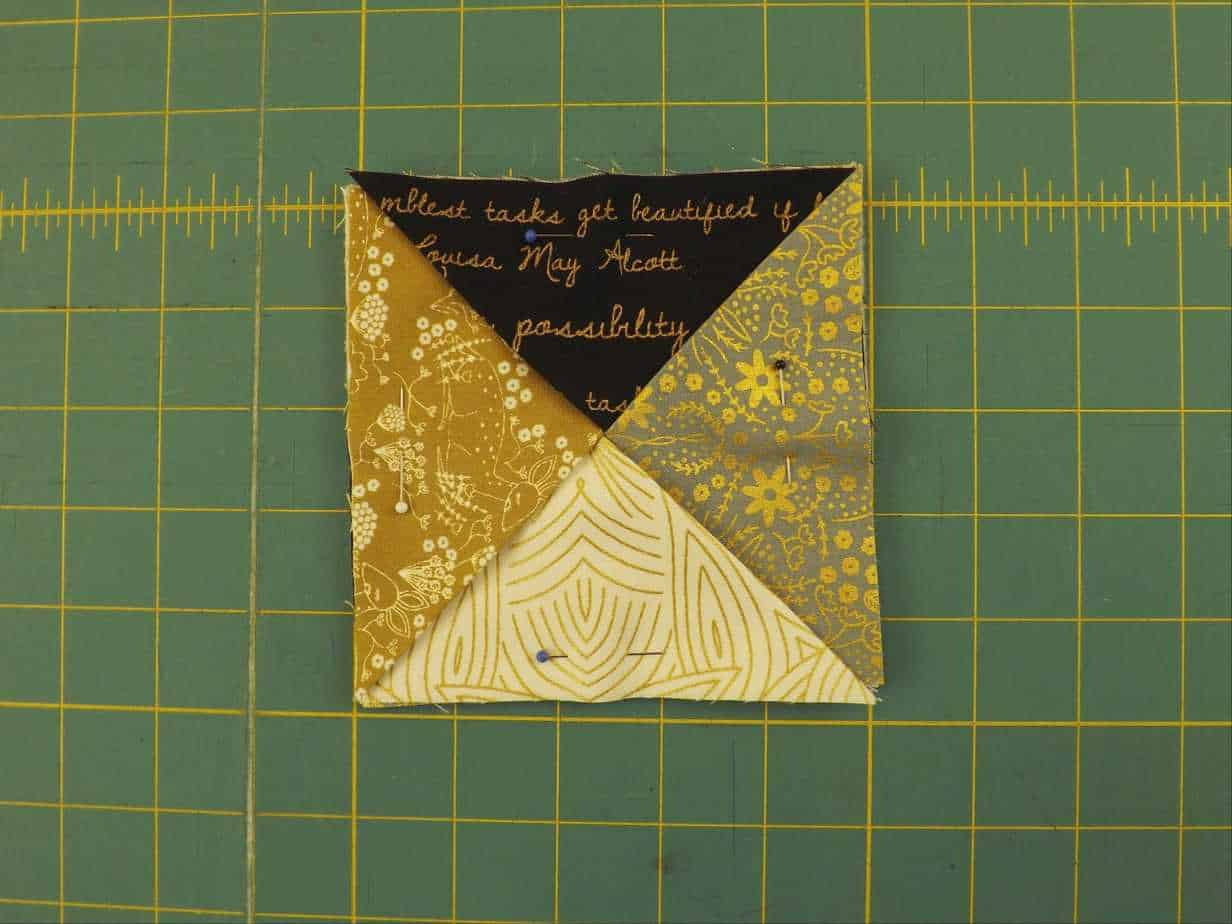
Lift the lower right corner of the last folded square you placed and bring the first fabric that you placed to rest on top of it. All the fabrics should be overlapping each other as shown in the second image above. Make sure that all of the raw edges are lined up and place a pin on each side through all layers.
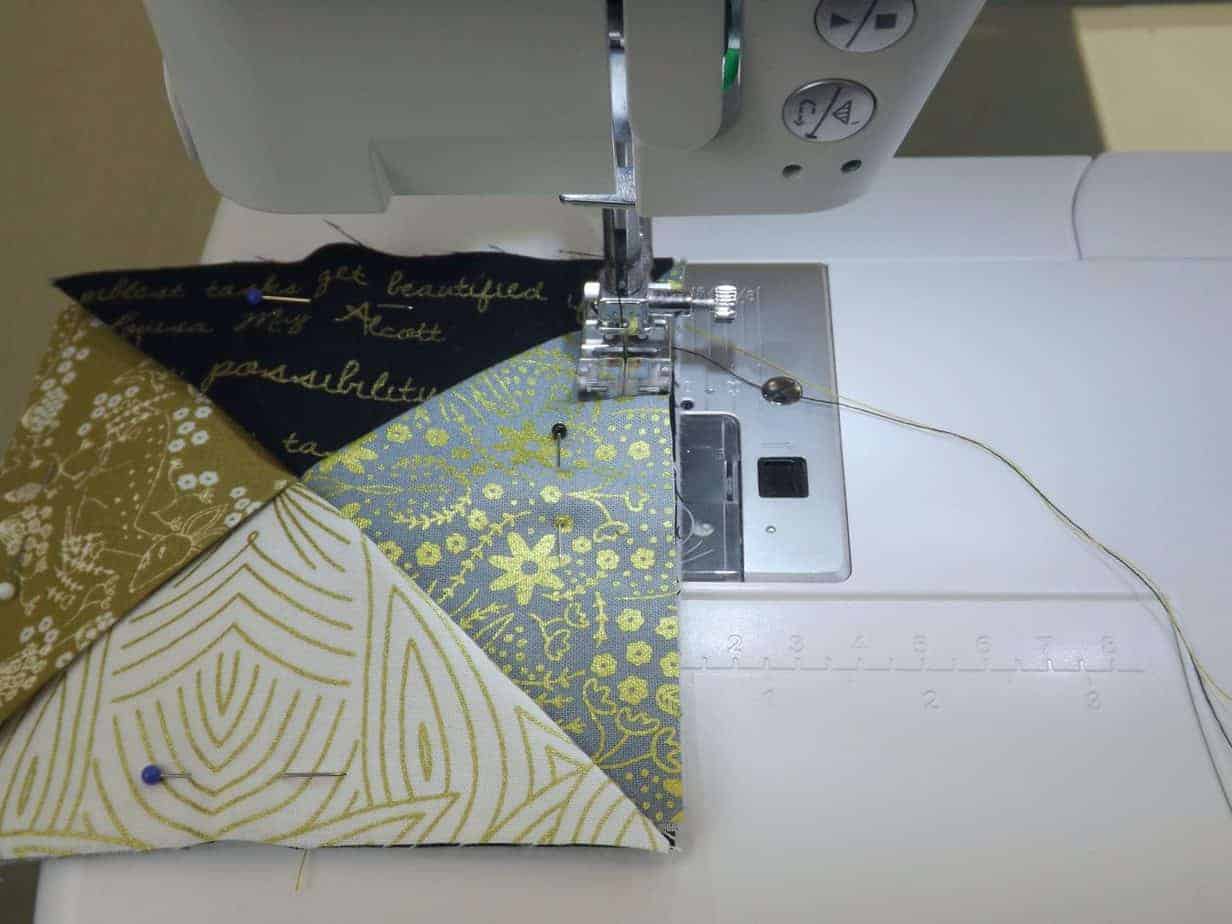
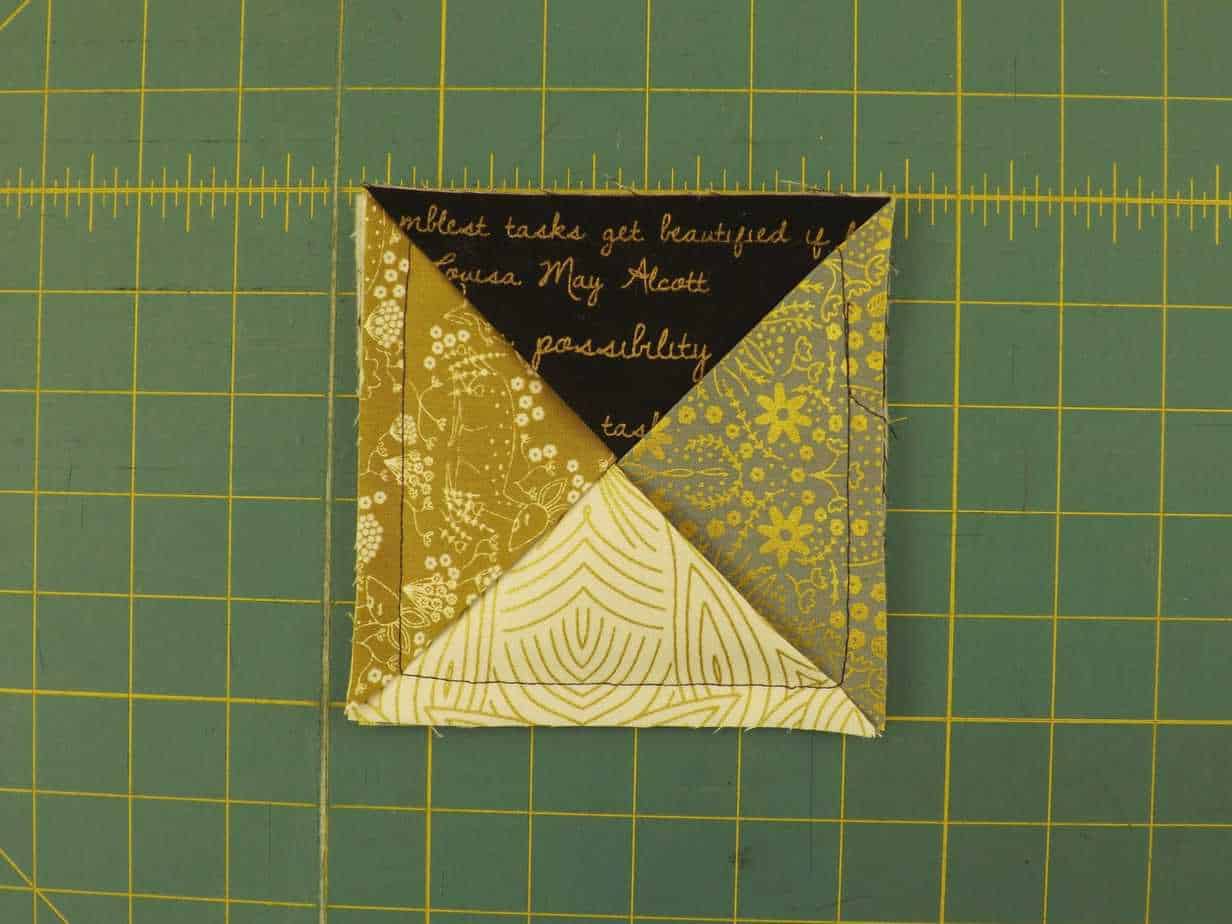
Using 3/8” seam allowance, stitch around outside edge of square, pivoting at corners.
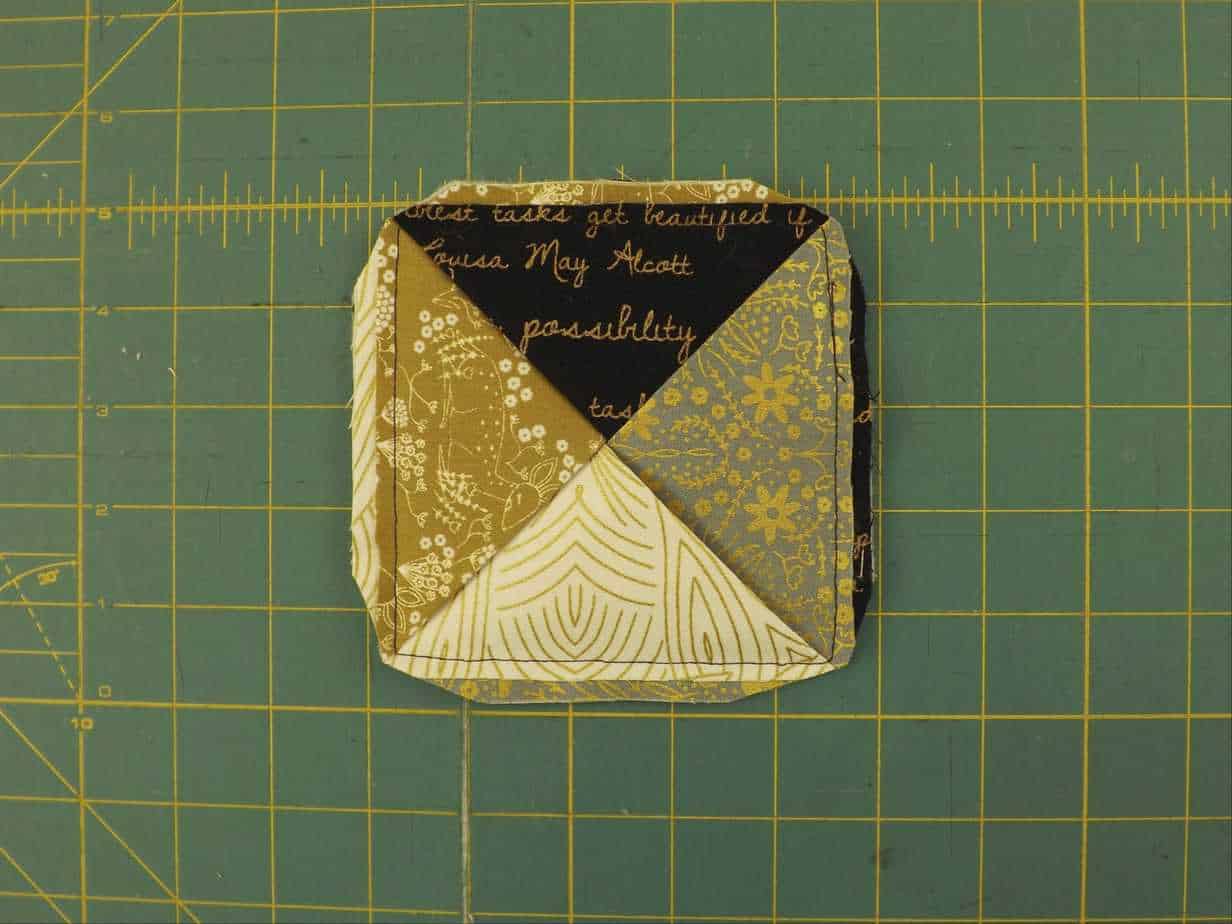

Trim corners and grade seam allowance. Turn coaster right-side-out (batting will now be in the middle).
Make sure side seams and corners are turned fully. Press edges.
Congratulations on finishing your coasters! Now it’s time to check out your stash so you can make MORE!