Contact Us: 604-276-9332
     

DIY: DRINK COZY

Leave a Comment

Your email address will not be published. Required fields are marked *

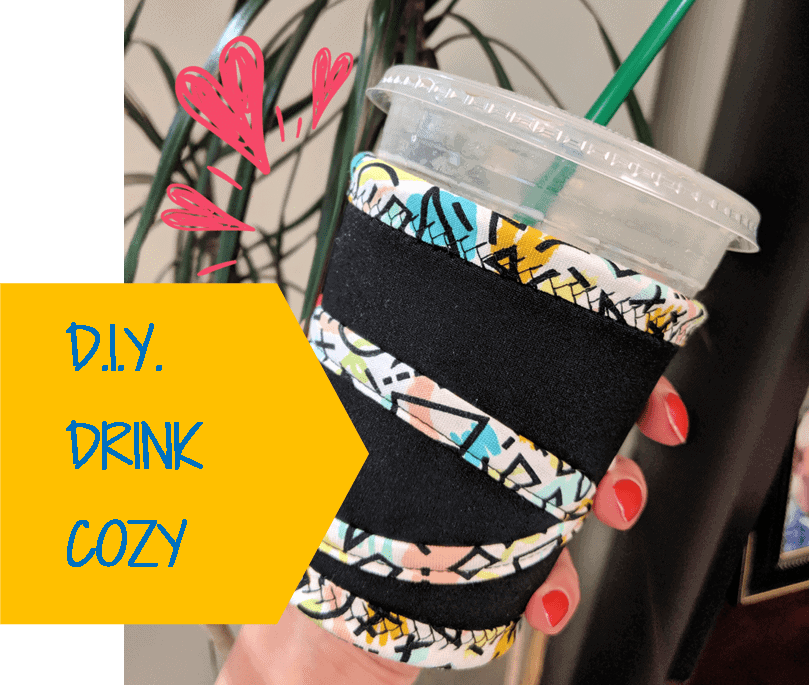
Whether you like your drinks hot or cold, you probably want them to stay that way.  Follow along this step-by-step D.I.Y. to make a super-cute, customizable, insulating drink cozy.  While, you’re at it, make a couple of extras for your friends!


Here’s what you’ll need:
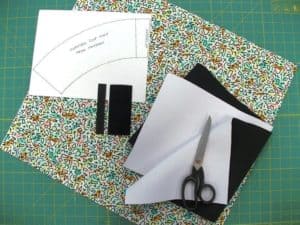
  1. Neoprene or similar insulating fabric (approximate size 10” x 12” (25cm x 30cm))
  2. A Fat Quarter of a fun craft cotton (18” x 22”)
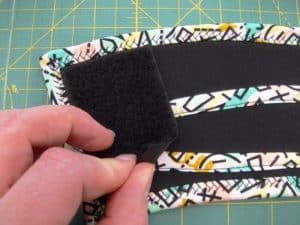
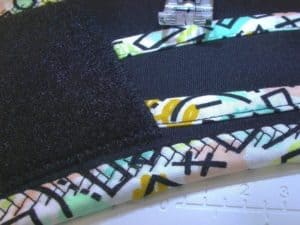
  3. 4” x ¾” (10cm x 2cm) Velcro (the scratchy side)
  4. 4” x 2” (10cm x 5cm) Velcro (the soft side)
  5. Fabric scissors
  6. Rotary cutter, mat and ruler OR ruler and fabric marker
  7. Thread to match the craft cotton
  8. The pattern (download our pattern here /sites/default/files/coffee%20cozy%20pattern.pdf, or create your own pattern using a paper sleeve from your favourite coffee shop – don’t forget to include an underlap!)
  9. An iron and ironing board
  10. A sewing machine with straight stitch and zigzag

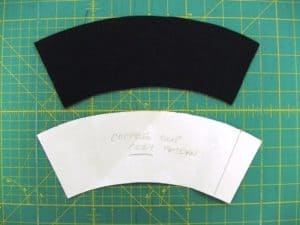
Step 1:  Using your pattern, cut one cozy out of the neoprene fabric.

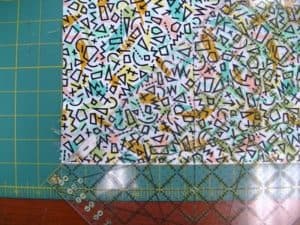
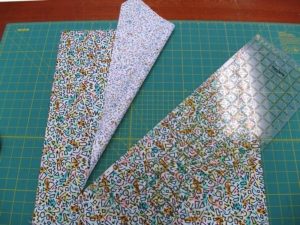
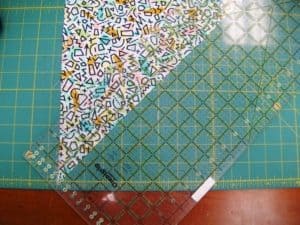
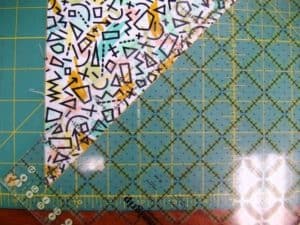
Step 2:  From one corner, cut your craft cotton on a 45 degree angle.  We used a rotary cutter, but you can use a ruler and fabric marker to mark the cutting line and cut with scissors.

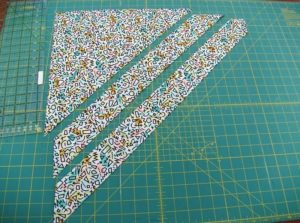
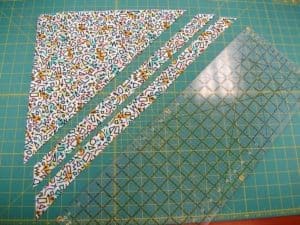
Step 3:  Along the diagonal cut, mark and cut a 2.5” wide (6.5cm) strip.  Cut a second strip the same width.

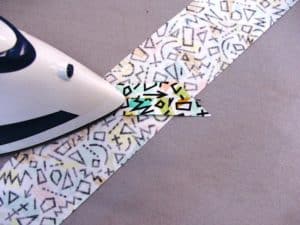
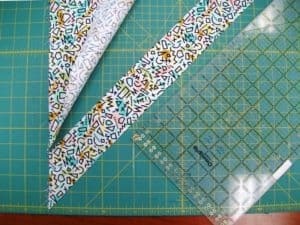
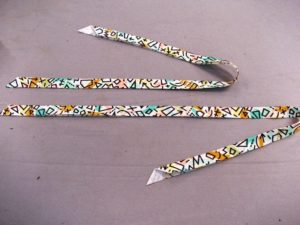
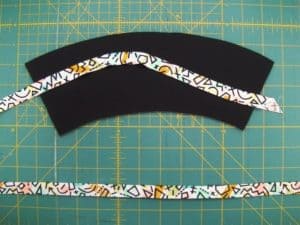
Step 4:  Join the two strips together as shown above and press the seam open.

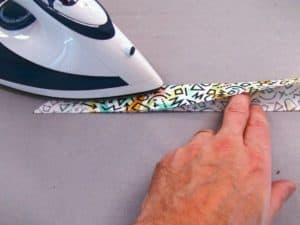
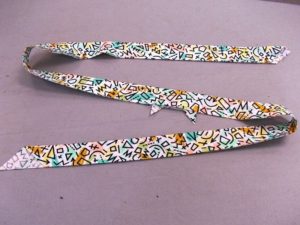
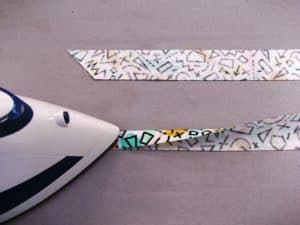
Step 5:  Press the strip in half along the length with the wrong sides facing together.  Set this strip aside.  It will become the binding for the outside edge of the cozy.

Step 6:  Using the other half of the craft cotton, cut 2 strips 1 ¼” (approx. 3cm) wide.  Press each of the strips in half along the length with the wrong sides facing in. Call these decorative strip 1 and decorative strip 2.

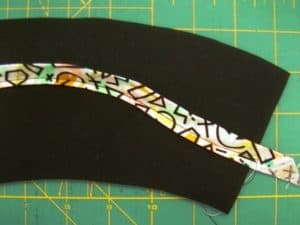
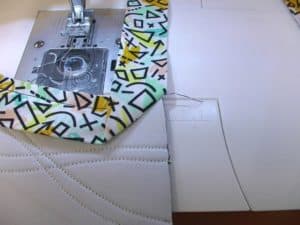
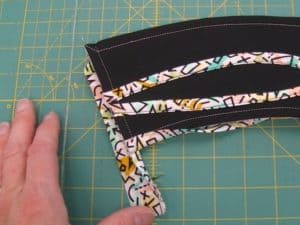
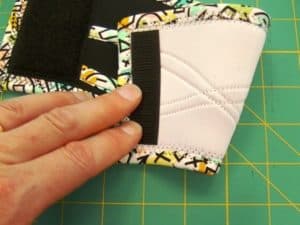
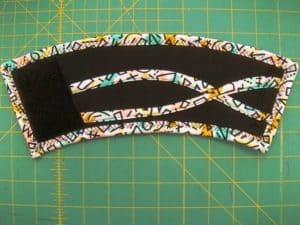
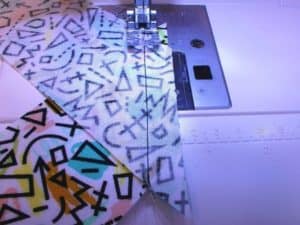
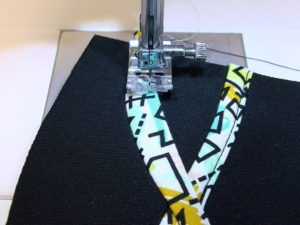
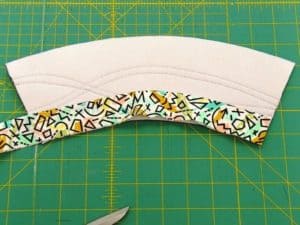
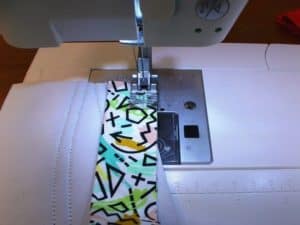
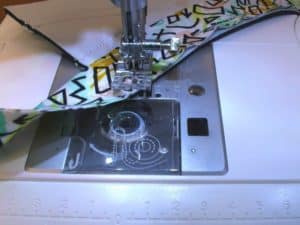
Step 7:  Place one of the decorative strip 1 along the face (front) of your coffee cozy. You will see the stitch work here.  We placed it in a pleasing curve (if your curve is too severe, it won’t lay flat when press in place).  Stitch it in place ¼” from raw edges using a straight stitch.

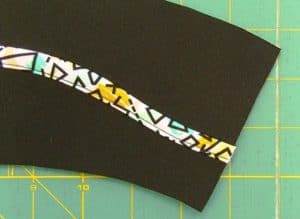
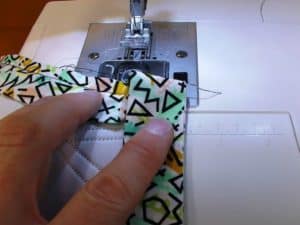
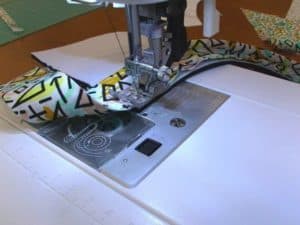
Step 8:  Taking care not to melt your neoprene, using a drop cloth press the folded edge of your strip over the raw edge.  Edge-stitch close to the fold.

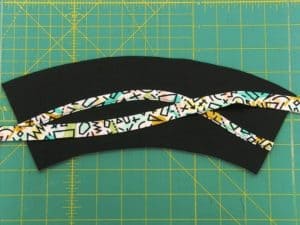
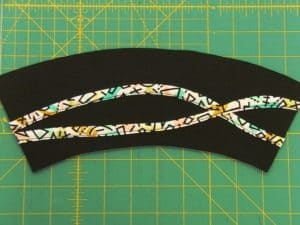
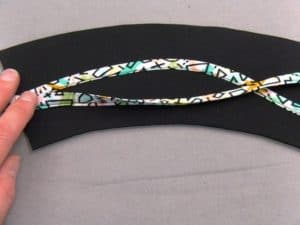
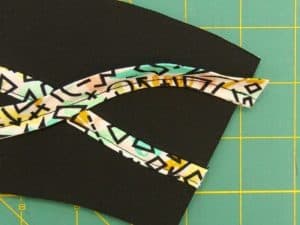
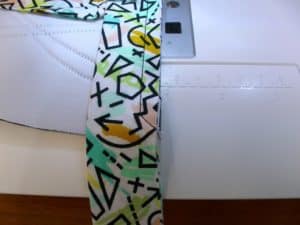
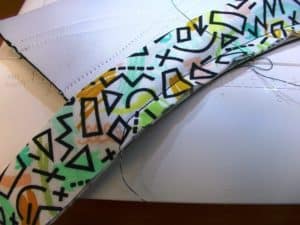
Step 9:  Place the second decorative strip on the cozy.  We did a nice overlapping wave.  Follow the same steps as you did for the first strip to apply.

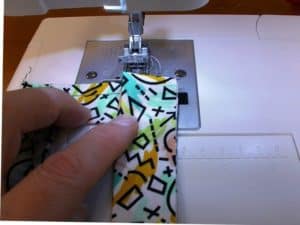
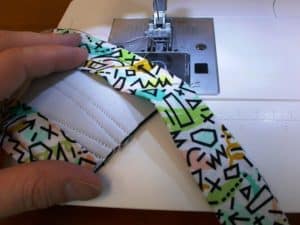
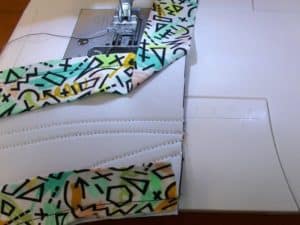
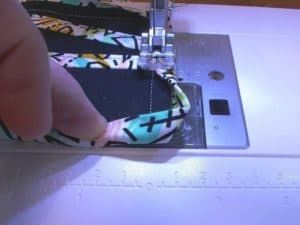
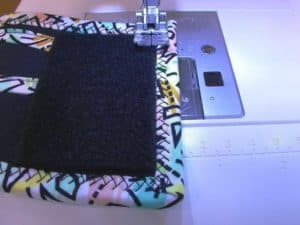
Step 10:  Take the wide folded strip that you had set aside.  Cut off one end at a right angle.  Line up the end of the strip with the bottom corner of the BACK of the cozy with the raw edges lined up along the bottom of the cozy.  Stitch in place with a scant 3/8” seam allowance.

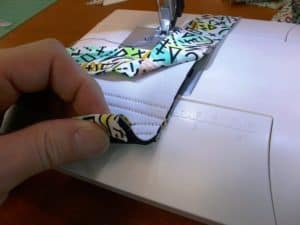
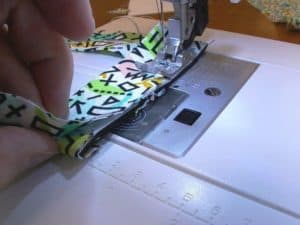
Step 11:  Continue stitching until you are 3/8” from the end of the cozy.  Leave your needle in your work and pivot your work 45 degrees clockwise.  Stitch to the corner as shown. Leading down towards the corner of your cozy.

Step 12:  Pivot your work, so the binding is away from you.  Fold the binding back on a 45 degree angle as shown in the first photo.  Now fold the binding back toward you, matching the raw edge width the edge of the cozy.  There will be a triangle of lose fabric. You are creating a miter at the corner.
Step 13:  Starting at the top edge, stitch the binding in place using a scant 3/8” seam allowance and pivot at the corner as you did before.
Step 14:  Repeat the same process as above for the next two corners.
Step 15:  Go back to the first corner where you started sewing the binding.  Wrap the binding around the edge of the cozy – we’re sewing on the back side of the cozy, so you will be wrapping it around to the front.  Hold the binding in place at this corner as you stitch the last side of the cozy.
Here’s what the cozy looks like at this point.
Step 16:  Flip the cozy over.  Wrap the binding around to the front side.
Step 17:  Using a zigzag stitch or similar decorative stitch, sew the binding down making sure that the folded edge of the binding is covering your original stitching.  When you get to the corner, fold the binding to create a little miter.  Stitch to the corner, leave the needle in the down position, pivot your work 90 degrees counter-clockwise and continue stitching.  Repeat this process for the next two corners.  When you get to the final corner, stitch right to the edge and do a secure backstitch.  Carefully trim off the excess binding.
Step 18:  Trim the ends of the soft piece of Velcro to fit on your cozy without covering the binding (as shown above).  Place the Velcro on the left side of the front of the cozy.  Stitch the Velcro in place on all four sides with a zigzag stitch.
Step 19:  Trim the end of the scratchy piece of Velcro to fit on your cozy without covering the binding (as shown above).  Place the Velcro on the opposite end of the cozy on the BACK side.  Stitch the Velcro in place on all four sides with a zigzag stitch. And now you have a perfect unique cozy!

Share:

Leave a Comment

Your email address will not be published. Required fields are marked *

Related Posts

Can’t stop the Crochet!

Some of you may remember seeing a short Instagram video where I was looking for a name for a tiny grey octopus that I had

A Visit to the Fibres West Show

As someone who has been sewing for nearly four decades, has studied fashion design, and worked in a fabric store for most of his career,

Home decorating. Home improvement.

5 Tips on Navigating a Home Fabric Department

Our homes say a lot about us, and reflect our personality to all our guests. Or, at least we want our homes to look that way, but it can be hard to get them there! Where do we start? How do we do it? What are the big unknowns you should prepare for?

Pompom Poof Easter Bunny Wreath

We’ve put together this 5 step Easter Wreath perfect for decorating your door this spring. Follow along with our pompom video and learn how to apply this easy to learn skill to this festive project. You don’t even need to sew!

Richmond Fabricana Memories

Fabricana Richmond was open for 53 years, and we want to share some of the wonderful memories from the store. Read along to hear from employees and customers alike.