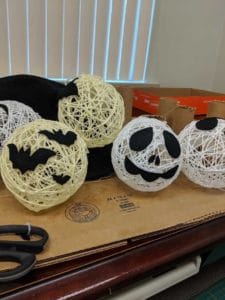
I simply love homemade Halloween decorations! Everything Halloween brings me so much joy and knowing something was homemade just makes it all the more enjoyable to me. Putting perishable decor aside, we put together this easy Halloween Decoration DIY that anyone can follow. These simple steps lead to a versatile decor project; we made Bats Flying across a moon and a skull but these could easily be turned into pumpkins, candy apples, classic monsters and anything else you can think of with the right coloured yarn!
Let’s get crafting!
Tools and Materials:
1) Yarn ball(s) in designated colours. (I found that a thicker yarn is easier to work with because you need fewer layers, but any weight works). We used about 6 feet of yarn per bulb.
2) 15-30cm Craft Felt or Felt Squares (enough to cut out shapes/faces, this is dependent on how many finished Bulbs you would like to make. We used black felt)
3) Balloons
4) School glue or Fabric Tack Glue (clear dry is ideal)
5) Scissors
6) Gloves (optional)
7) Water
8) Plastic bowl (or easily cleaned container)
9) Cardboard or metal supports/stands (used to dry product. Something you don’t mind getting glue on and can spare while the project dries. We used empty toilet paper rolls)
10) Stencils/drawing of bats, faces, etc (optional)
11) Fairylights or Twine (optional)
Instructions:
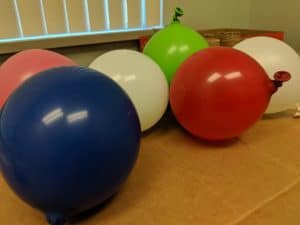
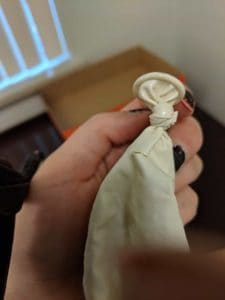
Step 1: Blow up your balloons and double-knot the end. I blew my balloons to be the size of a softball, but you can make them to the size you’d like your decorations to be.
Prep your toilet rolls, or stands somewhere so they’re ready to be used once you’ve started the project (placing them on newspapers, or a cardboard box, where it will not be disturbed is ideal).
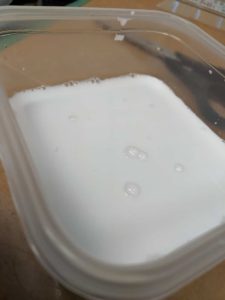
Step 2: Prepare your glue solution by adding 1-2 teaspoons of water for every 1 tablespoon of glue in a washable container. The amount of water is dependent on how thick the glue is, to begin with; the finished glue paste should be lump-free and the consistency of butternut squash soup.
For 6 orbs I used about 1½ cups of the mixed glue solution.
Step 3: Cut your lengths of yarn; make sure to precut your length(s) before handling the glue. This can get messy if you don’t prep. The lengths of yarn should be an adult’s single-arm length three times. So around 3 feet x 3.
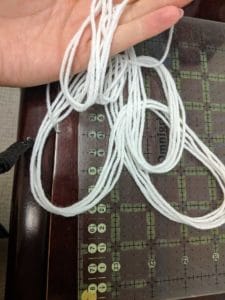
If you’re working with a child it might be easier to work with smaller pieces. The yarn can get tangled and working with pieces about 1.5 feet long will take longer, but look fine.
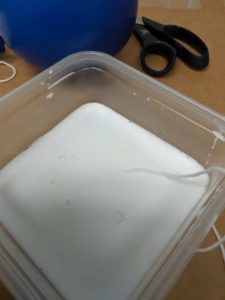
Step 4: Starting with one end of the yarn, dunk about 5” of yarn in the glue/water solution. Let the yarn absorb the glue a bit, and then using your thumb and forefinger squeeze the excess solution off the yarn. Moving down the yarn, soak, working about 5” at a time, getting rid of excess glue as you work and make sure that the yarn is damp/wet but not dripping or exuding glue.
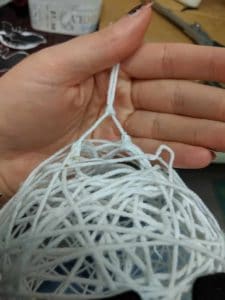
Step 5: Once your length of yarn has been wettened begin to wrap the yarn around one of the balloons.
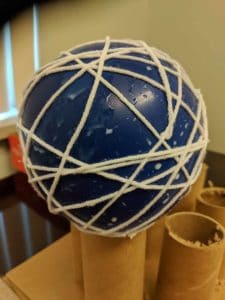
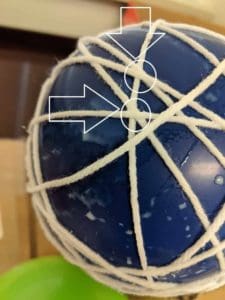
Holding the tip of the yarn at the top of the balloon with your thumb wrap the yarn in a “spider-web” pattern around the balloon. Make sure that you’re wrapping tightly without “cutting” into the surface of the balloon at all. If you wrap too loosely the yarn will slip off the balloon’s surface. To finish the length of yarn off tuck it under another piece of yarn so when you let go it will not unravel. Be careful to leave a space around the nub of the balloon, a twoonie-sized hole (2” about) should be around the nib to allow for a clean surface to dry on.
Once you’ve finished your first length of yarn you might decide to add another length of soaked yarn onto the balloon. I ended up doing 3 lengths of yarn, but create the look that you desire for your decorations.
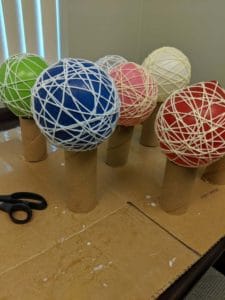
Step 6: Once you’ve finished wrapping your balloon be sure to place it, nub down, on your toilet paper roll in order to dry.
Take your glue directly from the tube (not the water-downed version) and dab a small amount of glue on the sections of the yarn that cross over another length. This will secure the layers together and make your bulb more secure once it’s fully dried.
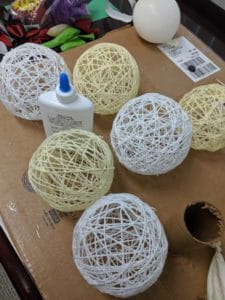
Step 7: The drying process can take up to 2 hours. I left my orbs overnight in order to make sure they dried all the way. Once your orbs are dry, remove them carefully from their drying stand and pull on the nub of the balloon. Using scissors cut a small 1” hole in the top of the balloon and allow the air to escape slowly. Do Not pop the balloon, this might collapse the orb.
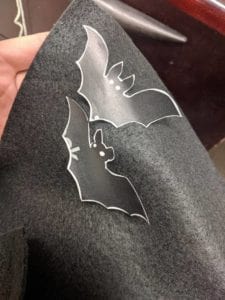
Step 8: We used clipart of a bat by printing it off the computer and cutting it to size and then cutting it out of our felt. We freehanded the face for the skulls, but the same printing of a skull picture can work for any design!
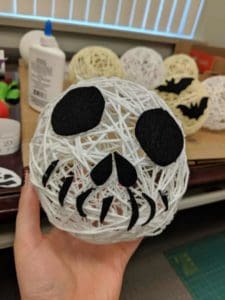
Using the same glue (direct from the bottle, not watered down) add it to the back of the felt and press it gently onto your bulb’s surface. Let dry (probably about 30 minutes – 1 hour).
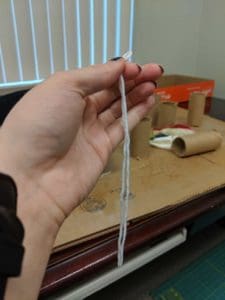
Step 9: Once your bulbs are dry, take a small length of yarn between 8” and 10”, this will be the hook to hang the orb up (you can make the lengths longer, but we don’t suggest shorter. It becomes hard to secure them if they’re shorter)
Tie your yarn to the top of your orbs in two places near the small hole you’ve created during the wrapping process, making sure the knot is secure. Trim off any excess. If you’re nervous about the knot not being secure, you can dab some glue on them to hold it in place.
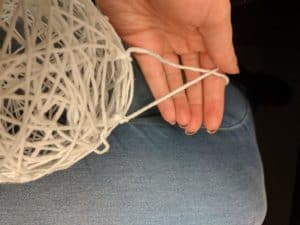
Then loop the length around your finger and tie a single knot as close to the base of the yarn hook are possible, creating a loop.
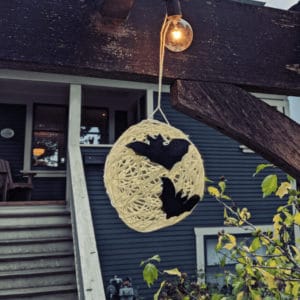
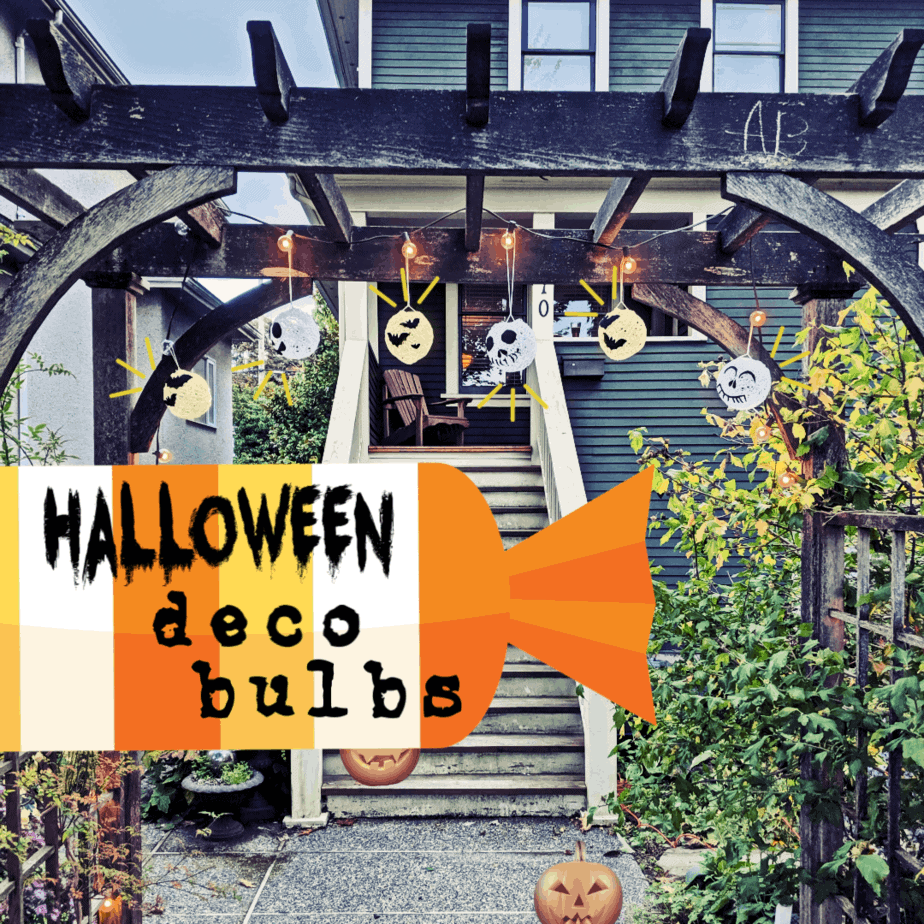
And just like that, you’re finished! This is a super fun and easy way to decorate your house for Halloween and a great craft to do with a young one. You can hang the orbs up on twine, or place the bulb over fairy lights to create a beautiful glowing effect. Imagine how cute it would be with a pumpkin orb glowing from the lights! Just be sure to keep the orbs out of direct rain so the glue does not unbind.
Share with us what you created, or how you decorate your home for Halloween. Have a SPOOKY day!