Complete Drafting and Sewing Instructions
Part 1: Drafting your Bucket Hat Pattern
Materials Required:
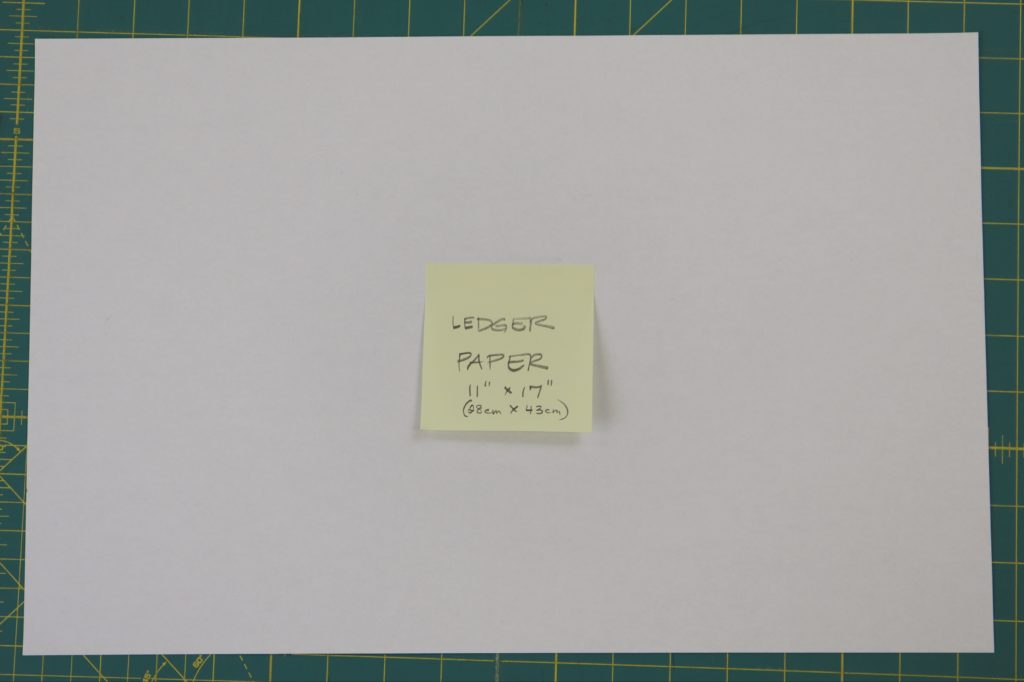
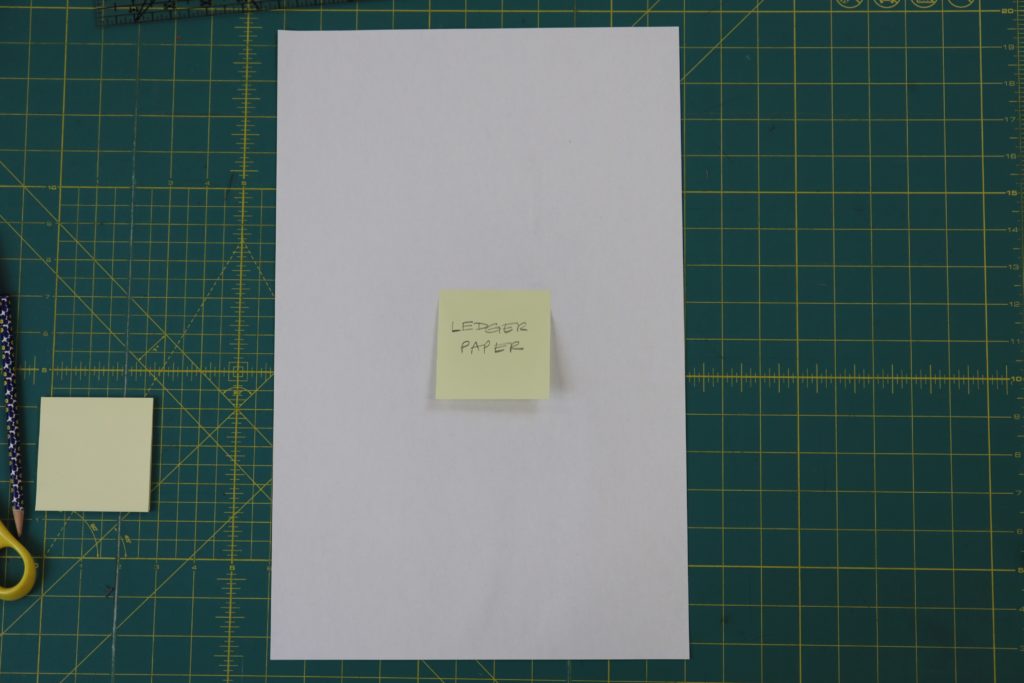
- Pencil and Paper (Ledger Size Paper 11″ x 17″ or larger)
- Straight Edge
- French Curve (or similar ruler for drawing smooth curves)
- Measuring Tape
- Scotch Tape
- Scissors for cutting paper
- Calculator (optional)
Drafting Crown of Hat:
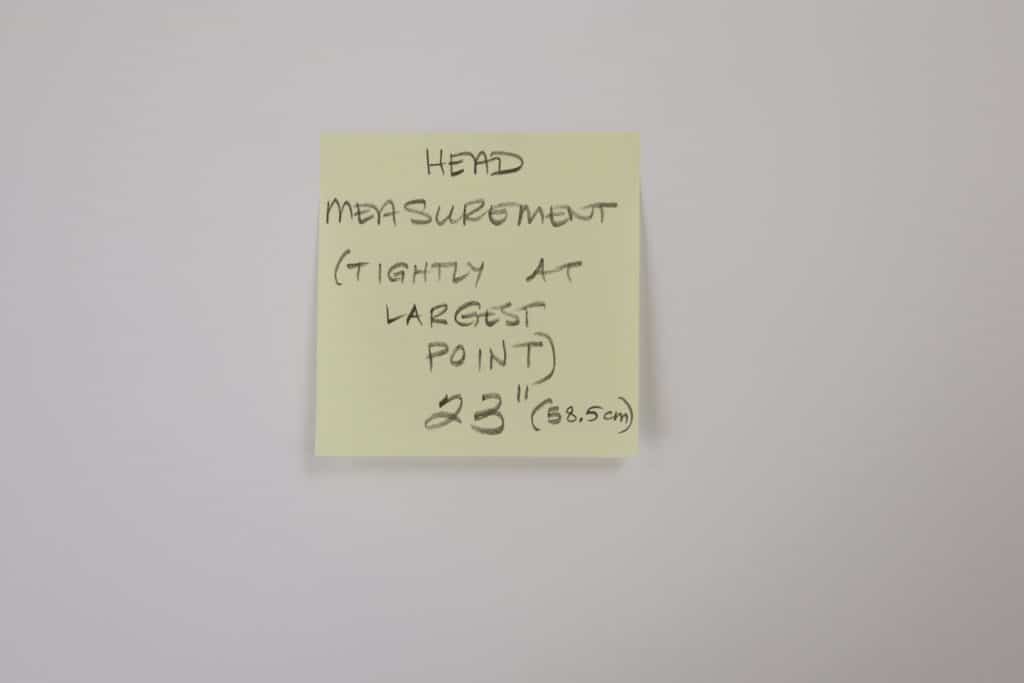
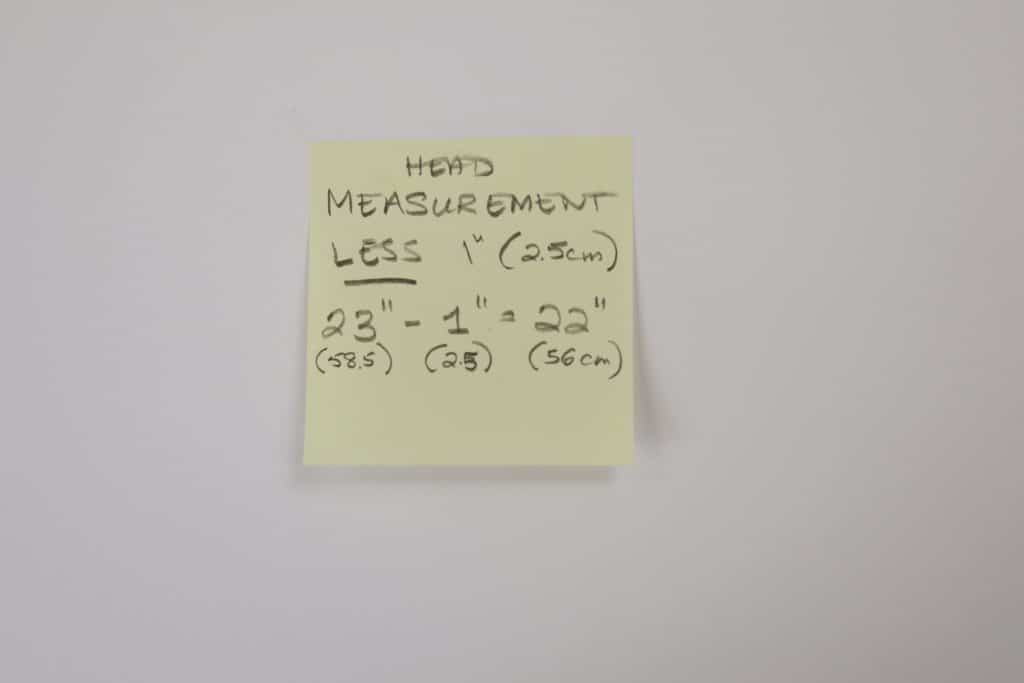
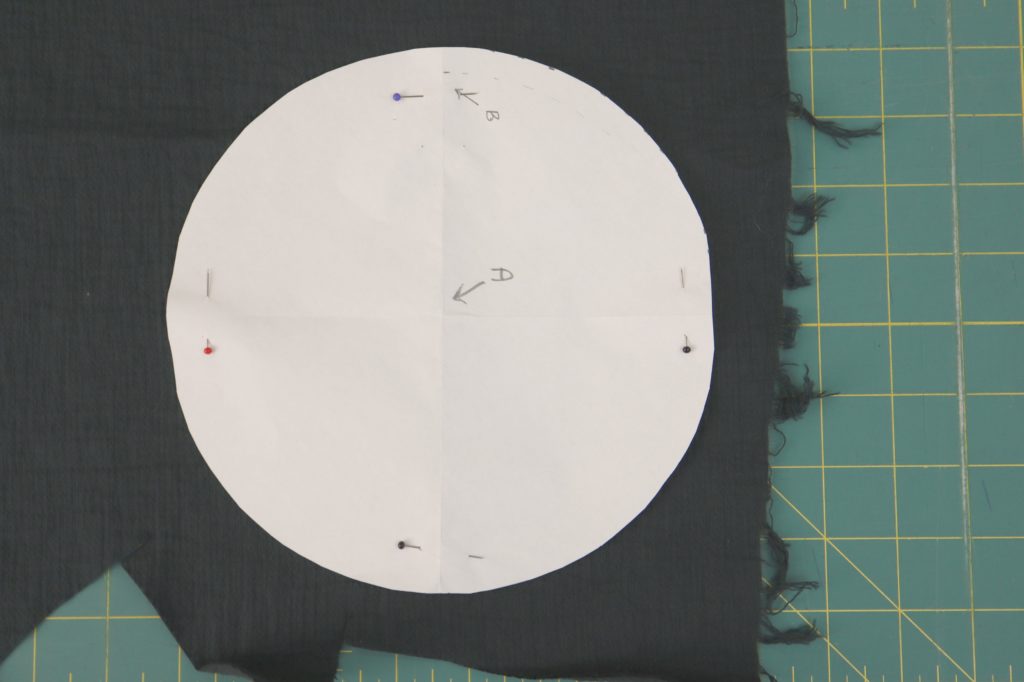
Take a tight measurement of your head at the widest point (across forehead and just above ears). Reduce this measurement by 1” (2.5cm). Our measurement was 23” (58.5cm) so we reduced this to 22” (56cm).
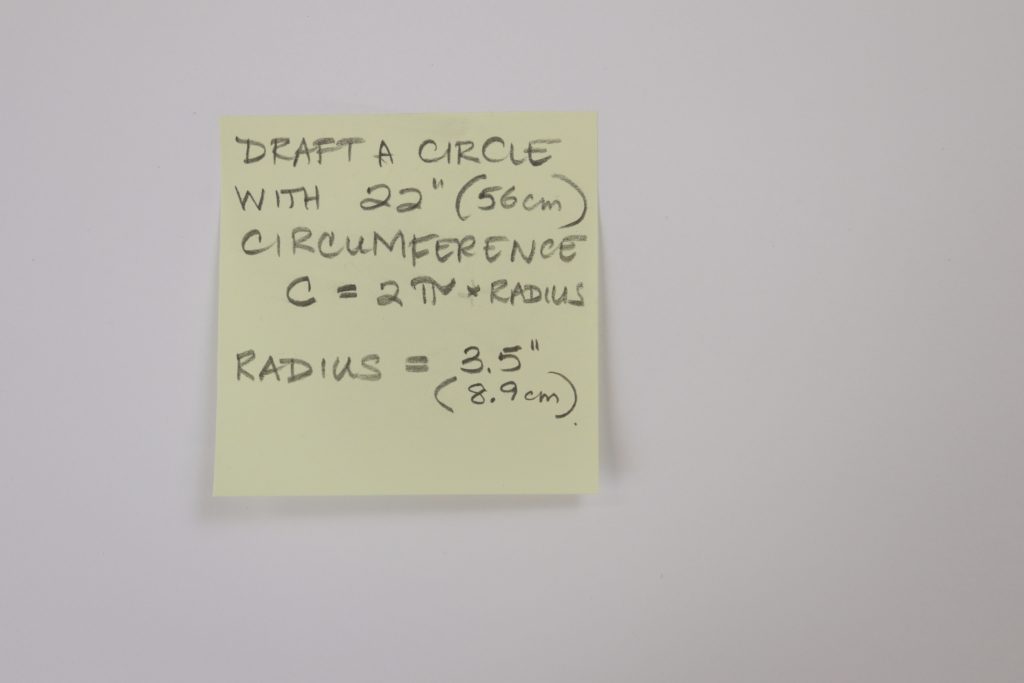
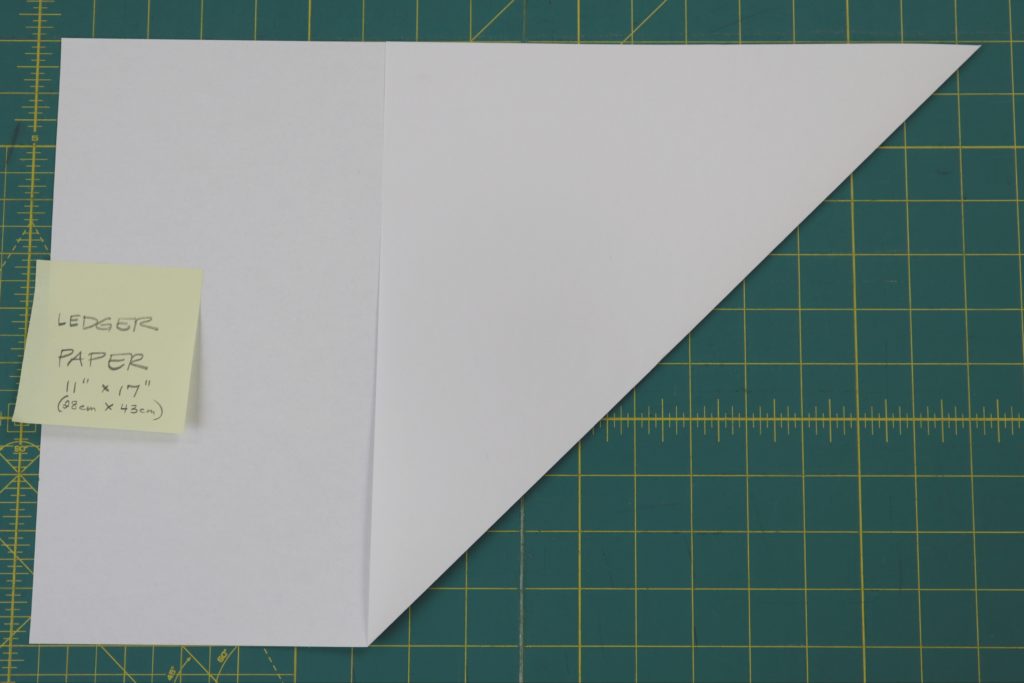
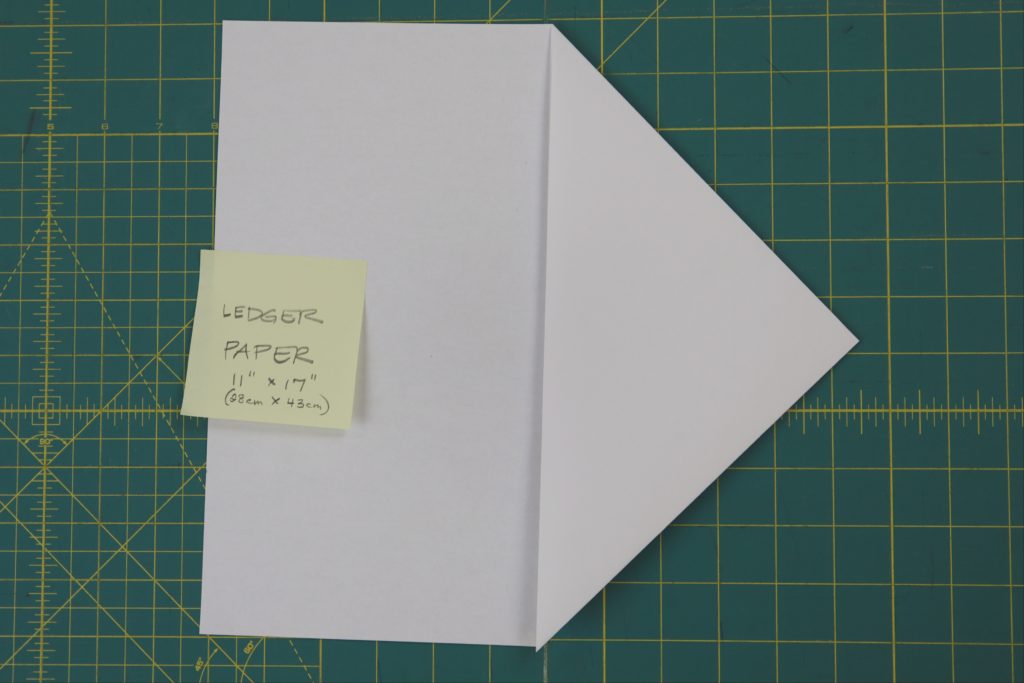
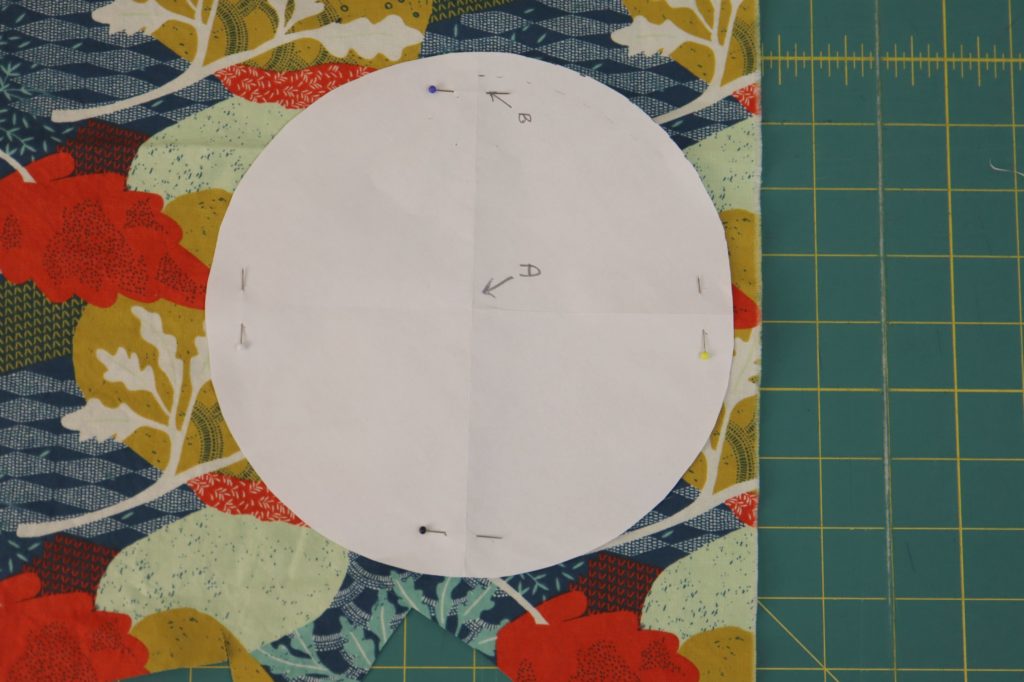
We will now draft a circle of the reduced head measurement. The calculated radius for this circle is 3.5” (8.9cm). Calculate radius for your measurement (measurement divided by 3.14 divided by 2). Take a sheet of ledger paper and fold as shown in third image above. Then fold again as shown in fourth image above.


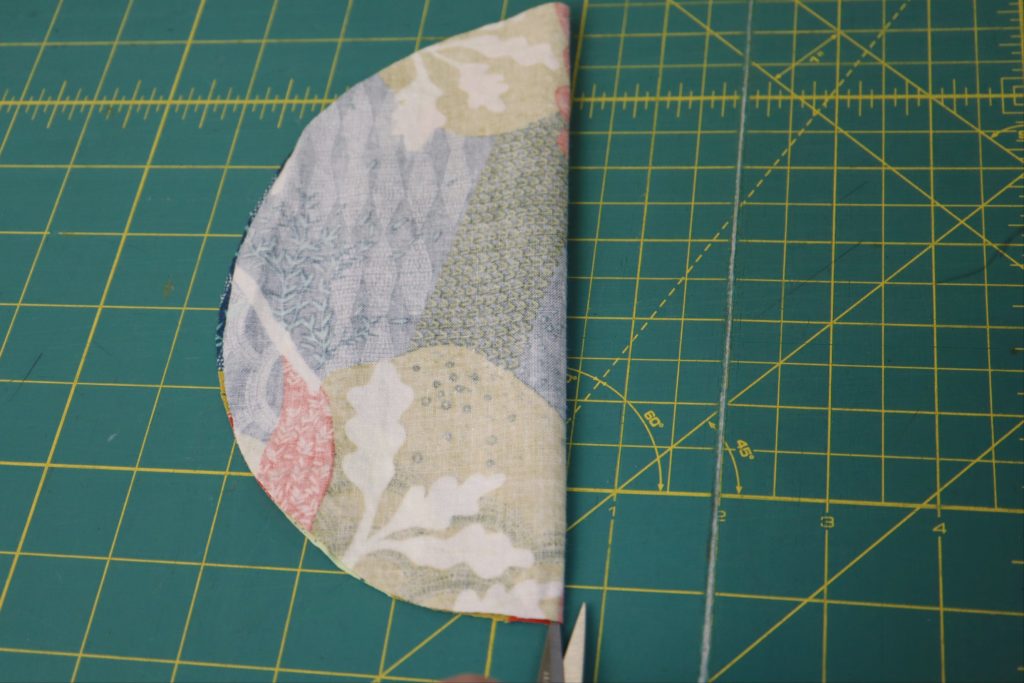
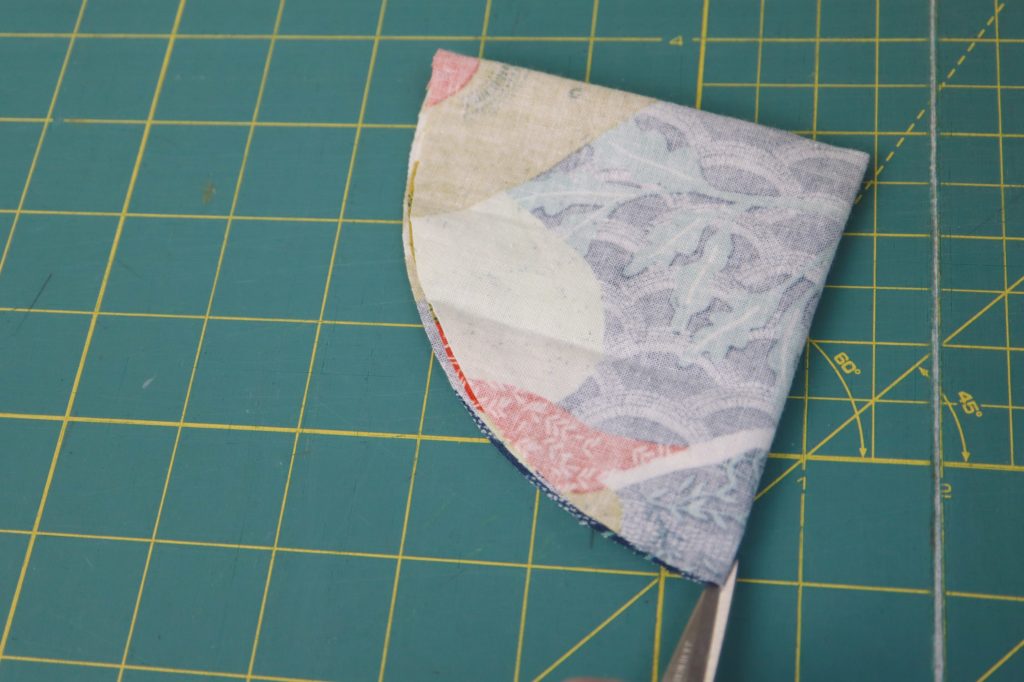
We will call the corner point “A”. Measure over from “A” the radius (3.5”/8.9cm). We will call this point “B”. Measure over from “B” the size of our seam allowance, which is 3/8” (1cm). We will call this point “C”.
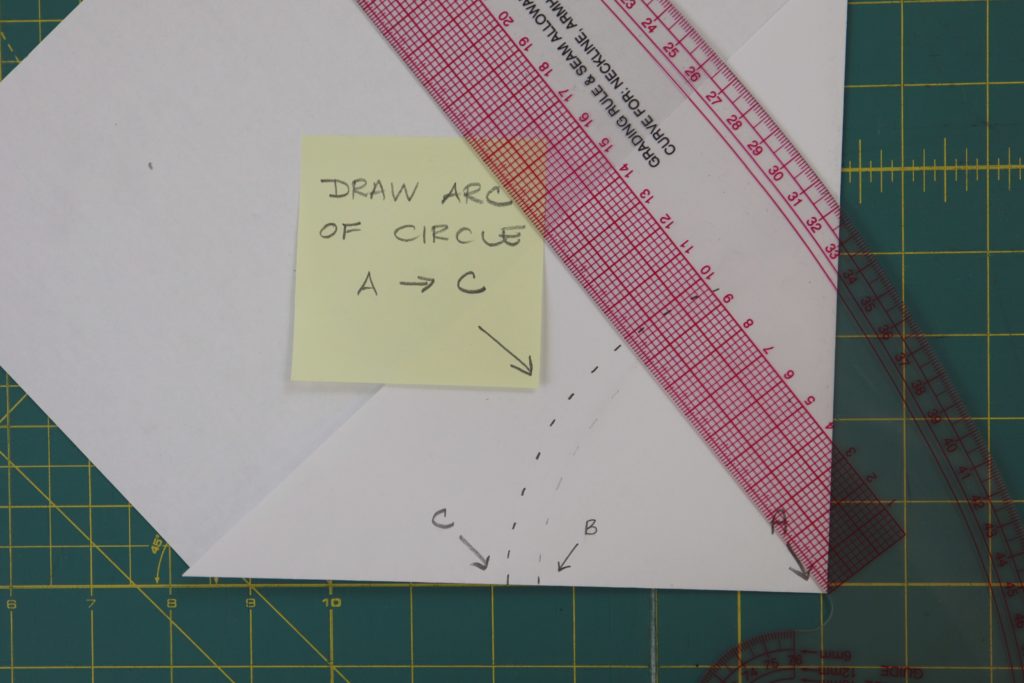
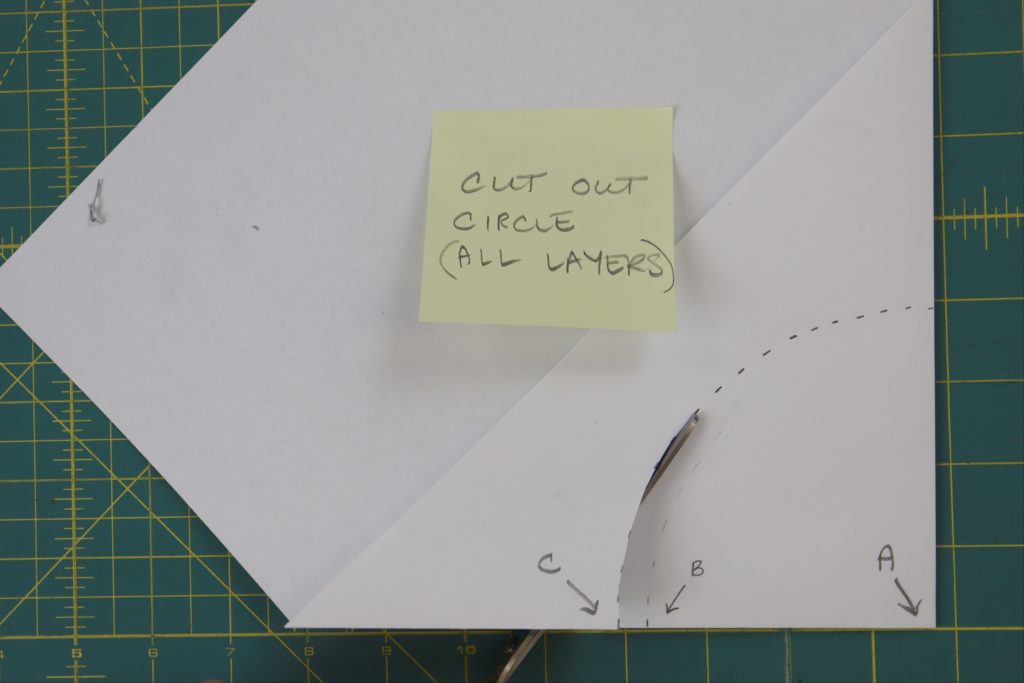
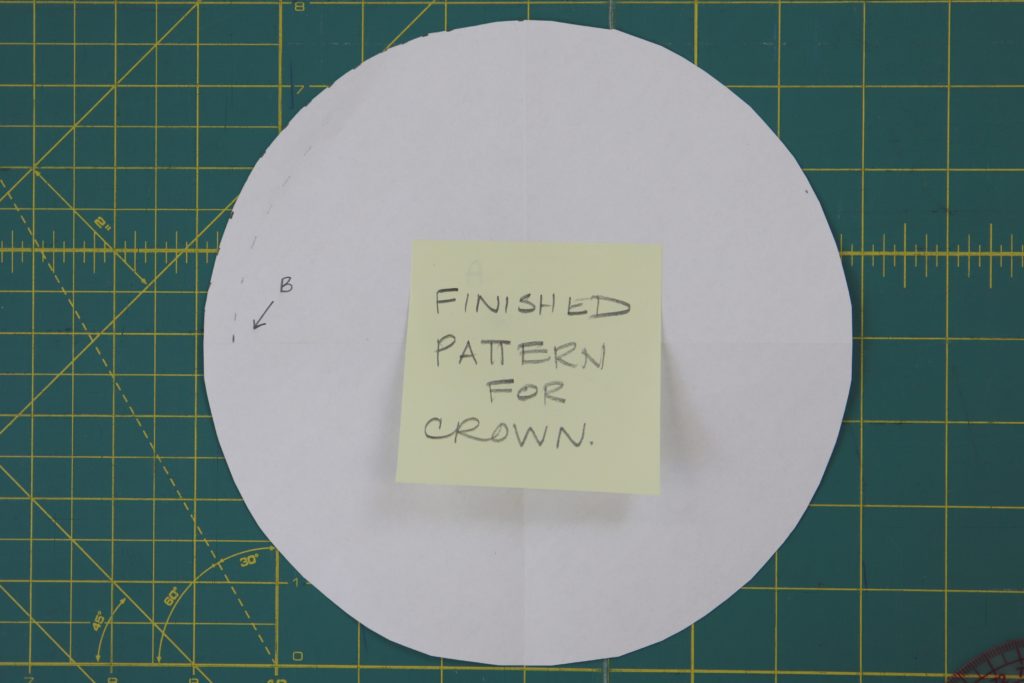
Using your ruler as a guide, draw an arc up from “C” as shown. You are essentially drawing a quarter of a circle. Cut along this line through all four layers. Open up the circle. This is your finished crown pattern.
Drafting Side of Hat:
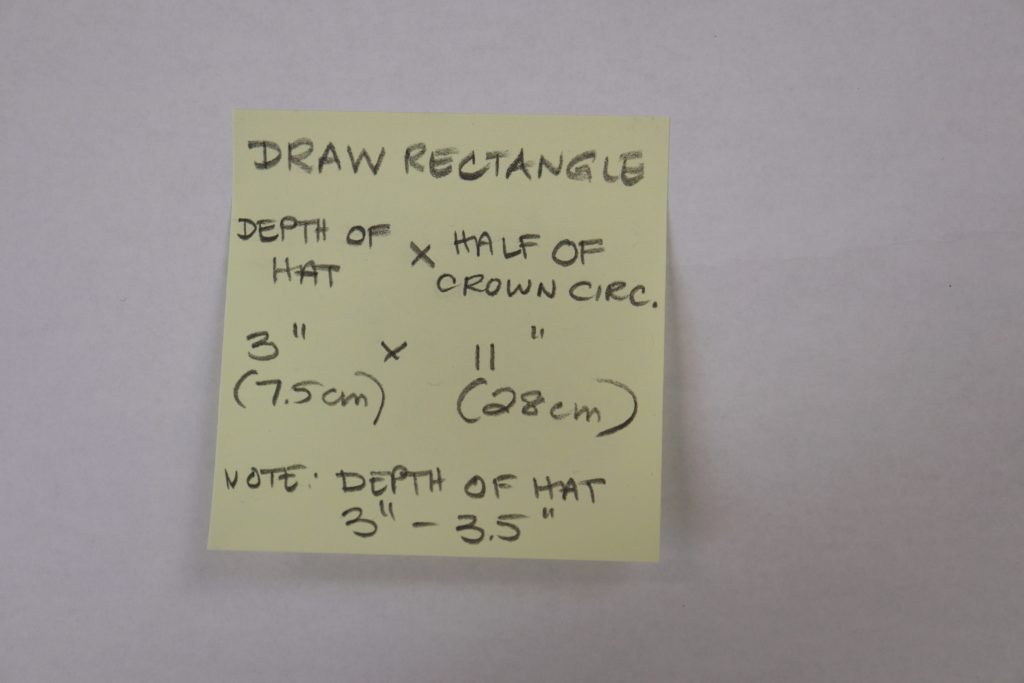
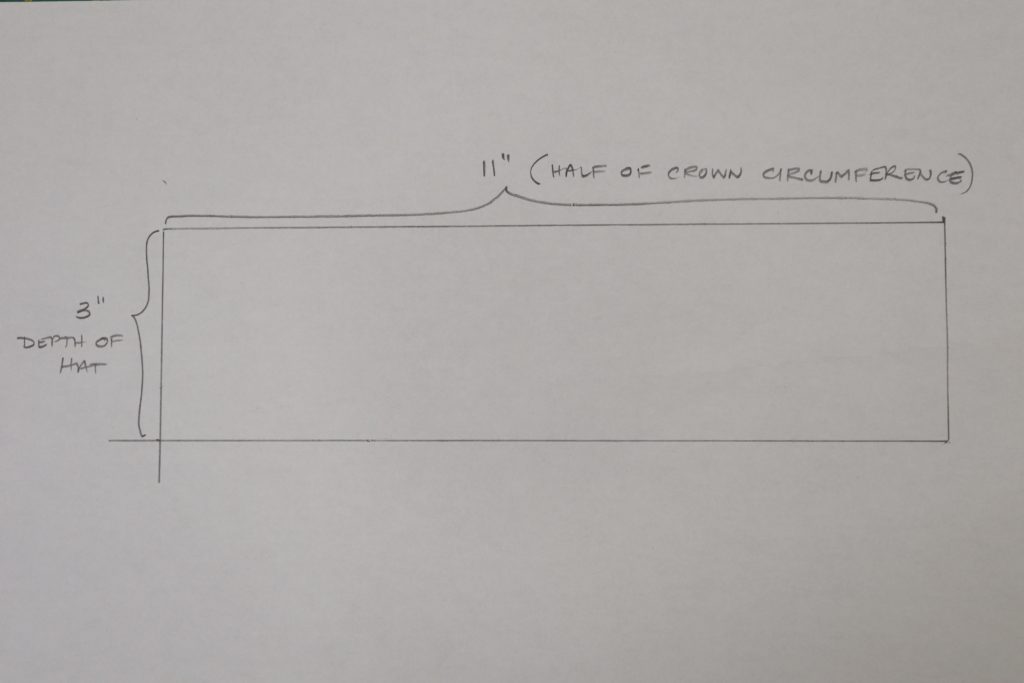
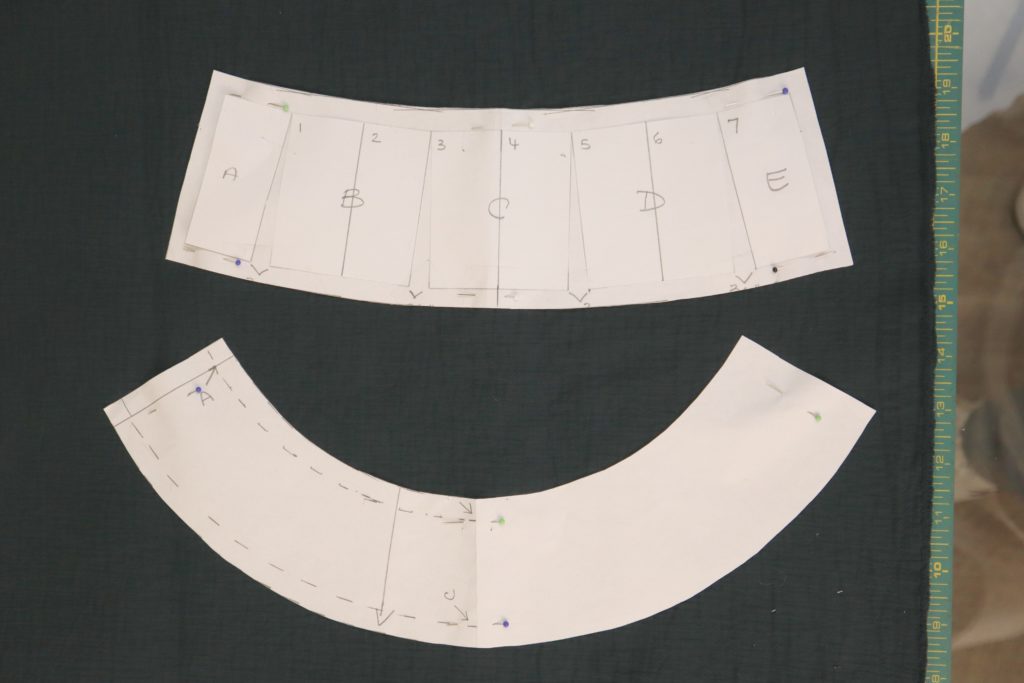
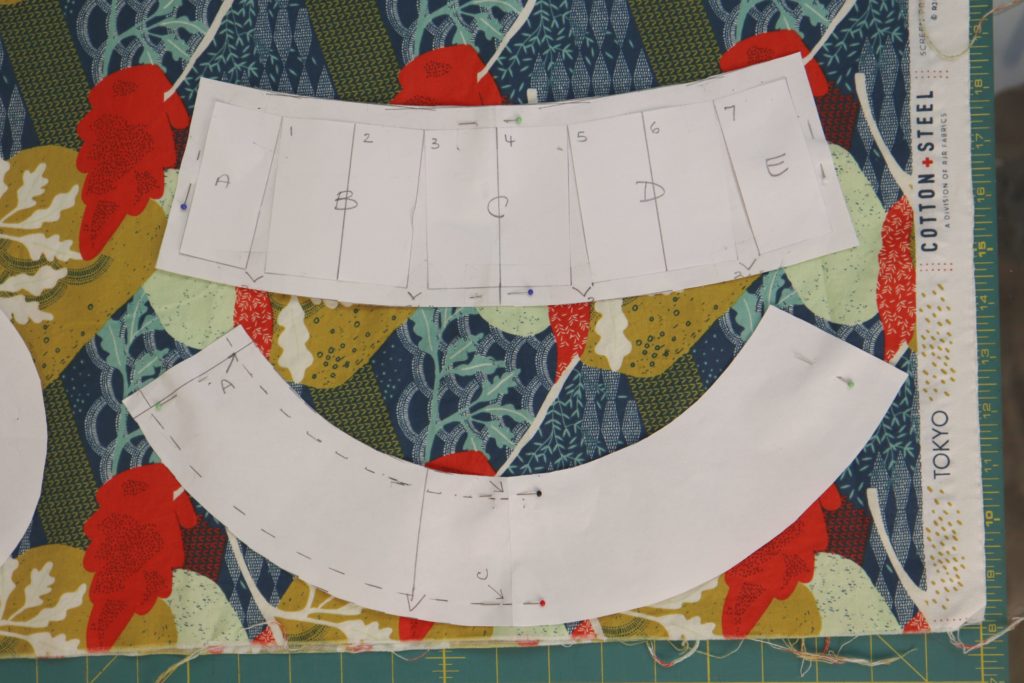
Draw a rectangle. The height of the rectangle is the depth of the hat (3” – 3.5”) or (7.5cm – 8.9cm). The length of the rectangle is 11” (28cm) which is HALF of our REDUCED head measurement.
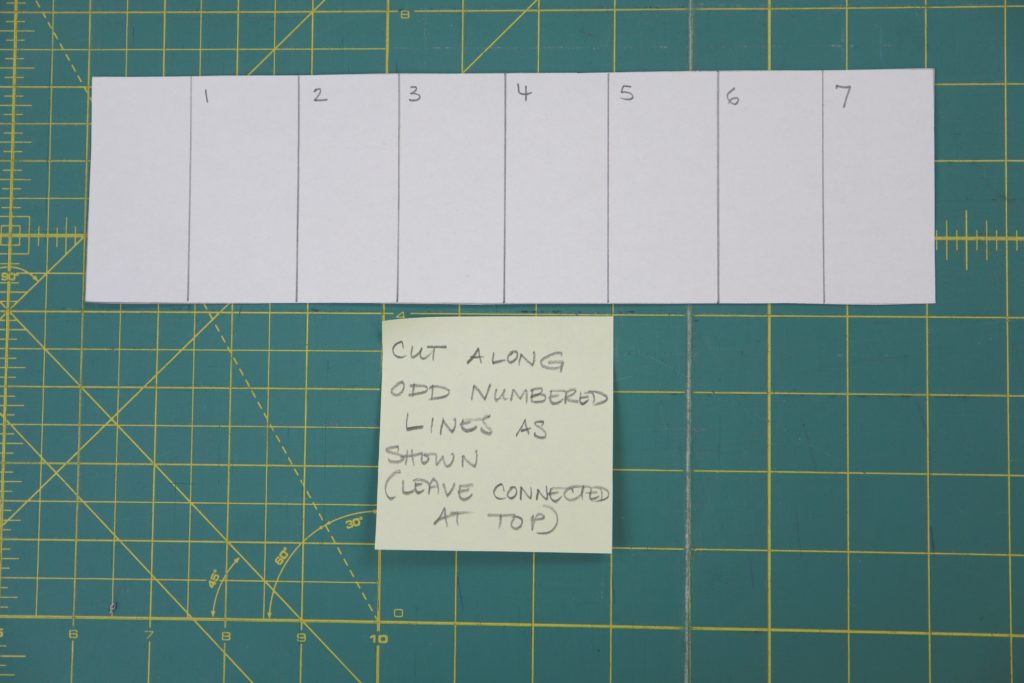
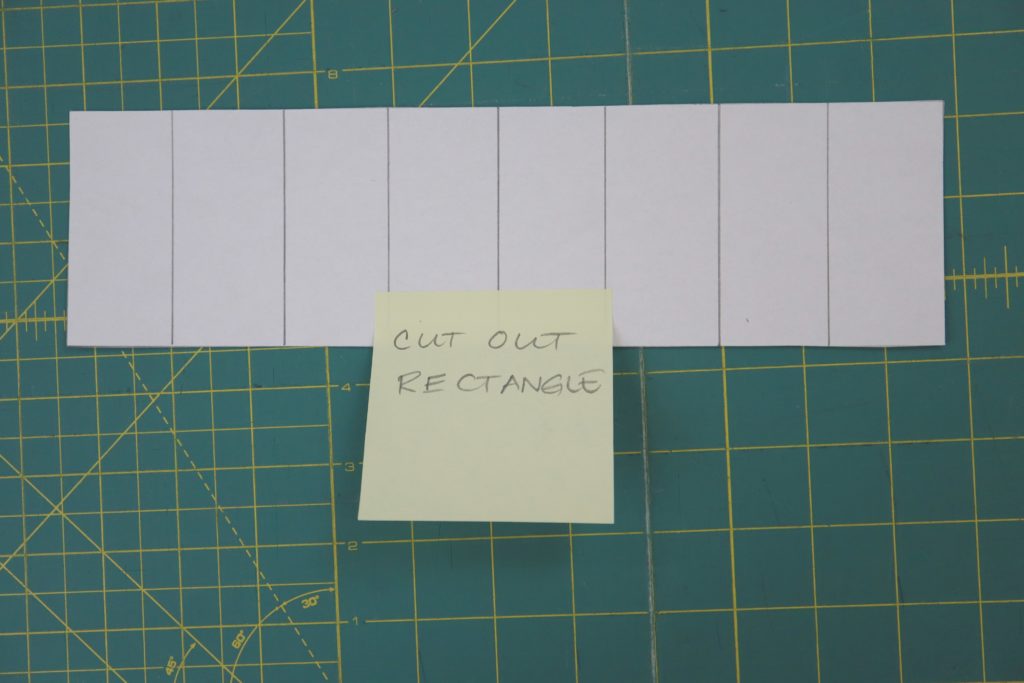
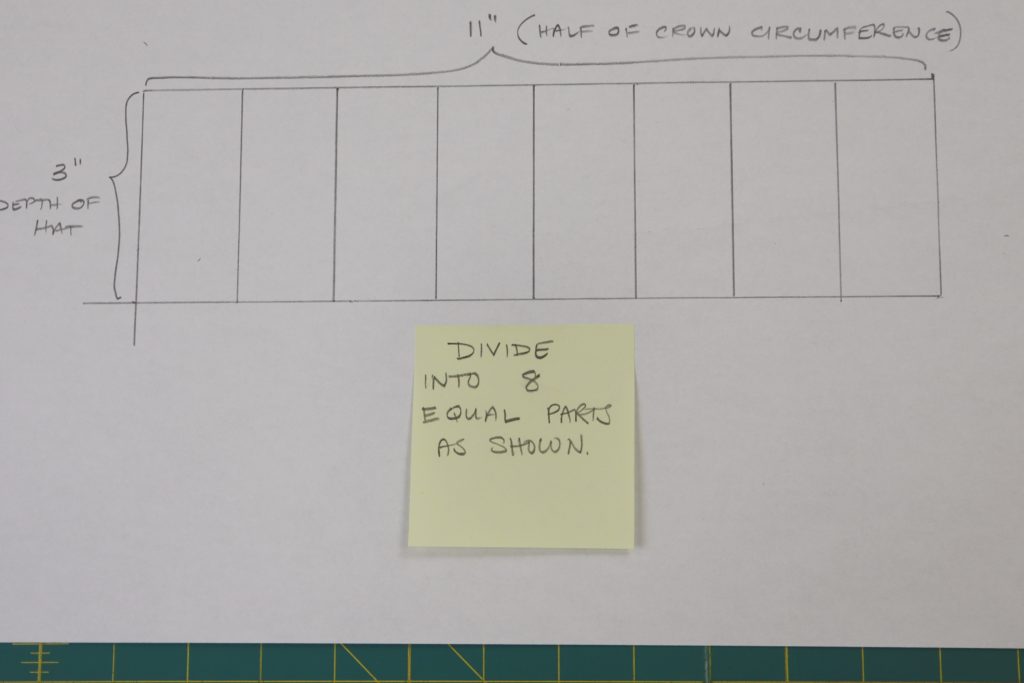
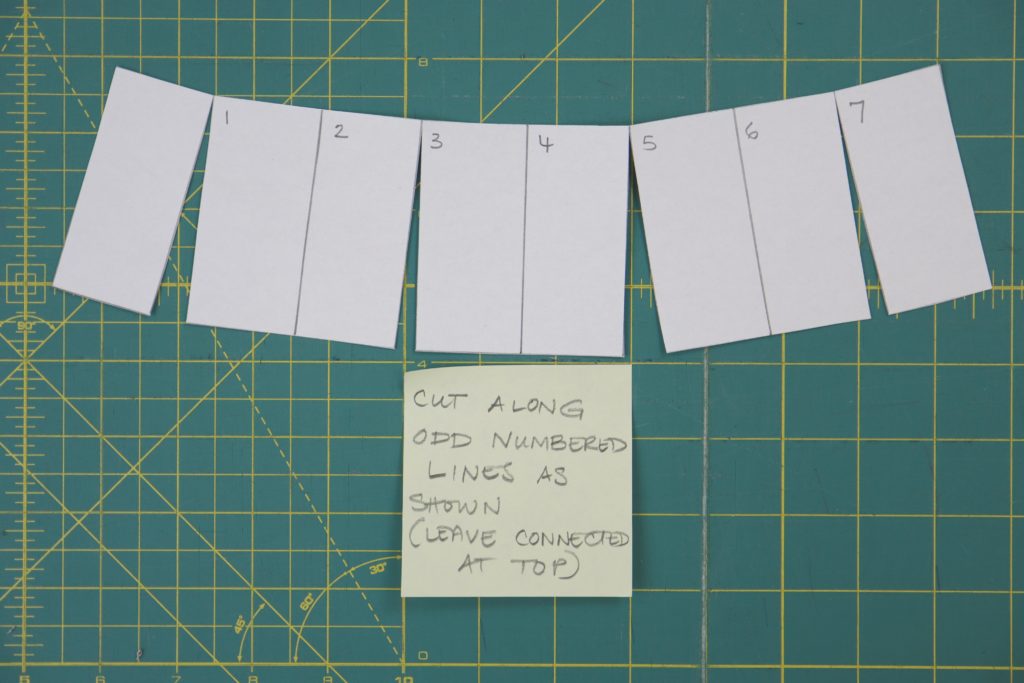
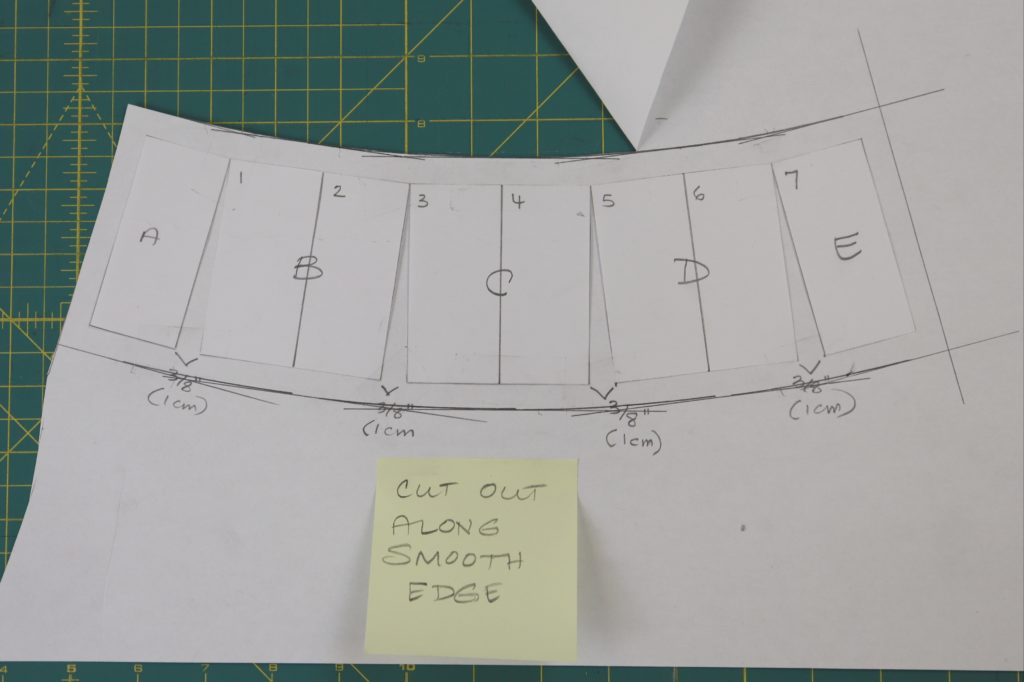
Draw lines that divide your rectangle into 8 equal parts as shown in first image above. Cut out your rectangle as shown in second image above. Number lines as shown in third image above (1 through 7 from left to right). Cut all of the odd number lines as shown in the fourth image above leaving them all connected at the top.
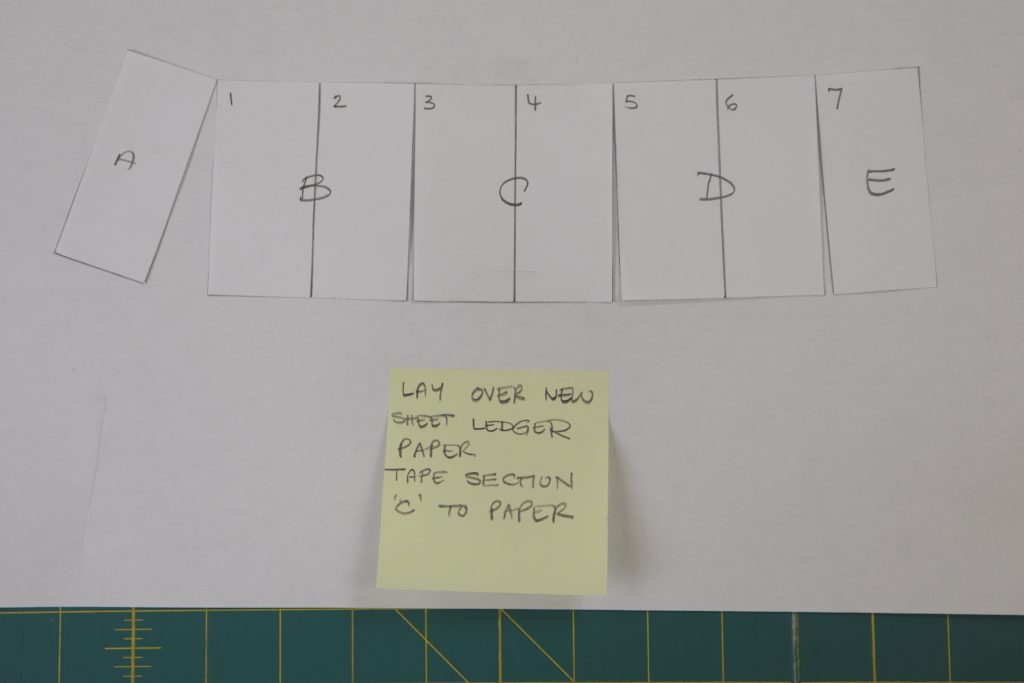
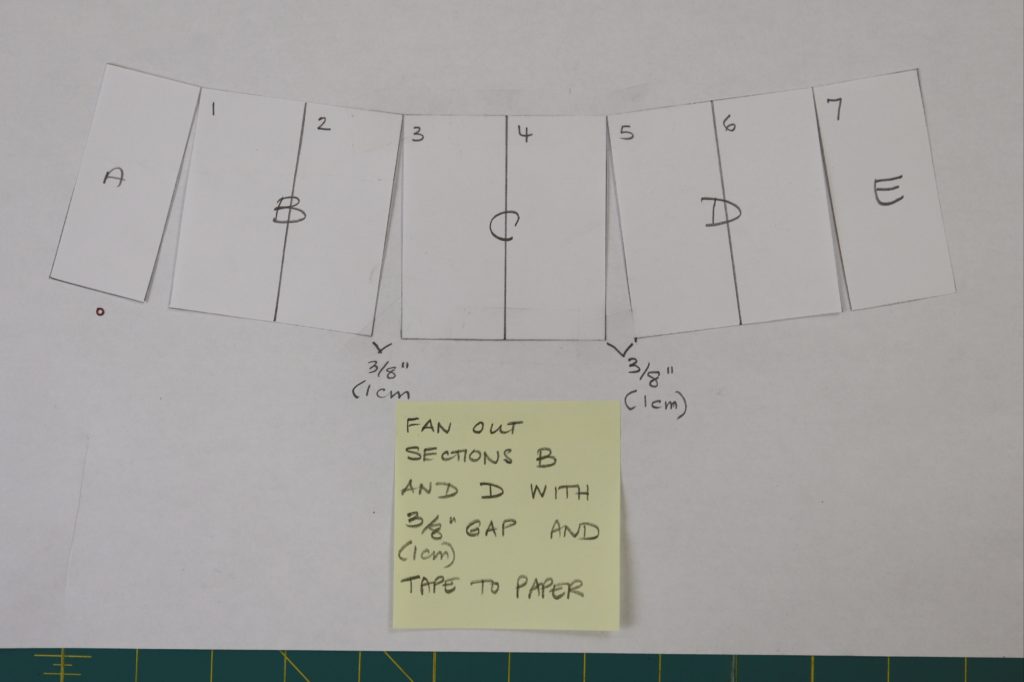
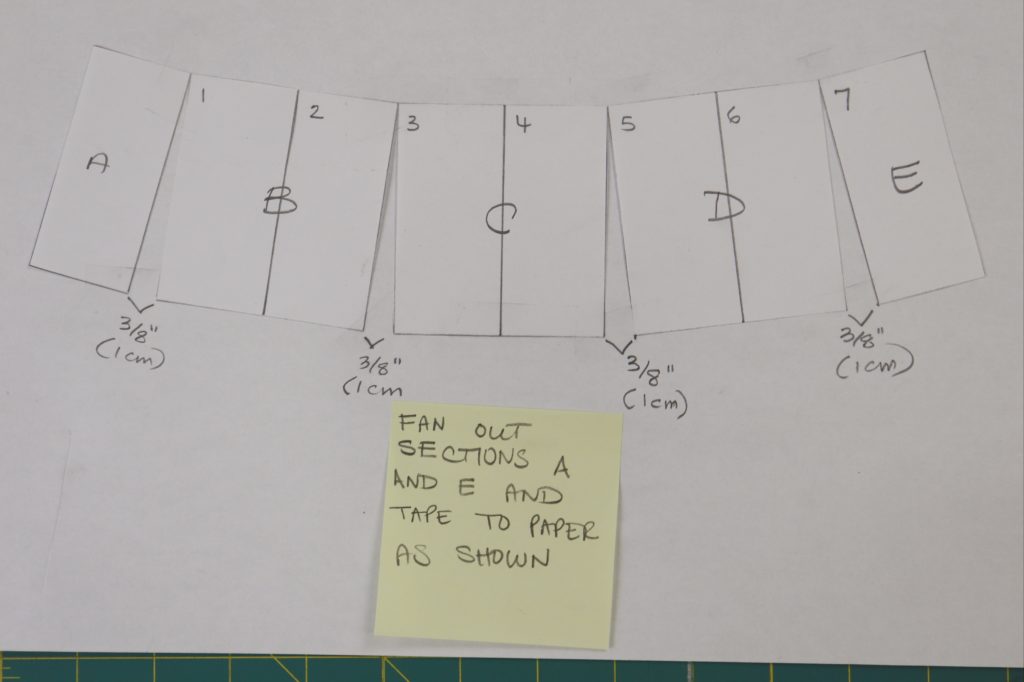
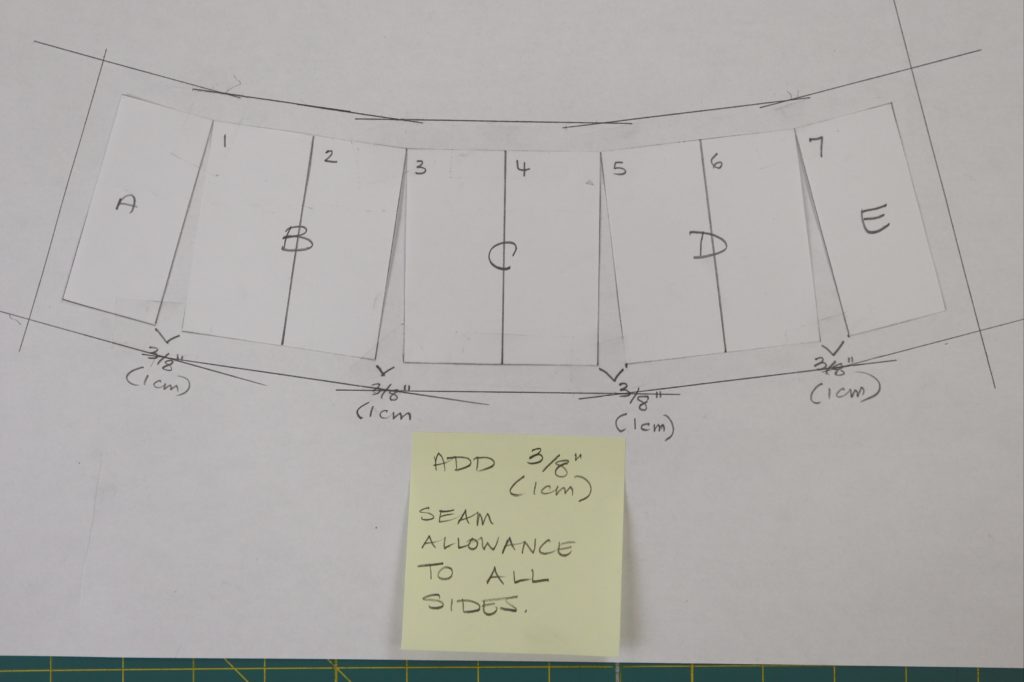
Lay your “rectangle” over another sheet of ledger paper. Secure the centre section “C” to the paper with tape. Fan out sections “B” and “D” 3/8” (1cm) from section “C” and secure with tape. Then fan out sections “A” and “E” in the same manner and secure with tape. Add 3/8” (1cm) seam allowance on all sides as shown in fourth image above.

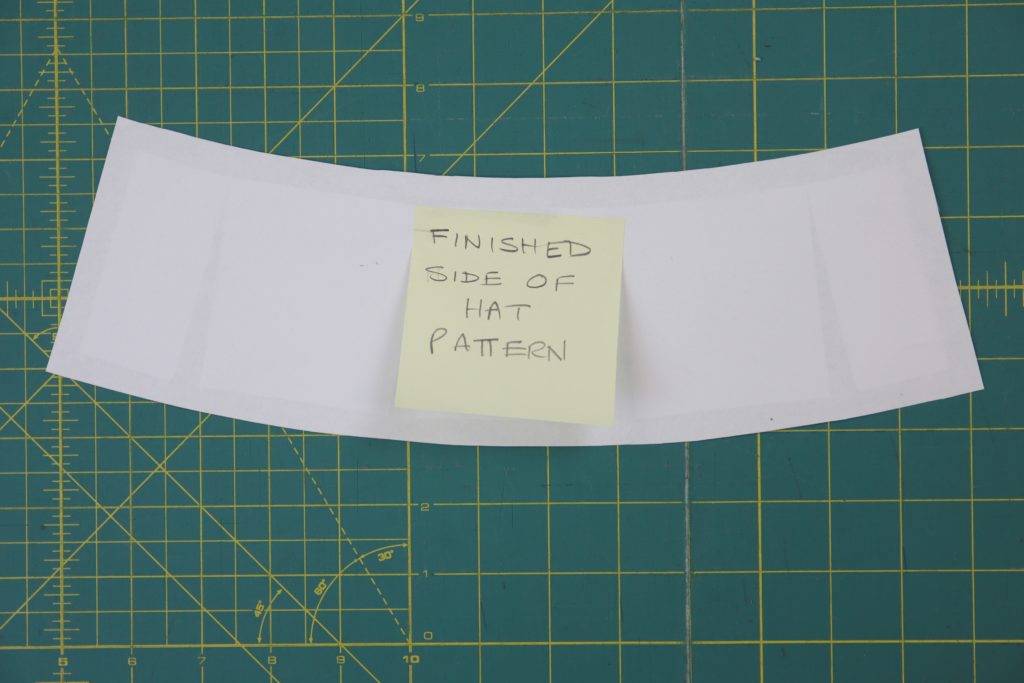
Using your French Curve, smooth out the top and bottom edges of the side of the hat. Cut along the smooth edges. This is your finished Side of Hat pattern.
Drafting the Brim of the Hat:
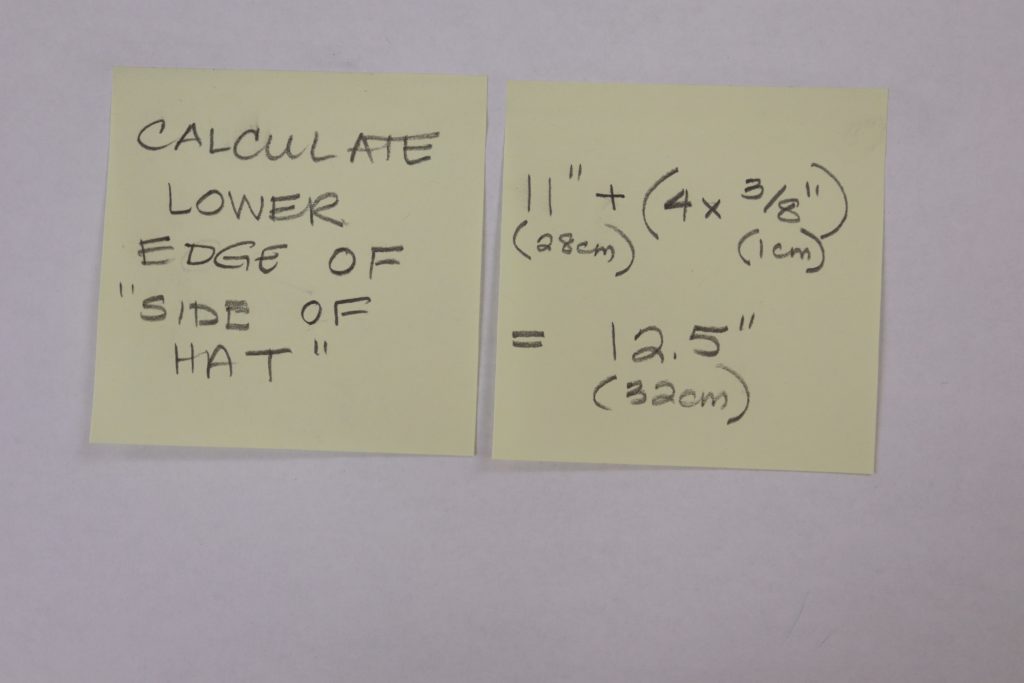
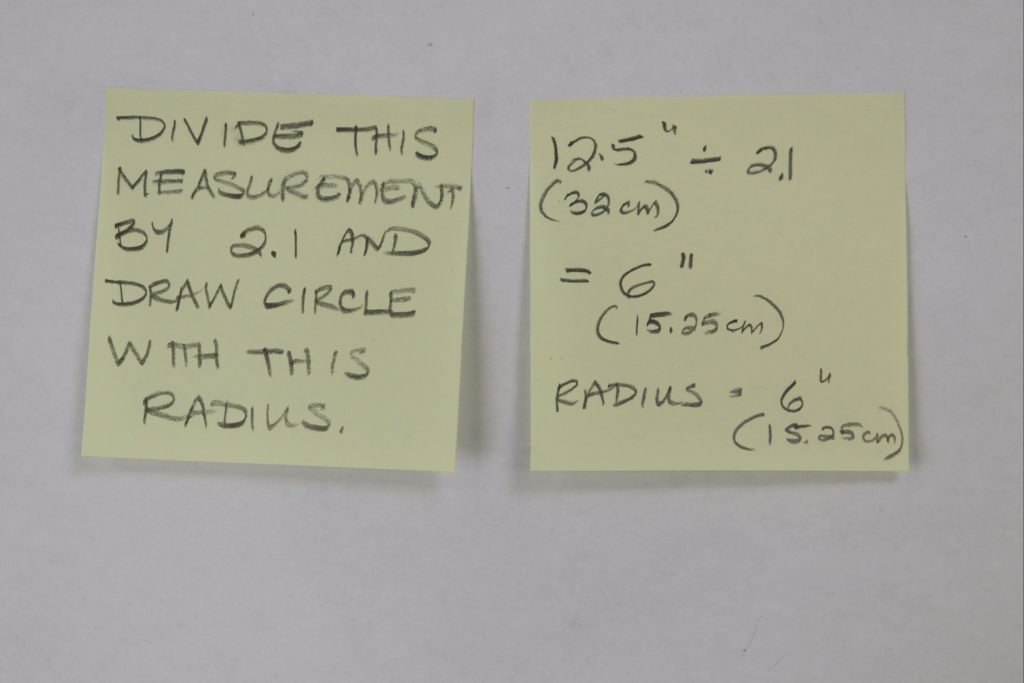
In order to draft the brim of the hat, we need to know the length of the lower edge of the “side of hat” pattern. This is a simple calculation. The rectangle was originally 11” (28cm) long. We added 3/8” (1cm) to this length 4 times. So we add 1.5” (4cm) to 11” (28cm) for a total of 12.5” (32cm). Take this measurement and divide by 2.1 (a constant). We will then use this measurement to draw a circle with this calculated measurement as the radius.
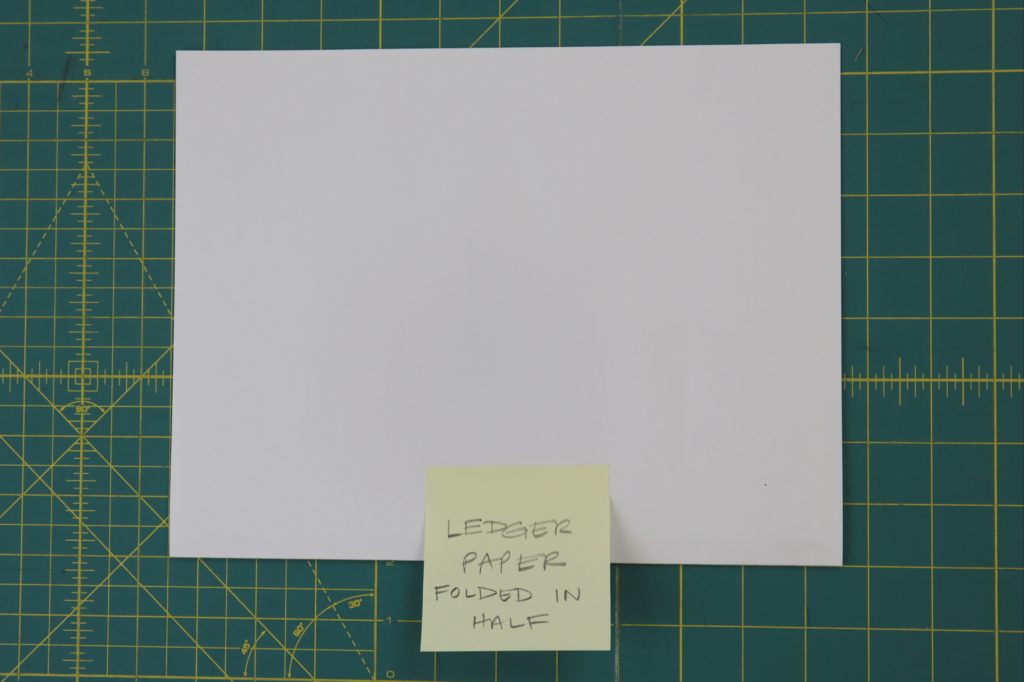
To draw this circle, take a new sheet of ledger paper. Fold it in half as shown (folded edge toward you).
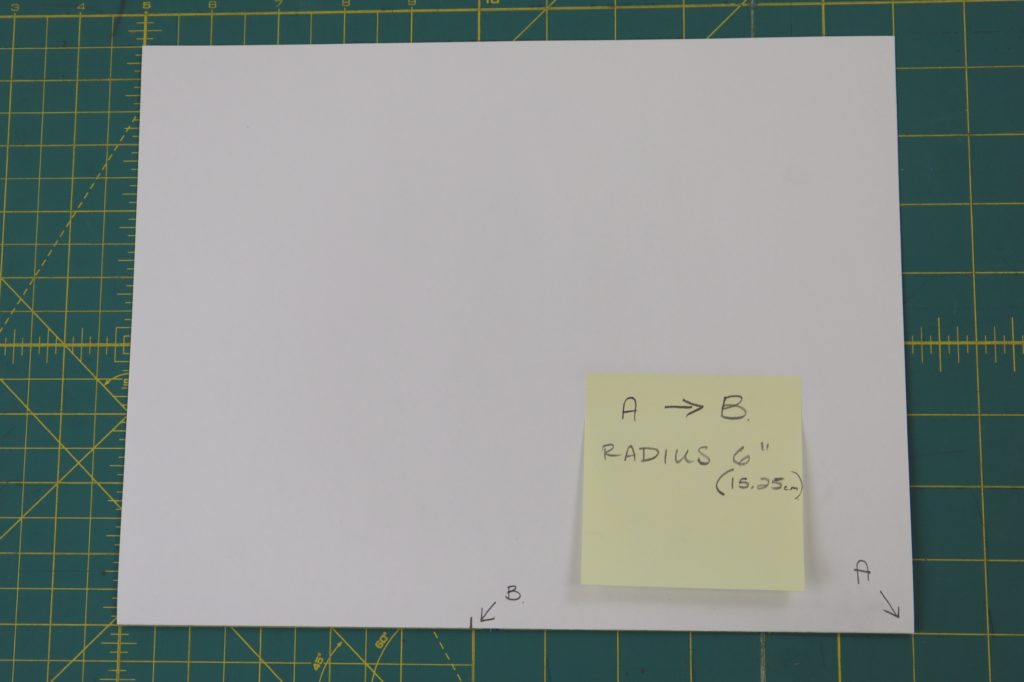
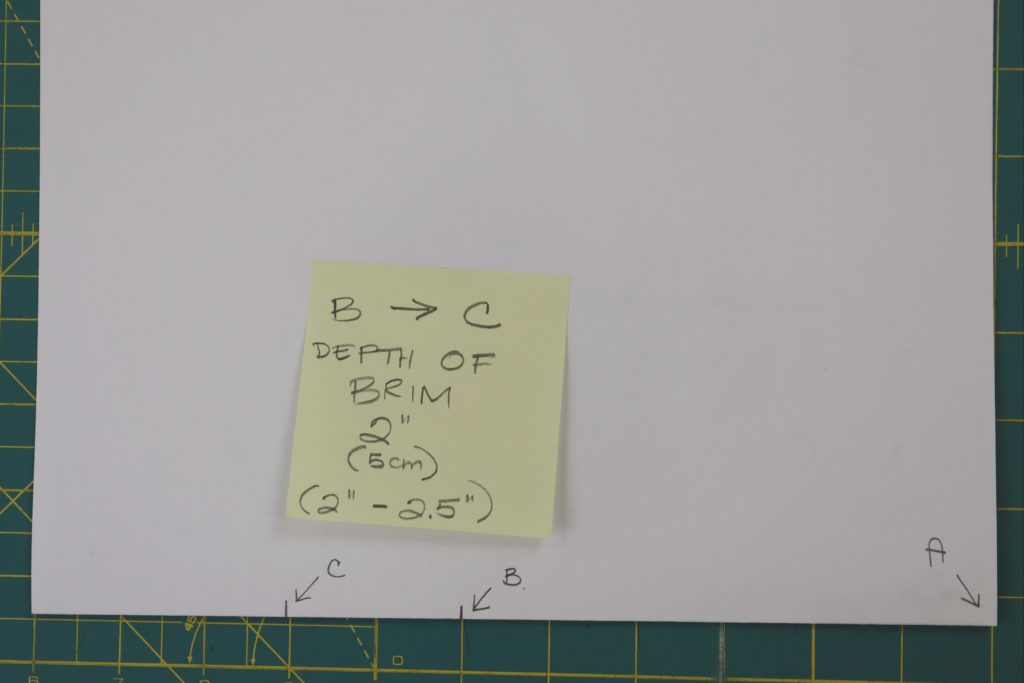
Label the righthand corner (along the fold) as “A”. Measure to the left the measurement of the radius. Label this point as “B”. Measure to the left the size of the brim (2” – 2.5”) or (5 – 6.5cm). Label this point “C”.
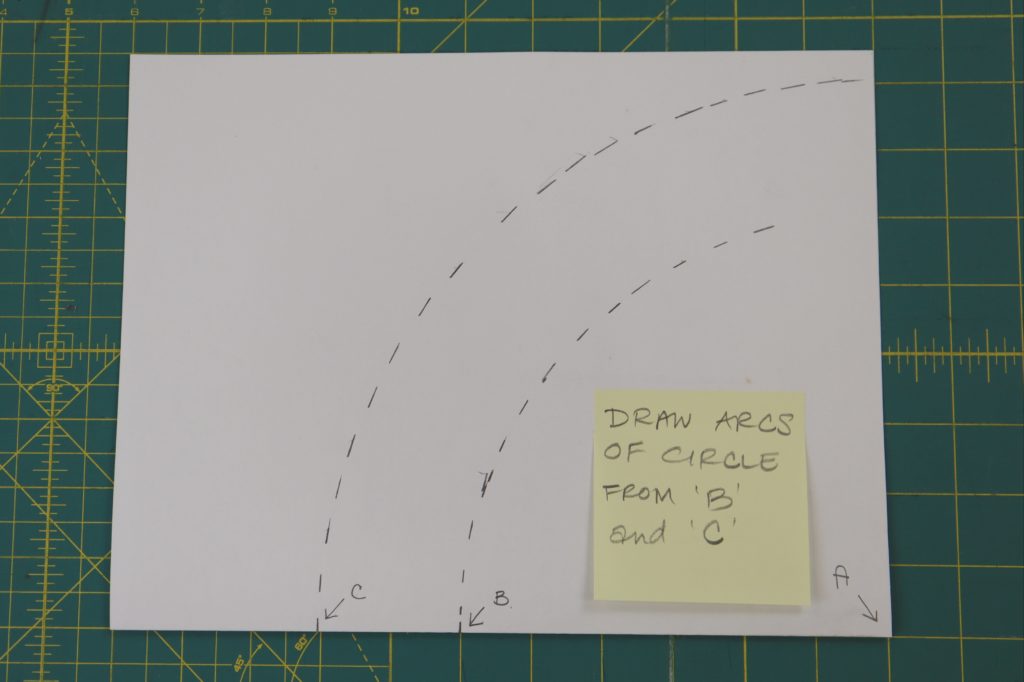
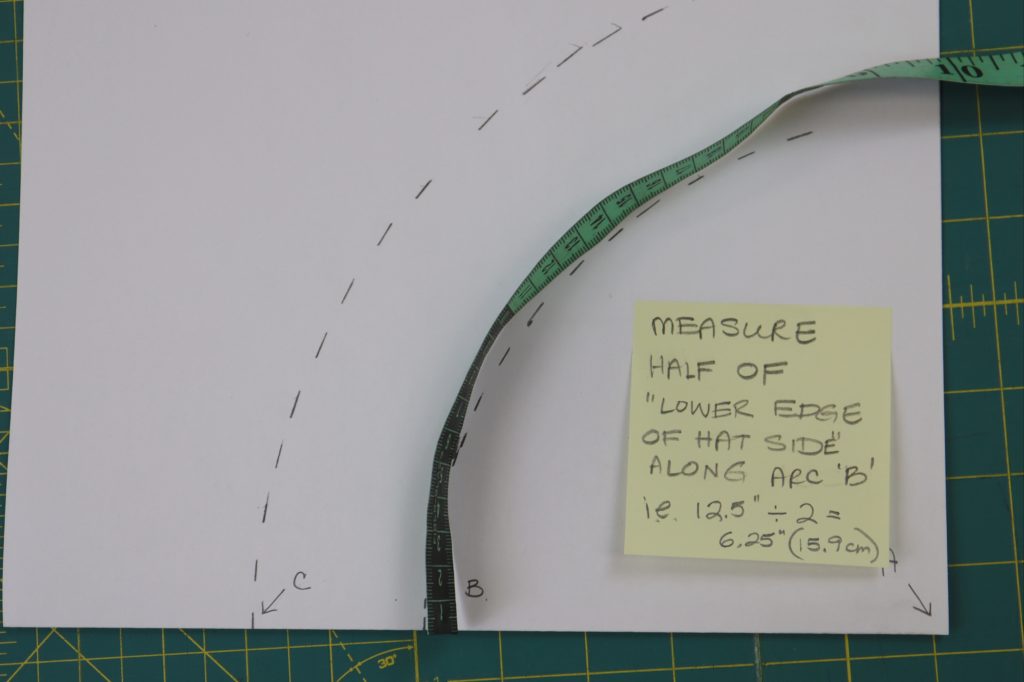
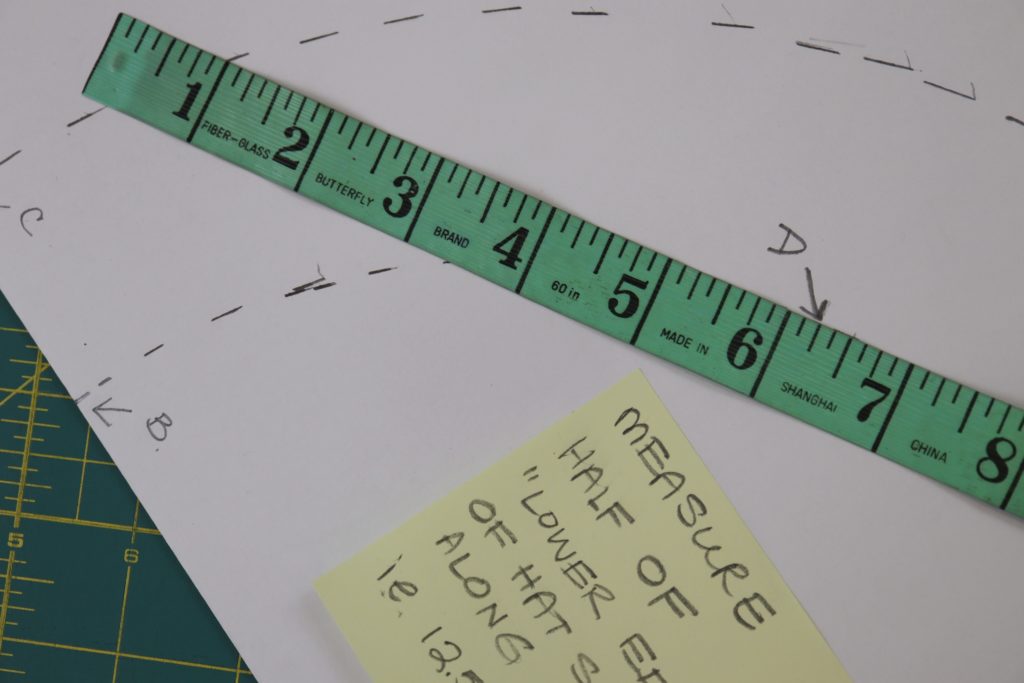
Using your ruler, draw arcs up from B and C as you did when you drafted the crown. A is the pivot point. Using your tape measure, measure up from B along the curve HALF of the calculated lower edge of the side of hat. Label this point D.
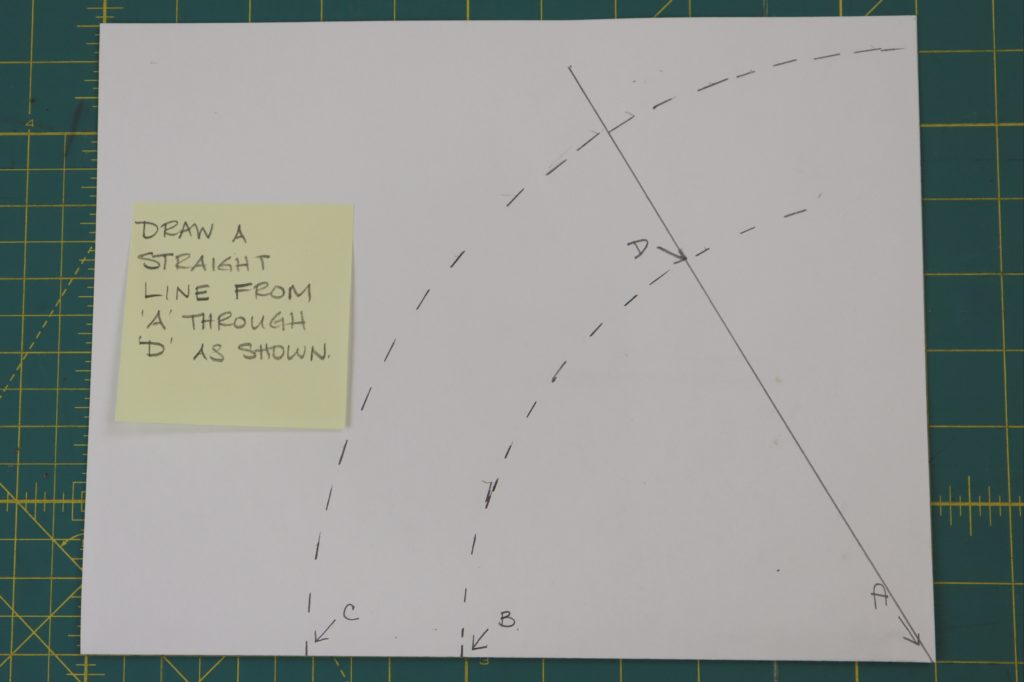
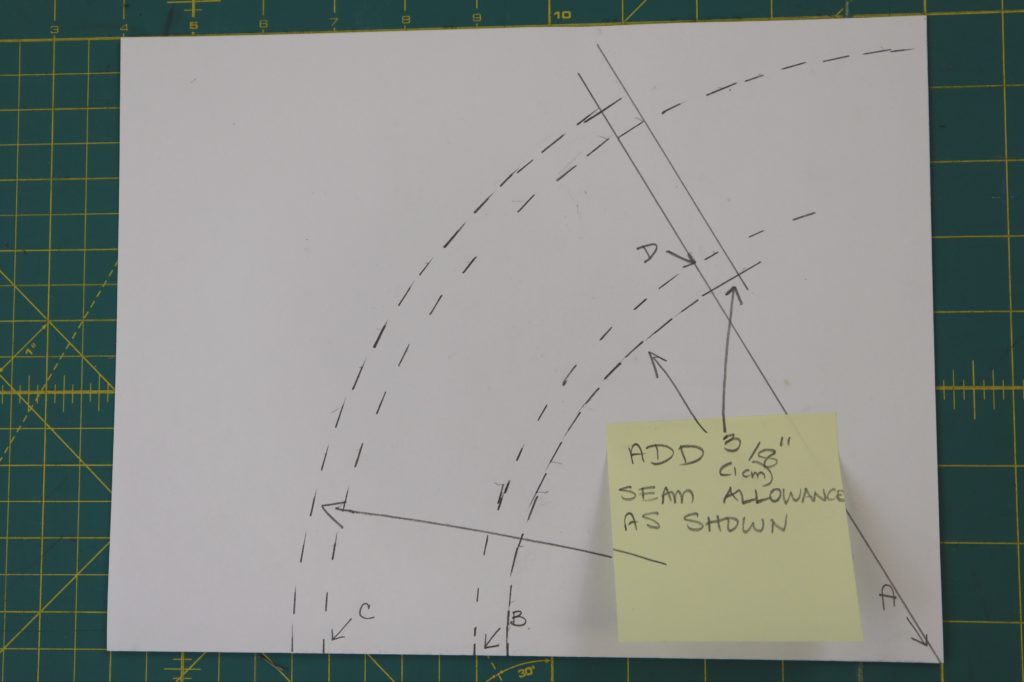
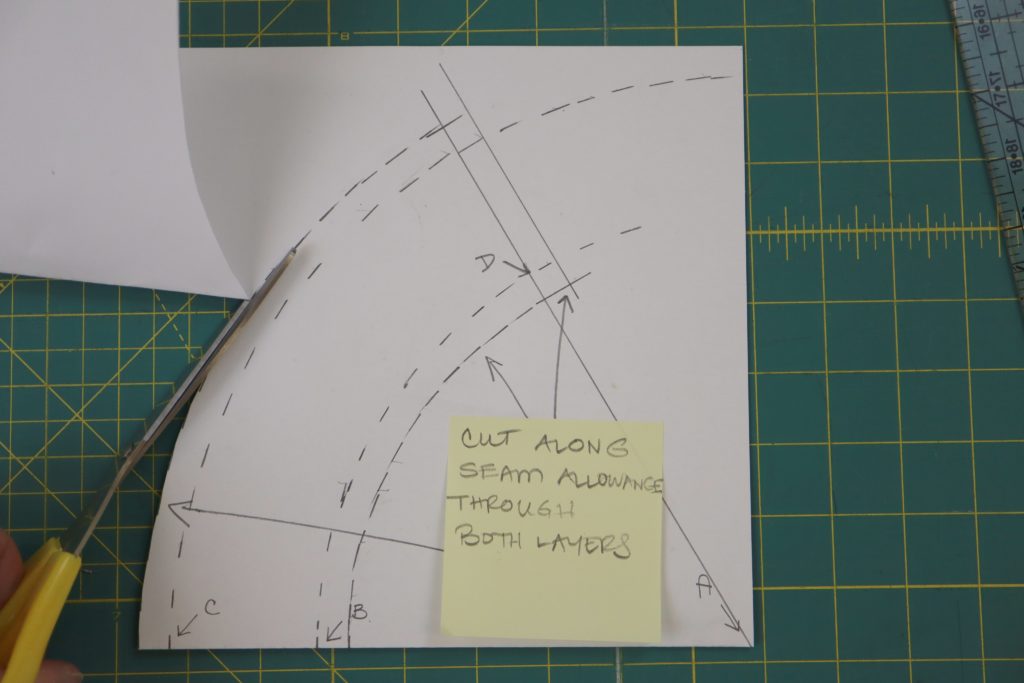
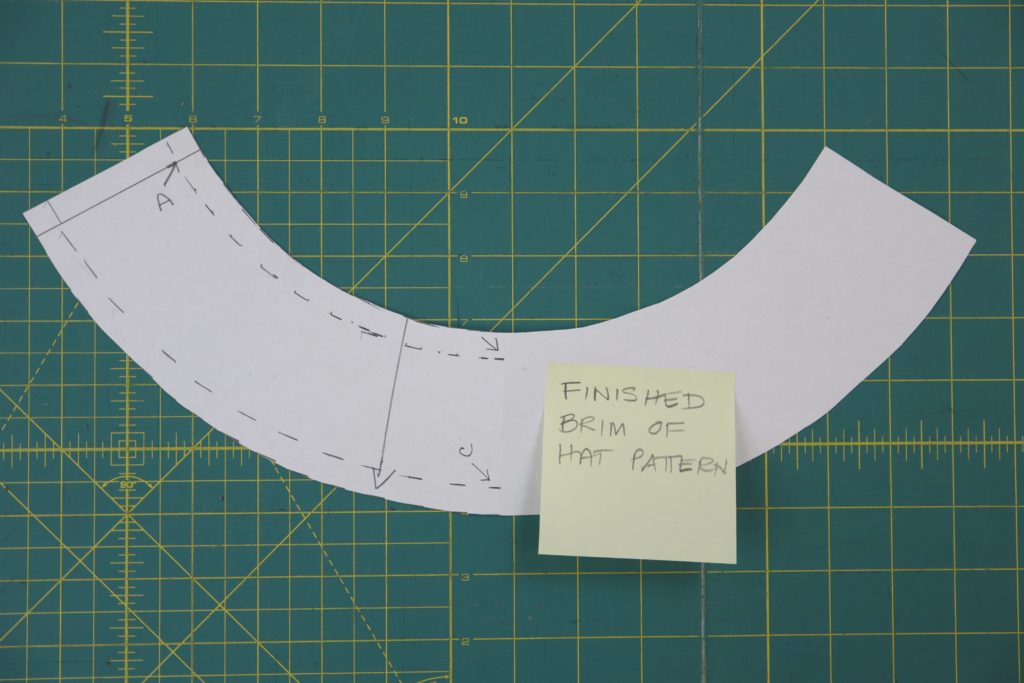
Draw a line from A though D and then continuing through the arc C. Add 3/8” (1cm) seam allowances to all edges. Cut along the outside edge through the two layers. Open up the paper to reveal your finished brim pattern. With your three pattern pieces completed, you are ready to start construction on your bucket hat!
Part 2: Constructing your Bucket Hat
- .25 yards of fabric A (we used Fabricana’s Waffle Cotton)
- .25 yards of fabric B (we used a print from the Good Vibes collection by Angela Corti for Cotton + Steel)
- .25 yards of interfacing (we used Fabricana’s woven, sew-in interfacing Sew Sure Firm)
- Thread to match both fabrics
- Fabric Scissors
- Pins
- Sewing machine with straight stitch
- Iron and Ironing Board
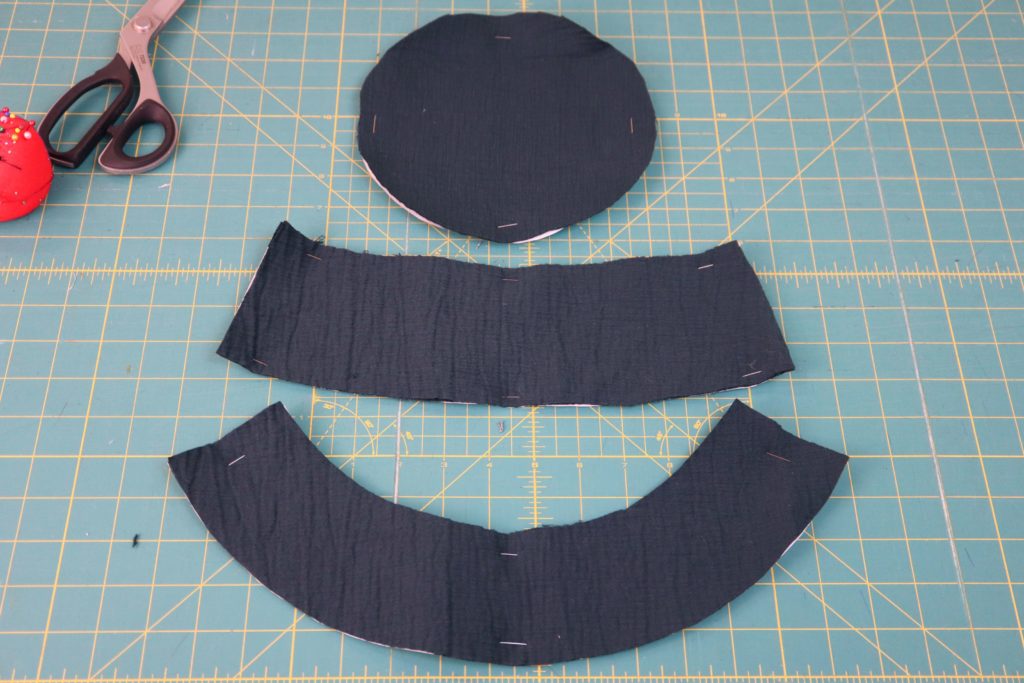
Pin side of hat and brim of hat pattern pieces to folded fabric A. Cut out these pieces. Pin crown of hat to single layer of fabric A and cut out this piece. Remove pins so you can use pattern pieces to cut out fabric B.
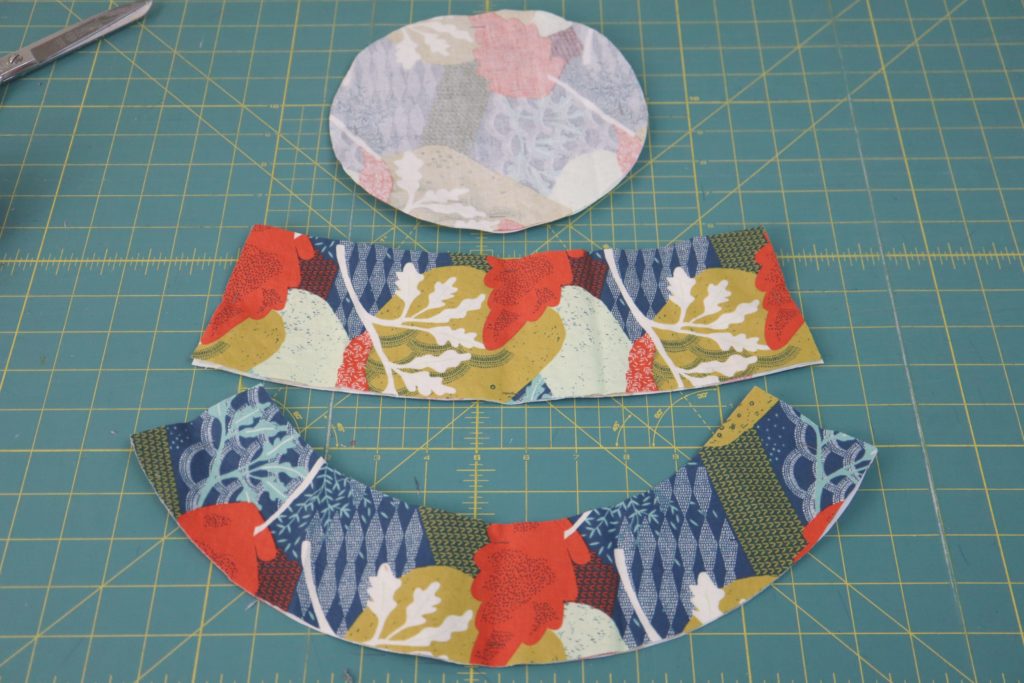
Cut out side, brim, and crown in fabric B the same way you did for fabric A.
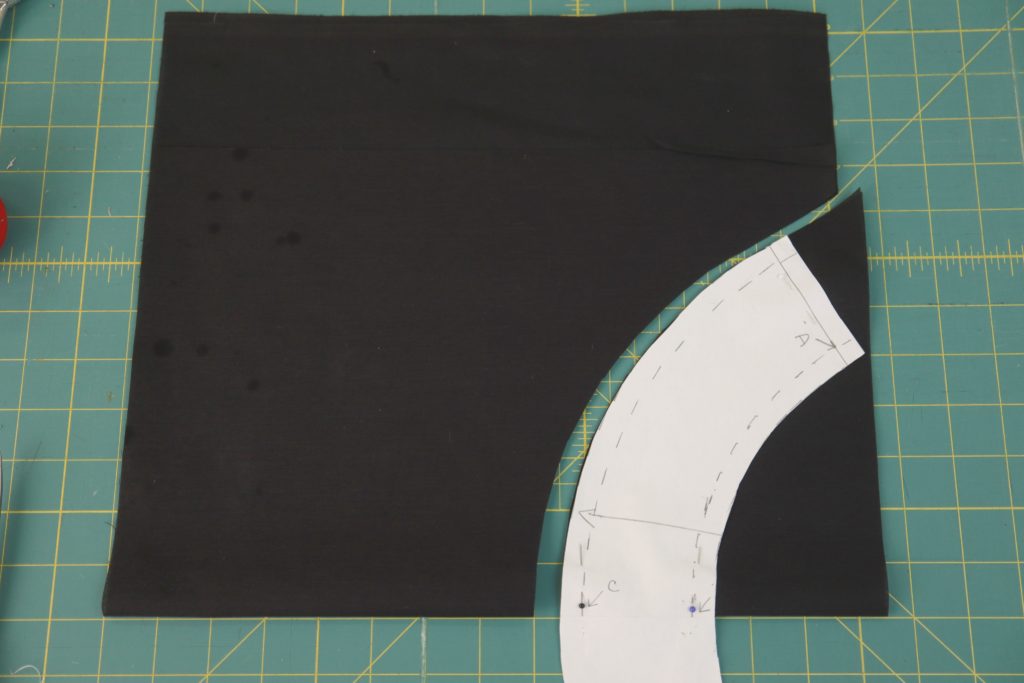
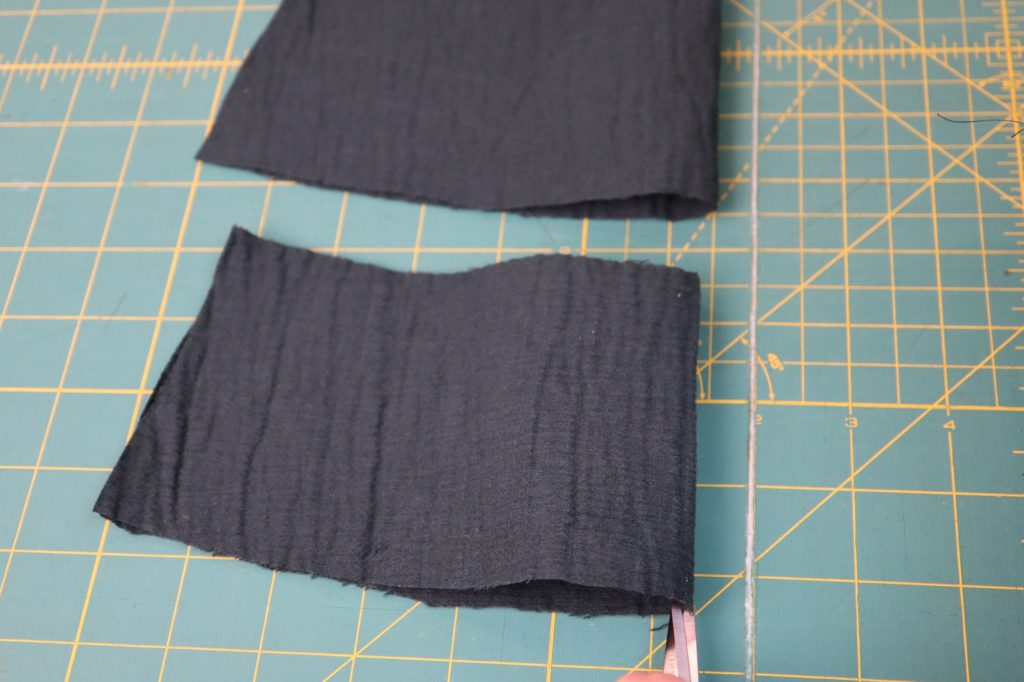
Fold interfacing as shown (folded edge toward you). Place centre of brim along fold of interfacing. Pin in place. Cut out first piece. Remove pins and use pattern to cut out a second piece as shown above.
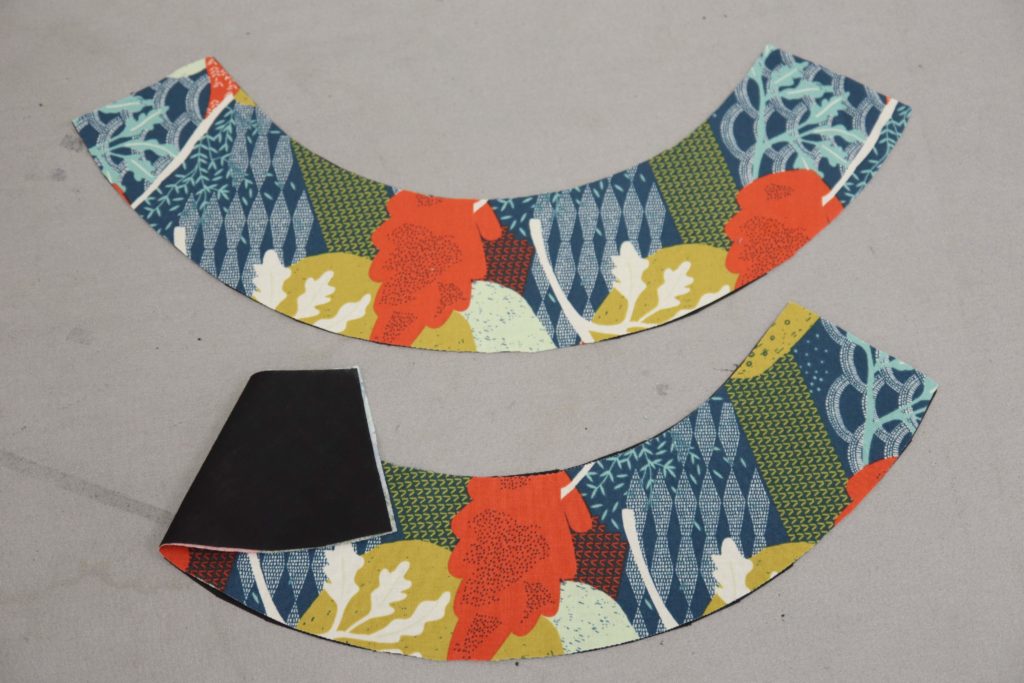
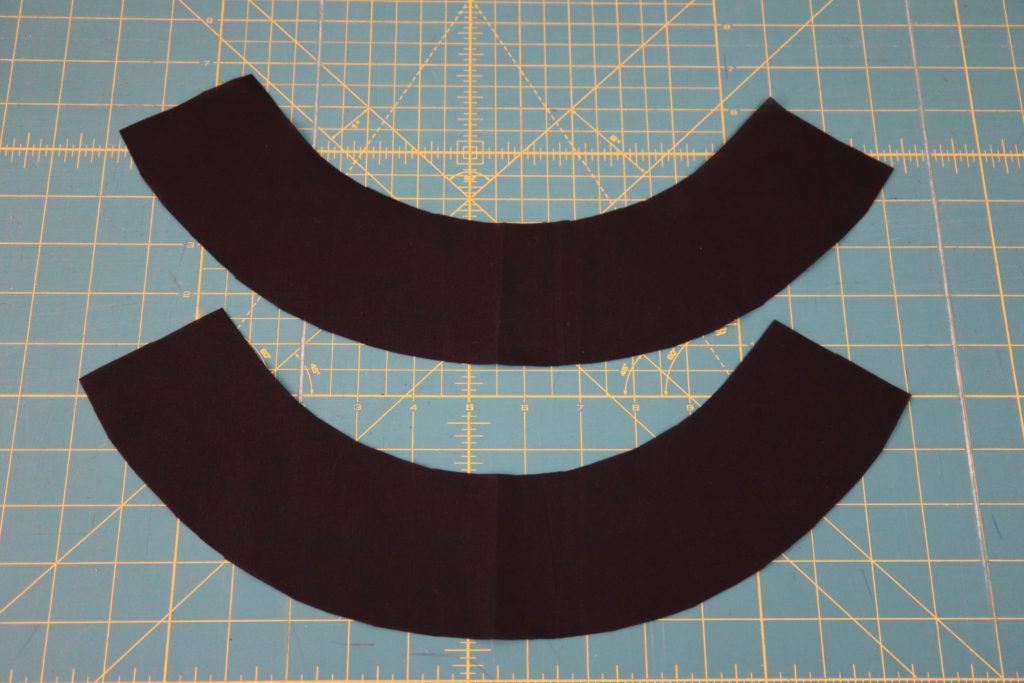
Lay fabric B brim pieces over interfacing brim pieces. Then lay over each other (right sides together) as shown in second image above.
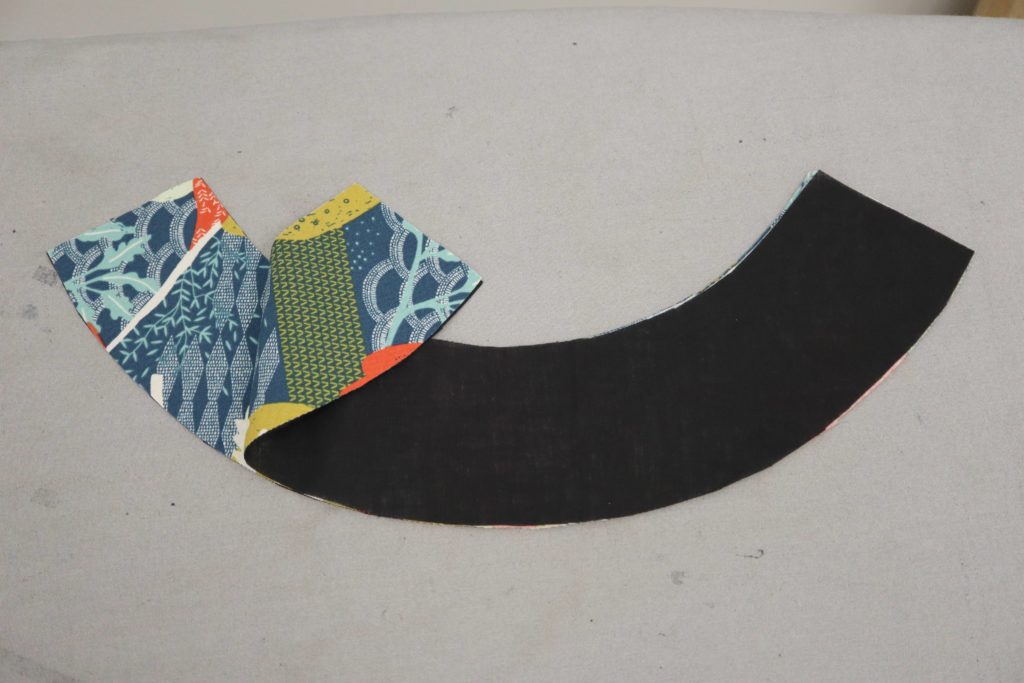
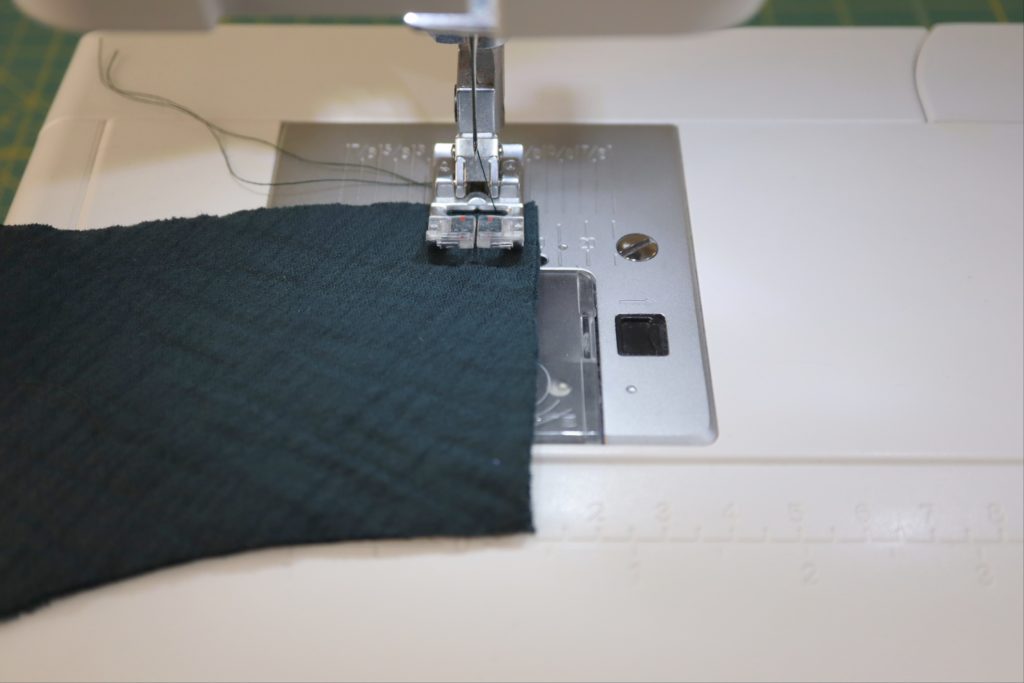
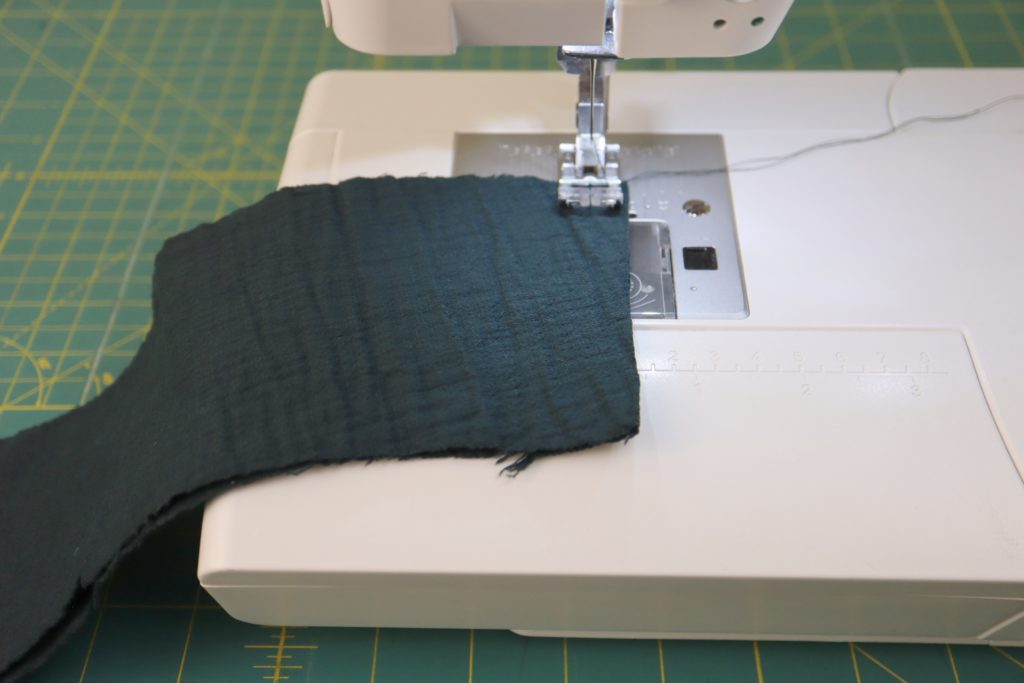
Sew short edges (at each end) as shown in first image above. Trim interfacing in seam allowance to approximately 1/8”.
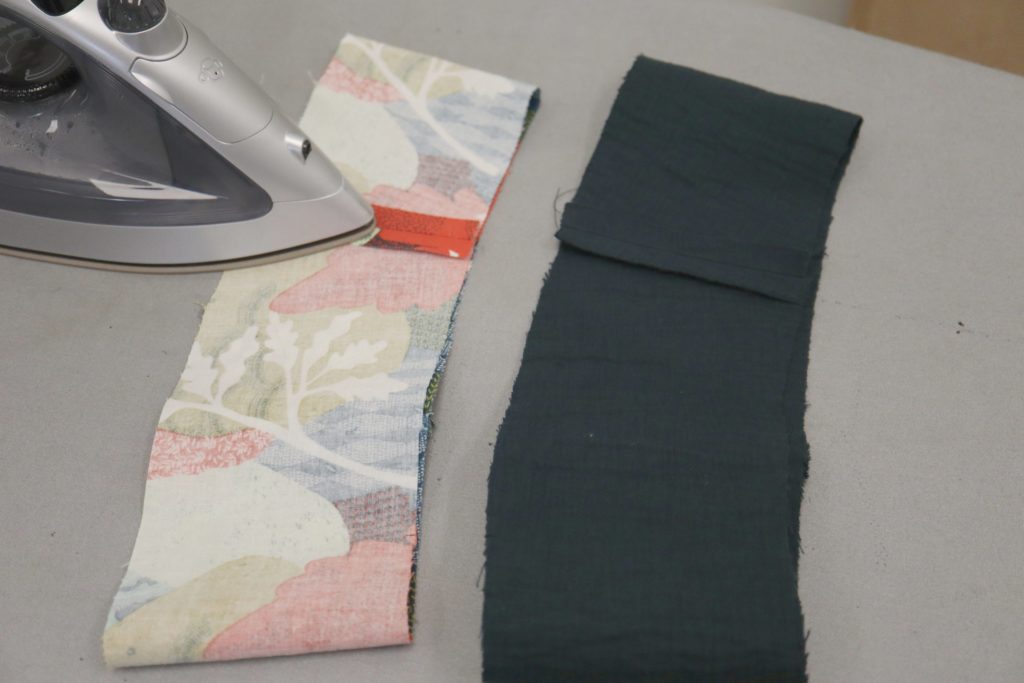
Press open seam. This is what your brim should look like so far.

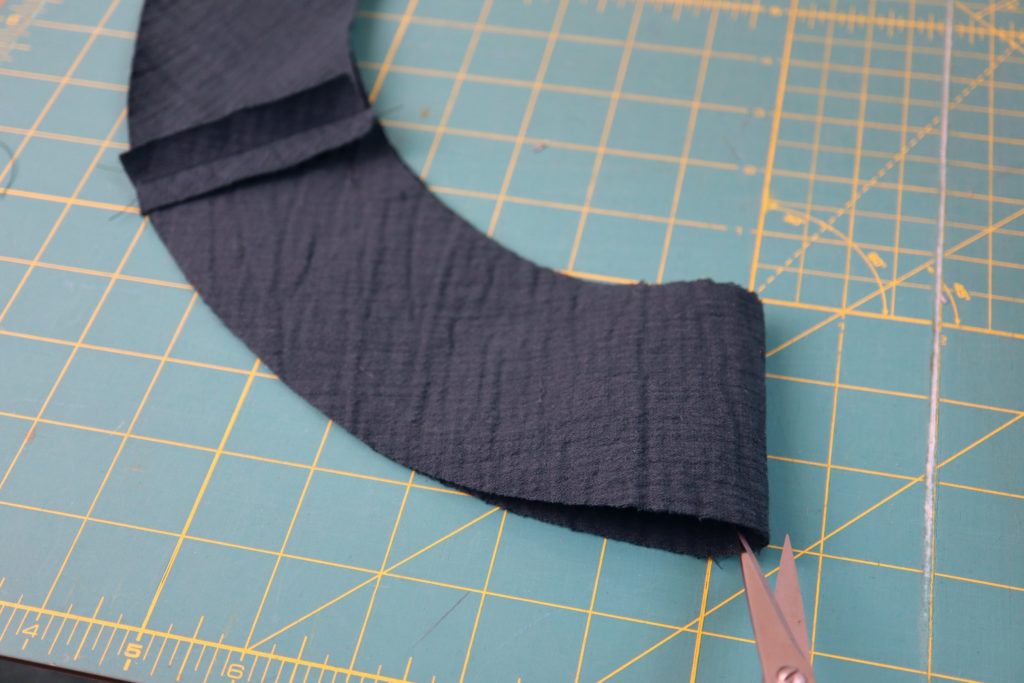
Lay the other two brim pieces right sides together. Sew the short side seams with 3/8” seam allowance. Press seams open. Then fold the brim in half by bringing the side seams to each other and make a small clip at the half-way point as shown in the fourth image above. Do this for the inner and outer edge of the brim. Repeat this process to make small clips in the other brim piece. The reason for the small clip is for matching the seams when sewing the brims together and then matching the brim to the hat.
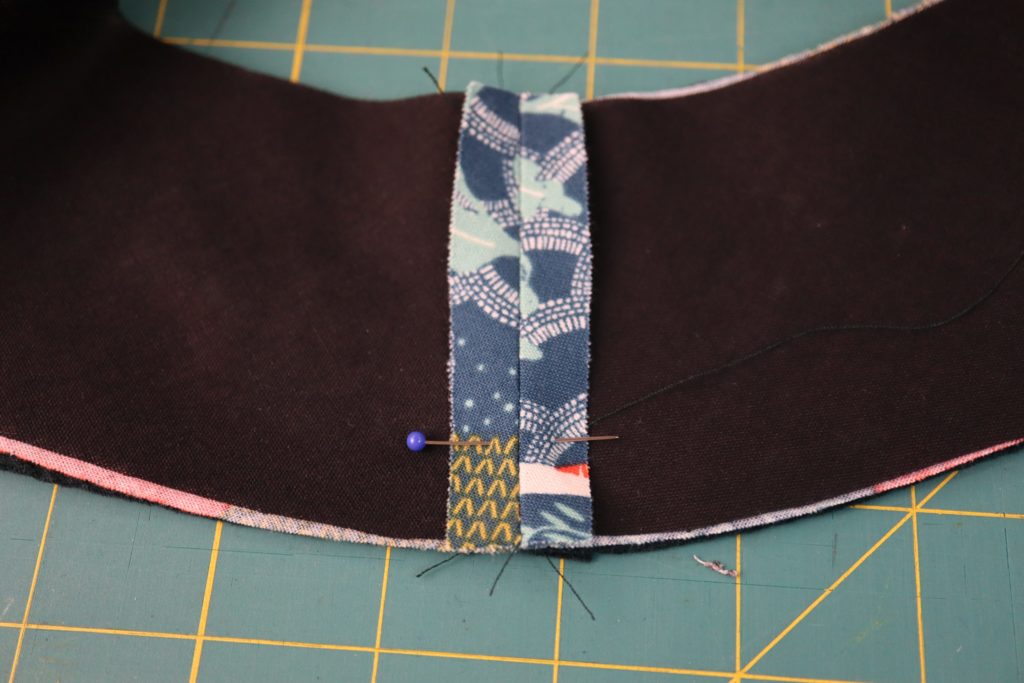
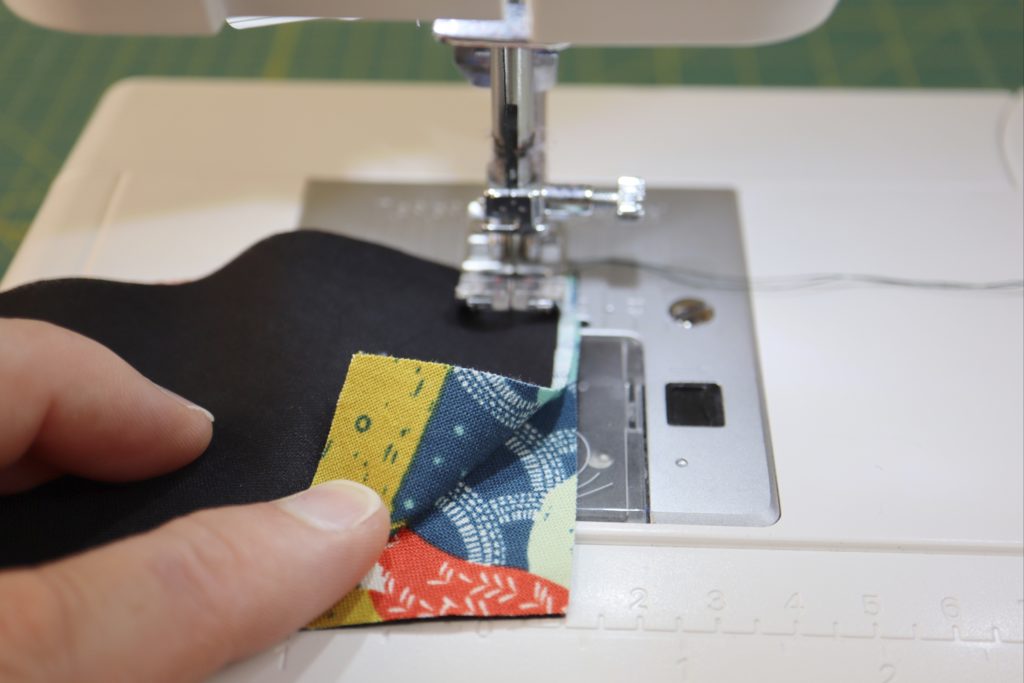
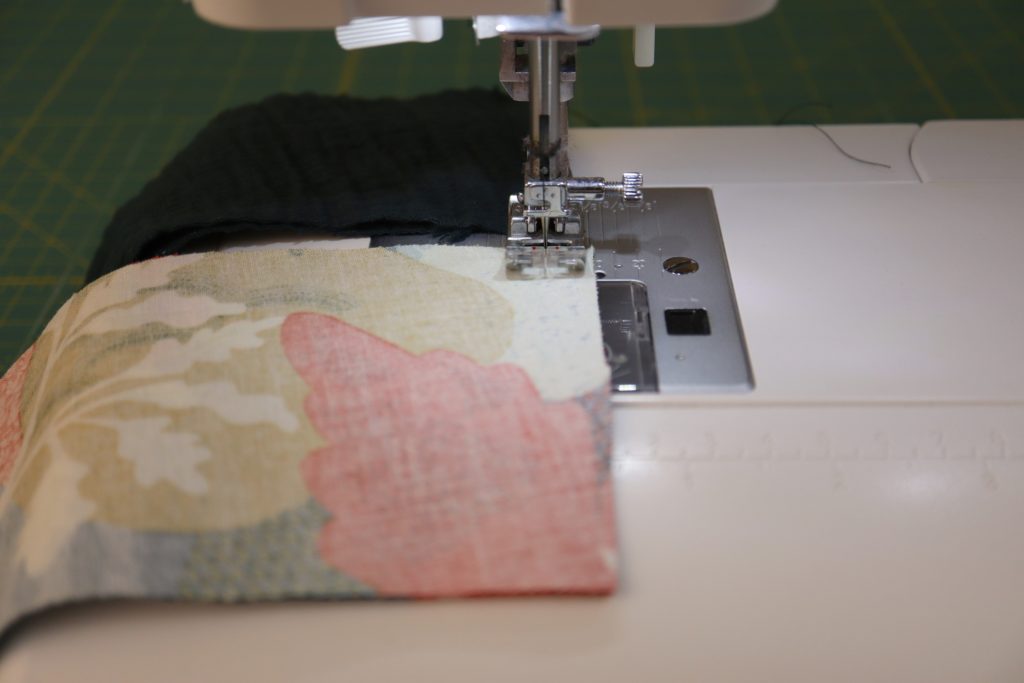
Pin the two brim pieces right sides together matching side seams and centre points. Pin along lower edge. Stitch lower edge with 3/8” seam allowance.
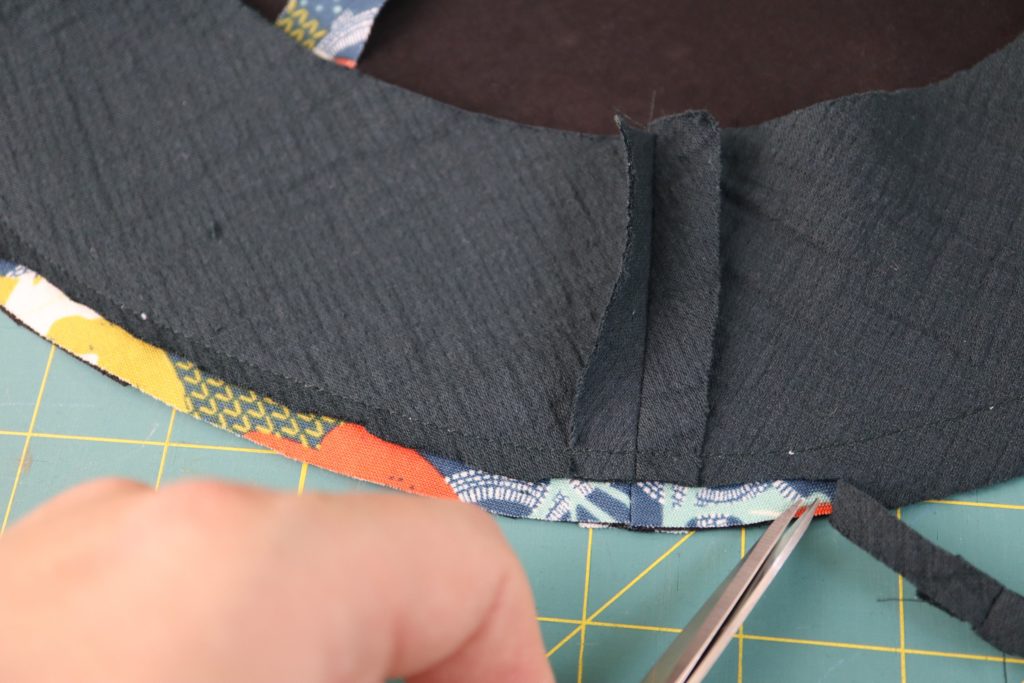
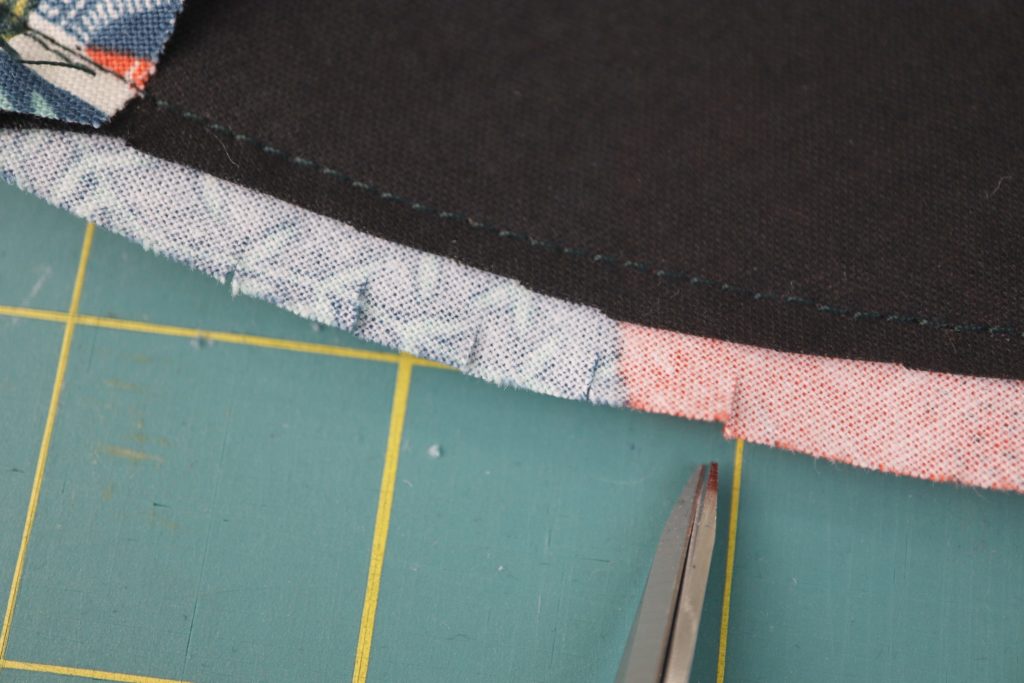
Grade the seam allowances to reduce bulk. Then clip into the remaining seam allowance as shown in the last image above. This will make your seam allowance lay flatter when you turn the brim right sides out.
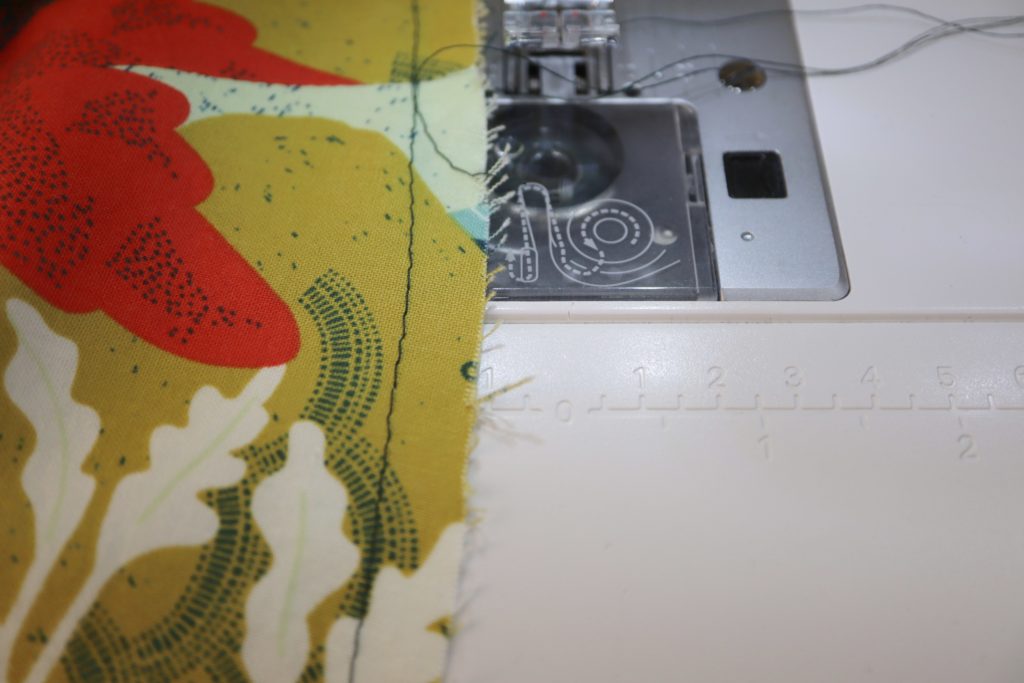
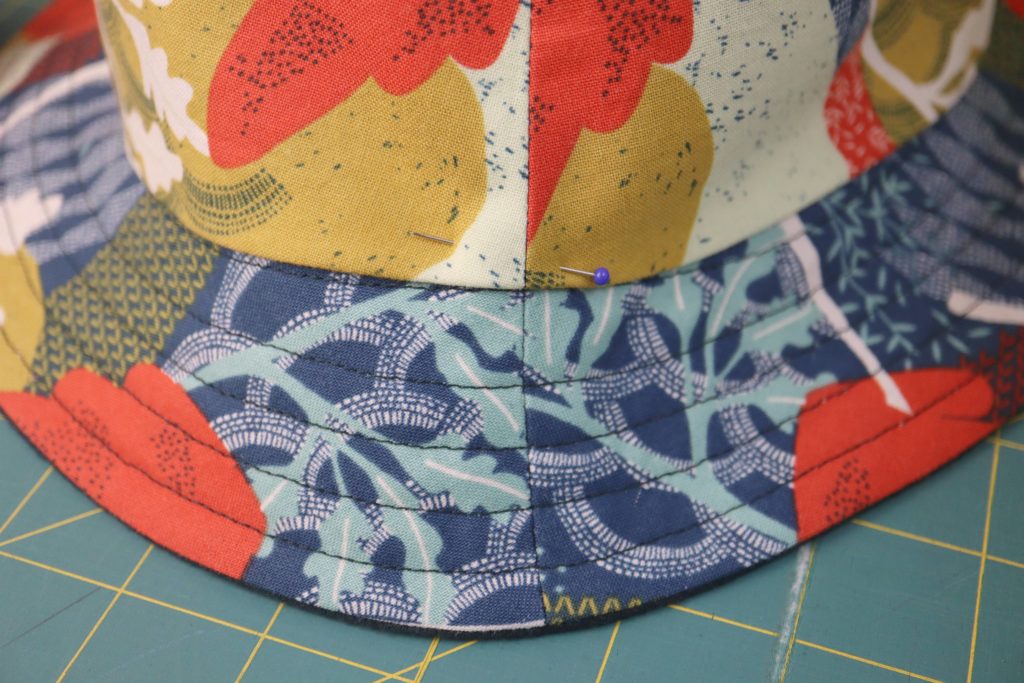
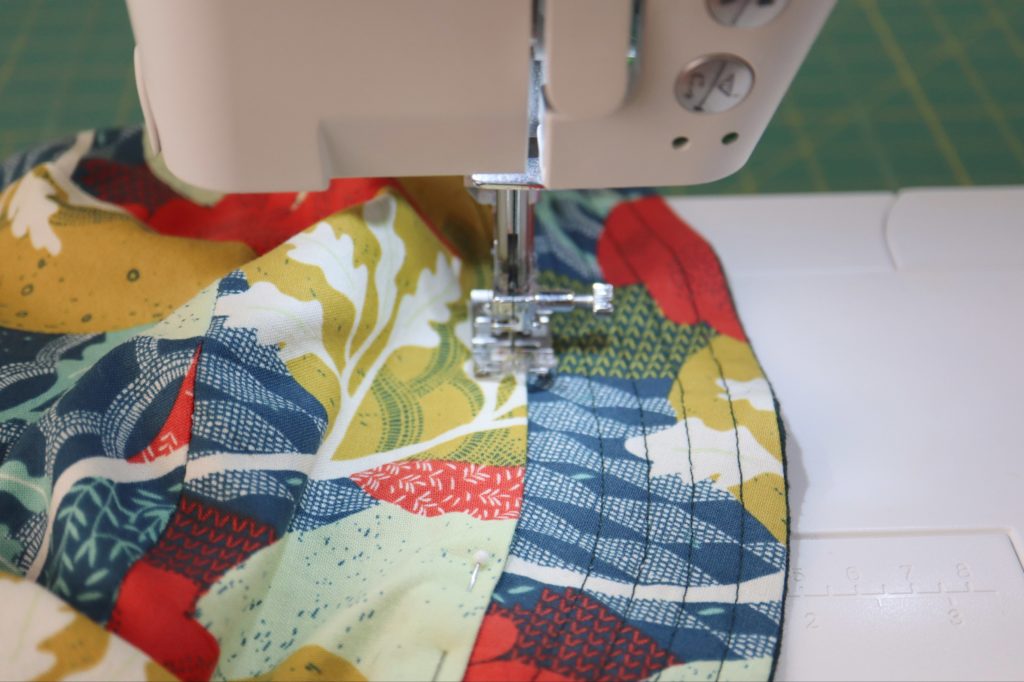
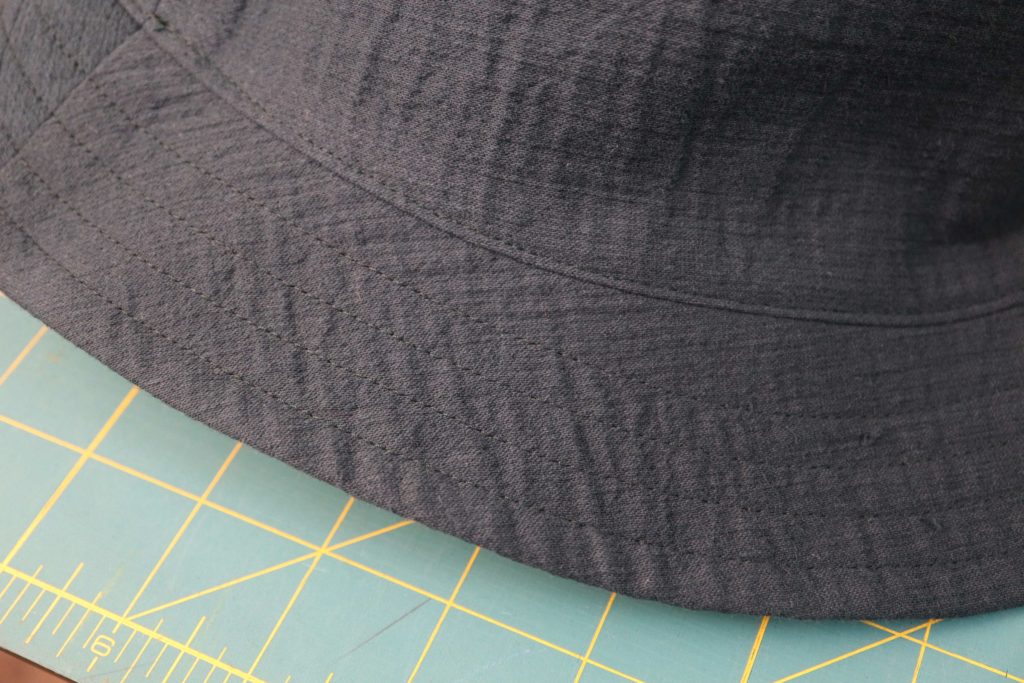
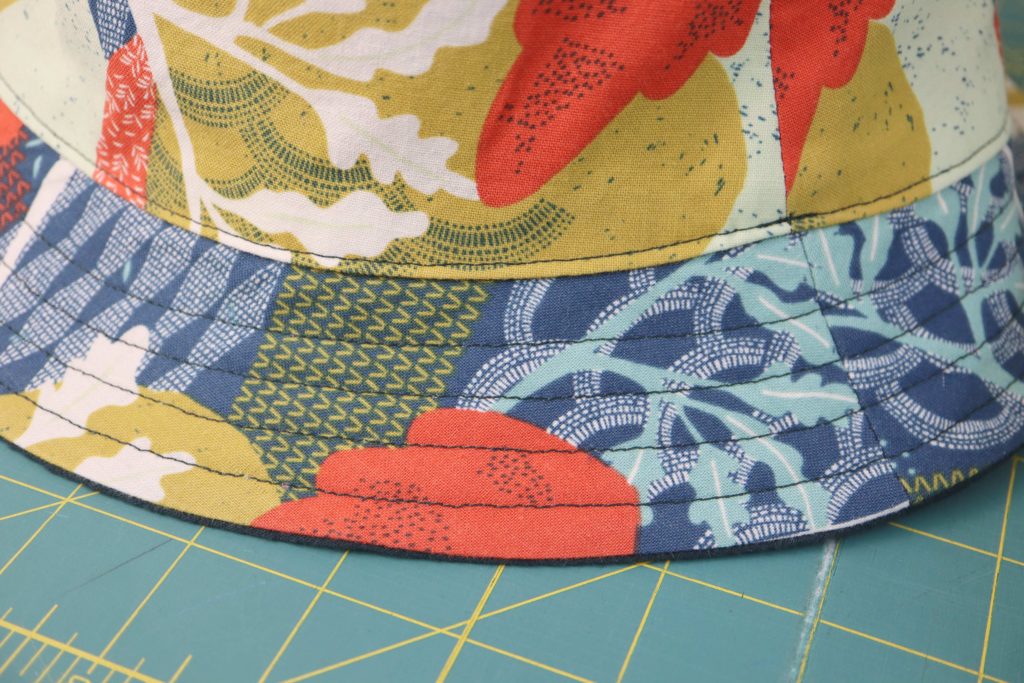
Turn the brim right sides out. Make sure your seams are fully turned (you may want to use a point turner). Press the lower edge of brim. Top stitch ¼” away from lower edge of brim.
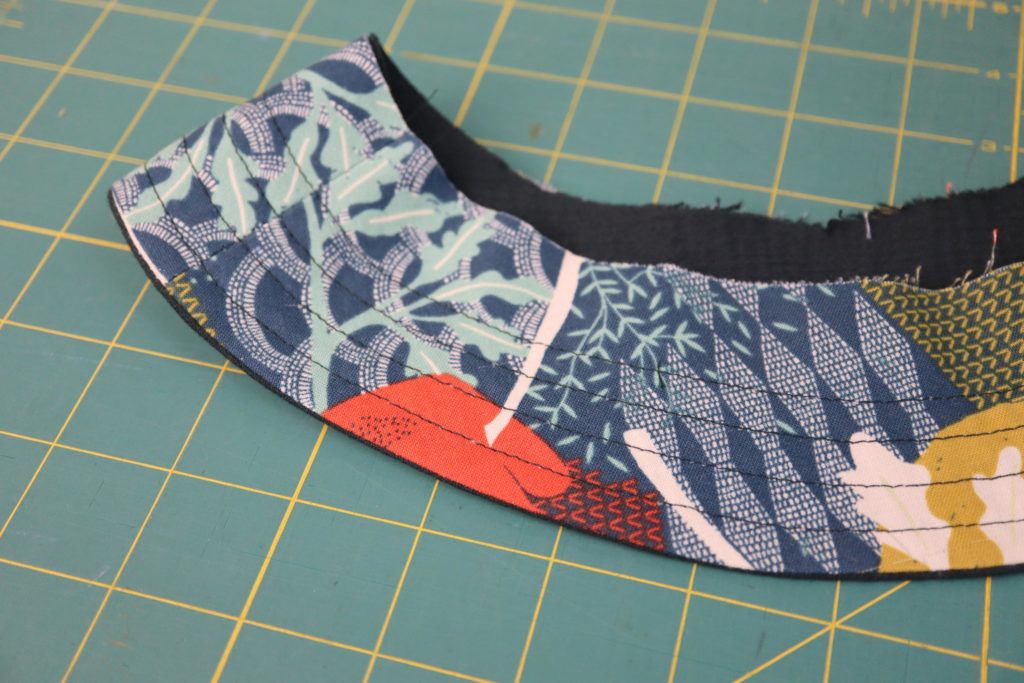
Continue with another row of topstitching, ¼” away from the first row. Repeat this process until the entire brim is topstitched. (You don’t need to topstitch within the seam allowance of the top edge of the brim).
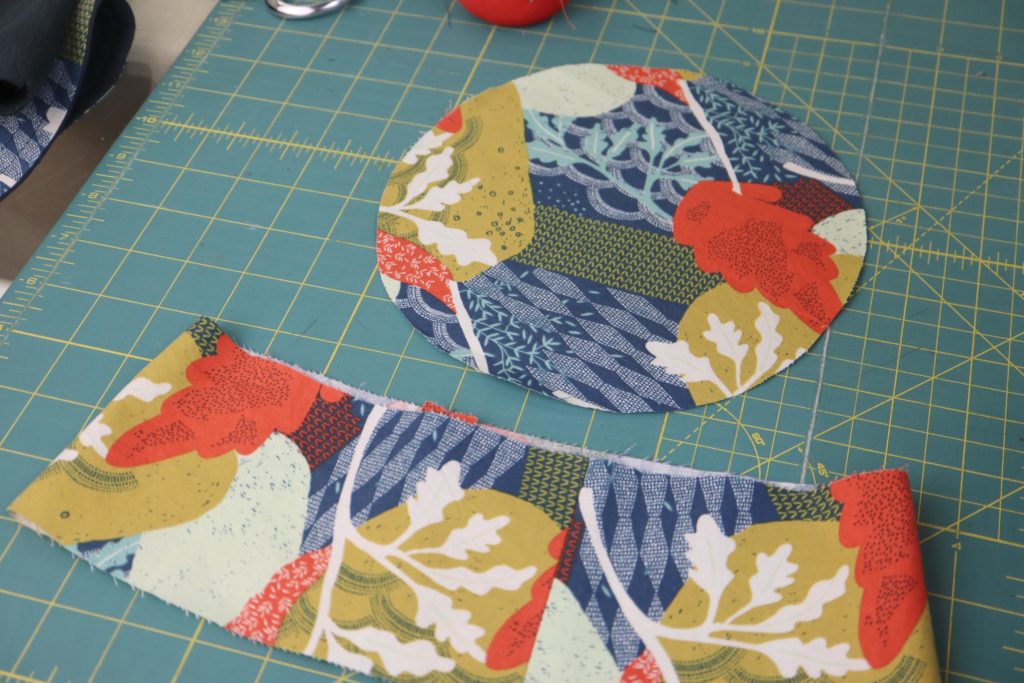
Prepare the side of hat pieces by folding them in half and making little notches at the top and bottom of the piece. Prepare the crown pieces by folding in half and making little notches and then fold in half again making more notches. The crown should now have 4 notches at the quarter points.
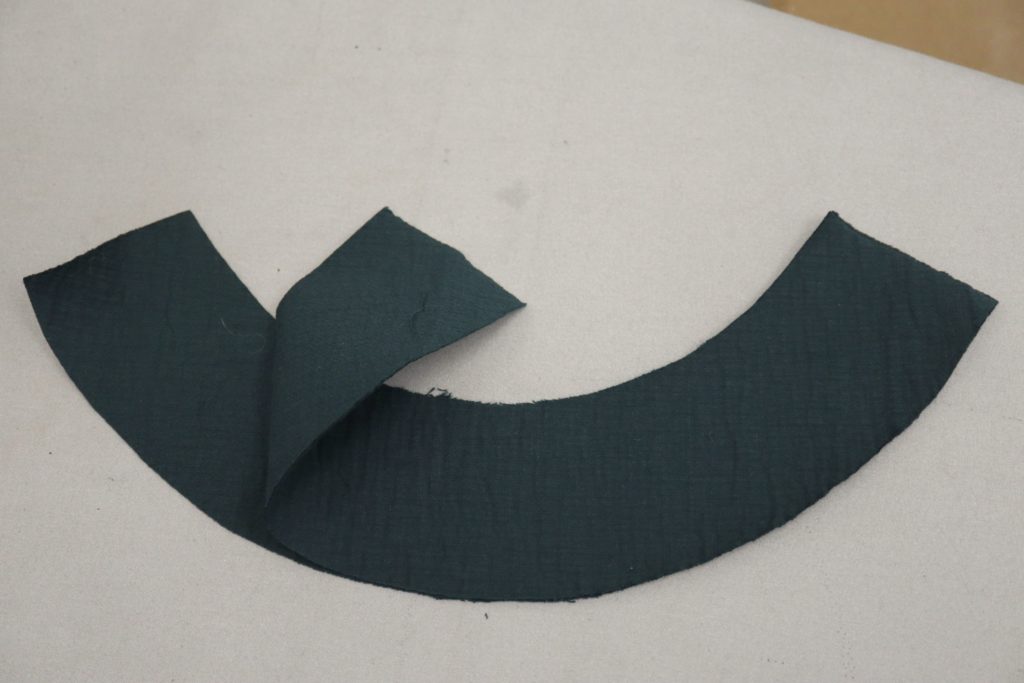
Take two side of hat pieces and place them right sides together. Pin at the side seams. Stitch side seams and press seams open. Do this for the main fabric and lining.
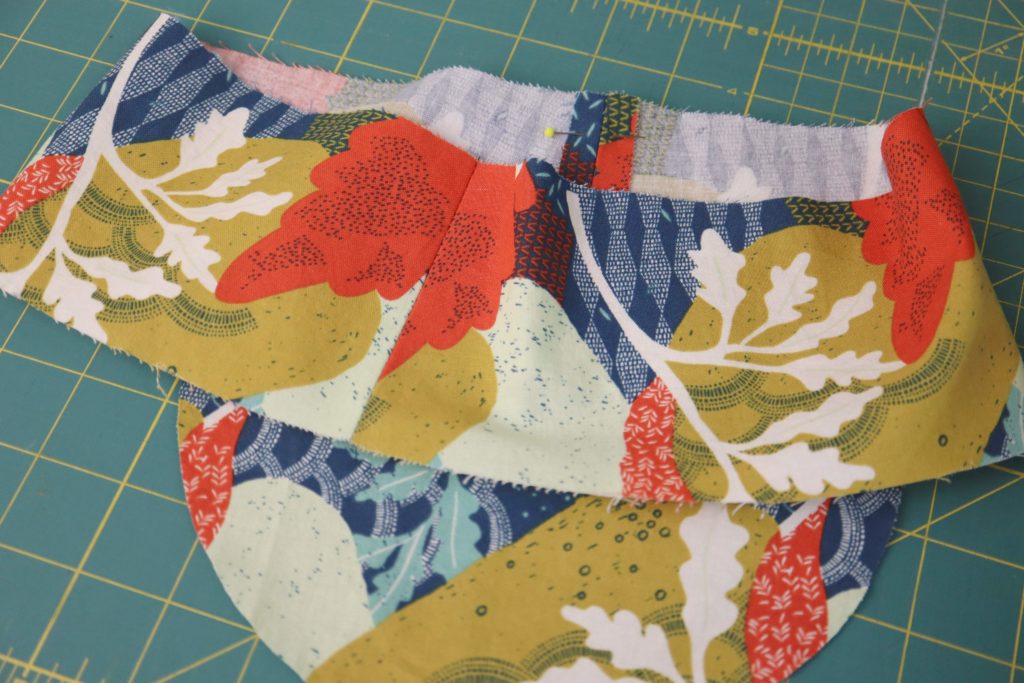
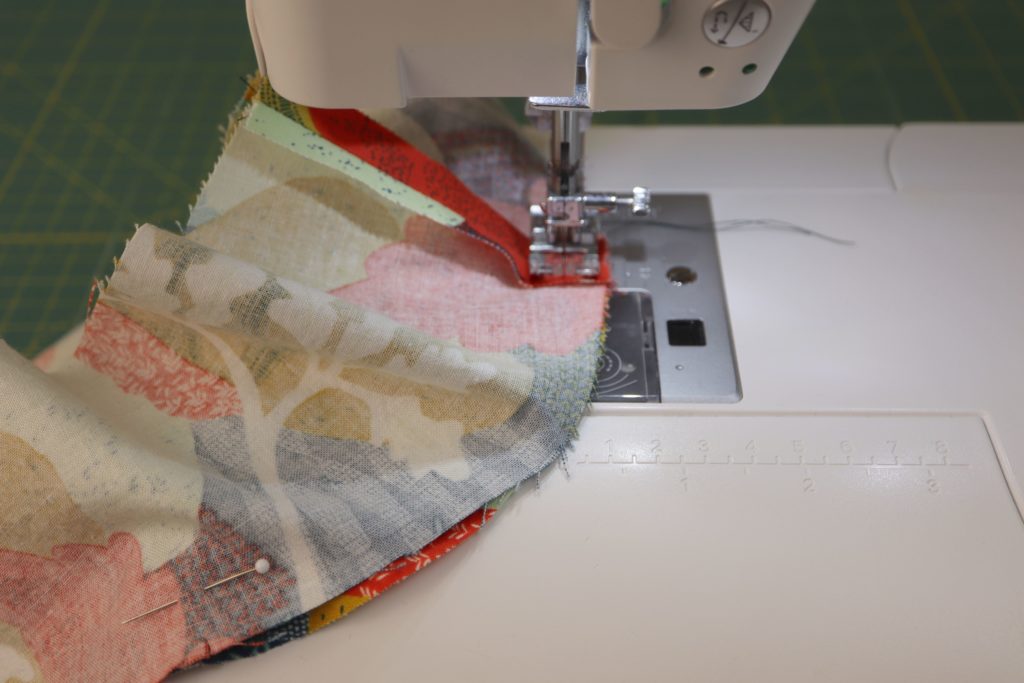
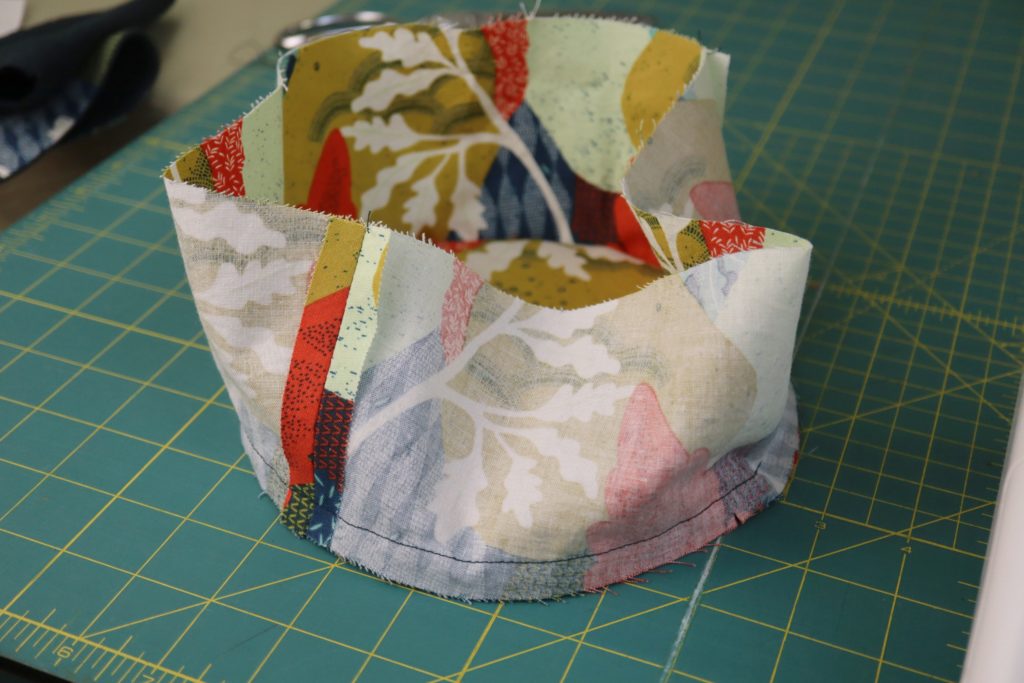
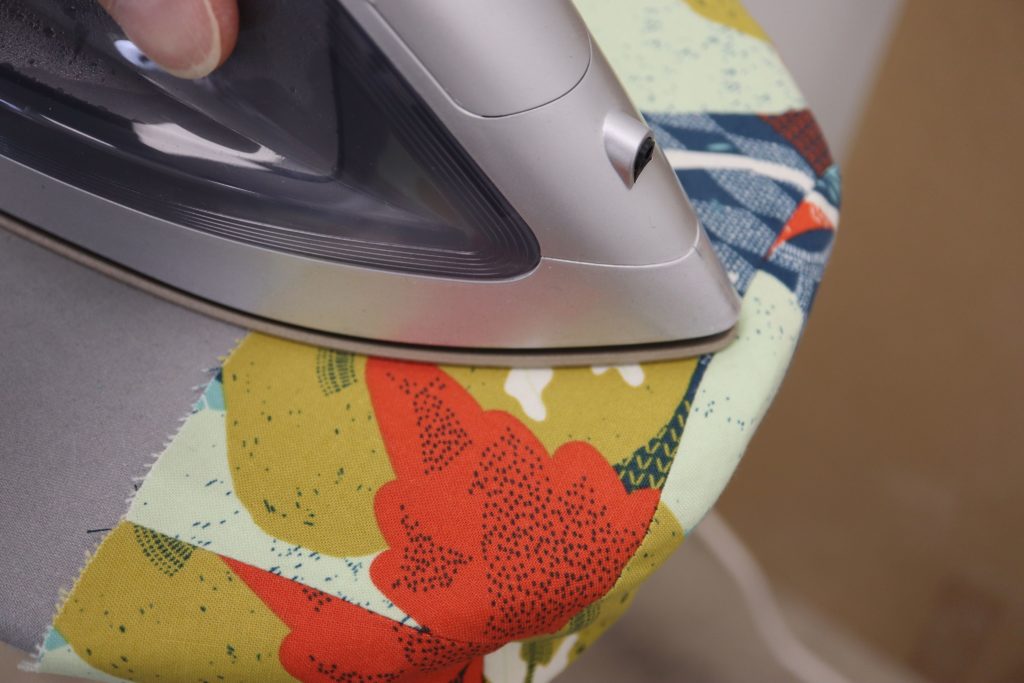
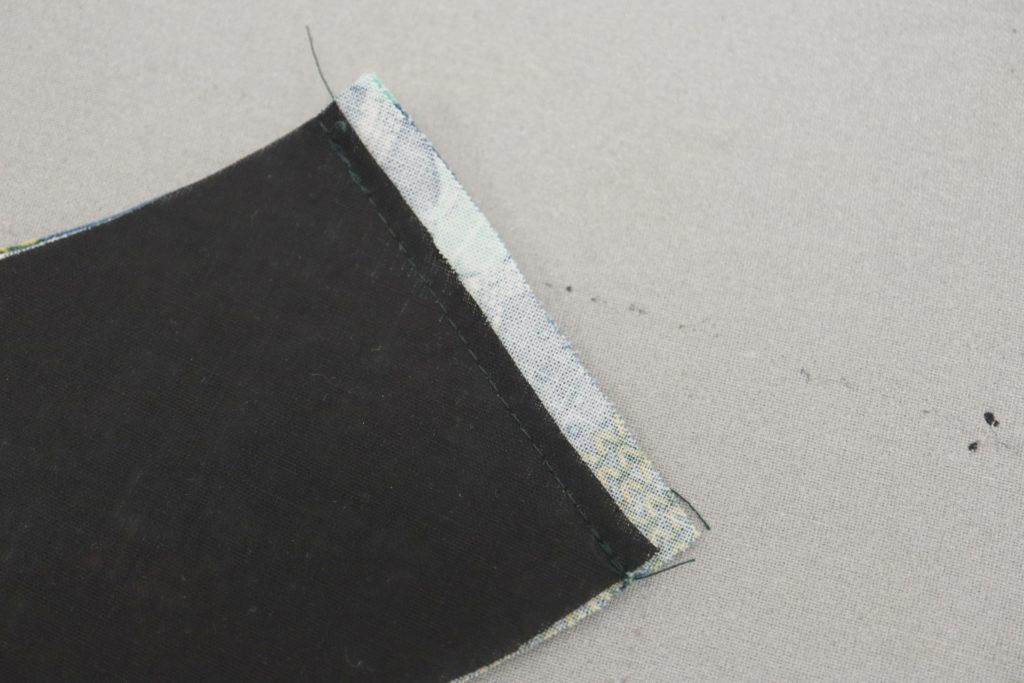
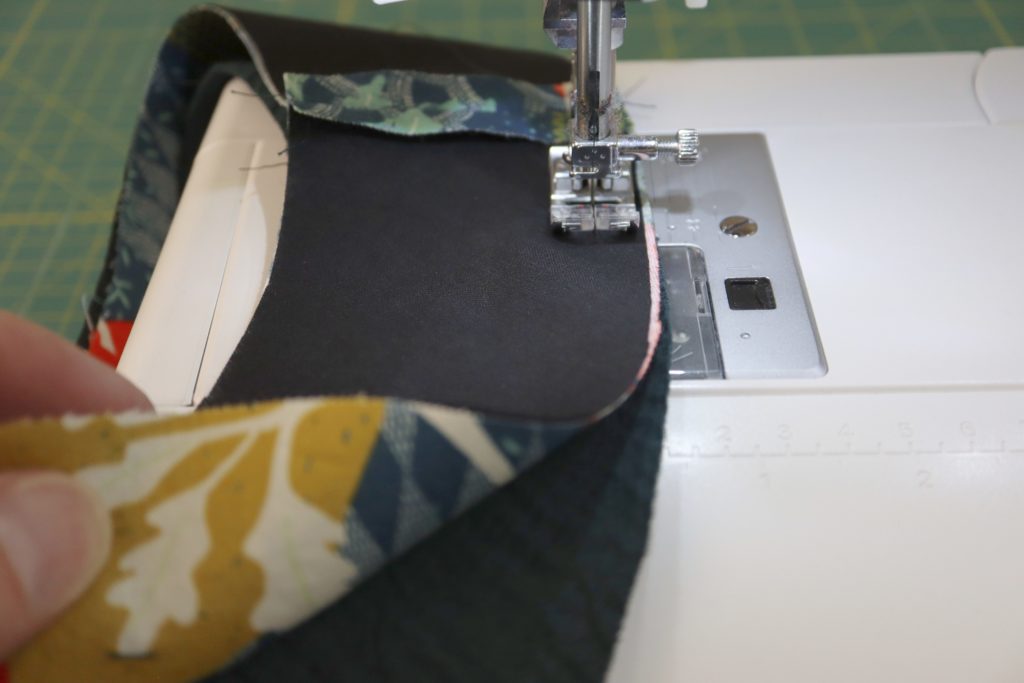
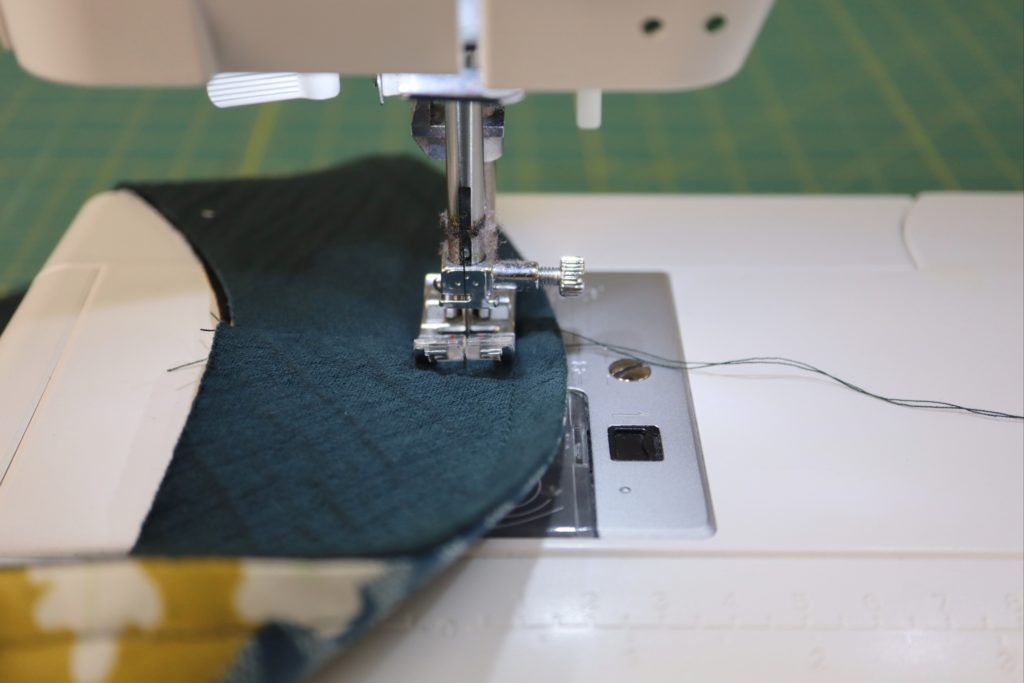
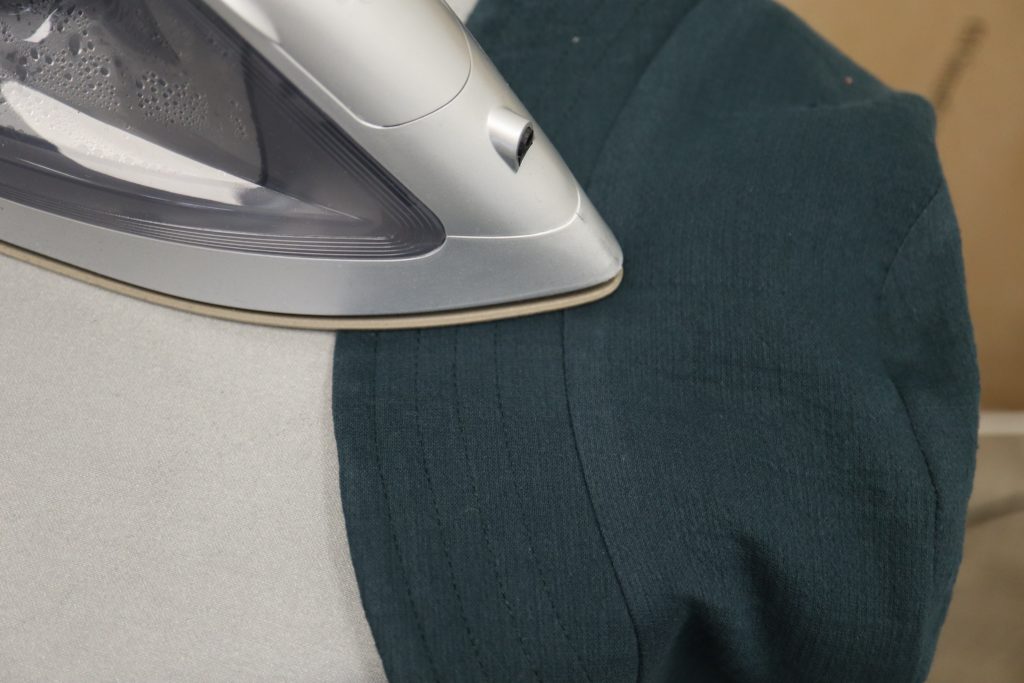
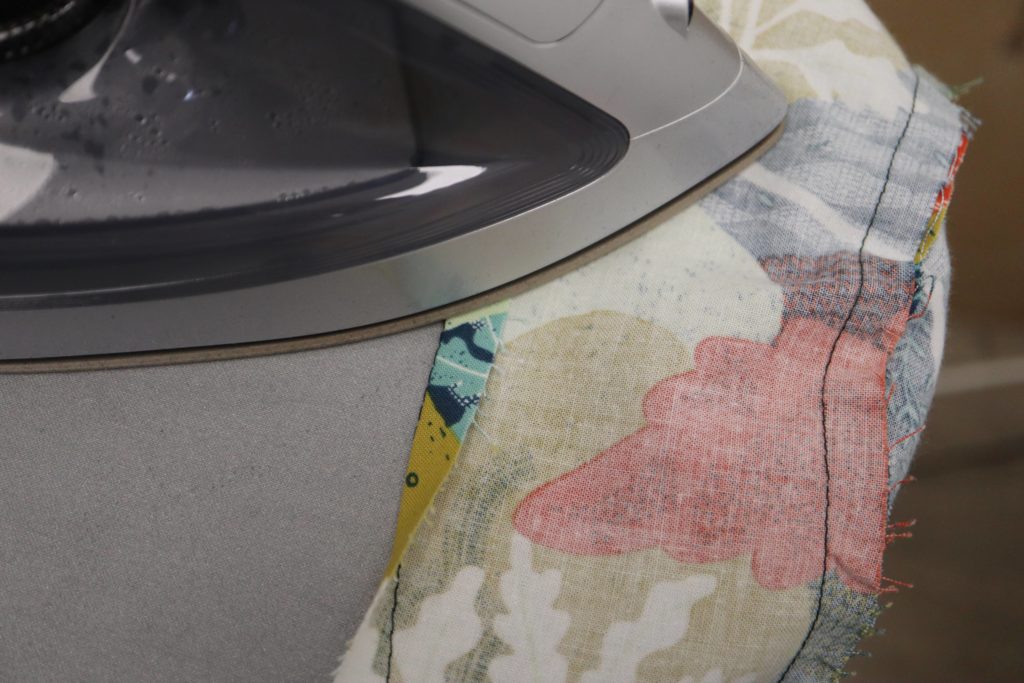
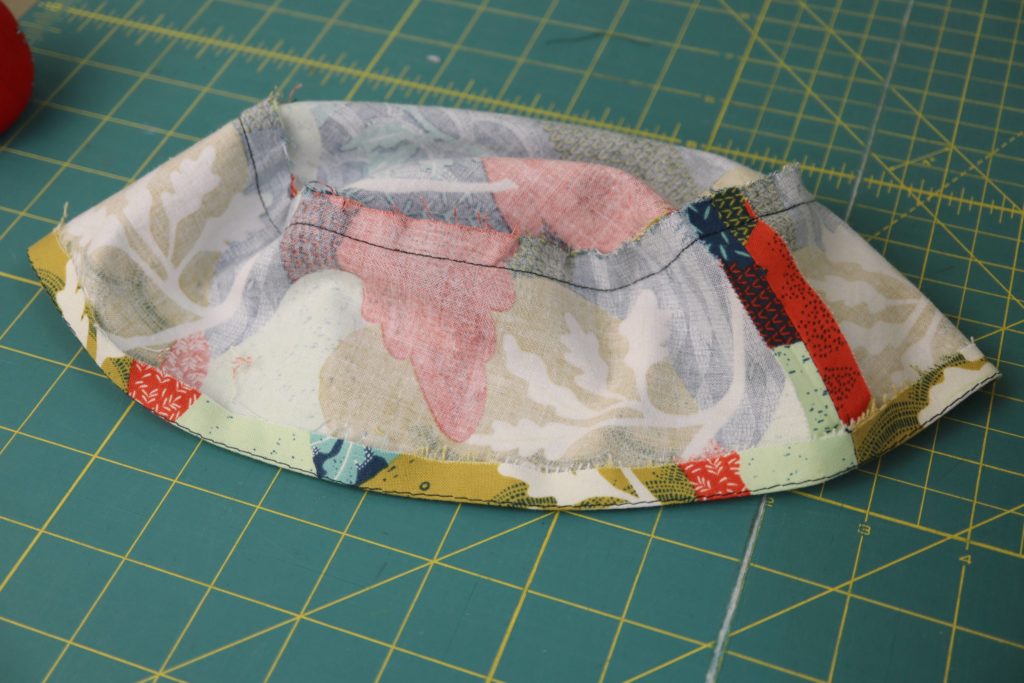
Take one crown piece and the matching side of hat piece. Pin the top of the side of hat piece to the edge of the crown piece, matching the notches. You may want to place more pins. Stitch this seam with 3/8” seam allowance. This is a little tricky, because you are sewing a straight line to a curved line, so take your time. Using the end of you ironing board, press the seam allowance toward the crown of the hat. Repeat this process for the other crown and side of hat pieces.
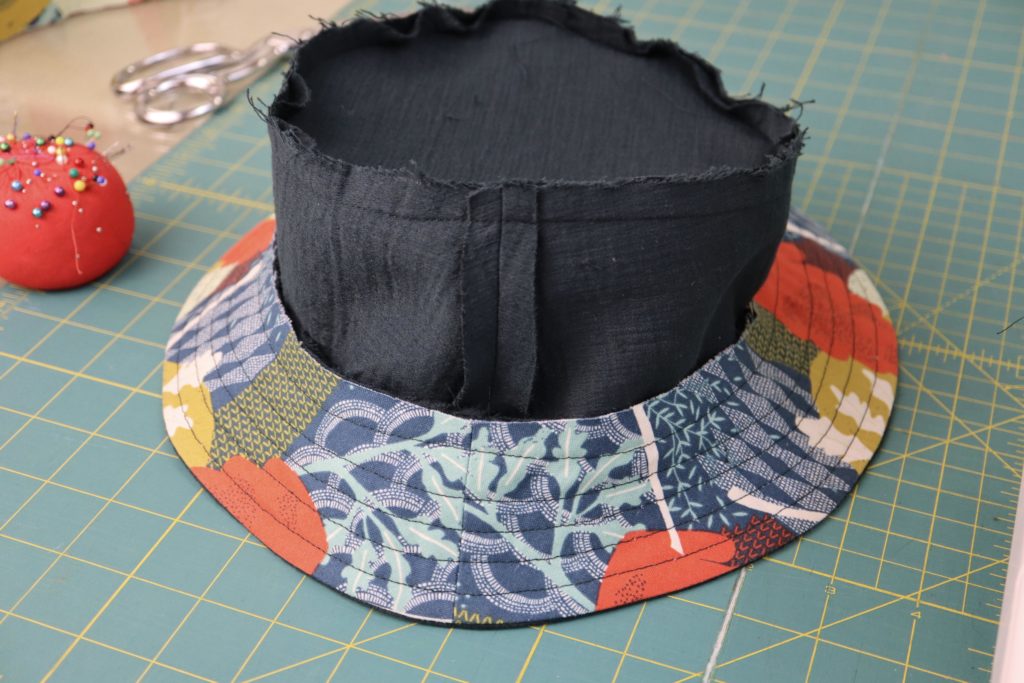
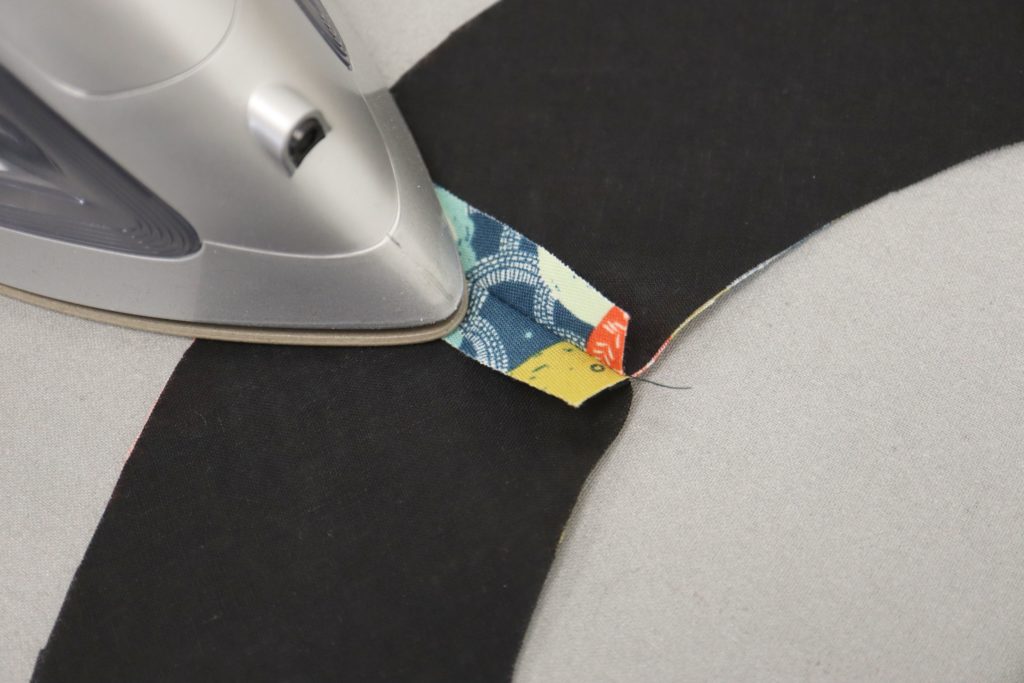
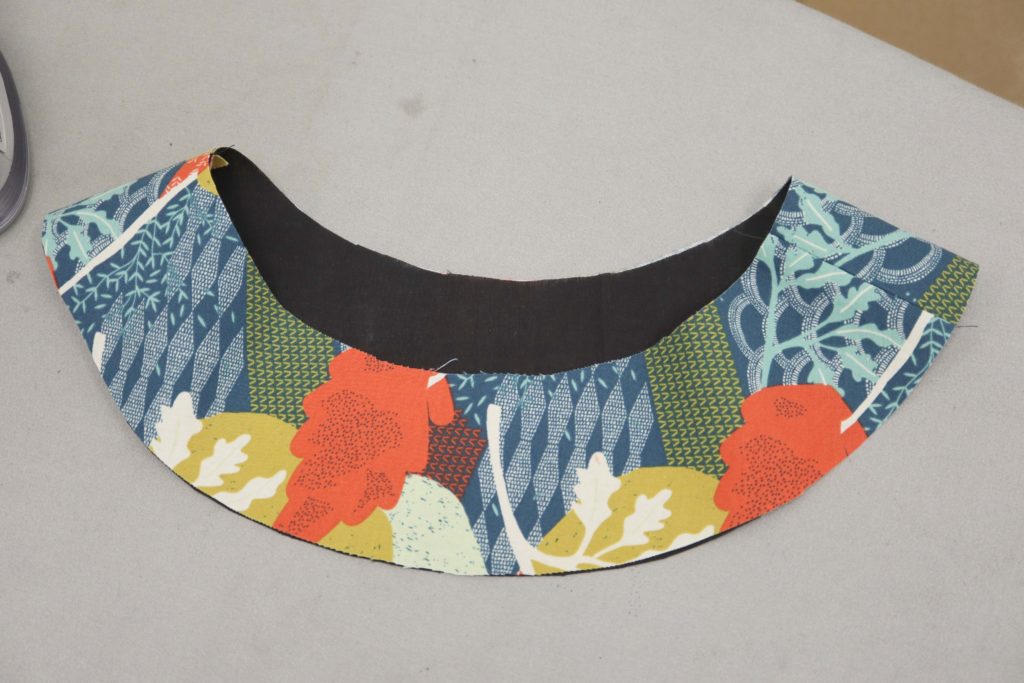
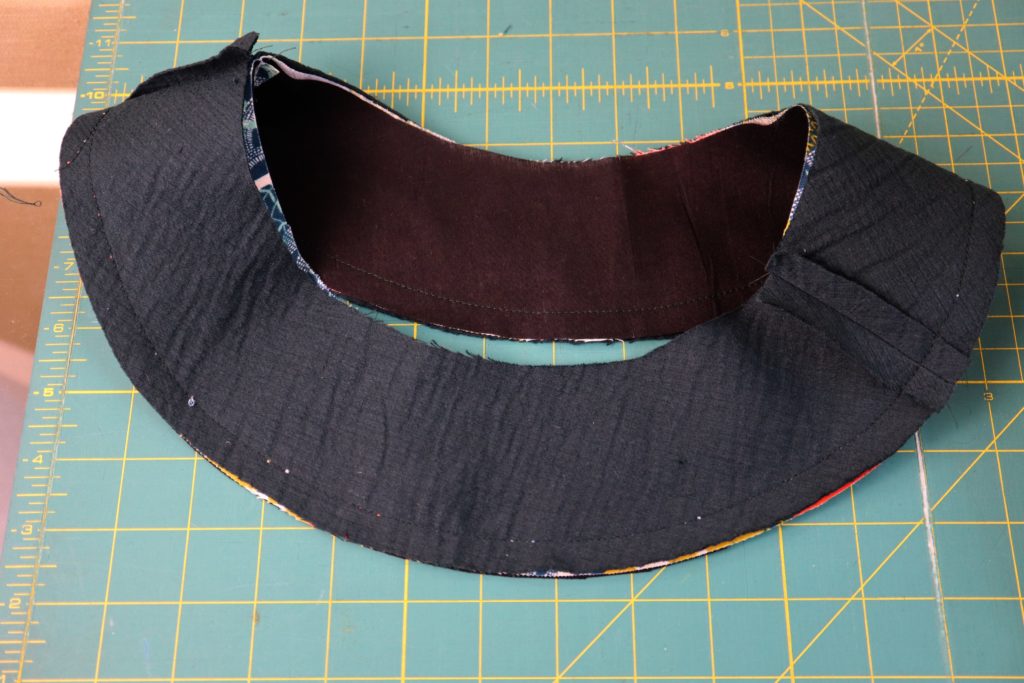
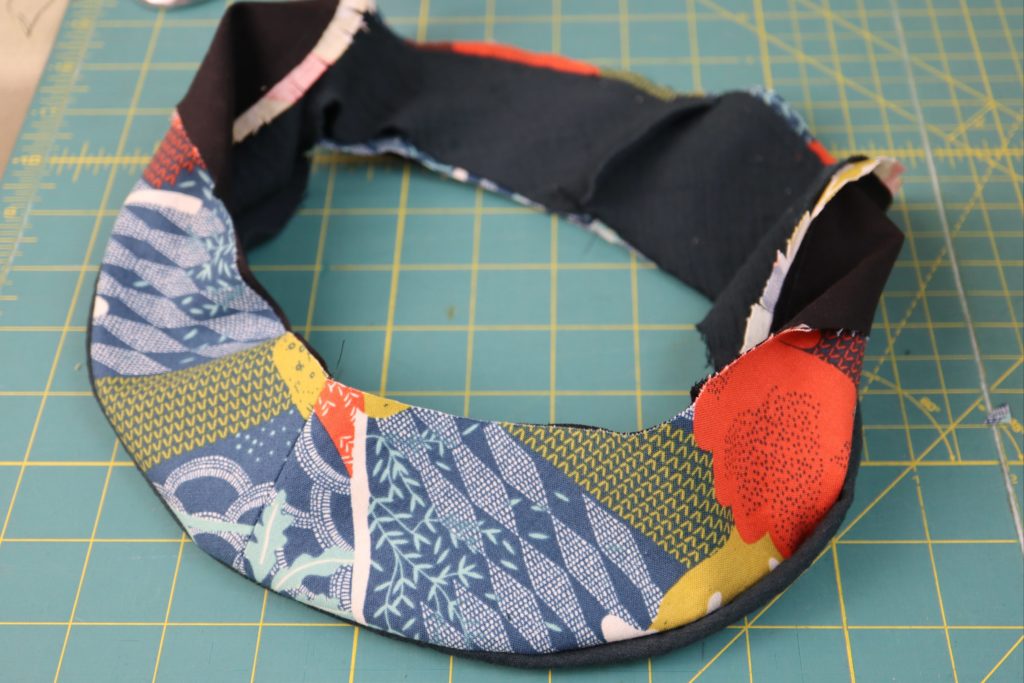
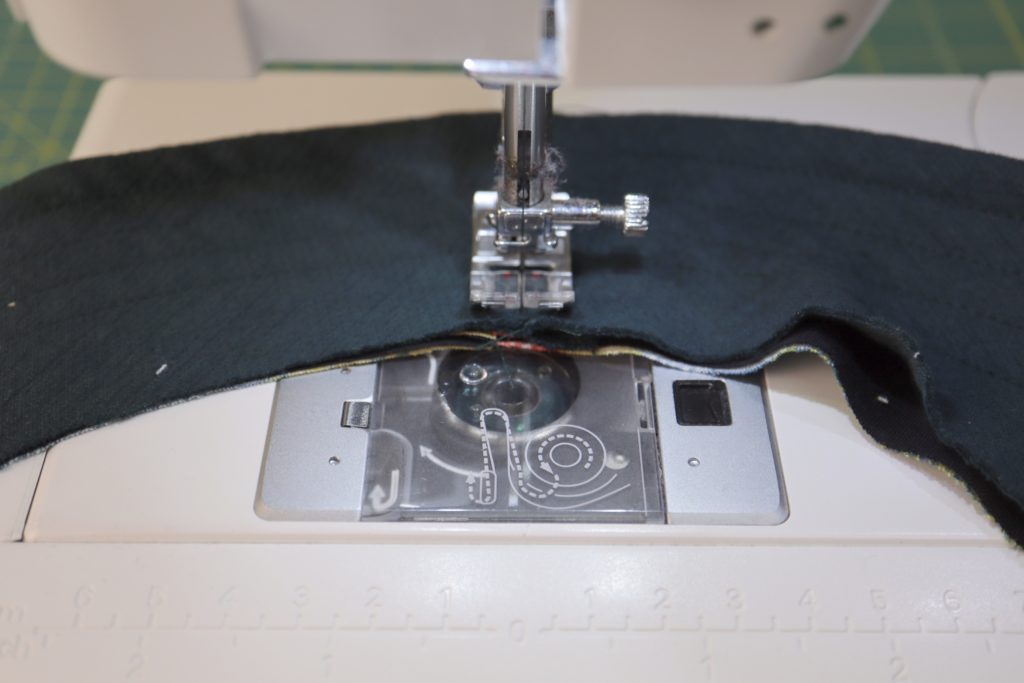
Now we are going to sew the brim to the hat. Pin the brim to the hat with right sides together matching the sides seams and centre points. You may want to use more pins. Stitch this seam with 3/8” seam allowance. Press the seam allowance toward the top of the hat.
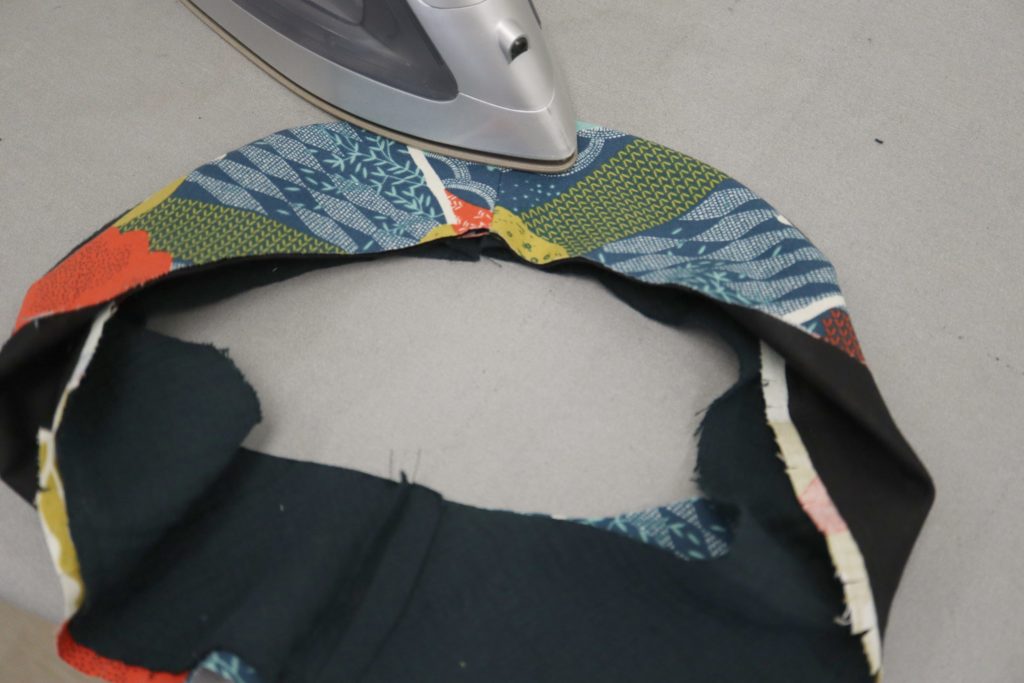
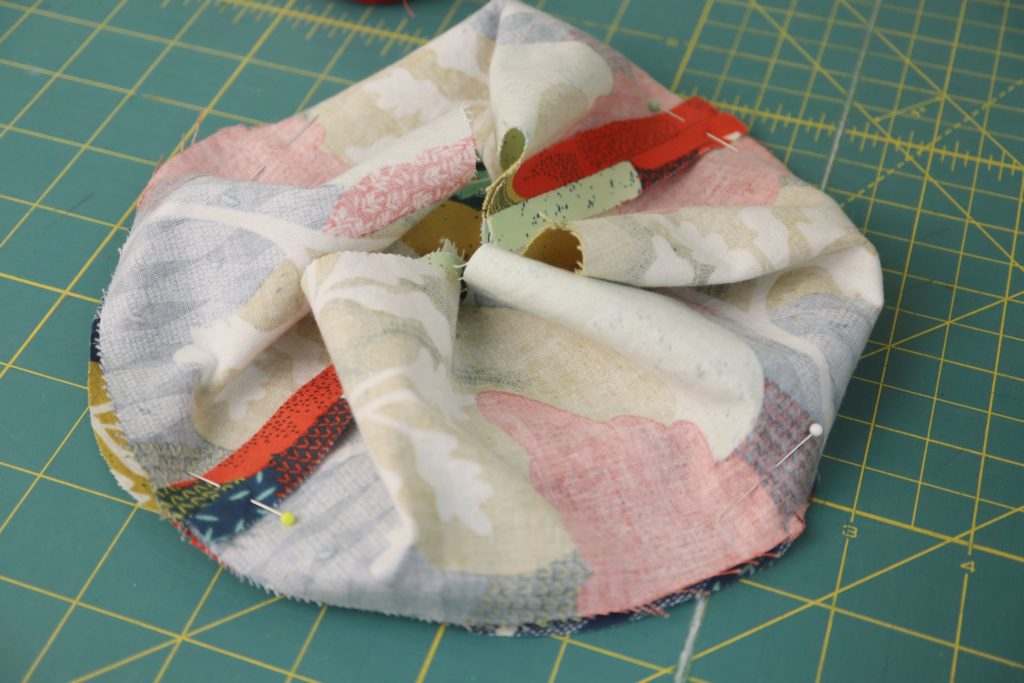
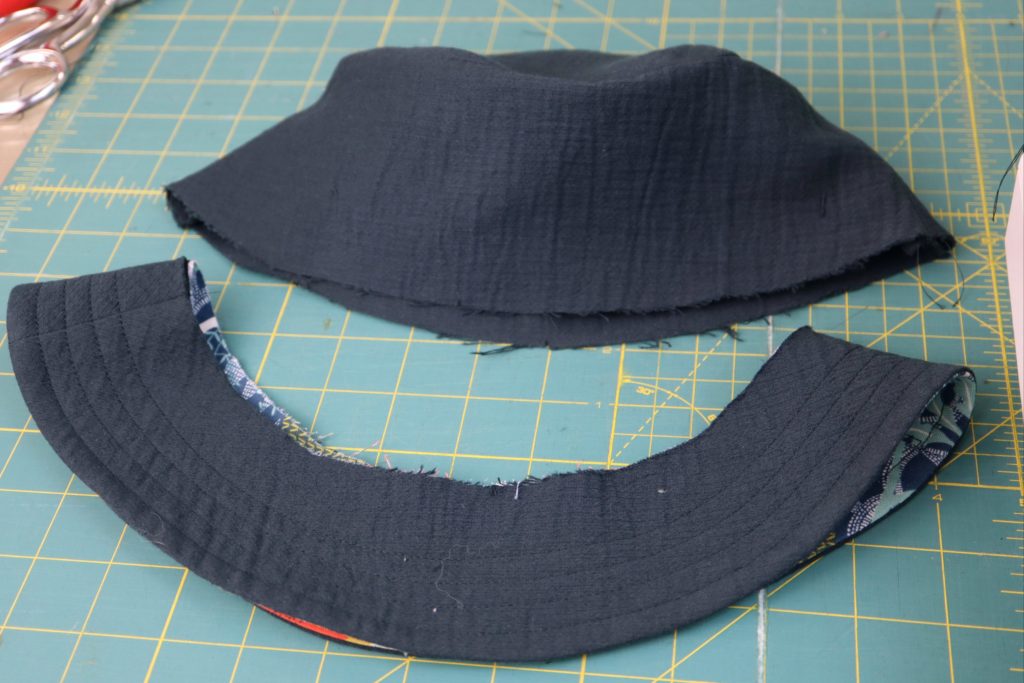
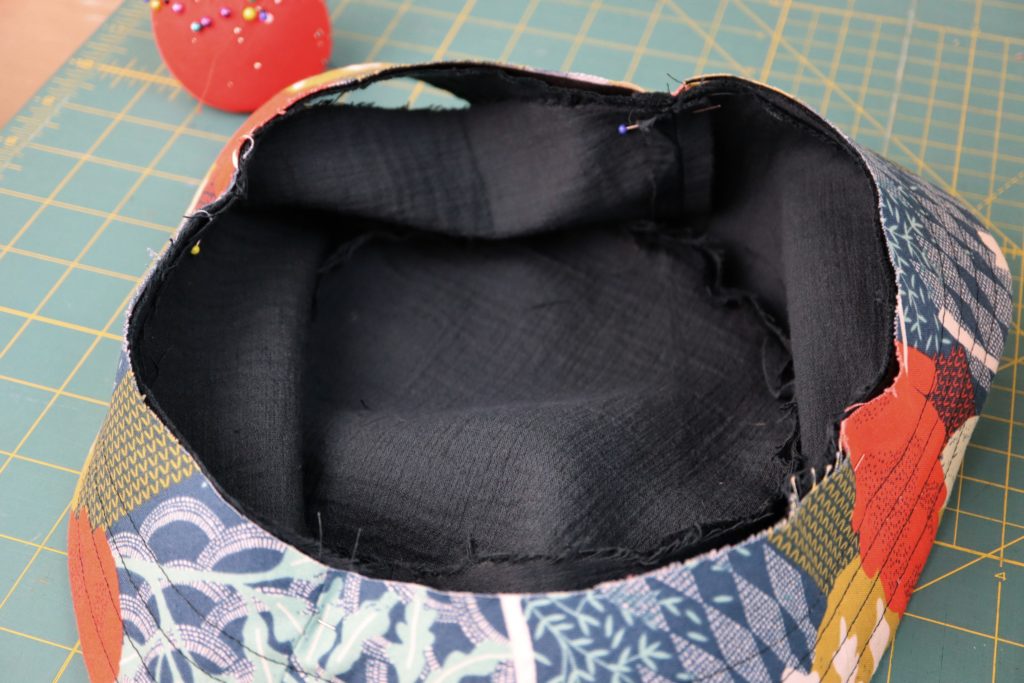
To prepare the lining, with a longer machine stitch, stitch 3/8” from lower edge of hat. Use this stitching as a guide to press the seam allowance toward the inside of the hat.
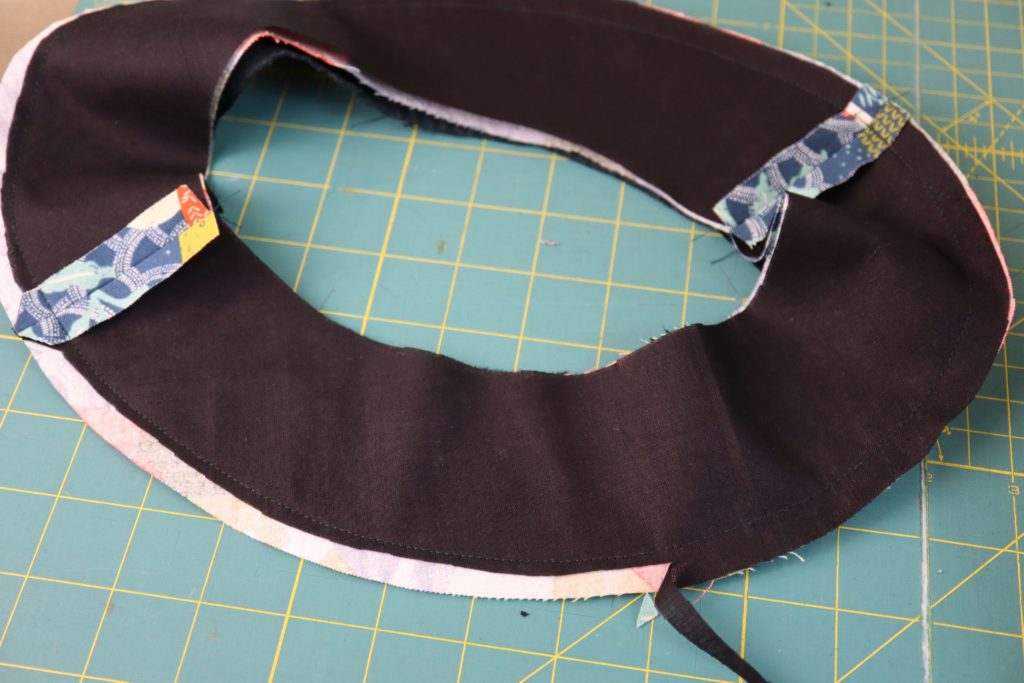
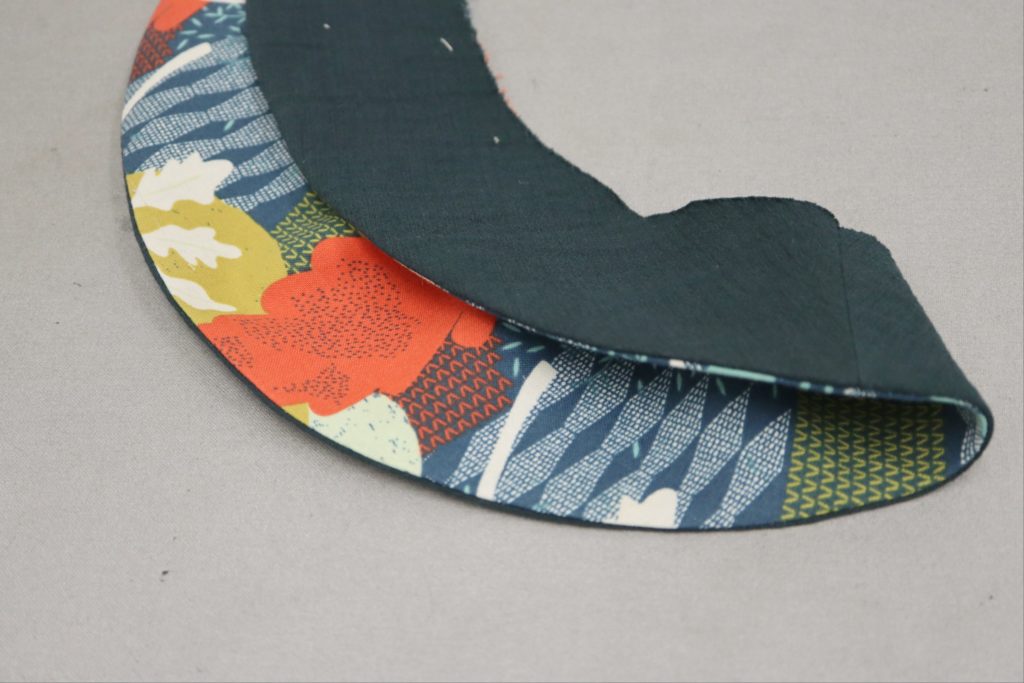
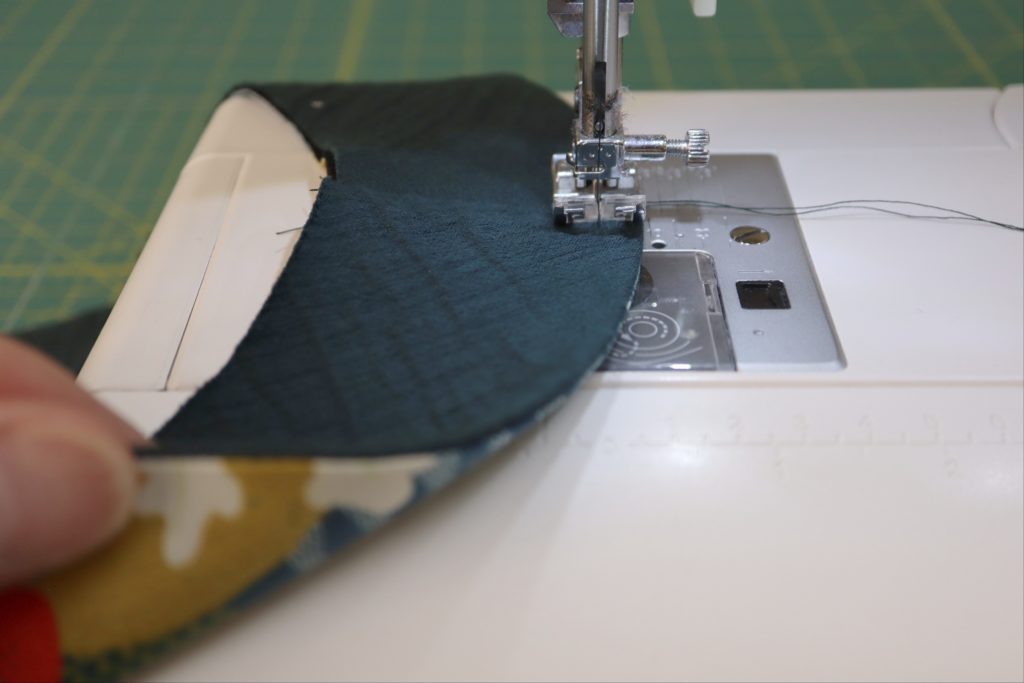
With wrong sides together, slide the lining over the hat, matching side seams and centre points. Pin in place so that the folded edge of the lining is just covering the stitching where the brim attaches to the hat. You can slip stitch the lining to the hat OR you can carefully edgestitch the lining in place through all layers. Make sure to do a good job, because the stitching on the underside will show when the hat is turned inside out.


2 thoughts on “Trend Alert: The Classic Bucket Hat”
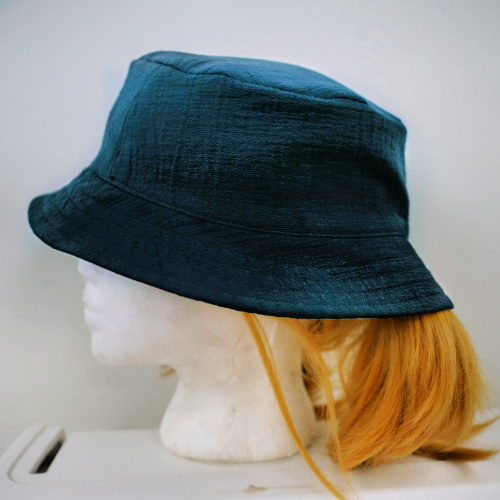
Super cute!! And bucket hats flatter so many face shapes! I love that it reversible!!
Amazing post! Great bucket hat indeed.