I don’t know about you, but I LOVE storage. I love putting all my things together in neat little rows and having it look nice and organized. However, I’ve struggled in the past to find a box that both looks nice, and fits my shelves properly.
This D.I.Y. will go over how you can make ANY box beautiful. This is great for storage, or gift giving. I want to waste as little as possible, so if I can create a box that can be used time, and time again for gift giving, all the better. This is a fast and easy project– and actually doesn’t involve sewing!
What you’ll need:
**Note: Fabric sizes will vary depending on your box size. We will show you how to measure for your box in step 1**
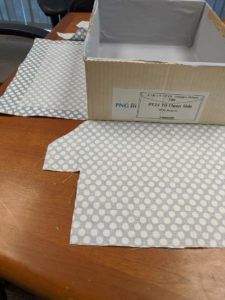
1)Cardboard Box (Cut a box up in any way you’d like to make it the perfect size)
2)Exterior Fabric (cotton, or non stretch fabric. We do not recommend satins, or satin-like fabrics)
3)Lining Fabric (same type as exterior fabric. We suggest a contrasting look!)
4)Fabric Scissors
5)Hot Glue gun + glue sticks OR spray fabric glue
6)Fabric Chalk OR Fabric Marker
7)Optional – Fray Check
**Make sure your fabric is ironed before starting, removing any creases or wrinkles. Washing is not necessary**
Instructions:
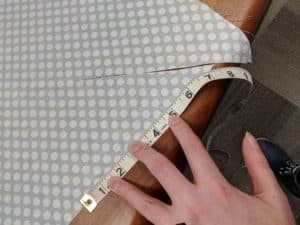
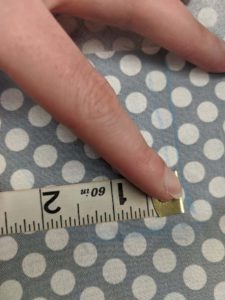
Step 1: Measure your box, both the inside and outside. Allowing for a few inches overhang into the box for the Exterior Fabric amount, and allowing for a few inches outside of the box for the Lining Fabric amount.
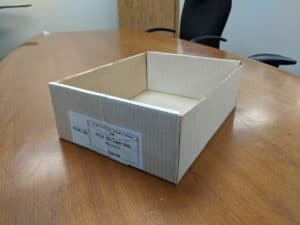
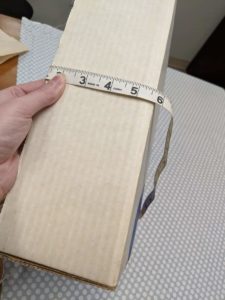
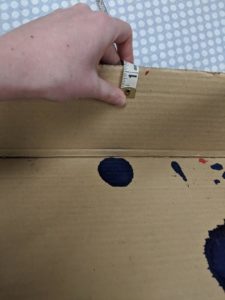
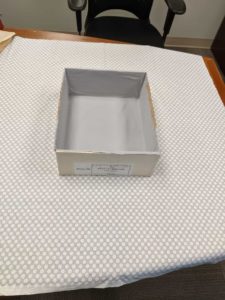
Our box was 5″ x 10.5″ x 12.5″ (height, width, length). Measuring as shown above, we measured a few inches from the interior ALL the way across the bottom and up onto the next end, again allowing for a few inches. We did this for both sides (since we did not have a square box) and repeated the measuring style measuring the inside of the box.
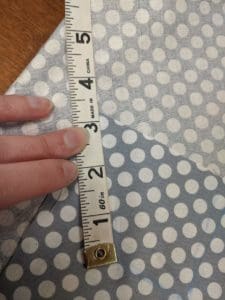
So in total we have measured the interior side at 5” PLUS the exterior side of the box at 5”, then measured along the bottom of the box (12.5” or 10.5” depending on the side) and then up the side of the box again at 5”.
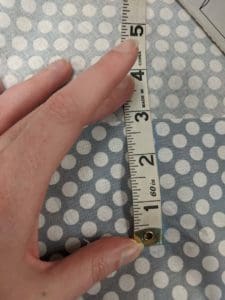
For the lining, we did the same, measuring the 5” height of the box, measuring along the bottom interior of the box, and then up the 5” side again.
This gave us the following cuts:
Exterior Fabric = 31” x 45” (Width of fabric) (80cmx115cm)
Lining Fabric = 20” x 45” (50cmx115cm)
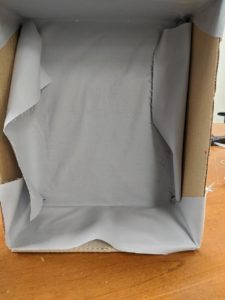
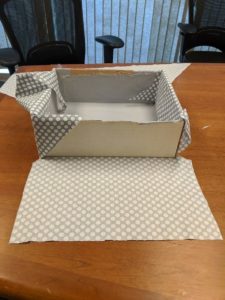
Step 2: We will start with the lining fabric to create a clean look. Take your lining fabric and place it inside your box, fitting it into each corner as accurately as you can. Mark each corner with your fabric chalk.
Remove the fabric.
Step 3: Lay your lining out on the table and measure from the chalk mark you made to the edge of your fabric. Cut.
At this time, cut off any excess fabric on the ends too. This will just add bulk to your box which is not needed. (Be sure to measure this by placing it in the box for the most accurate look).
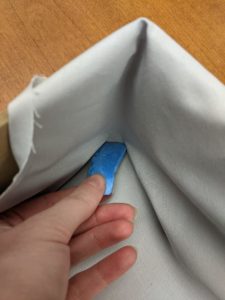
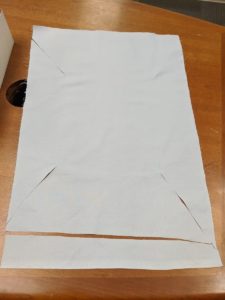
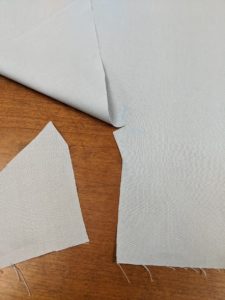
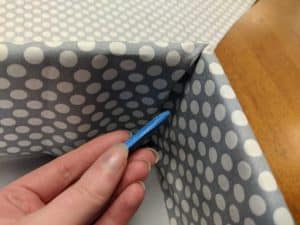
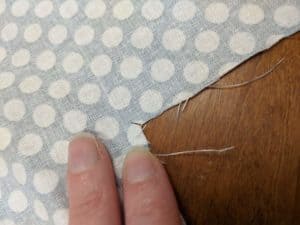
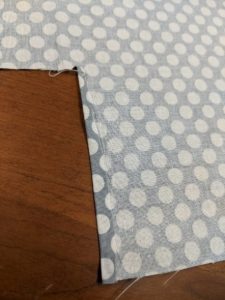
Step 4: Since we have a rectangular box our shape may be a bit different, but the steps should remain the same. Taking the shorter ends of your fabric we cut off the triangular point towards the chalk mark. (If you are working with a square box choose 2 sides parallel to each other to cut).
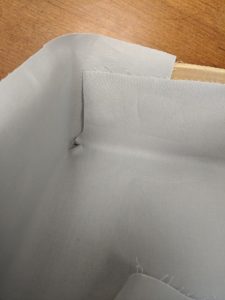
Create a small square or triangle cut out at the corner by the chalk mark (the part that will be against the corner of the inside of the box).
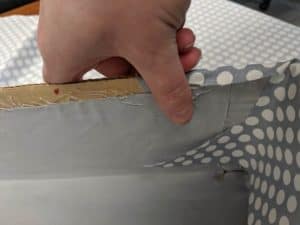
Put your fabric back in the box, it should overlap something like this. If you would like you can use Fray Check to keep the fabric from fraying.
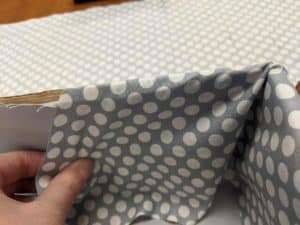
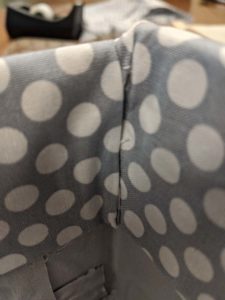
Step 5: Do not worry if your lining does not fit perfectly at the top, this will be covered later. Take your lining and glue it down, gluing the flap first and then making the corners meet with the overlapping wedge.
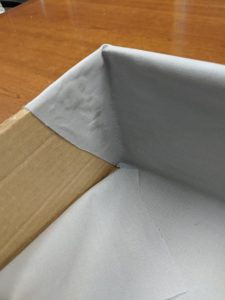
First, glue down the edges with the “wedge shape” you cut earlier.
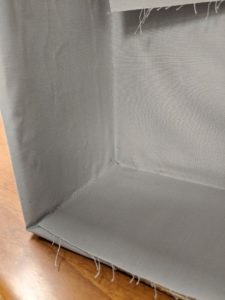
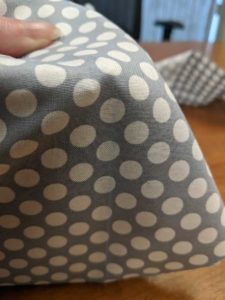
Glue, glue, glue. Your box should look something like this.
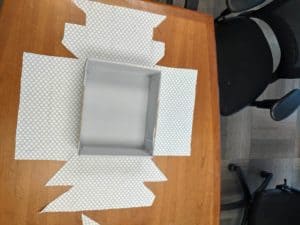
Step 6: Next take your Exterior Fabric and lay it out completely on a flat surface Wrong Side facing UP. Place your box in the middle of your fabric and mark all 4 corners of your box.
Step 7: Cut from the corner of your fabric to the point of the corner you marked. Do this for all 4 corners.
Step 8: Place your box in the middle of the fabric square and wrap it around your box, holding the fabric tabs in place. From the top of the box, at the corner, measure inwards to see how close your fabric edge is to the edge of the box.
For us that was 8” and we subtracted 1” to allow for hem. We marked our cut at the 7” mark.
Cut the fabric like so.

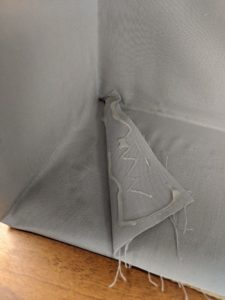
Step 9: Placing the fabric back around the box again we measured along that new cut and watched how the fabric bunches in the corner. To make the corners smooth we made a chalk line marking from the top corner to the interior corner (roughly 3” for us)
And then marked from the top corner alone the top edge of the fabric (roughly 2.5” for us).
Where those two lines met, we measured from the corner of the fabric to the point and then cut away the extra, leaving a “wedge” behind.
Your finished shape should look something like this when against the box. Do this to parallel sides.
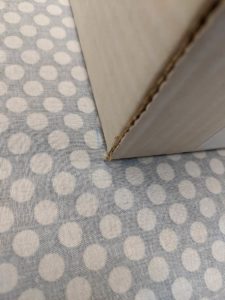
Step 10: Do not glue anything yet. Take your remaining two sides that have not been cut yet and hold them against your box. They should extend further along the side than necessary at this point.
Holding the fabric against the box, mark the OUTSIDE corner on your fabric.
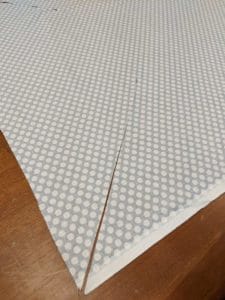
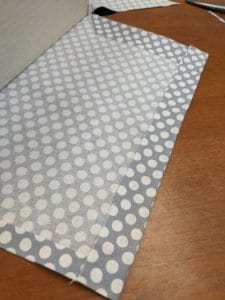
Allow for a 1” – 2” hem and cut away the excess “triangle”. Do this for parallel sides. Your shape should look something like this.
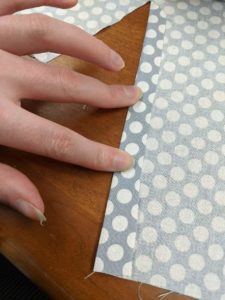
Step 11: For the sides you just cut, fold over the hem allowance and glue down. You are gluing the fabric to itself. To get a sharp, accurate line, try finger-pressing the fabric in place before gluing.

Measure from the inside of the box where you would like your interior hem to sit. For us that was 2” from the bottom of the box. We marked, and glued down the hem in the same fashion.
Step 12: At this point, if you would like, you can cut off the remaining “triangle” shape from your unglued sides, OR you can glue the triangle down across the length of the fabric. We cut our triangle off.
Looking at the “L” shape before you, make a small snip in the corner no longer than a ⅛” – ½”.
Fold over the fabric and create a small hem. Glue in place.
Once again measure the distance of “hem” from the interior of the box and mark. Glue the hem in place on the remaining sides.
Step 13: Taking your fabric end that has the “wedge” at the bottom, begin gluing your fabric in place. Glue down the wedge so it is directly against the exterior wall of your box, allowing for a small overlap over the top of the box.

Once one side of your box is glued and the wedge is glued into place, glue the bottom of your box and make sure the fabric is secure. Be sure to pull the fabric tight to get rid of bunching and creases.
Time to go glue happy!!
Step 14: Once your two “wedge” sides of fabric are glued in place (including the hem edge) begin to glue the remaining sides in place. Once again pulling the fabric tight to get rid of any creases.
When gluing the hem, you should see that the fabric meets easily in the corner along the hem of the interior. Don’t worry too much if this doesn’t look perfect. No one is going to look inside your box, it’s more important to make sure it’s secure!
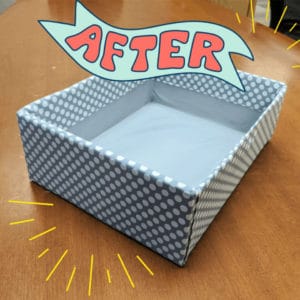
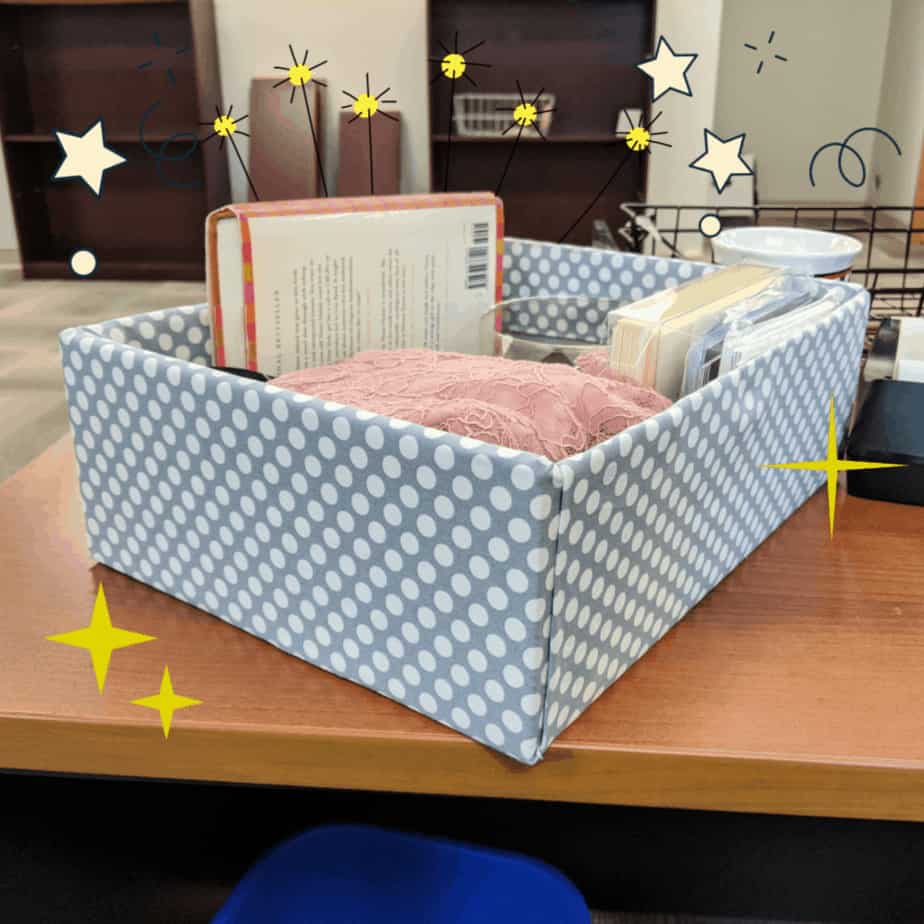
And just like that you have a beautiful fabric covered box! We love this look and want to see how you’ve decorated your storage. Be that for crafting, or office supplies we love to see what you’re working on!