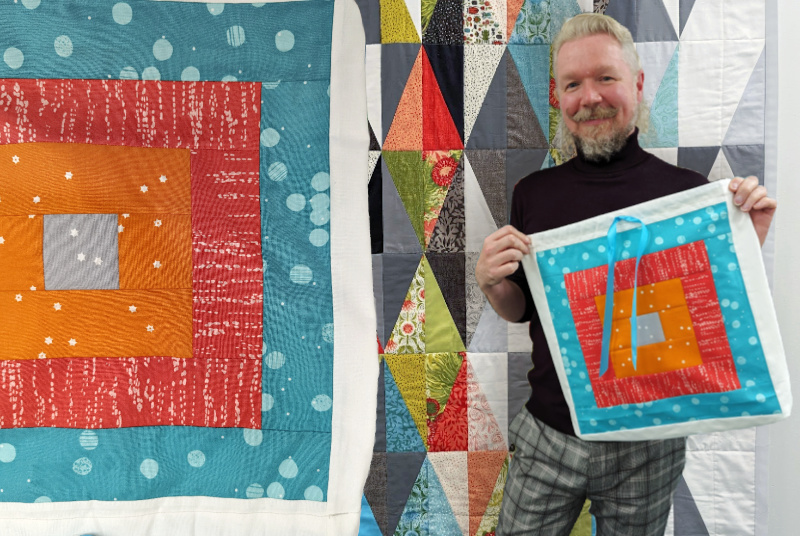
How do you protect your beautiful handmade quilts when they’re not on display or in use? We suggest a dedicated storage bag. This is a great idea for your own quilts and is also a beautiful way to gift a quilt to a loved one. You may want to use left over fabrics from the quilt to create the pieced block on the front of the bag, so it coordinates with the quilt inside.
For new quilters, you may be interested in reading this post simply for the instructions on how to create the traditional Courthouse Step block featured on the front of the bag. This block is perfectly suited for use with a Jelly Roll (precut 2.5” strips). This is great as a first time quilt project!

Here’s what you’ll need:
- 1.25 yards of main fabric (we used Colorworks col. 10 Snow SKU 17728)
- Colour 1 (centre square) – a scrap of fabric min. 2.5” x 2.5” or 1/8 yard of fabric
- Colour 2 (first row of strips) 1/8 yard of fabric
- Colour 3 (second row of strips) 1/8 yard of fabric
- Colour 4 (third row of strips) ¼ yard of fabric
- Thread to match main fabric
- 1.5 yards of Ribbon or Cord to use as a drawstring at the top of the bag
- Rotary Cutter, Ruler, and Mat
- Straight pins
- Tailor’s chalk or other non-permanent fabric marker
- Sewing machine with ¼” presser foot and buttonhole stitch
- Iron and ironing board
Part 1: Cutting and piecing the main block for the front of the bag


Cut one 2.5” x 2.5” square of colour 1 (centre square).


Cut one 2.5” strip of colour 2. From that strip, crosscut two 2.5” pieces and two 6.5” pieces. These will form the first row surrounding the centre square.

Cut one 2.5” strip of colour 3. From that strip crosscut two 6.5” pieces and two 10.5” pieces. These will form the second row of strips.


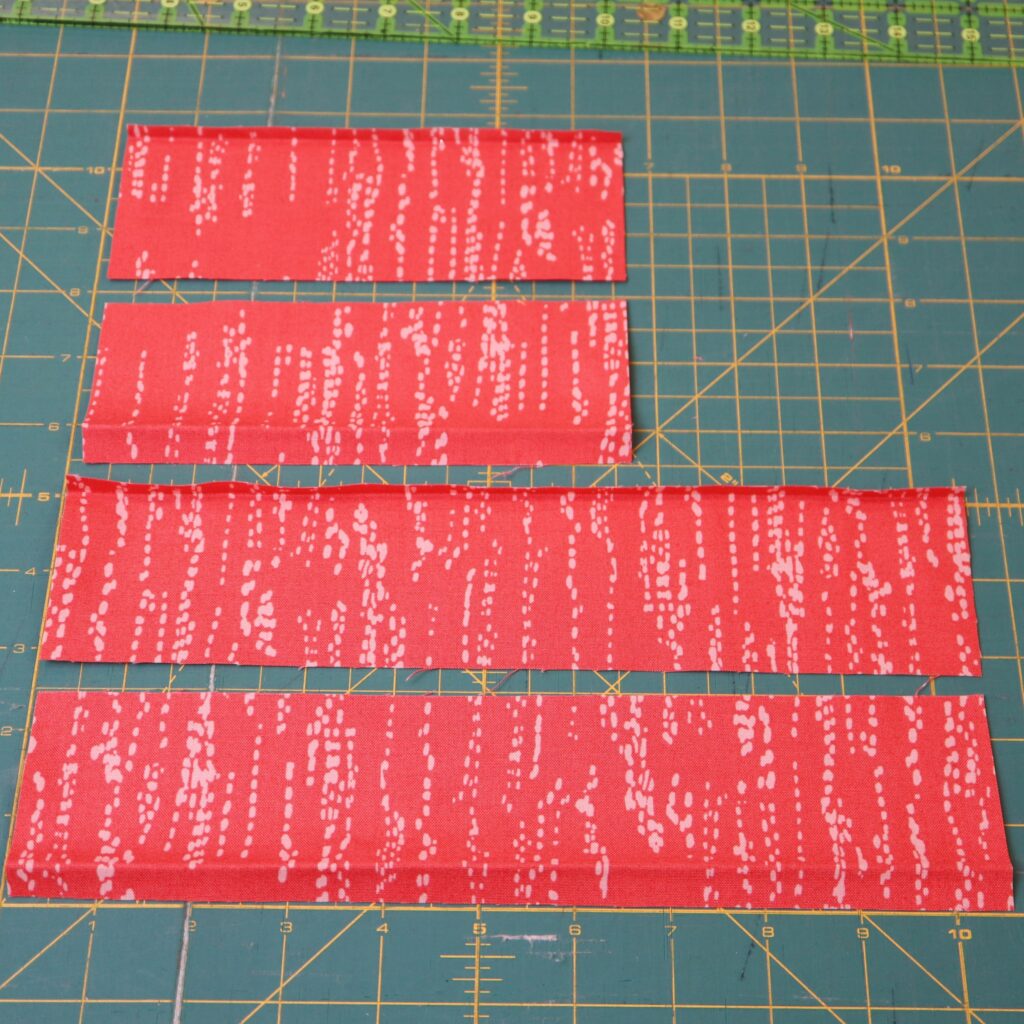
Cut two 2.5” strips of colour 4. From these, crosscut two 10.5” pieces and two 14.5” pieces. These will form the third row of strips.

I always like to lay out the strips as shown above to provide a visual guide. We will be piecing the block from the centre to the outside edges.


Using a scant ¼” seam allowance, stitch the two 2.5” squares of colour 2 to the sides of the centre square (colour 1) as shown above. Press seam allowances away from the centre (toward colour 2). Then stitch the two 6.5” strips of colour 2 to the top and bottom of your work as shown above. Again, press the seam allowances away from the centre.


We will now repeat the process with colour 3. Stitch the two 6.5” strips to the sides and then stitch the two 10.5” strips to the top and bottom, pressing all seam allowances away from the centre as you did in the previous step.


To finish the block, we add colour 4. Stitch the two 10.5” strips to the sides and then stitch the two 14.5” strips to the top and bottom, again pressing all seam allowances away from the centre.
Part 2: Cutting and Sewing the Bag


Place the main fabric on the cutting mat with the folded edge toward you as shown above. Trim the end of the fabric (on the left side). Then, using the mat as a guide, cut 14.5” from the new straight edge as shown in first and second image above. Please note that the author is left-handed. If you are right-handed, place the ruler on the opposite side of the marking, so that you can cut with your right hand.

Open up the fabric and remove one of the selvedges (this is the finished edge of the fabric). This cut should be at a perfect 90-degree angle to your cut edge.


Now cut 14.5” from where you removed the selvedge as shown in the first and second images above. This will give you a 14.5” square. Set this square aside. Then cut two 3.75” x 14.5” strips and two 2.5” x 14.5” strips.

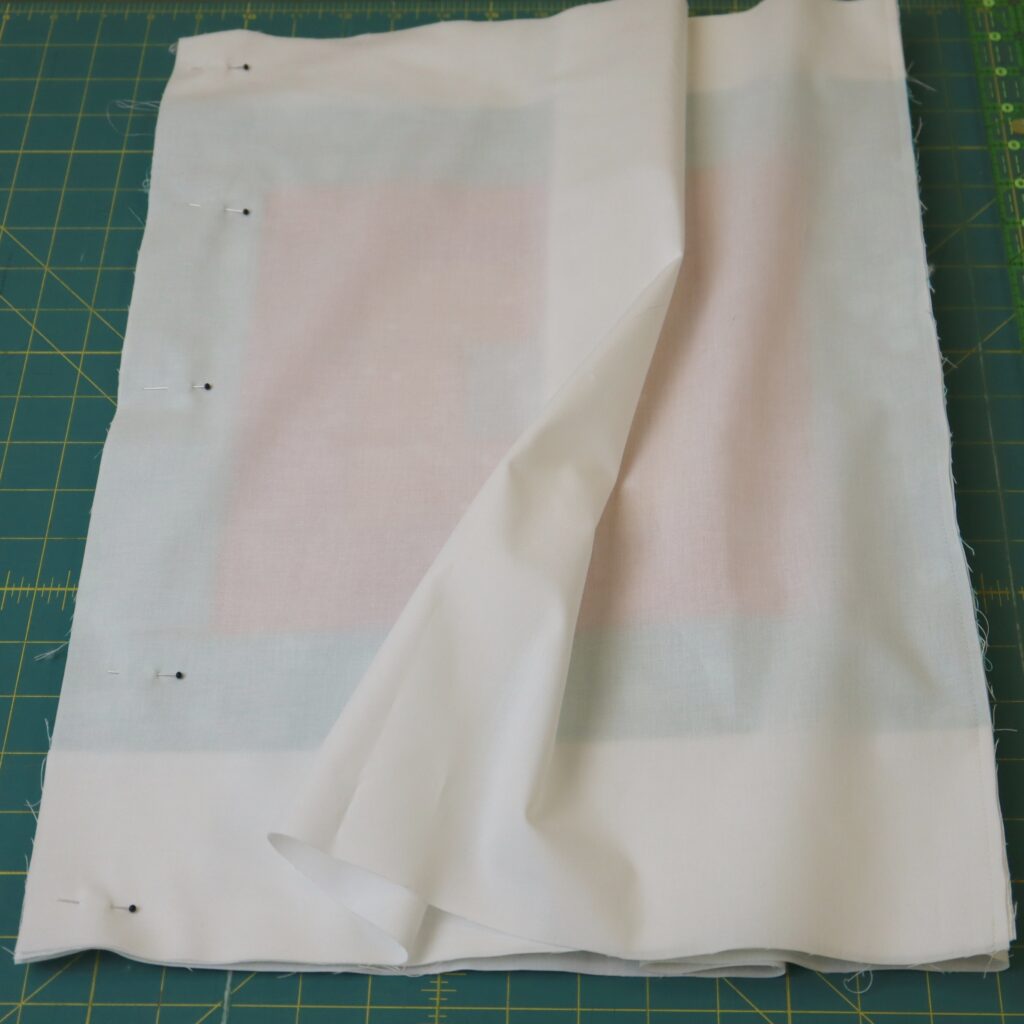
Place the 14.5” square from your main (white) fabric beneath your pieced block as shown above and pin through both layers along one edge.


Take the two 3.75” x 14.5” strips from the main fabric and place one underneath and one on top of the block, lining up the long edges. Stitch with a scant ¼” seam through all layers taking care not to stitch through the pins. Press the strips away from the block as shown in the last image above.


On the opposite side of the block, repeat the same process for the two 2.5” x 14.5” strips of the main fabric. Your project should now look like the second image above. This will now be referred to as the “front” of the bag. Important: The wider strips lay at the top of the image which is the top of the bag.


Lay the remaining fabric on the mat and cut a 19.75” piece across the width of the fabric.


Turn the piece you just cut 90-degrees counter-clockwise and remove the selvedge (two layers). Then cut to 20.5” as shown in the second and third images above. You should now have two 19.75” x 20.5” pieces of the main fabric.


Take one of the 19.75” x 20.5” pieces of the main fabric and place it with the long (20.5”) edge at the top and bottom and the short (19.75”) edge on the sides. Lay the front of the bag on top of this piece lining up the edges on the right as shown in the first image above. Lay the second piece of the main fabric on top of these, again, lining up the edges on the right. Pin through all layers along this edge. Stitch with a scant ¼” seam allowance along this edge and through all layers.


Scoot the front of the bag over to the left in order to line up the edges (all layers). Pin along this edge through all layers as shown in the second image above. Stitch with a scant ¼” seam allowance through all layers as you did on the other side.


Turn the work so that the front of the bag is facing out as shown in the images above. Press the seam allowances away from the centre of the block (this step is not shown).

Lay the tube flat as shown above (right side out). Using a ruler, and shifting as needed, make sure that the strips of white on the left and right sides are equal. Pin along the bottom edge through all layers.

Using a scant ¼” seam allowance, stitch along the bottom of the bag, removing the pins as you go.


Turn the bag right-side-in as shown in the first image above. Make sure the seam is fully turned and then place pins close to the turned edge as shown in the second image above.


Using a 3/8” seam allowance, stitch across the bottom of the bag, removing the pins as you go. You have just sewn a French seam across the bottom of the bag (which means you have no exposed raw edges).


Optional step: This step adds a nice, tailored corner to the bottom of the bag. With the bag still right-sides-in, adjust the corners to look like the first image above. The bottom seam of the bag runs across the centre of the image. Stitch a vertical seam 1” from the pointed corner through all layers.


Turn the bag right-side-out. Using your fabric marker, draw a line 2” away from the top edge of the bag all the way around (front and back).


Set your machine to a longer stitch length. Machine-baste through the marked line.

Press the top hem of the bag to the inside of the bag along the basting stitches.


Double the hem: Tuck the raw edge of the hem allowance into the fold and press again. You should now have a 1” doubled hem. Pin the hem in place.

Mark a small buttonhole (about 5/8”) at the centre of the front of the bag, ½” from the top of the bag as shown.

Set your machine to sew a buttonhole.


Remove a couple of pins so you can open up the hem and work the marked buttonhole through the outside of the bag (making sure not to catch the hem). Cut open the buttonhole.


Set your machine back to a straight stitch. Fold the hem back in place where you worked the buttonhole. From the inside of the bag, hem the top of the bag, stitching very close to the folded edge as shown in the second image above.


Now it’s time to run your ribbon (or cord) through the casing at the top of the bag. Using a safety pin (or other threading tool) feed the ribbon (or cord) through the casing.

Your bag is now ready to store your quilt. Slide your quilt in and draw up the top of the bag!


