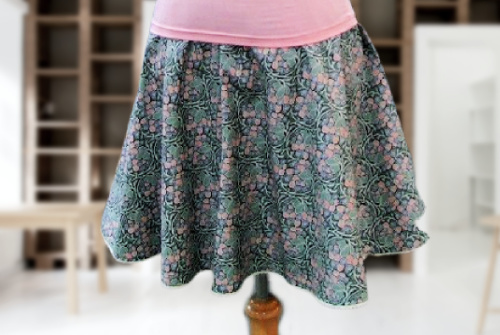
Sweet and Simple – DIY Knee-Length Half-Circle Skirt
Make this skirt in a day including the pattern! We also made a Youtube video on how to add Suspenders or Overalls to this skirt pattern! The Video drops on June 16th, so be sure to watch it! Here’s what you need to make this skirt:
For the Pattern:
1 yard pattern paper (45” wide)
1) Pencil
2) Small piece of string or yarn
3) Gridded clear ruler
4) Ruler to create a right angle (90 degrees)
5) Paper Scissors
6) Flexible tape measure
To sew the skirt:
1) 1.4metres (1.5yd) fabric (for 88cm (34.5”) hip and 45cm (18”) length)
(For larger sizes or longer skirt, bring your finished pattern to the fabric store)
2) Pins
3) Fabric Scissors
4) 2.75metres (3yd) pretty little trim for hem (optional).
(More for a longer skirt)
5) 1 spool matching thread
6) Length of 10mm elastic that fits comfortably around your waist
7) Sewing Machine (straight stitch and zig-zag stitch shown)
8) Iron and Ironing board
Let’s make a pattern!
There is no zipper in this skirt, so the opening needs to pull comfortably over your hips. Using your flexible tape measure, take your hip measurement at the widest point. To measure the length of the skirt, hold the end of the tape measure at your natural waist (where you bend at the side) and measure to just above or just below the knee (as desired). Using these measurements, we will do the following calculations
If Circumference = 2 x π x Radius,
Then HALF Circumference = π x Radius
Our Half Circumference = Our Hip Measurement + 2cm(.75”) (for ease)
So…
Hip Measurement + Ease = π x Radius
And…
Radius = (Hip Measurement + Ease) / π
Example 1: Hip measurement is 88cm(34.5”)
Radius = (88cm (34.5”) + 2cm(.75”)) / 3.14
Radius = (90cm (35.25”)) / 3.14
Radius = 28.7cm(11.2”)
Example 2: Hip Measurement is 98cm(38.5”)
Radius = (98cm (38.5”) + 2cm (.75”))/3.14
Radius = (100cm (39.25”))/3.14
Radius = 31.9cm (12.5”)
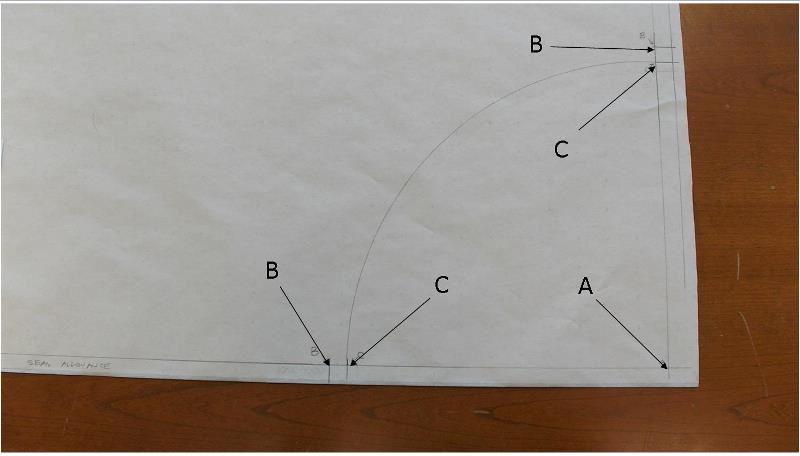
Step 1: Along the straight edge of your pattern paper, draw a line 1.5cm (5/8”) from the edge. This will become one of your side seams.
Step 2: On the far right make a mark approximately 4cm (1.5”) from the edge. Mark this as “A”.
Step 3: Take the length of your RADIUS (calculated for your personal hip measurement plus ease) and measure this to the left of “A”. Mark this as “B”. This is the stitching line for your waistband.
Step 4: Measure 1.5cm (5/8”) to the right of “B” and mark this as “C”. This is the cutting line for your waistband.
Step 5: Using your square, draw a long line at a right angle (90deg.) from “A”. This will become your other side seam.
Step 6: Repeat steps 3 and 4 to mark points “B” and “C” on your new side seam.
Step 7: Draw a line 1.5cm (5/8”) from and parallel to your new line. This will be the seam allowance for the other side seam.
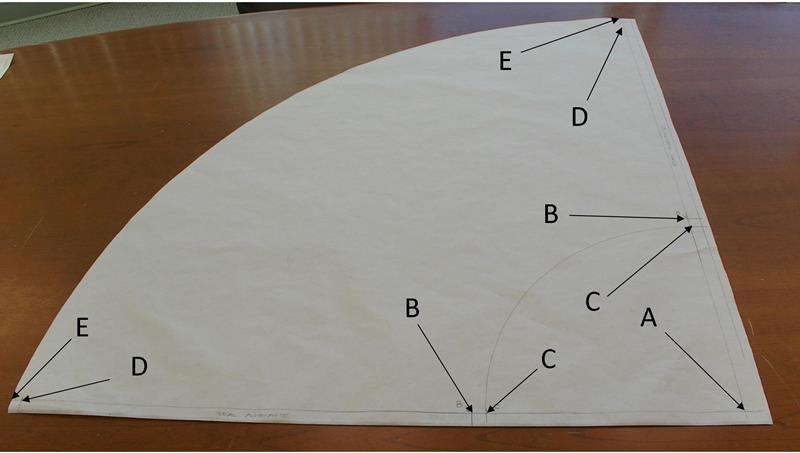
Step 8: From point “B”, measure to the left your desired length. Mark this as “D”.
Step 9: From “D” make a mark 1.3cm (.5”) to the left called “E”. This will be your hem allowance.
Step 10: Repeat steps 8 and 9 along the other side seam.
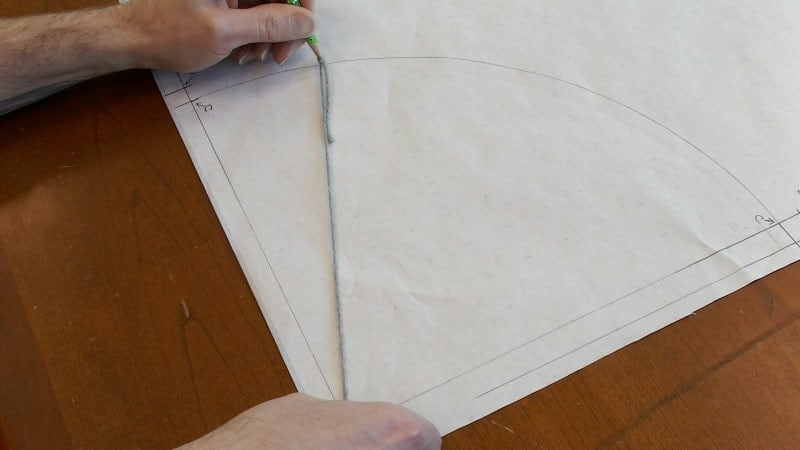
Step 11: Tie one end of you string/yarn near the tip of your pencil. Holding the tip of your pencil at “C” and your yarn taut at “A”, draw an arc to the other “C”. This will become the cutting line for your waist.
Step 12: Using the same method, bring your pencil to point “E” and holding the yarn at point “A” draw an arc to the other “E”. This arc will become the cutting line for the hem.
Step 13: Draw a rectangle for your waistband. The dimensions should be 5.5cm x (half hip + 2cm ease + 3cm) or 2.25” x (half hip + ¾” ease + 1.25”)
Let’s Make a Skirt!
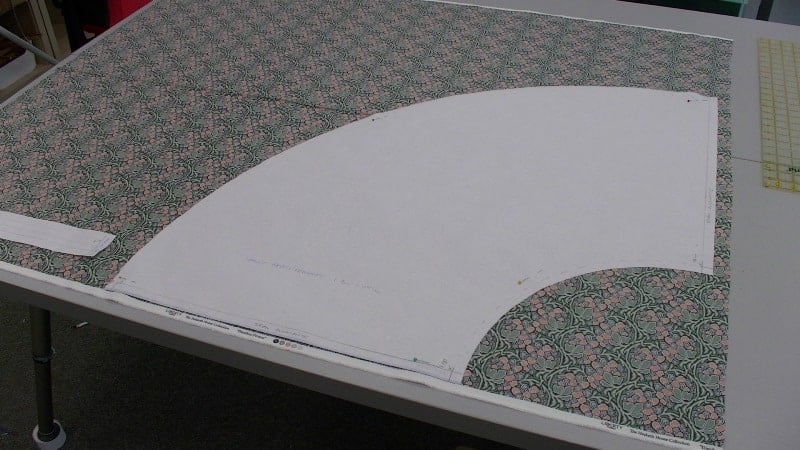
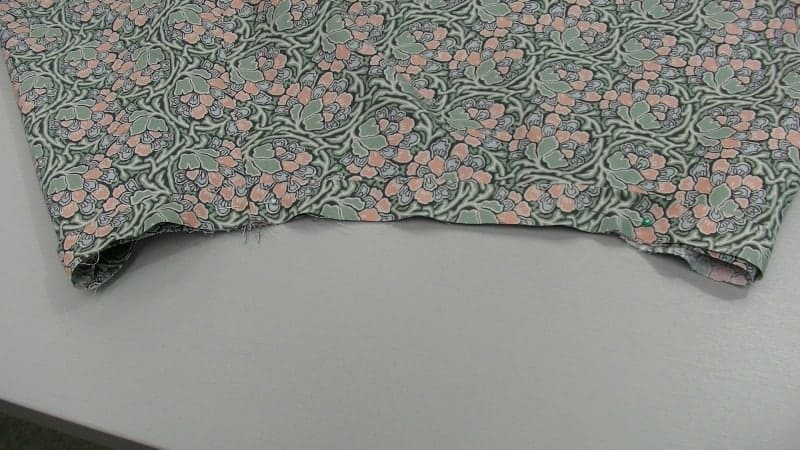
Sewing Step 1) Pin pattern and cut
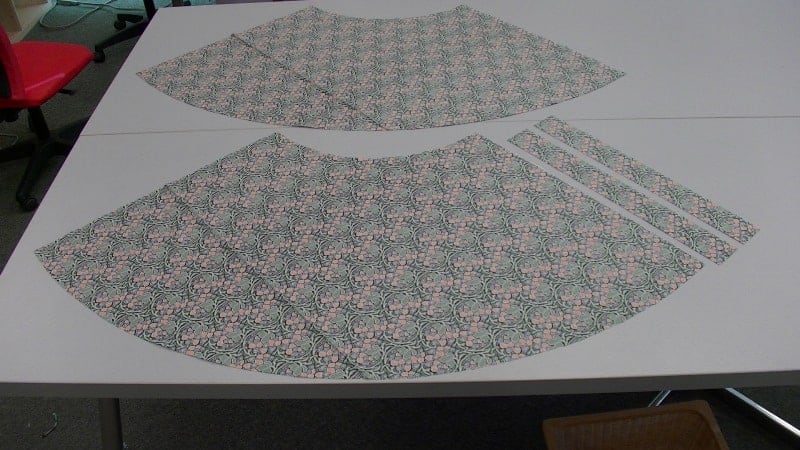
Sewing Step 2) This is what your cut pieces will look like.
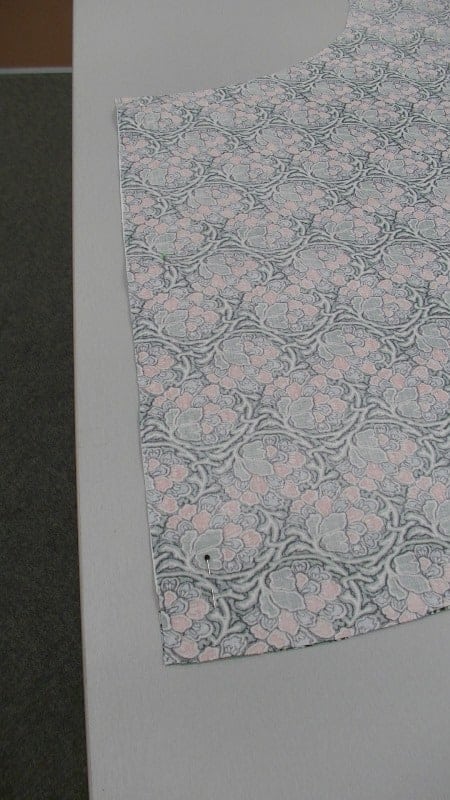
Sewing Step 3) Pin side seams.
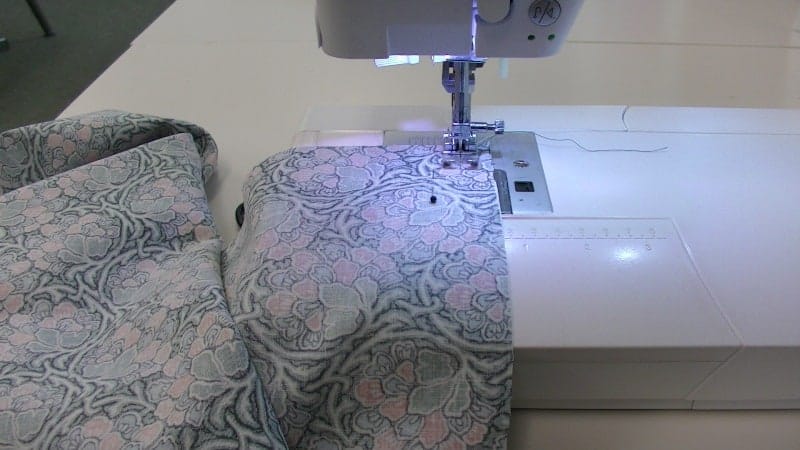
Sewing Step 4) Stitch side seams from hem to waist using 1.5cm (5/8”) seam allowance.
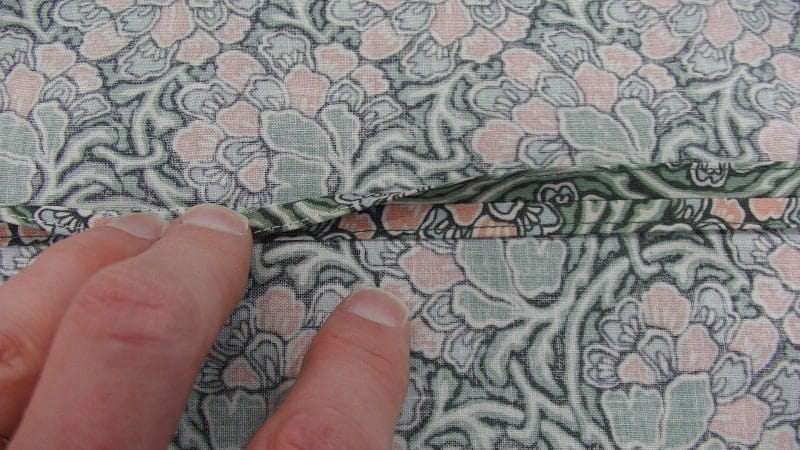
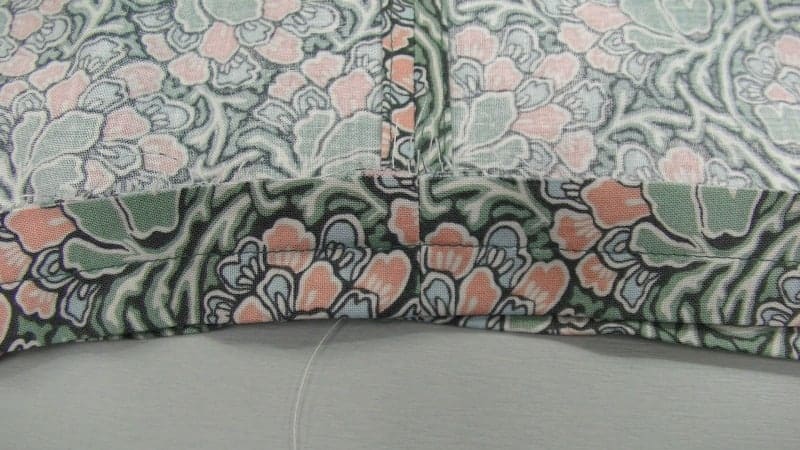
Sewing Step 5) Finish seam allowances. We used the “press and stitch” method: Press the seam allowances open and then press the seam allowance in half (i.e. fold the raw edge toward the stitching line) then edge-stitch close to the fold keeping the body of the skirt free.
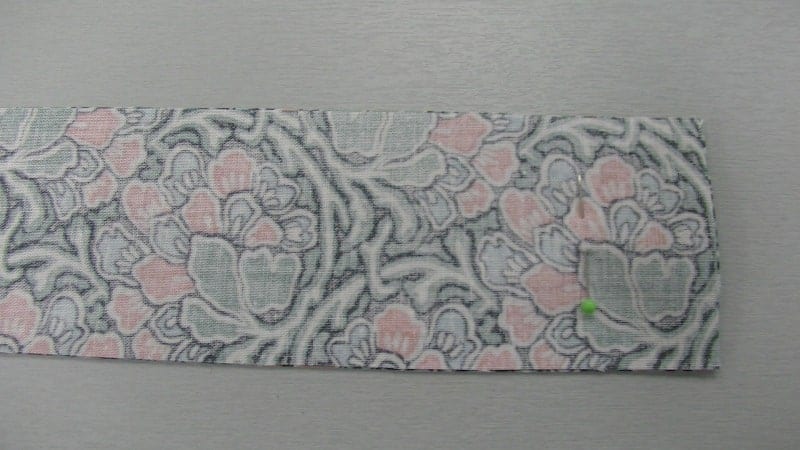
Sewing Step 6) Pin waistband pieces together at short ends.
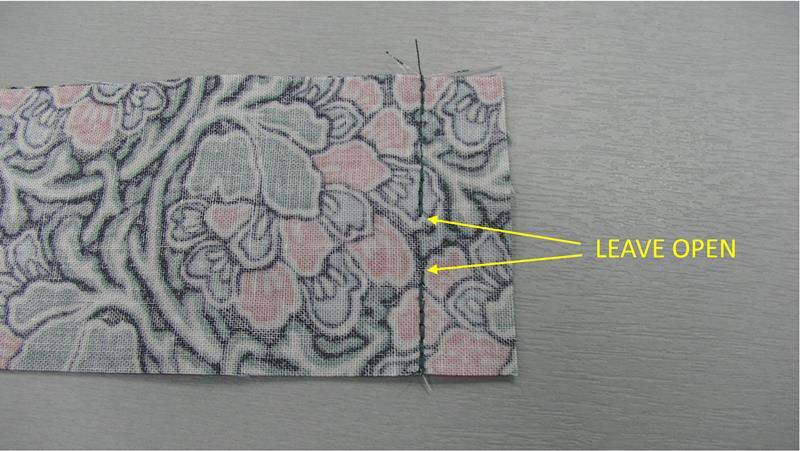
Sewing Step 7) Stitch waistband as shown, leaving 1.3cm (1/2”) open to allow insertion of elastic.

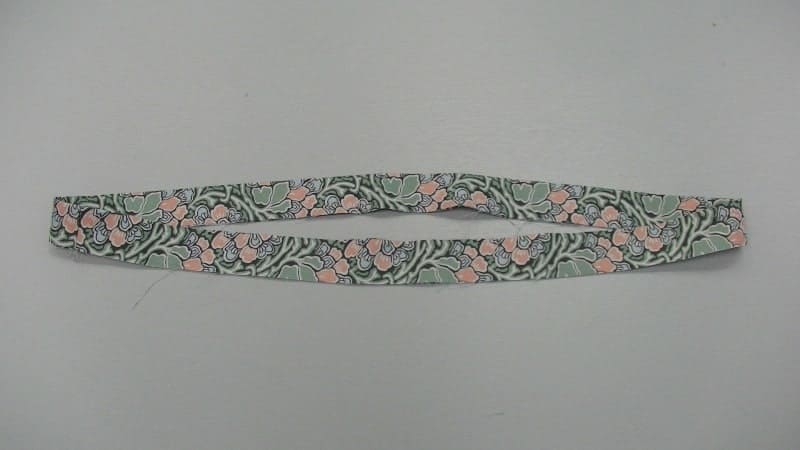
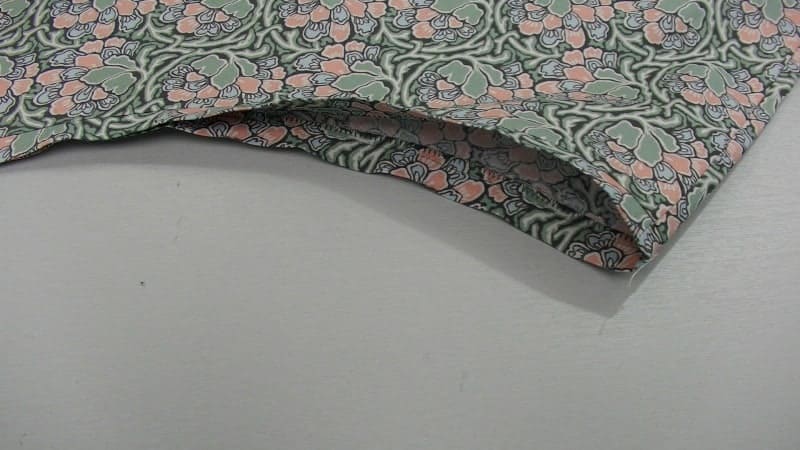
Sewing Step 8) Press seam allowance open. It should look like this. Stitch other side of waistband (with no opening) and press seam open.
Sewing Step 9) Press waistband in half with wrong sides facing.

Sewing Step 10) Stay-stitch waist of skirt to keep it from stretching when you sew on the waistband.
Sewing Step 11) Pin waistband to waist of skirt, matching side seams and centre front and centre back.
Sewing Step 12) Using 1.5cm (5/8”) seam allowance, carefully stitch waistband to skirt.
Sewing Step 13) Trim seam allowance to approximately 6mm (¼”).
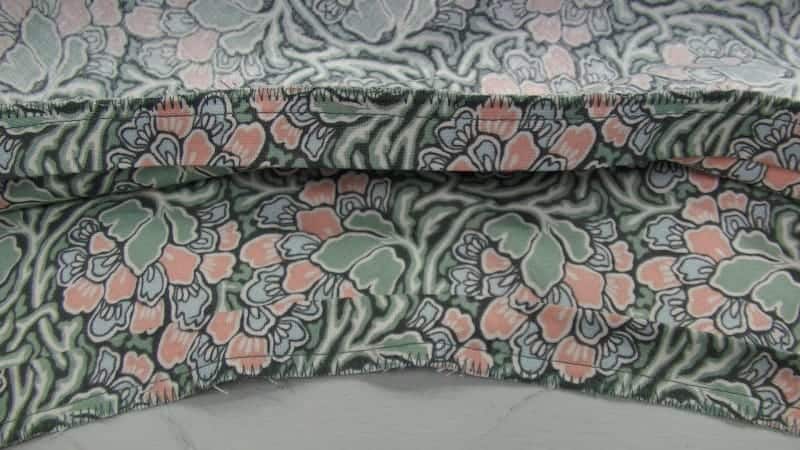
Sewing Step 14) Finish seam allowance with zig-zag stitch.
Sewing Step 15) Press seam allowance toward skirt.
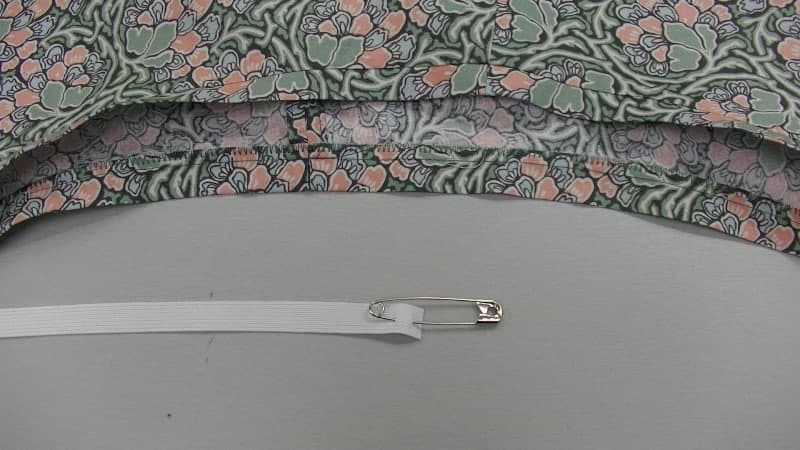
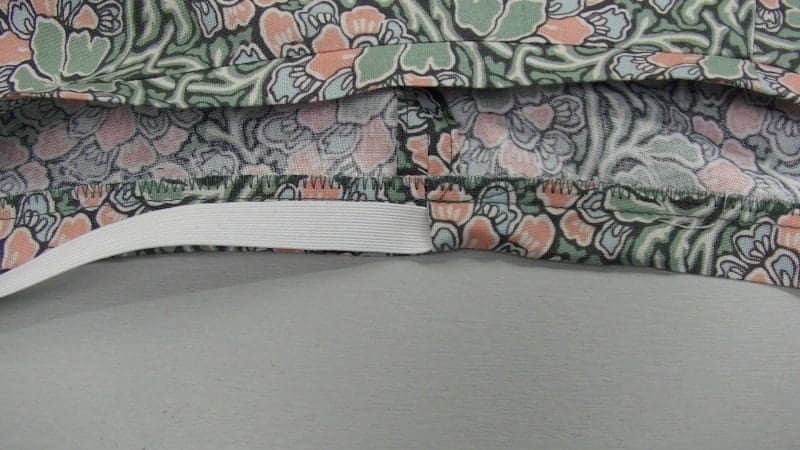
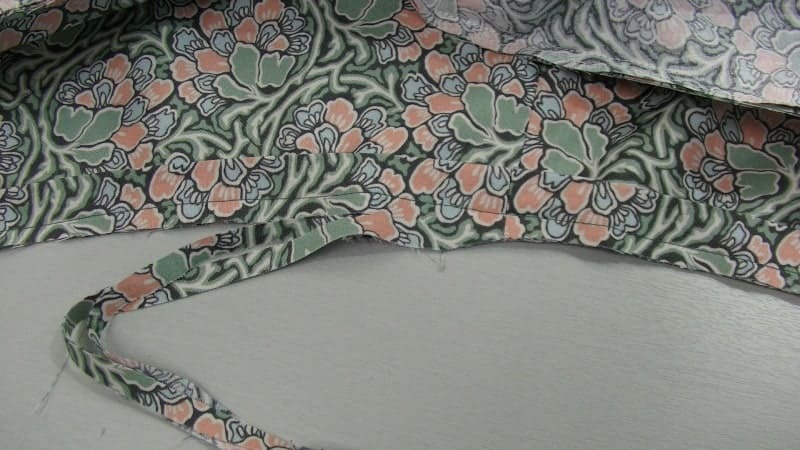
Sewing Step 16) Using a safety pin, insert elastic into waistband.
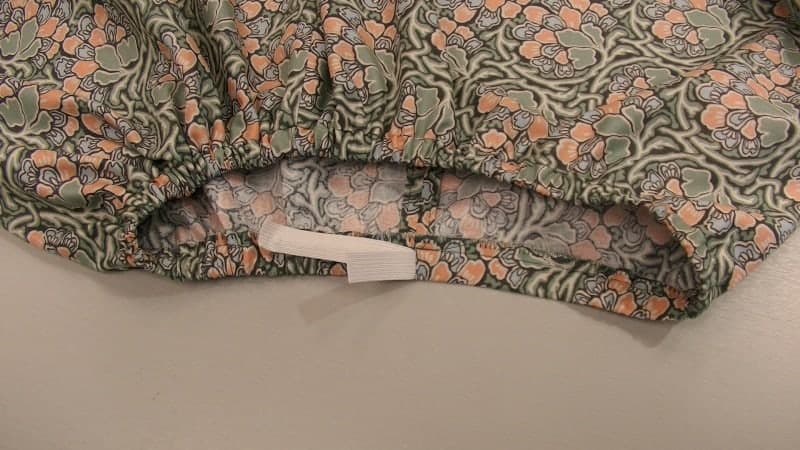
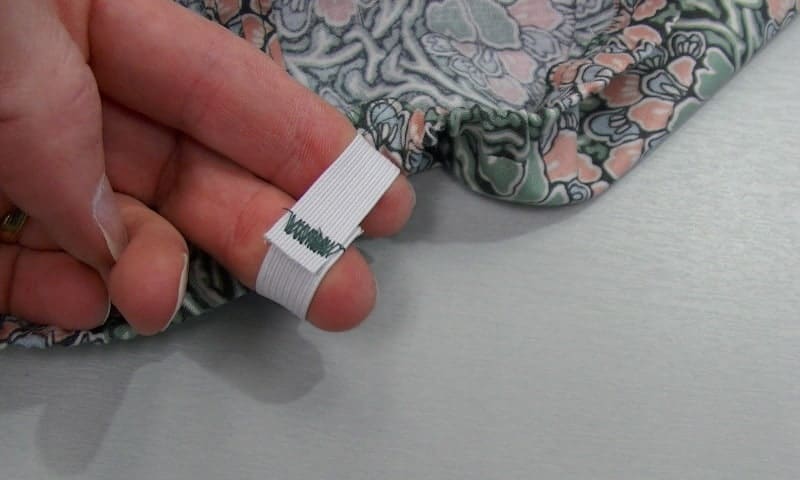
Sewing Step 17) Pull both ends of elastic through opening and stitch ends securely. Make sure that the elastic has not twisted inside the waistband.
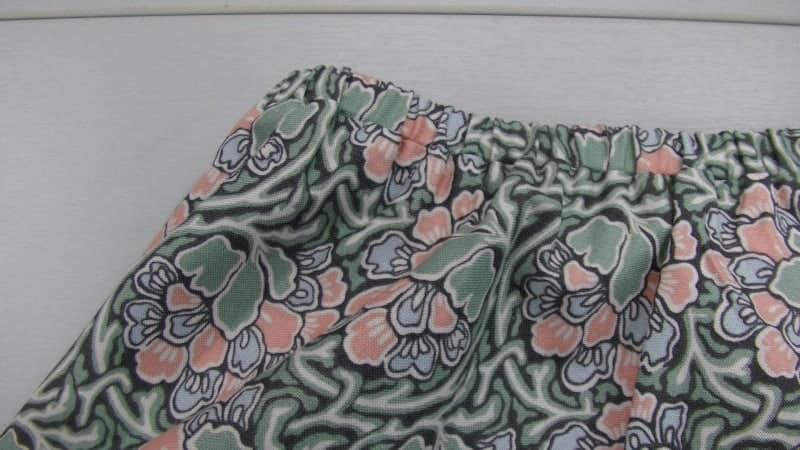
Sewing Step 18) Pull the elastic into the waistband and distribute gathers evenly. Hand-sew the opening closed (where you inserted the elastic).
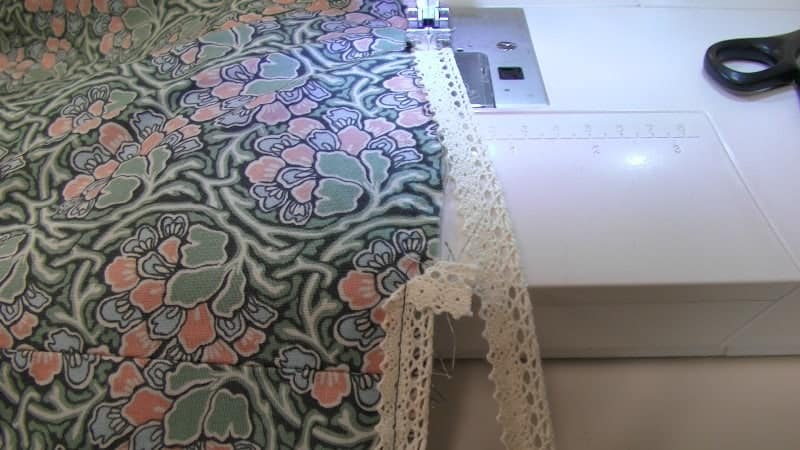
Sewing Step 19) Matching edge of trim to hem, fold back trim at 45 degree angle as shown, and stitch with approximately 1.3cm (1/2”) seam allowance.

Sewing Step 20) Continue stitching trim to hem until you are close to where you started stitching. Overlap the trim and fold back at 45 degree angle, so the points of the angles line up on the left. Secure the end of your stitching with a back stitch.
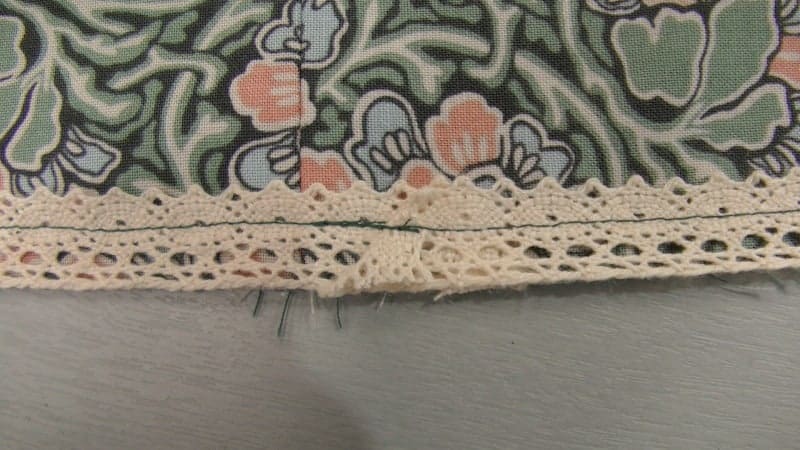
Sewing Step 21) Cut of the trim flush to the hem. Fold hem to inside of skirt along stitching line and press.
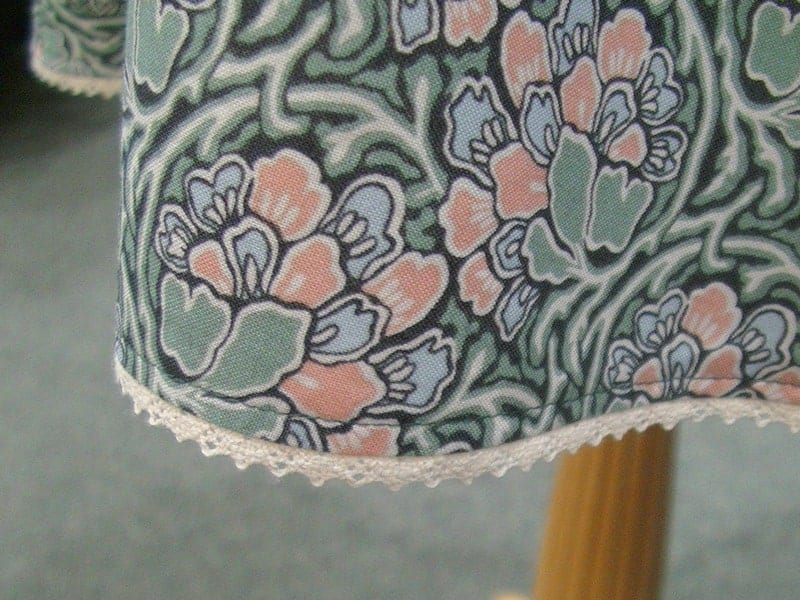
Sewing Step 22) From right side, topstitch hem in place approximately 6mm (1/4”) from folded edge.

And just like that you’re finished!


