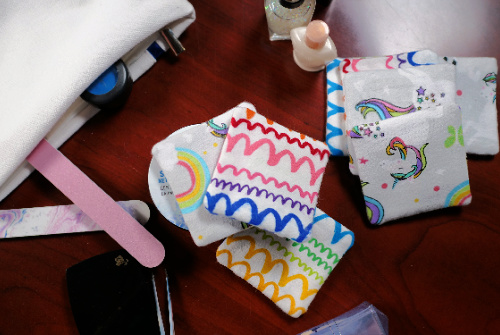
Cut, Press, Stitch, Turn, and Press!
Are you tired of purchasing bag after bag of cotton balls or single-use make-up remover pads? Follow along as we show you step-by-step how to make reusable make-up removers. This project is beginner friendly – You just have to know how to cut and sew a straight line. Grab some super-cute 100% cotton flannelette prints and let’s get to it!

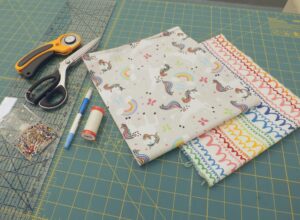
Here’s what you’ll need:
100% Cotton Flannelette* (minimum 4.5” strip or 1/8th yard)
Ruler, Rotary Cutter and Self-healing Mat OR Ruler, Fabric Marker and Scissors
Thread to match your fabric
Sewing machine with straight stitch
Iron and Ironing board
*We recommend pre-washing your fabric in order to remove sizing, pre-shrink and make the fabric softer.
Step 1: Cut
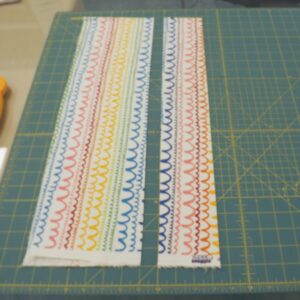
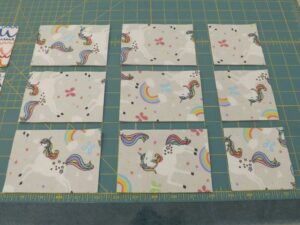

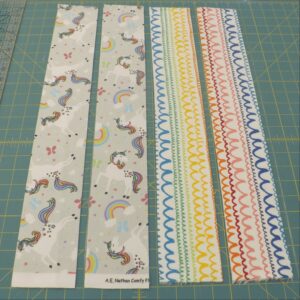
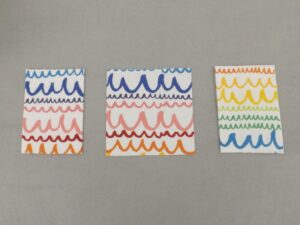
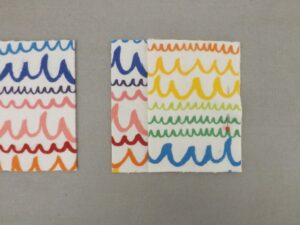
With your fabric folded in half (selvedges lined up), cut a 3 ½” strip across the width of the fabric. Open up this 3 ½” strip and then subcut a 3 ½” length (for a 3 ½” square), a 5” length (for a 3 ½” x 5” rectangle), and a second 5” length (for a second 3 ½” x 5” rectangle). You can cut as many sets as you like with the fabric you have. Just make sure that for each ONE 3 ½” square, you have TWO 3 ½” x 5” rectangles.
Depending on how much fabric you have, you can cut another 3 ½” strip and then cut more sets!
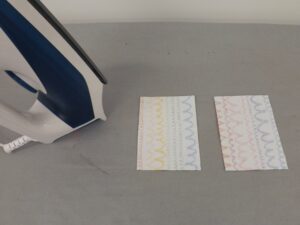
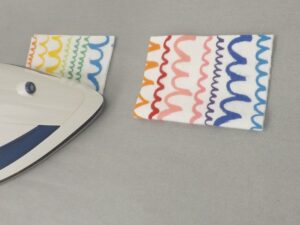
Step 2: Press
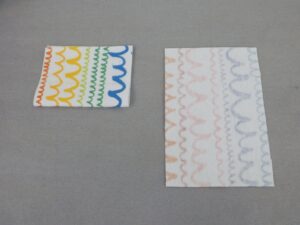
Take the two 3 ½” x 5” rectangles and press them in half with the wrong sides together. The folded piece should be 3 ½” by 2 ½”.
Step 3: Stitch
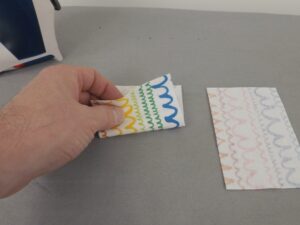
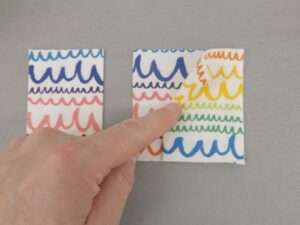
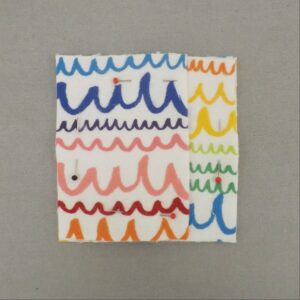
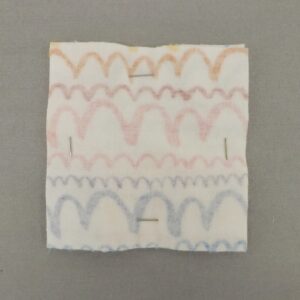
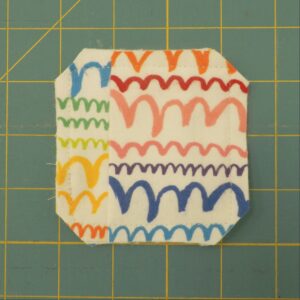
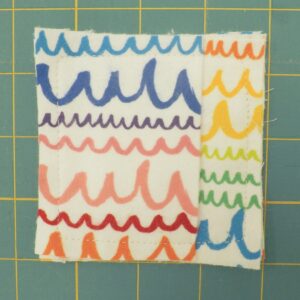
Take the 3 ½” square and lay it face up. Take one of the folded rectangles and line up the three unfinished edges with three edges of the square. Then take the second folded rectangle and lay it opposite the first rectangle as shown in the image above. Pin in place along each of the 4 sides. The last image above shows the back side with the pins in place.
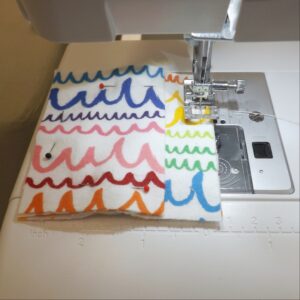
Starting halfway down one side, stitch around the entire square with ¼” seam allowance, removing the pins as you go. End with a backstitch to secure your stitching. Trim each of the four corners as shown above.
Step 4: Turn
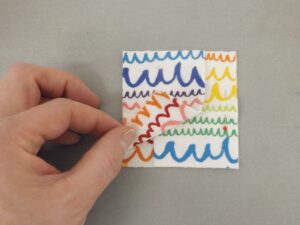
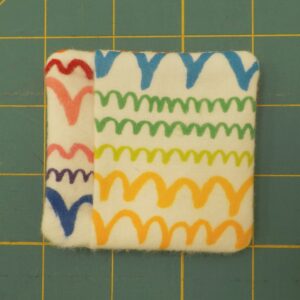
Turn your make-up pad so the right sides are facing out as shown in the image above. Make sure the pad is fully turned along the sides and corners.
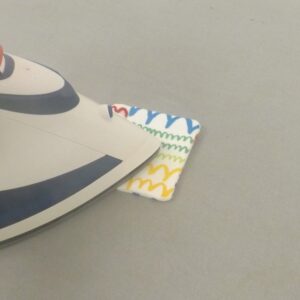
Step 5: Press
Press each of the four sides of your make-up pad.
Step 6: Optional
Give yourself a pat on the back for helping to reduce waste.

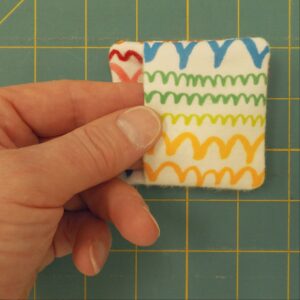
Note: As you can see there is a little “pocket” that you can slide your fingers into, or you can use the full five layers of the pad.
Helpful hint: When laundering the make-up pads, throw them in a mesh bag so they don’t get lost. We also recommend that you wash them separately or with ‘non-precious’ items to avoid any unwanted transfer of make-up. ?


