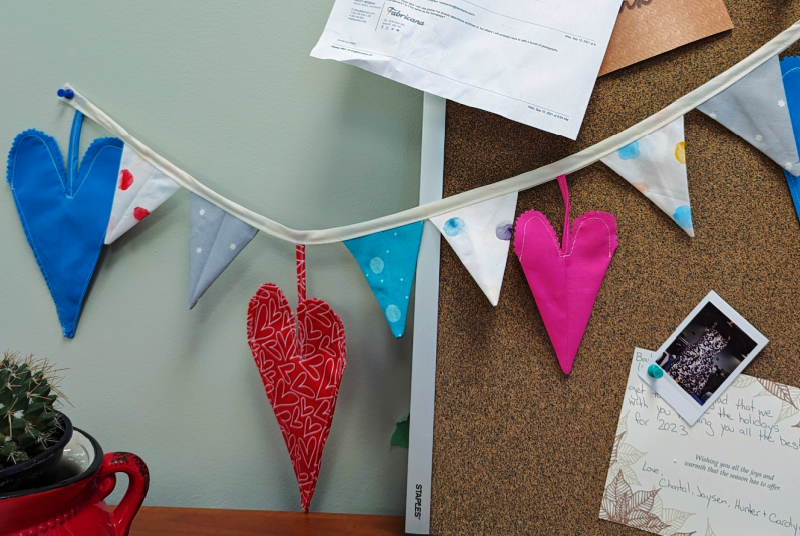
Looking to put some love in the air? How about literally? We have this easy and festive DIY just waiting for you! We’ve got a snazzy trick that will save you time, and fabric. Learn to make this super sweet Valentine’s Day bunting in a flash, and be ready for Valentine’s Day, Galentine’s Day, or however you like to celebrate!
What you’ll need
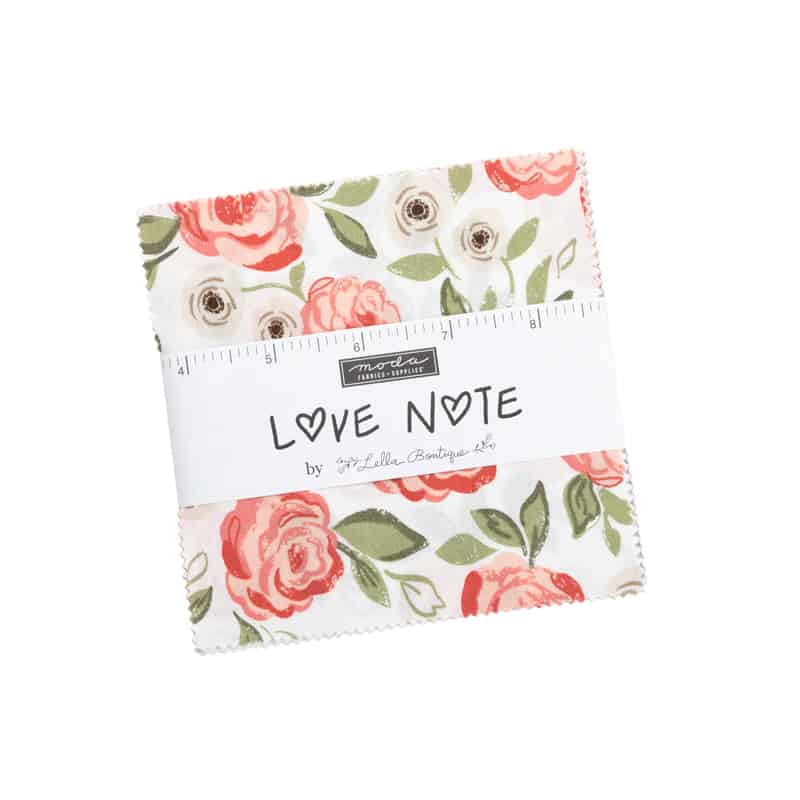
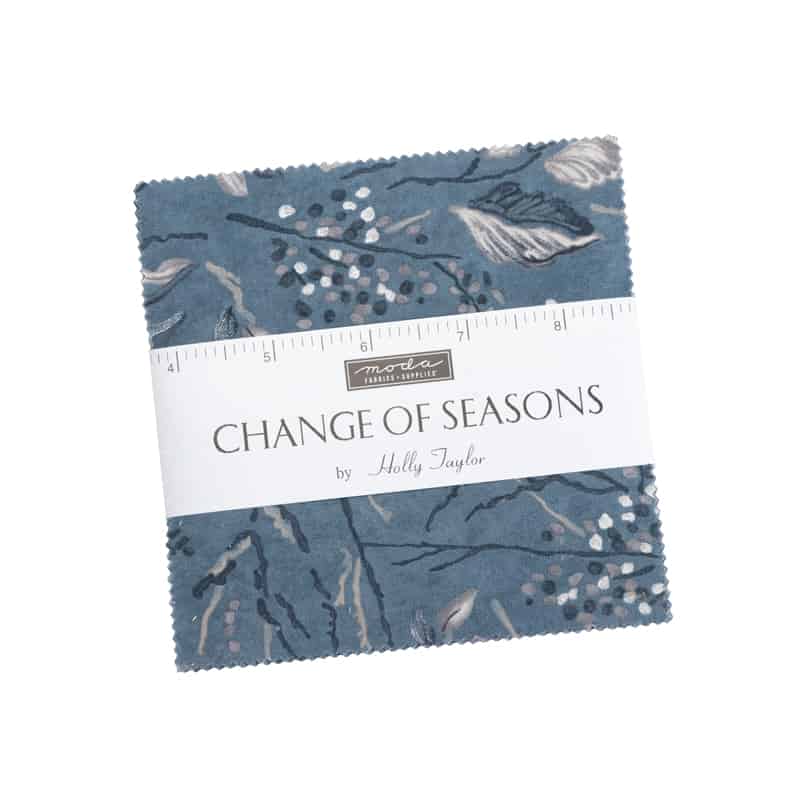
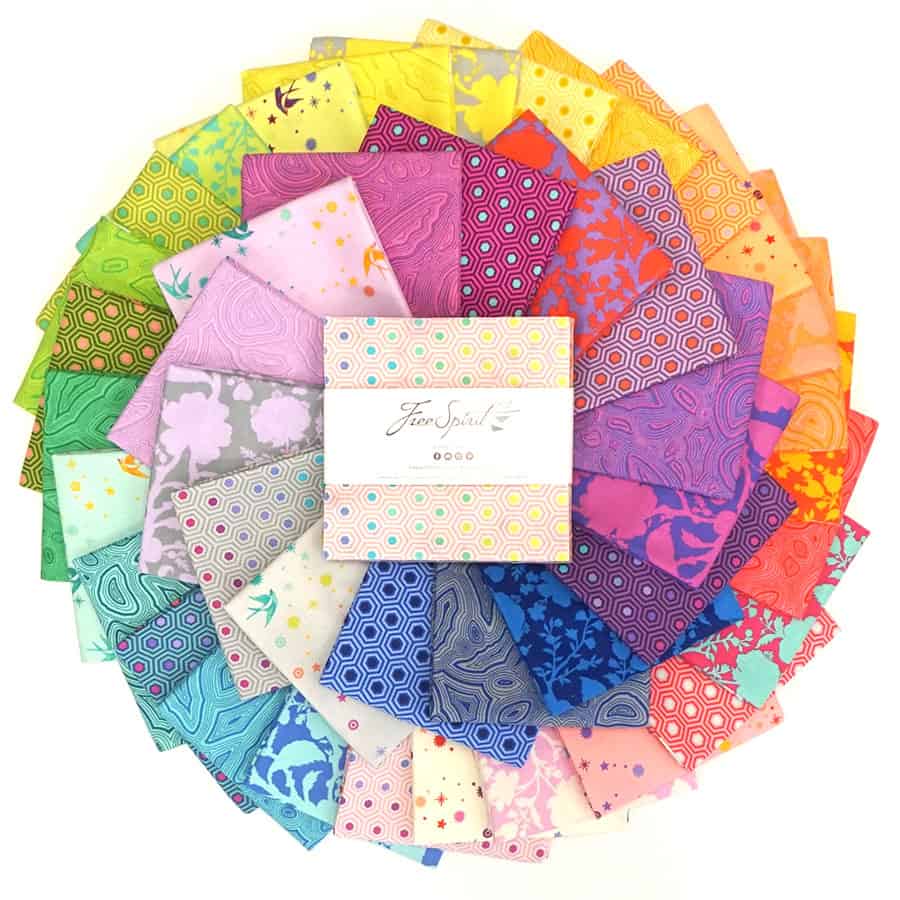
- 1 Charm pack (Our secret weapon!)
- Fabric scissors
- Pinking shears
- Matching thread
- Sewing clips/straight pins
- 3 yards of 1/2″ – 1″ Bias Tape
- A working Iron and Sewing Machine
- 1 yard Medium weight, iron-on interfacing (optional)
What is a Charm Pack? A Charm Pack is a bundle of pre-cut fabric squares you can buy from Fabricana. The bundles are a coordinated colour collection of one quilt collection, and perfect for projects like this.
If you don’t want to use a Charm Pack, you can cut approx. 40 cotton squares out of your preferred fabric. Each square should be 5″ x 5″.
Check out some of the Charm Packs we have available online, or grab your own in person! Our widest selection of charm packs are at our Coquitlam location.

Step 1: Half of your squares will be triangular bunting, and the other half will be hearts. Grab one of your cotton squares and fold it corner to corner so you have an acute triangle. Press. This will be for making a heart.

Unfold your triangle and turn it so the right side is facing out. Fold your sides together so they meet along the fold you’ve just ironed. You should have a small triangle poking out the top. Pinch the fabric sides together and pin a temporary seam. Press.


Step 2: Pin the centre of each “flap” in place to make maneuvering the triangle easier. Cut the “tiny triangle” off the top of your folded fabric. Keep this piece of fabric!

Fold your acute triangle in half along the centre line. Grab your pinking sheers and trim a curve into the top of the short, flat edge of your triangle. This is the top of your heart! Make sure to trim deep along the seam and the centre fold so your heart looks well formed. Unfold.


At this time, if your cotton is lighter weight, you may need to cut some interfacing to iron to the wrong side of your heart-shaped fabric. Make sure to cut your interfacing slightly smaller than your fabric, and avoid allowing the interfacing to be seen through the zig-zag cut from the pinking shears.
Step 3: Unpin your heart, and open the fabric. It should look something like this.

Fold your fabric back together with the right sides together, and pin along the flat edge. Press if needed. Do this for all your heart-squares before moving on.

Step 4: Grab the “tiny triangle” you clipped off the top and roll from the wide edge toward the top point. You are creating a small piece of bias tape out of this to help hold up your heart, so the smaller the better! You only need to roll it 2-3 times, trim off the excess. Sew down the centre of the bias tape. No need to sew the ends.


Step 5: To make this a faster process, simply chain sew your heart together along the straight edge. To chain sew, sew the seam and do not cut the thread off the machine, simply remove the heart and put down the next piece to sew. (Visuals in step 8). Trim and clip the threads.

Clip the seam allowance at very end of the triangle as shown above to make turning easier. Turn heart right-side out, using a turning tool to get a sharp point at the bottom if needed. Press.


Step 6: Grab the small strip of bias tape you sewed and put it in the centre of your heart between the two layers. Pin in place if needed.

Topstitch the curves of your heart, making sure to sew over the end of the bias tape to secure it in place.

Step 7: How to make your triangle bunting pieces! Grab a fresh square and fold it in half, cut along the fold line so you have 2 acute triangles.

Step 8: Fold each triangle in half rights sides together and bringing the two shorter sides together. Sew along one of the long, open sides of the triangles using the chain sew method.


Trim your threads and clip the seam allowance at the ends of your triangle to make turning easier.
Step 9: Open your fabric so the seam is at the back of the bunting. Press the seam allowance to one side. Turn the triangle right sides out. Take the top triangles poking out of your triangle and fold it into the “pocket” of your bunting to hide it. Press.


Step 10: Grab your 3 yard piece of bias tape and begin tucking the top edge of your bunting into the bias tape. Make sure to leave a tail at the start and end of your bias tape in order to tie it up later for display purposes.

The triangle bunting should sit snuggly along the bias tape, and the “string” you created for your heart so sit along the bias tape length.
Sew along the whole length of the bias tape, securing your bunting in place.
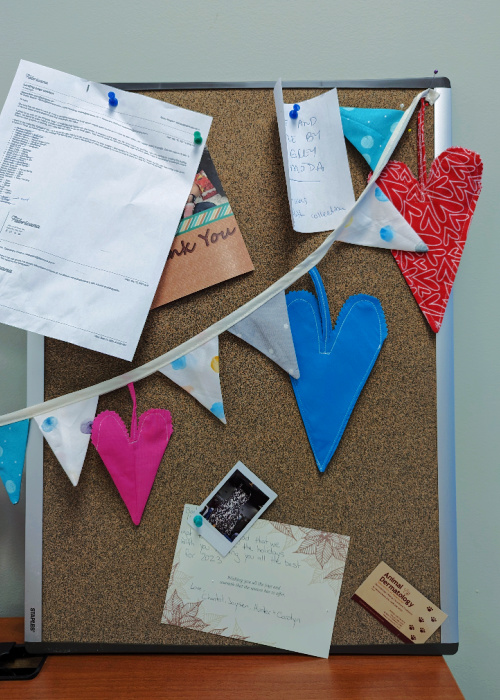
You’re done and ready to spread the love! Share with us which charm pack you’d choose for this project!


