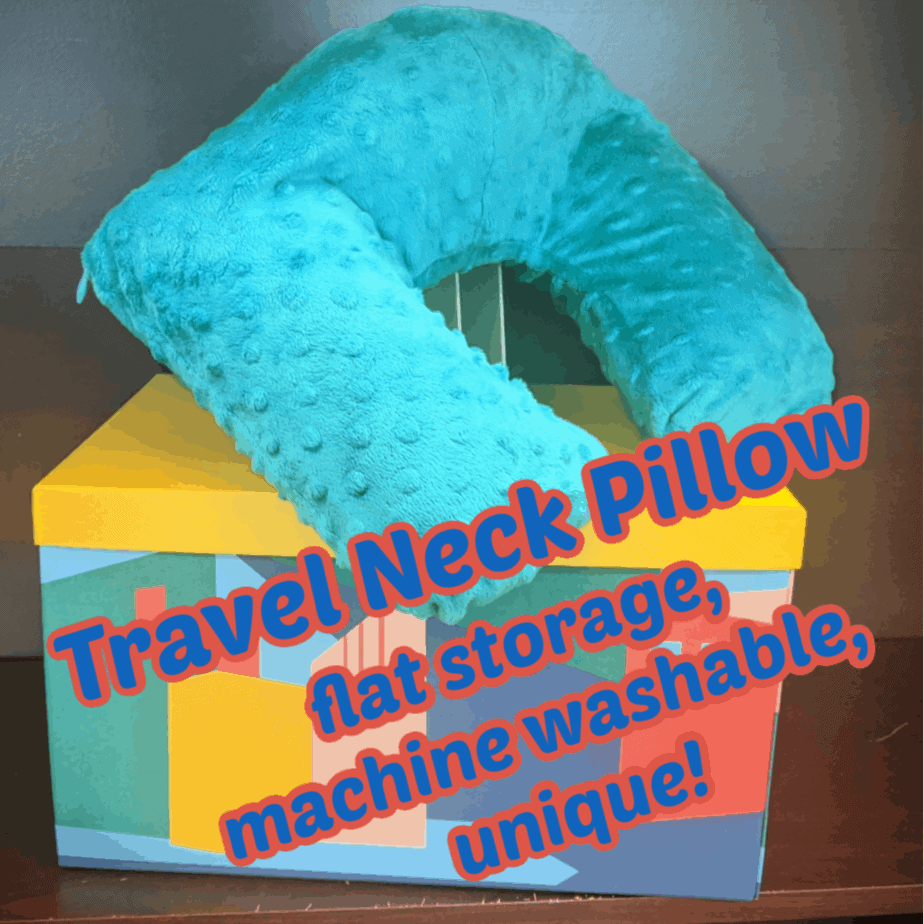
Do you have a trip coming up, but you don’t want to have to wander through the airport, train, or bus station carrying a cumbersome travel neck pillow? Why not get an inflatable pillow and make a cozy, washable cover. Follow along this detailed, step-by-step tutorial to find out how you can do it yourself and have a fun “I made it!” moment.

Here’s what you’ll need:
Inflatable neck pillow
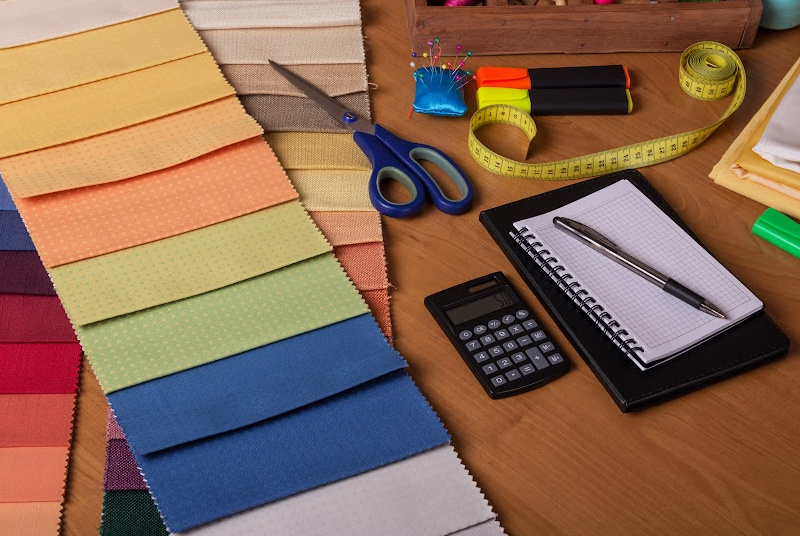
Soft and Cozy fabric – approximately ½ yard depending on size of pillow
Matching invisible zipper (22”)
Matching Thread
Craft Paper to make a pattern
Ruler
Pencil or pen
Tape
Paper Scissors
Fabric Scissors
Pins
Sewing machine with straight stitch and zipper foot


Let’s Make a Pattern!
Part One – The Bottom Piece:
Take a large piece of craft paper and fold it in half crosswise. Fold the uninflated pillow in half and line of the folded edge of the pillow with the folded edge of the paper (second image above). Trace the edge of the pillow onto the paper as shown (third image above). Remove the pillow and draw a nice smooth line (fourth image). Using your ruler, add 5/8” (1.5cm) seam allowance to the pattern. Cut the pattern along the seam allowance. Mark zipper notches near the corners along the top edge. Make sure to leave enough space to insert the uninflated pillow.

Let’s make a pattern!
Part Two – The Top Piece (OPTIONAL – depending on the shape of your pillow):
If you have a pillow that is the same on the top and bottom, Congratulations! You can skip this step and simply use the pattern you have just created for the top and bottom of your pillow cover. If your pillow has extra height on the top like mine does, follow these steps. It looks tricky, but you can do it!
The first thing you need to do is trace the bottom pattern piece onto a new piece of paper as shown above. This does not need to be on a fold.


Mark your seam allowances as shown in the first image above. Measure the space between the seam allowances (save this measurement for later!) and mark the halfway point. Divide these halves in half again and mark. Draw lines at a 90 degree angle from these marks and out to the sides as shown in the second image above. Mark the seam allowance at the side where you drew the lines. Cut out out the pattern piece.


Here comes the fun part! Cut along the three lines. DO NOT cut into the seam allowances!
Measure your pillow from the top edge to the centre of the highest point and double it. Take this measurement and subtract the measurement of the pattern piece between the two seam allowances (the measurement you saved above). The difference is the amount that needs to be added to this seam. Divide this amount in three. Spread your pattern piece out as shown in the eighth image. Place a piece of scrap paper under the pattern. Tape the top of the pattern to the scrap paper. Measure over one third of the amount being added to the seam and tape the next section to the paper. Then measure over one third in the next gap and then again for the next gap. This looks a little weird but basically, we are extending our seam, to make it fit over the excess height on the top of the pillow.
Measure your pillow from the top edge to the centre of the highest point and double it. Take this measurement and subtract the measurement of the pattern piece between the two seam allowances (the measurement you saved above). The difference is the amount that needs to be added to this seam. Divide this amount in three. Spread your pattern piece out as shown in the eighth image. Place a piece of scrap paper under the pattern. Tape the top of the pattern to the scrap paper. Measure over one third of the amount being added to the seam and tape the next section to the paper. Then measure over one third in the next gap and then again for the next gap. This looks a little weird but basically, we are extending our seam, to make it fit over the excess height on the top of the pillow.


Once you have all sections taped down, draw lines to connect all the sections. Add a 5/8” (1.5cm) seam allowance along this seam. Trace this pattern piece onto a new piece of paper making sure that you transfer the zipper notches. If you’ve managed to follow along, Congratulations! You’ve just completed a pretty complicated pattern manipulation.


Let’s cut some fabric!
Once you have your pattern completed, we are ready to cut the fabric. If you have a simple pillow, cut two of the bottom pattern as shown in the second image above.
If you have a funky pillow like mine, cut the bottom piece on a fold and cut two of the top piece as shown in the third image above. If you are using a soft, pile fabric like me, make sure that the nap is going in the same direction for both pattern pieces.
Pin the pieces in place and cut out your fabric.


Let’s sew!
If you are making the funky pillow with the extra high top, pin the two top pieces together at the centre seams and stitch with a 5/8” (1.5cm) seam. Press open with your finger.


Let’s do some stay-stitching!
Since our fabric is stretchy, we are going to stay-stitch along the zipper opening. Simply stitch through the single layer of fabric along the top edge of the pillow between the two zipper notches. This will keep the opening from stretching/growing as we sew the zipper. Do this on the top and bottom pieces.


Putting it all together!
Pin the top and bottom pieces right sides together matching at the zipper notches. Pin together along the outside edge, except between the two zipper notches. Start stitching from one zipper notch (making sure to backstitch) and continue sewing along the seam taking extra care around the outside and inside corners. When you get to the second zipper notch end with a secure backstitch.


Let’s put in a zipper!
Pin one side of the zipper along one seam between the two zipper notches. Machine-baste the zipper tape to the seam allowance (switch to zipper foot for this step). Pin the other side of the zip to the other side of the opening and baste. Making sure that the zipper is fully opened. On the first side that you basted, and starting at the top of the zipper, stitch close to the zipper teeth, being careful not to stitch into the teeth. Continue stitching to the next zipper notch. Tie off your threads. Turn your work around, so you can stitch along the other edge of the zipper. This time you will be stitching from the bottom (at the notch) to the top of the zipper. Stitch close to the teeth and continue up to the top of the zipper (the other notch) and tie off your threads. NOTE: A fair length of the zipper will be hanging off the end. This is okay.
Pull the zipper tab up through the back of the zipper in order to close it. Don’t close the zipper all the way (so you can turn the pillow inside out later). Once you are happy with your zipper, remove your zipper foot and switch back to your regular presser foot. Make a bar-tack in your zipper, about ¾” (2cm) below the zip notch. You can do the bar-tack by going back-and-forth with a straight stitch, or going side to side with a zigzag. Once you have a secure bar-tack, you can trim away the excess zipper about ¾” (2cm) below the bar-tack.


Finishing touches!
Before you turn the pillow inside out, trim the seam allowance at the corners and carefully clip the seam allowance at the inside corners. Turn the pillow inside out!


The big reveal!
Insert the uninflated pillow into the pillow cover. Inflate the pillow and close the zipper. Voila! You are ready for a relaxing journey!
When you’re not using the pillow, simply open the zipper and deflate the pillow for easy storage. When you need to wash the cover, deflate the pillow, remove it from the cover, close the zipper and throw the cover in the wash so it’s nice and fresh for your next trip!


