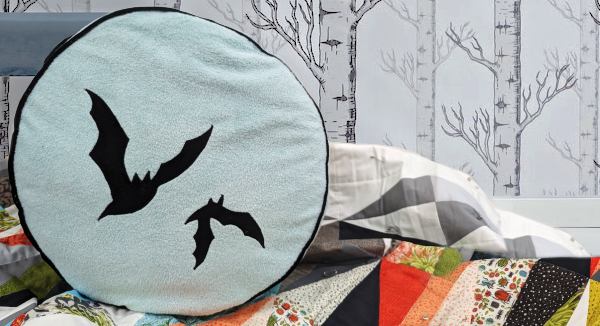
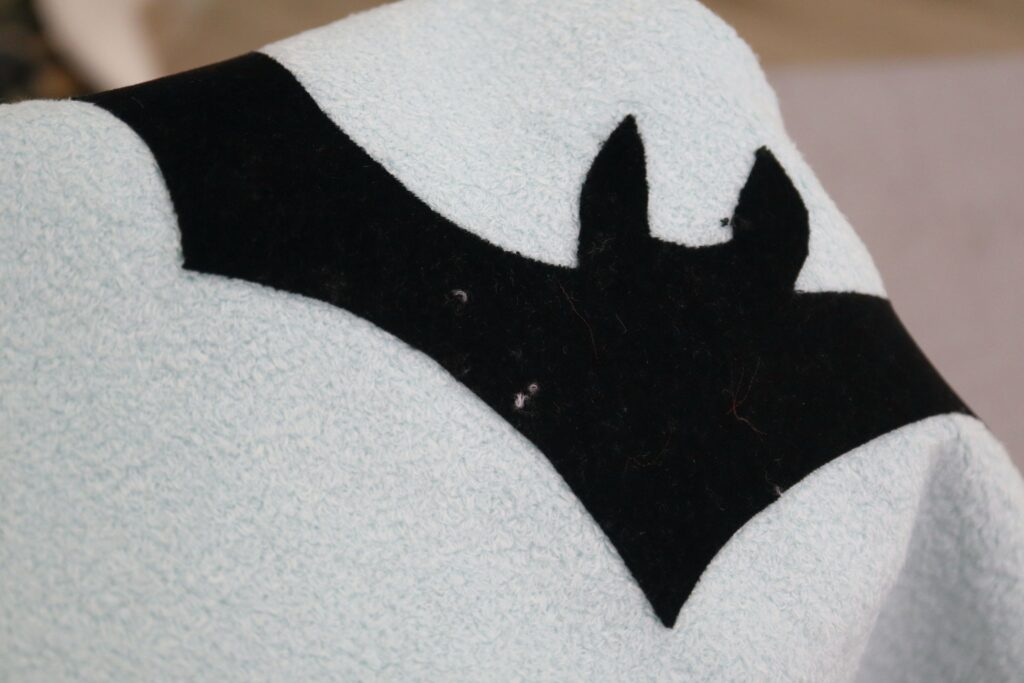
Are you looking for a way to bring some seasonal flavour to your décor, but want to keep it feeling cozy? This pillow project may be just the thing. Our plush bat pillows are made from a soft but stable fabric called Fireside in a pale seafoam colour meant to resemble the evening moon. The bat silhouette would also look fantastic against yellow, gold, or the classic pumpkin orange. We made the bat applique with black velveteen to achieve a deep, shadowy effect while keeping the pillow huggable and soft. Our instructions are specific to the bat motif, but you can use this method to create pillows with other seasonal (or non-seasonal) motifs such as jack-o-lanterns, black cats, ghosts, etc. The finished size of our pillows is 16” diameter with 3” depth.
Here’s what we used to make a set of two pillows:
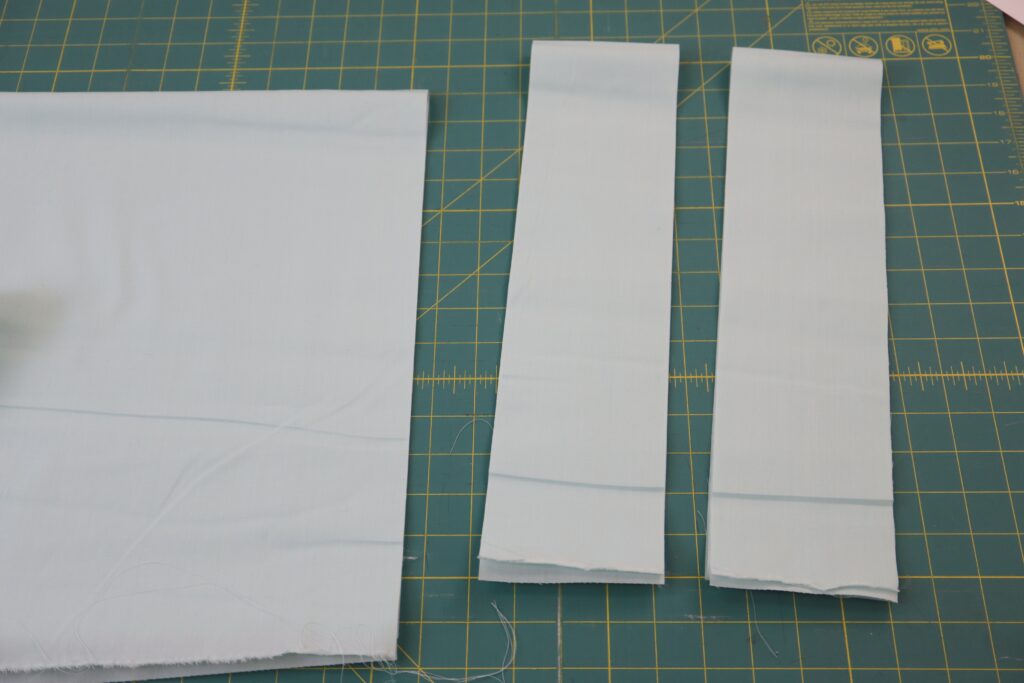
- 1 ¼ yard 60” wide fabric for pillow cover. We used Fireside colour Ocean Spray
- ½ yard 45” wide fabric for applique. We used Velveteen colour Black
- 2 yards 45” wide fabric for pillow insert. We used Broadcloth colour Cool Mint
- ½ yard Wonder Under Fusible Web
- 2 packages of piping to match appliqué fabric
- 3 – 4 bags Fiberfill (available in-store at Fabricana)
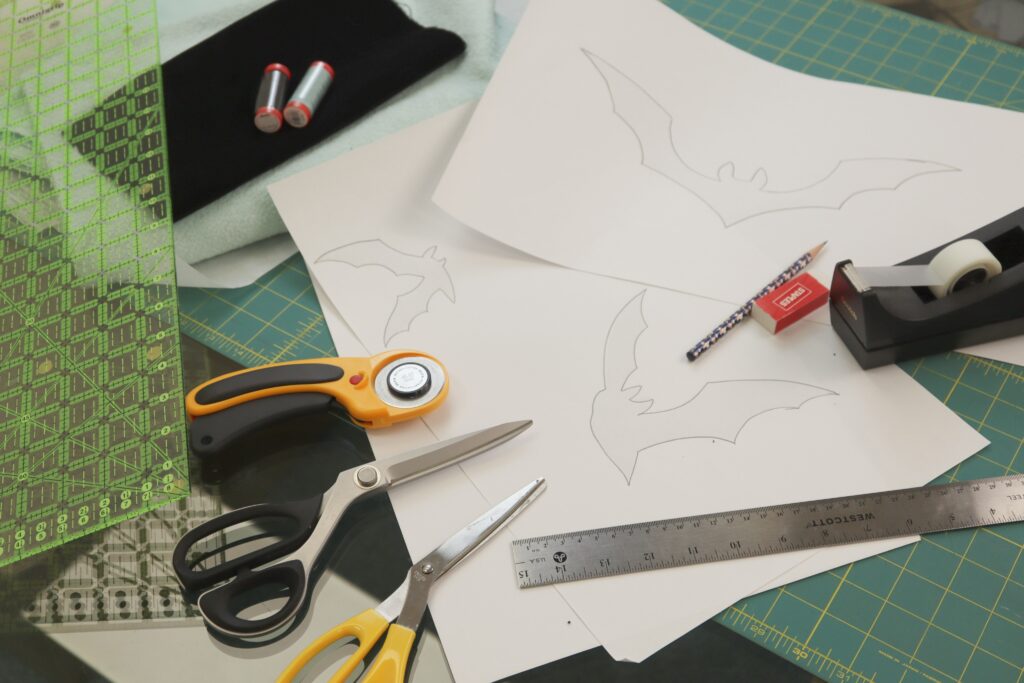
- Several sheets of 11” x 17” paper to make pattern are best, but you can tape together smaller sheets as well
- Ruler
- Scissors for paper
- Scissors for fabric
- Pencil
- Tape
- Pins
- Rotary cutter, Ruler and Mat OR Scissors, Ruler, and Fabric marker
- Iron and ironing board
- Sewing Machine with straight stitch and zigzag stitch
- Thread to match main fabric and applique fabric
- Hand sewing needle
Part One: Making the round pillow insert
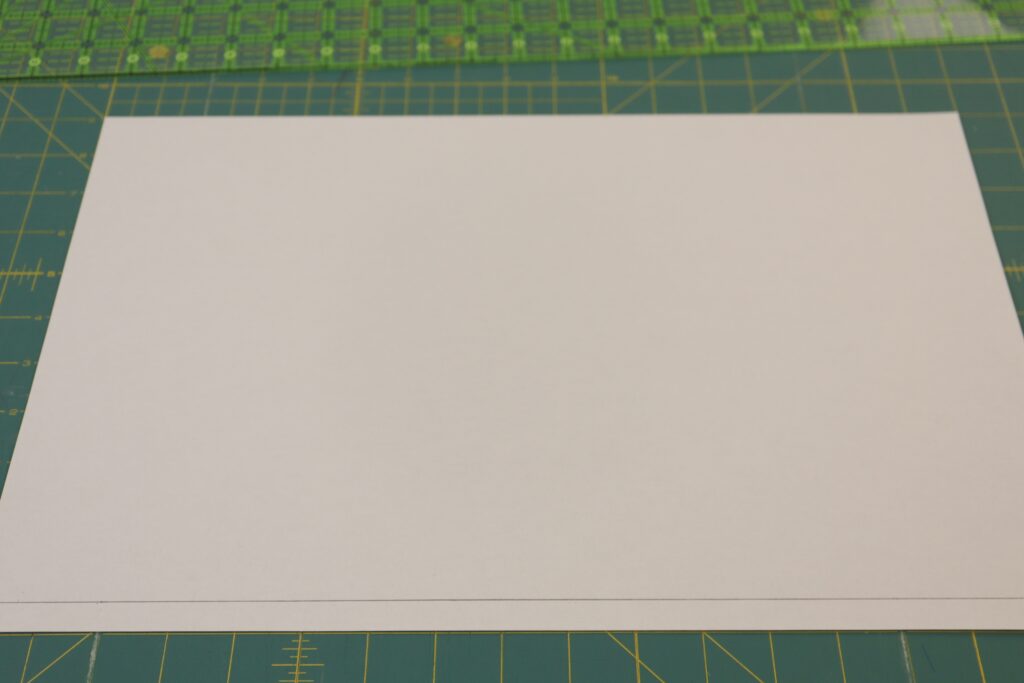
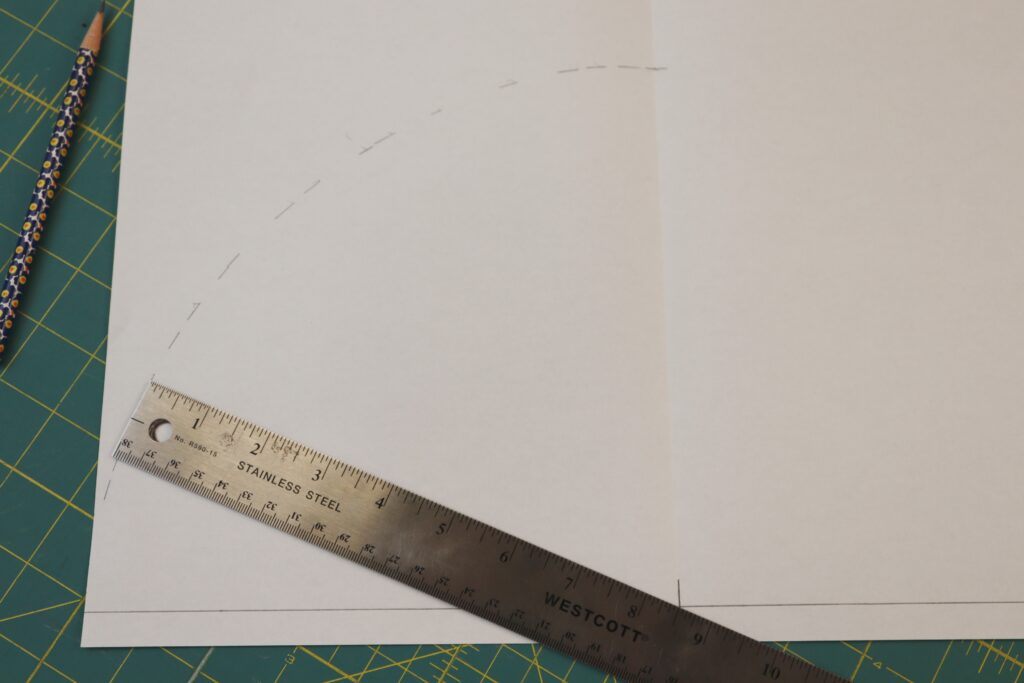
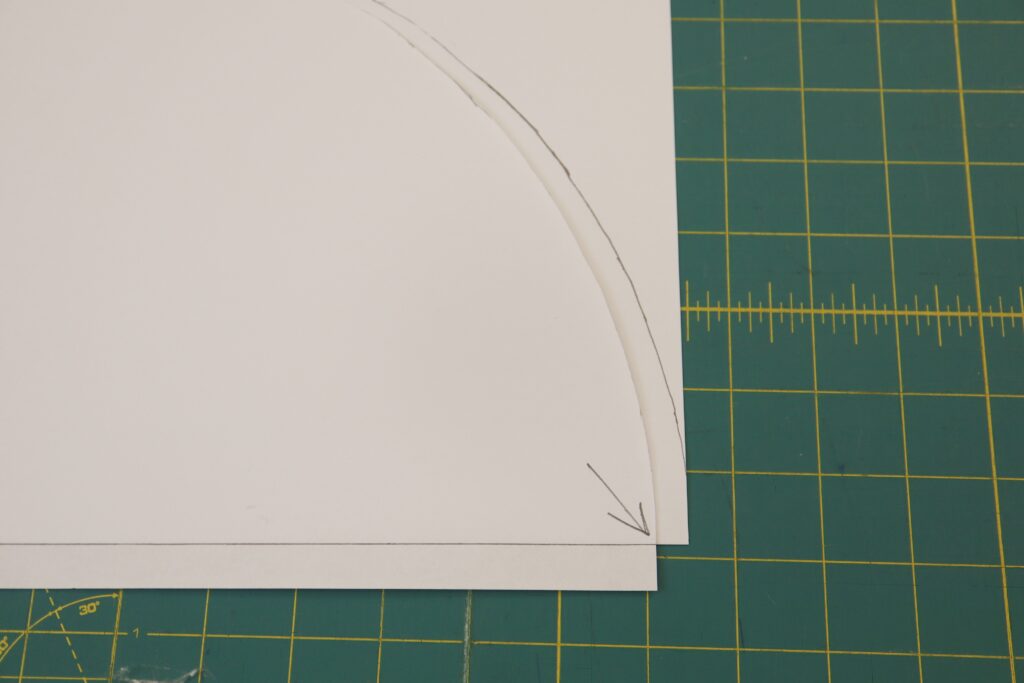
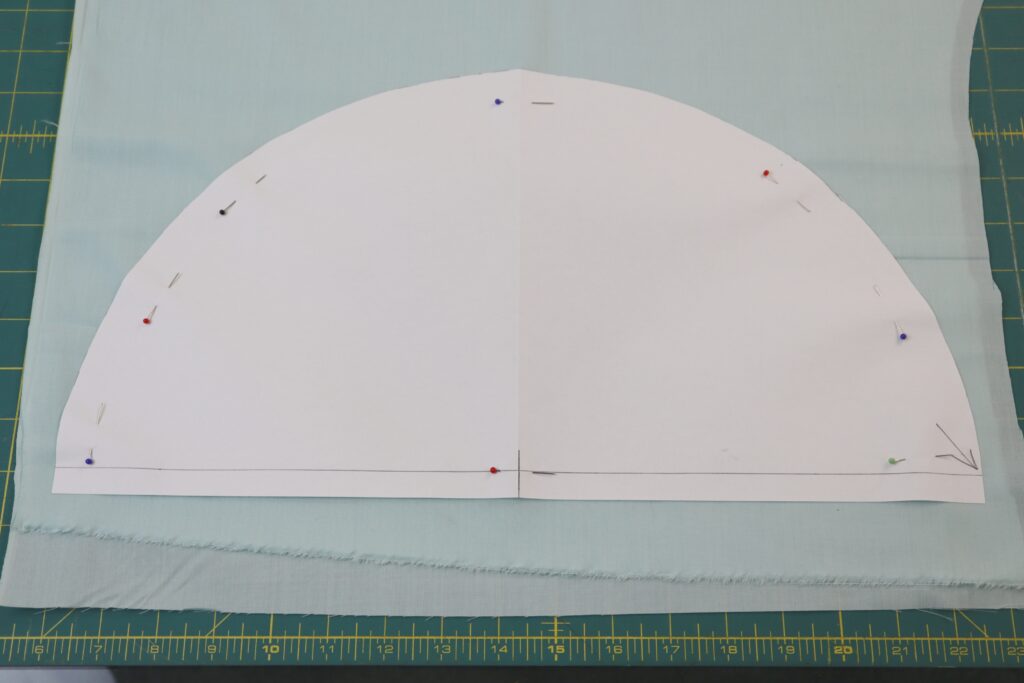
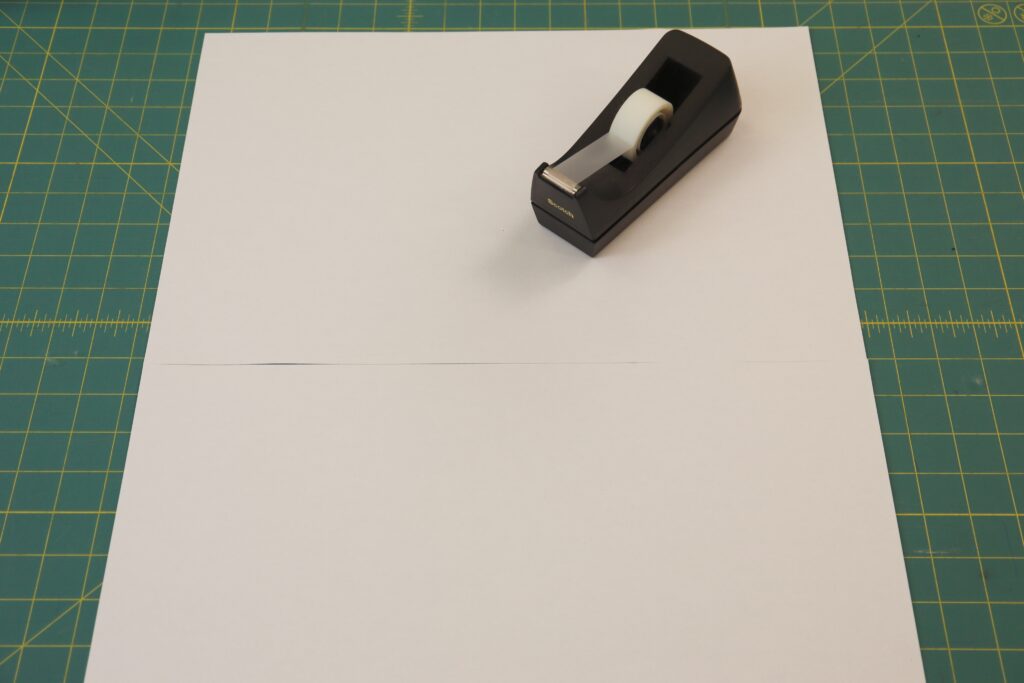
1. To start, we will make the pattern piece for the BACK of the pillow insert. Take one sheet of 11” x 17” paper and draw a line ½” from one long edge as shown in the first image above. Fold the paper in half along the long edge and mark the halfway point with a pencil.
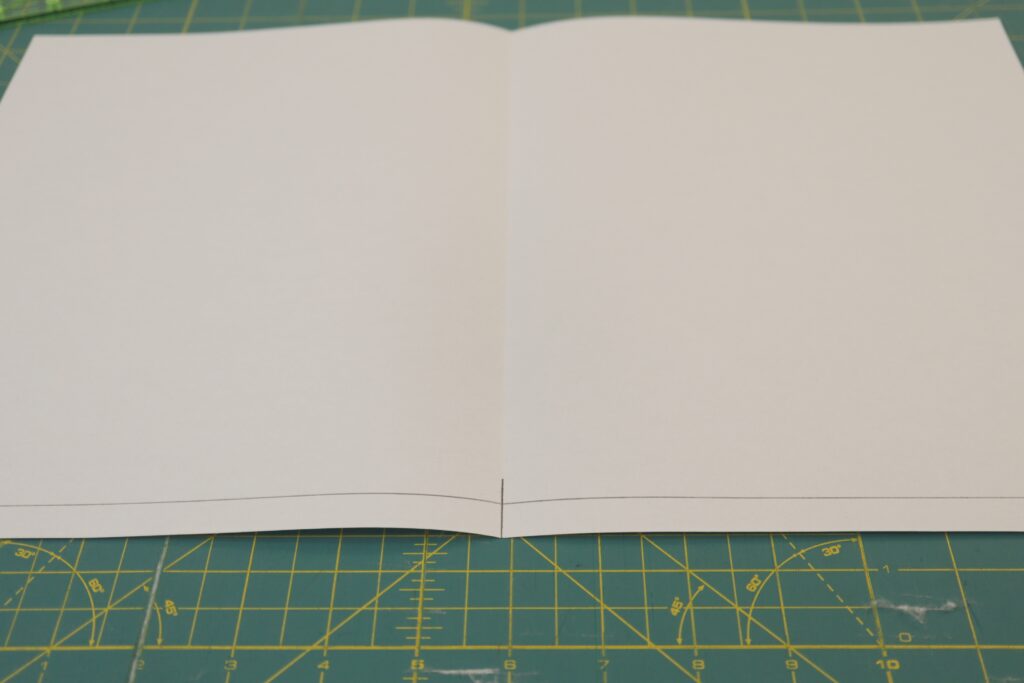
2. Take your ruler and line up the 8.5” mark on the ruler with the mark you made at the centre of the line you drew. Make a mark at the end of the ruler (the left edge of the paper). Pivot the ruler keeping the 8.5” marking lined up with the centre and make another mark at the end of the ruler. Continue to do this until you have created an arc (1/4 circle). Fold your paper in half with your arc facing up.
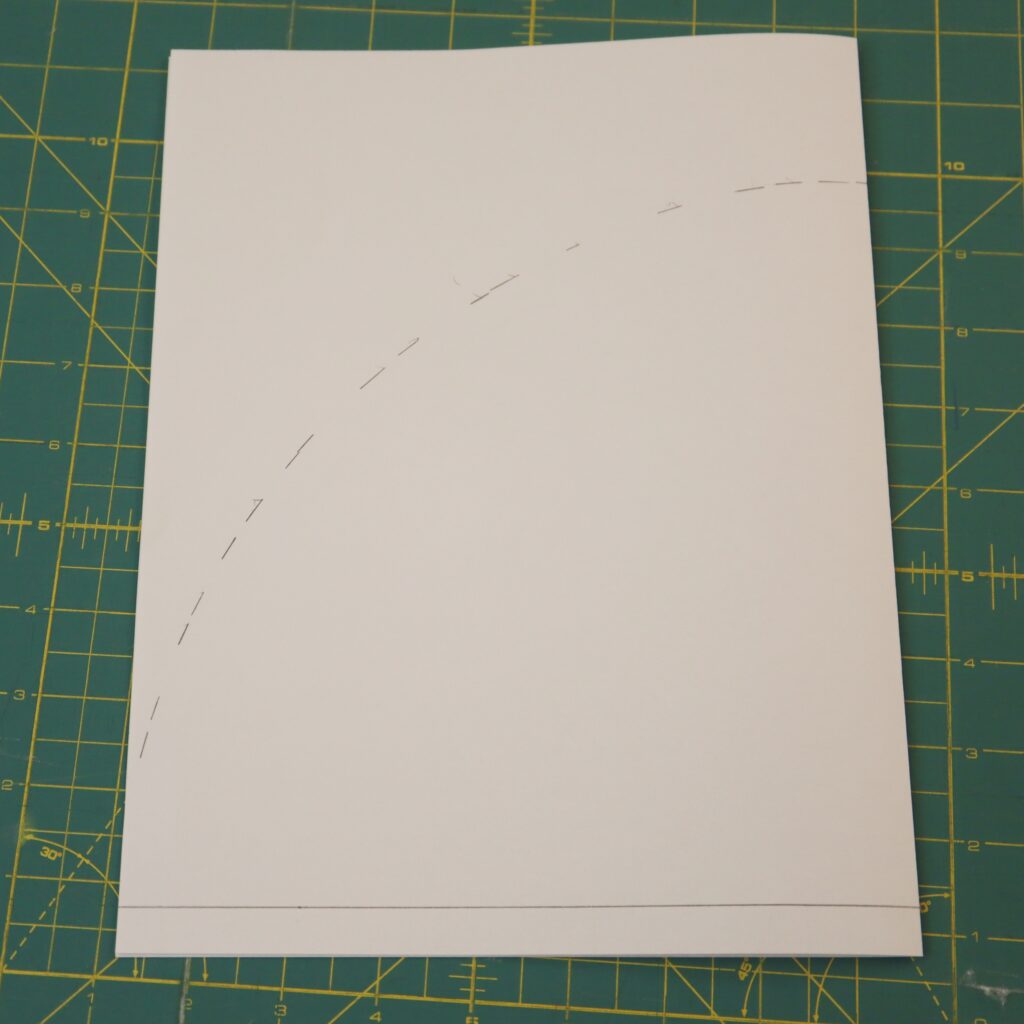
3. Cut through both layers along the arc. When you open your pattern piece, you will have a perfect half-circle with a ½” seam allowance along the straight edge.
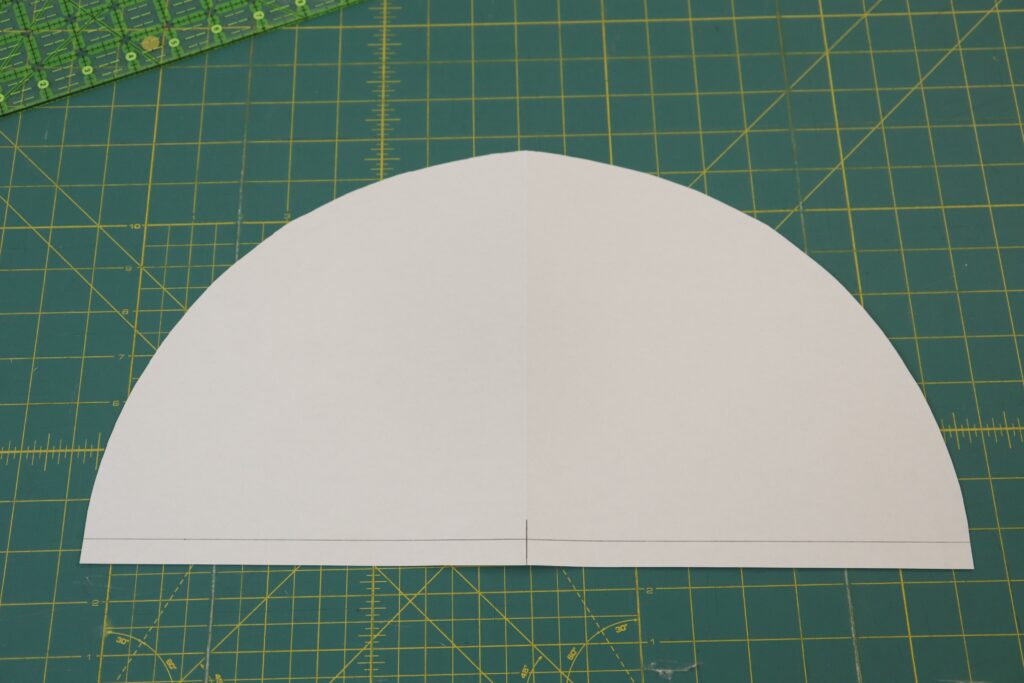
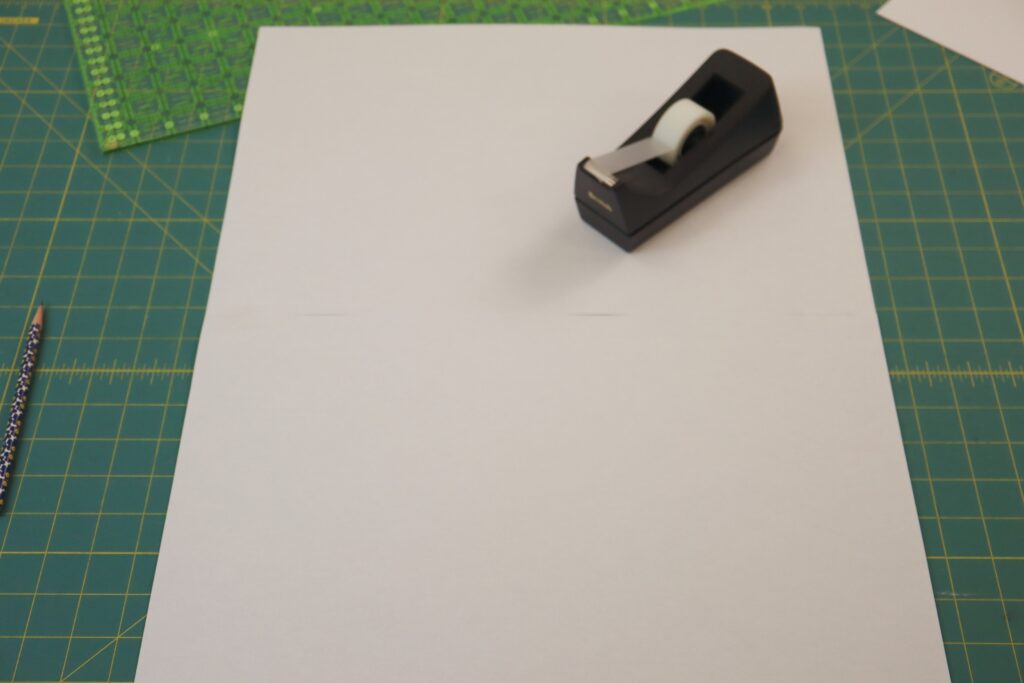
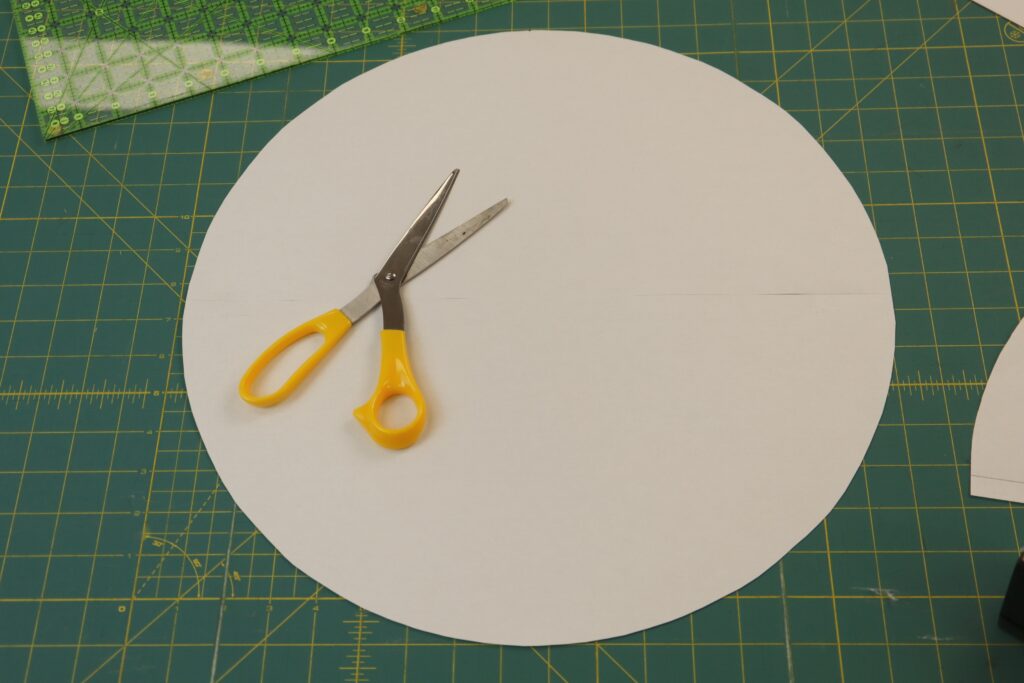
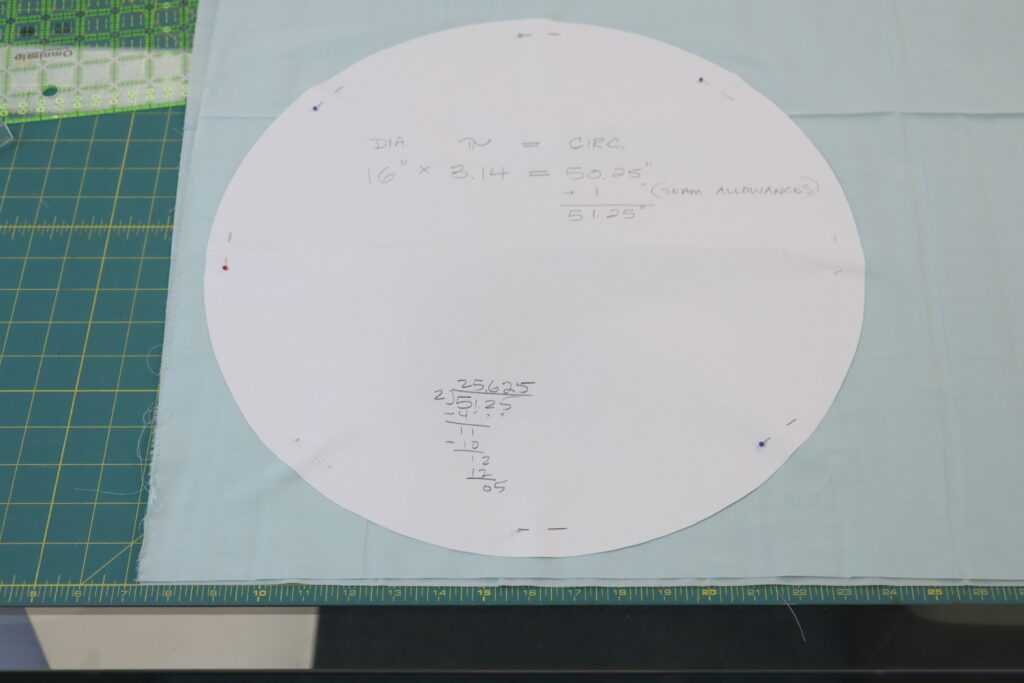
4. Now we will make the pattern piece for the FRONT of the pillow insert. Take two sheets of 11” x 17” paper and tape them together along the long edge. Fold this in half along the taped edge with the fold toward you. Take the pattern piece for the BACK and line up the stitching line with the folded edge of the paper. Trace the half circle. Keeping the paper folded, cut along the half circle. When you open this up, you will have a perfect circle. This is a 16” circle with ½” seam allowance all around.

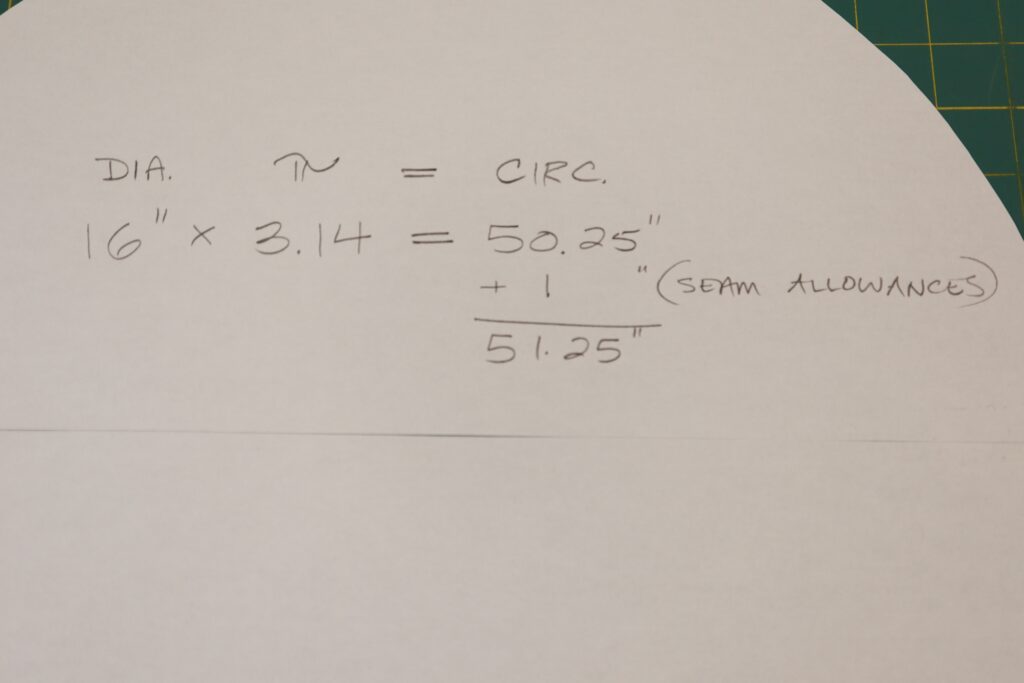
5. Now we will cut the strips that will create the DEPTH of the pillow insert. Remove the selvedge from one edge of the broadcloth. Then cut a 4” strip along the length of the broad cloth. Do this again to create a second 4” strip. Cut the two strips down to a length of 51.25”. This is the circumference of a 16” circle plus two ½” seam allowancse (16” x 3.14 = 50.25” + ½” + ½” = 51.25”).
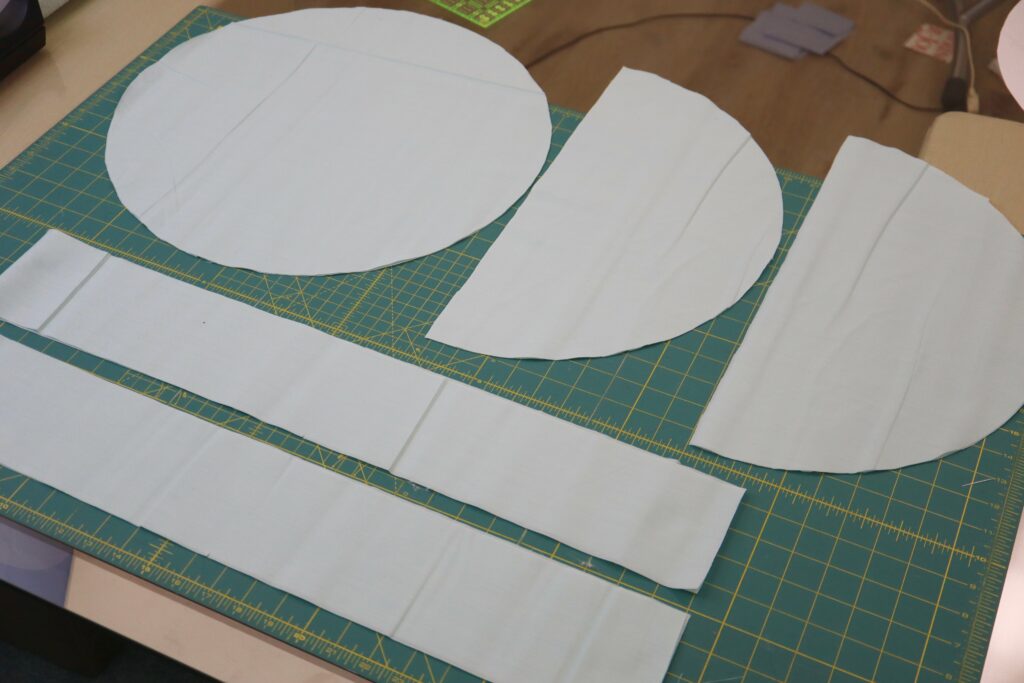
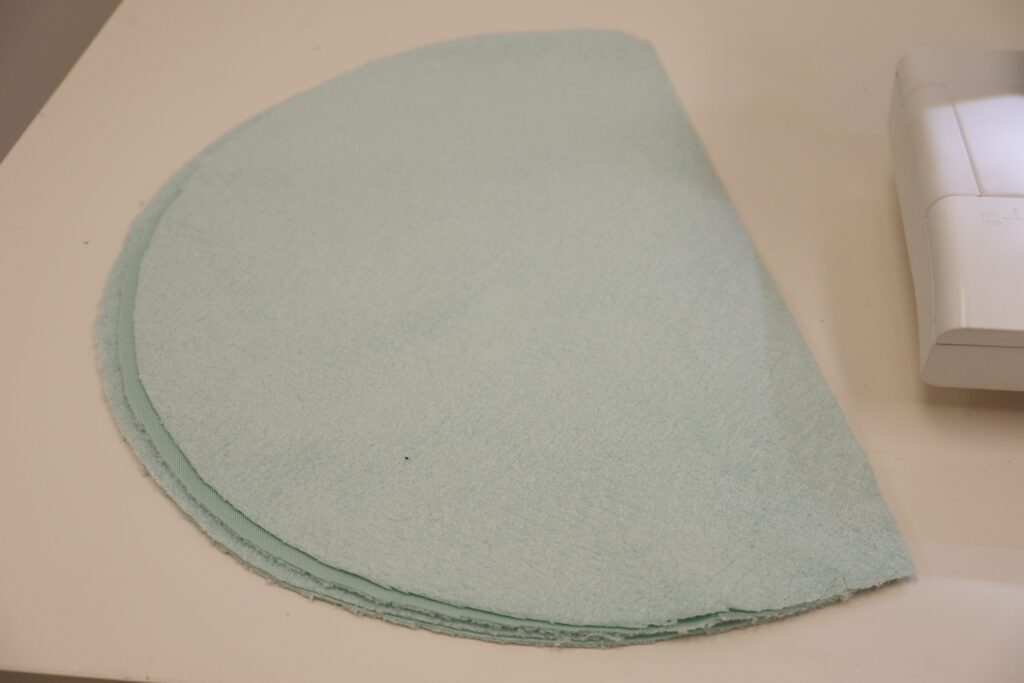
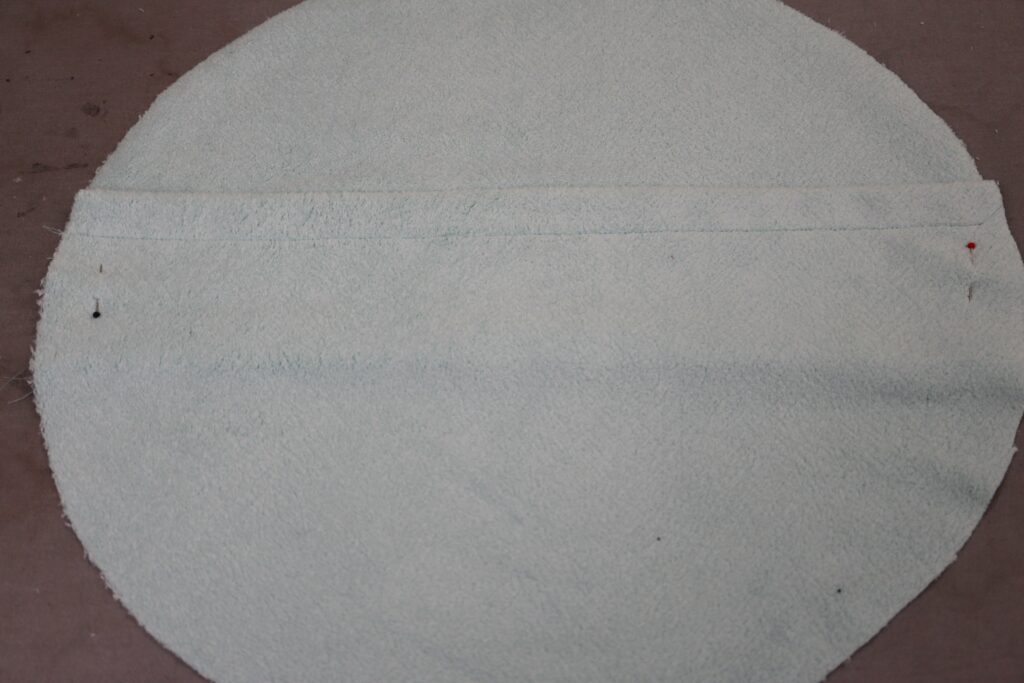
6. With the broadcloth folded in half, pin the pillow insert FRONT to it and cut them out. You should have 2 fronts, one for each pillow insert. Pin the pillow insert BACK to the folded broadcloth and cut them out. Remove the pins and use the same pattern piece to cut out two more, for a total of four BACK pieces altogether (i.e. two pairs of pillow backs).
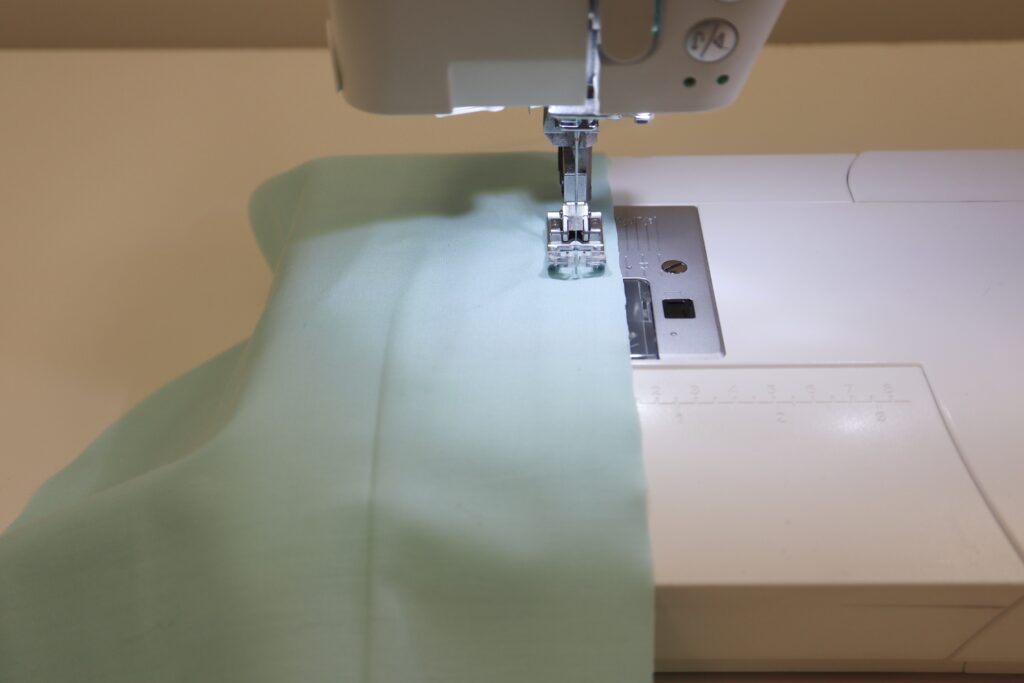
7. Let’s start sewing the pillow insert. With a long strip folded in half, sew the short edges together with ½” seam allowance. Repeat for the second strip.

8. Take a pair of the pillow backs and, using ½” seam allowance, sew along the straight edge leaving an approximate 4” space in the middle of the seam. This space/opening in the seam will allow us to turn our insert right-side-out. Repeat for the second pillow back.
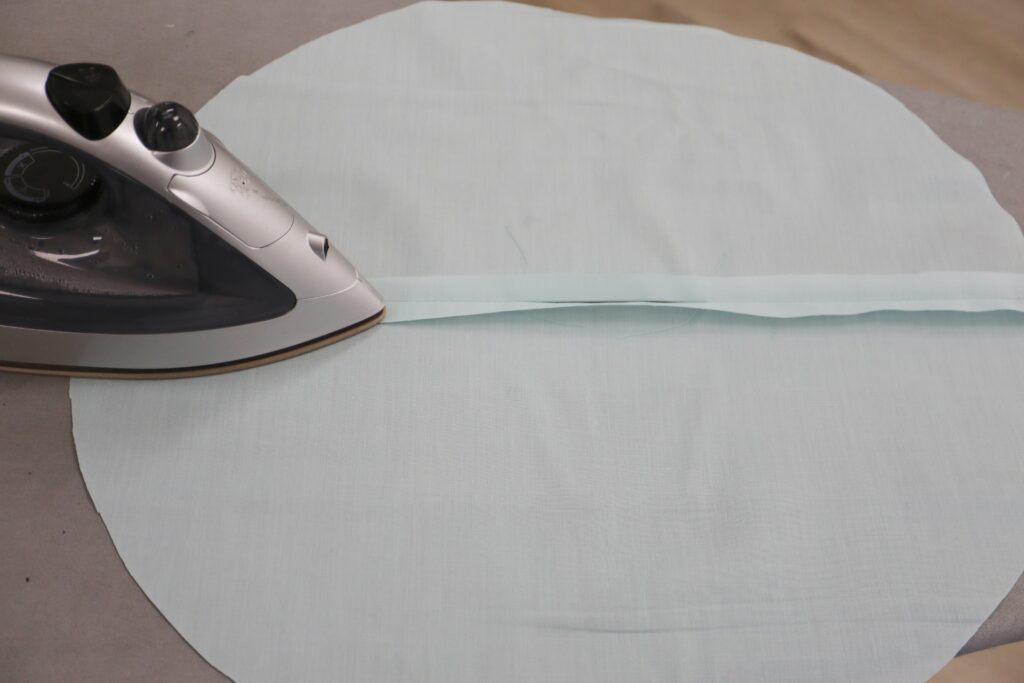
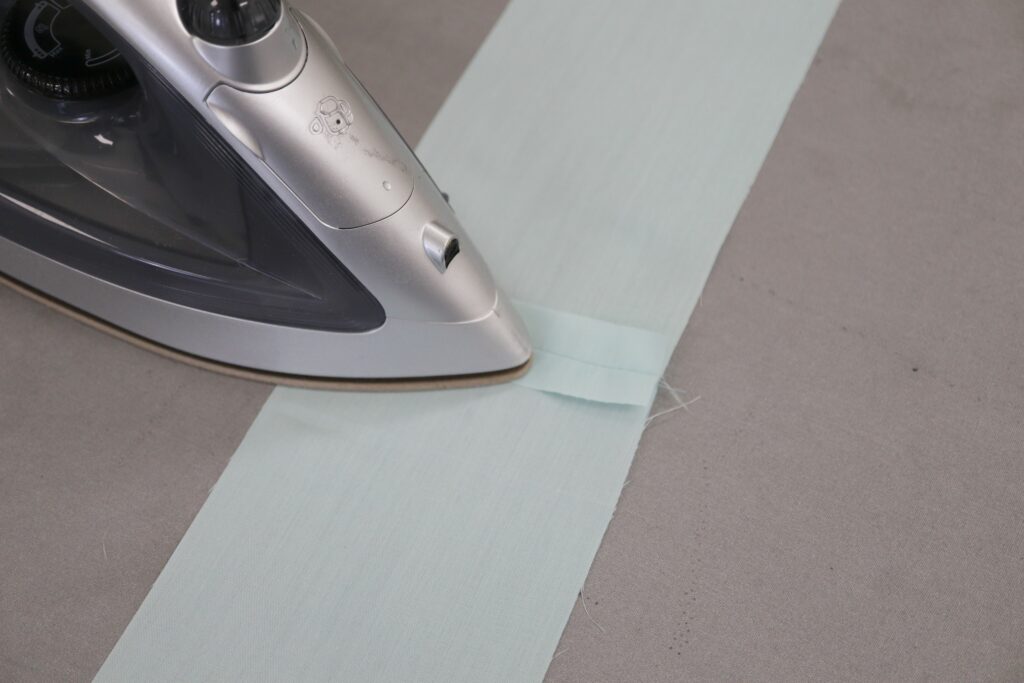
9. Press open the seams of the pillow backs and the long strips.
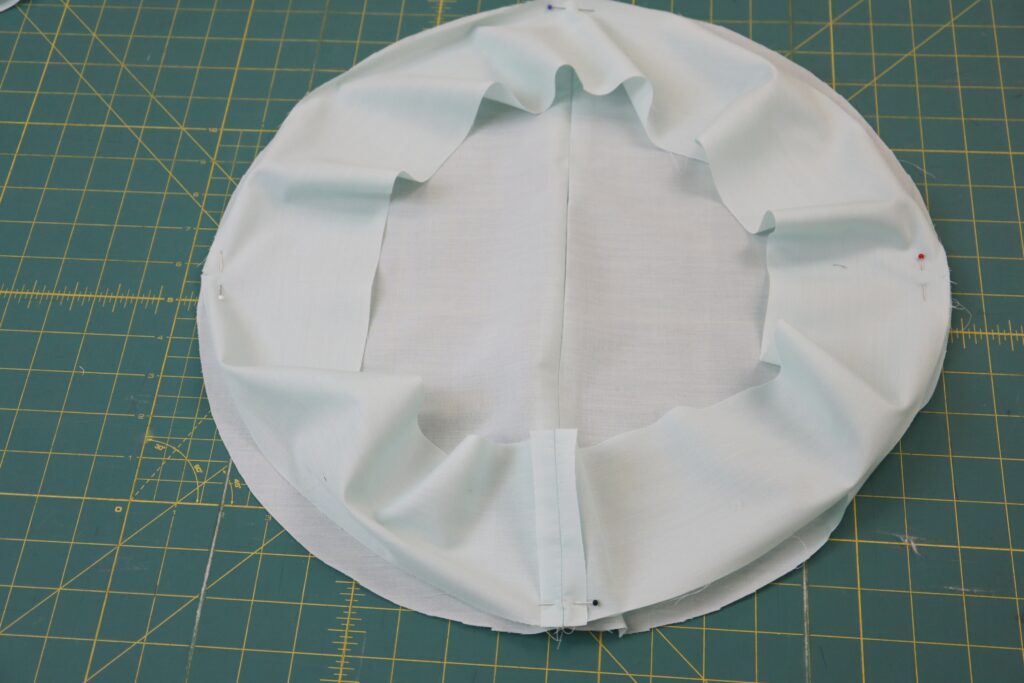
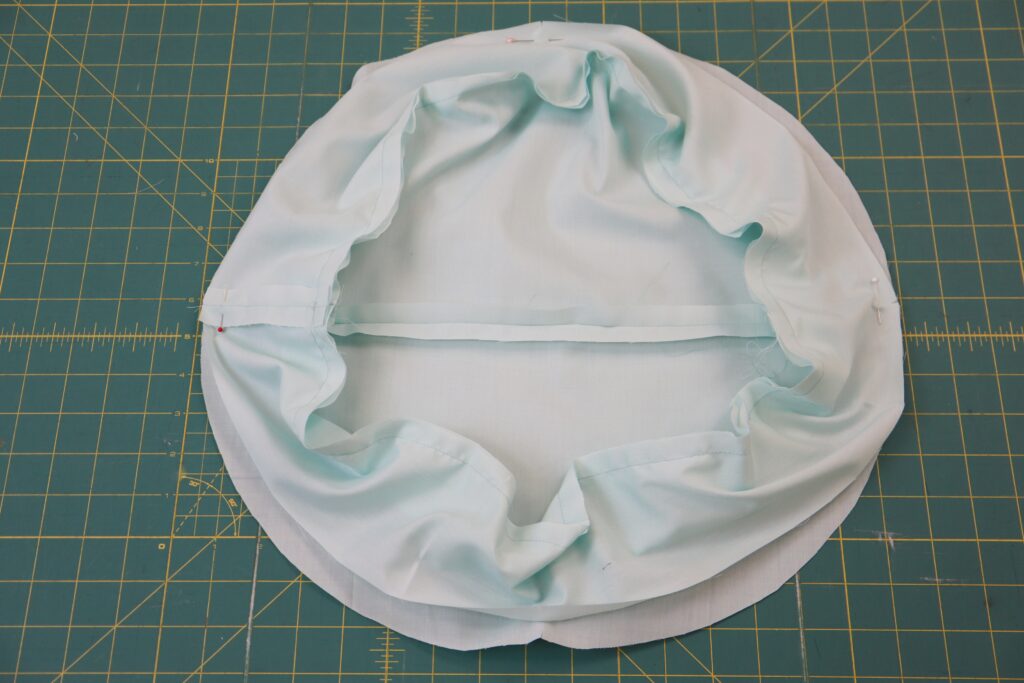
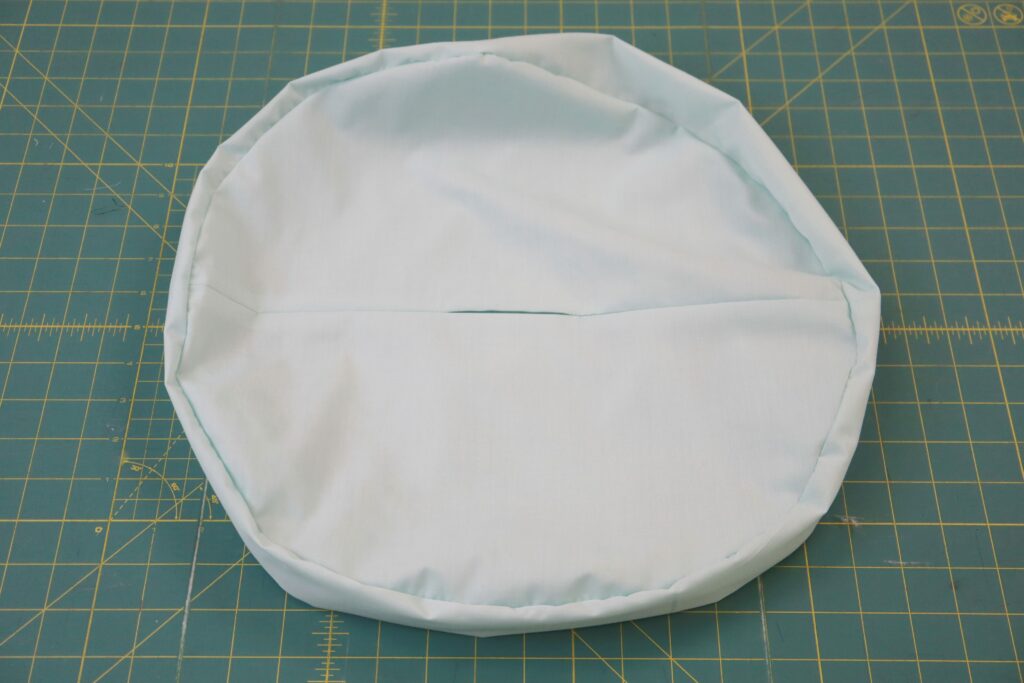
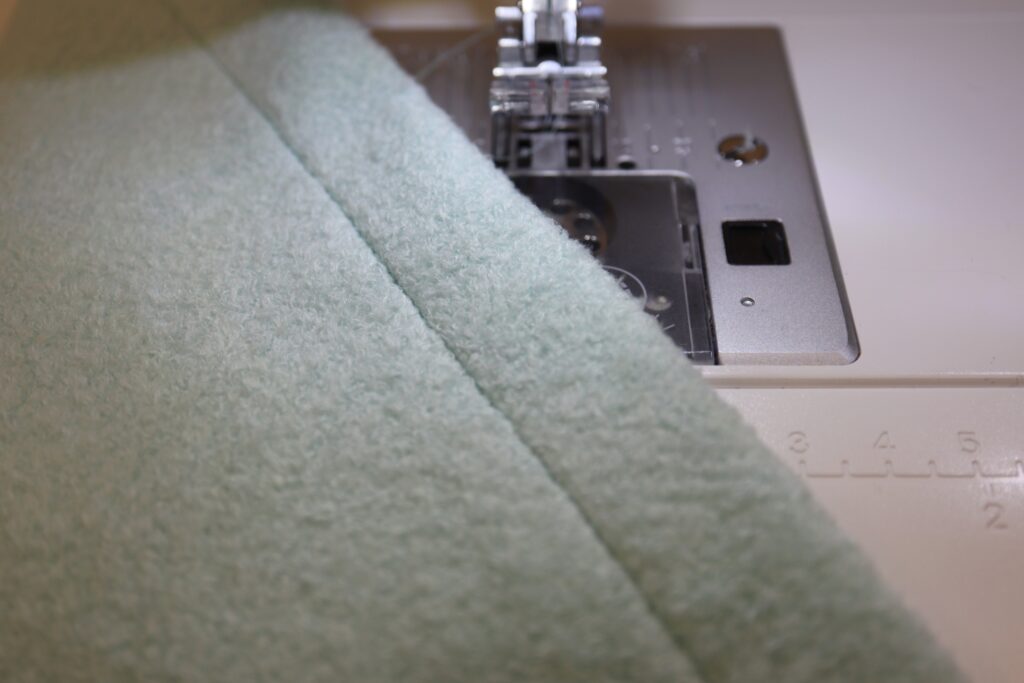
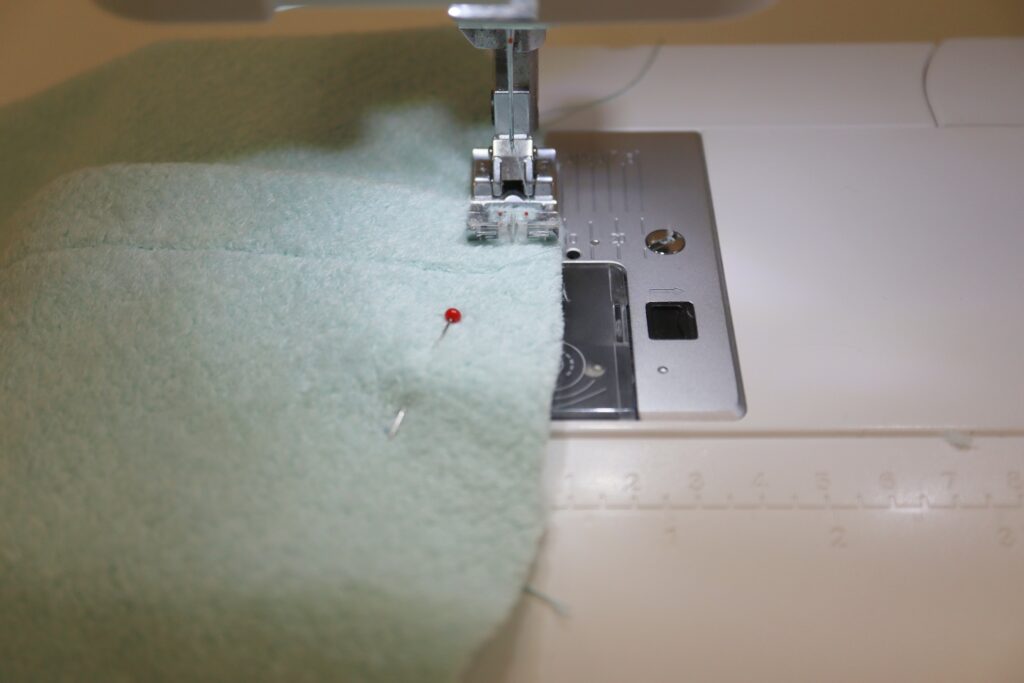
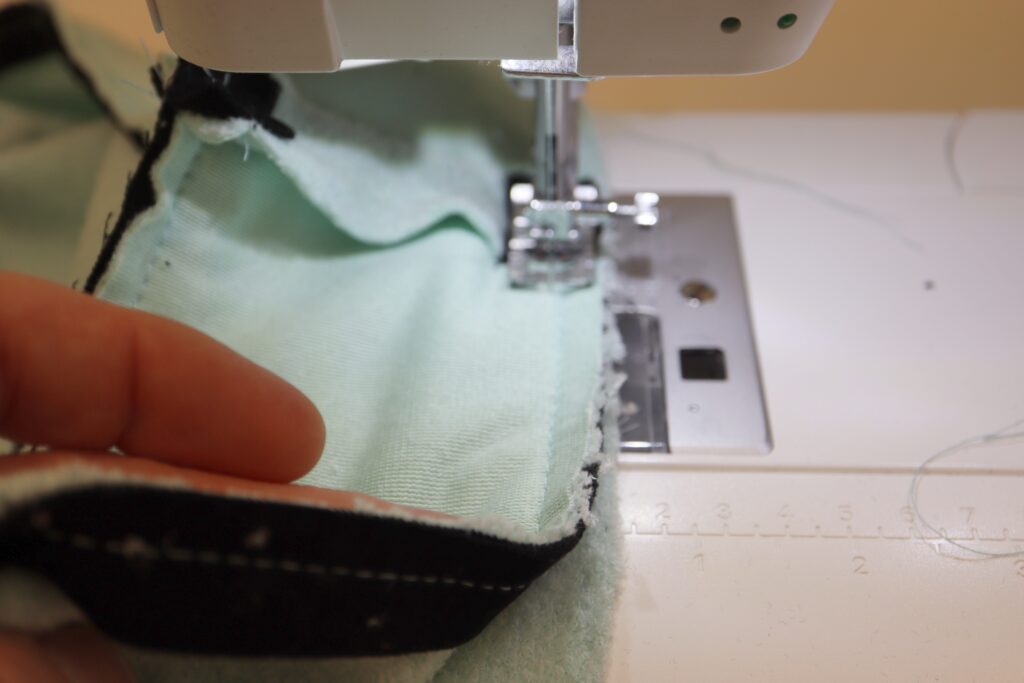
10. In order to accurately sew the strip to the pillow back, we want to create four matching points. For the pillow back, the seam will create two of the points. To find the other points, bring the ends of the seams together folding the back in half. Make small notches at the folds. Take the long strip and lay it flat with the seam at one end. At the opposite end make small notches at the folded edges. These mark the halfway points. Then reposition the strip so that the seam lines up with the notched you just created. Lay everything flat. Make notches at the edges of the new folds created. These notches mark the quarter points. With right sides together match the quarter points of the strip with the quarter points on the back. Pin together at these points as shown in the first image above. With ½” seam allowance, and starting from one of the pinned quarter points, carefully stitch the strip to the back, backstitching at the end of your stitching. When sewing a straight edge to a curved edge, it is easier to sew with the straight edge on top. The curved edge may want to stretch and the feed dogs will help to keep this from happening.
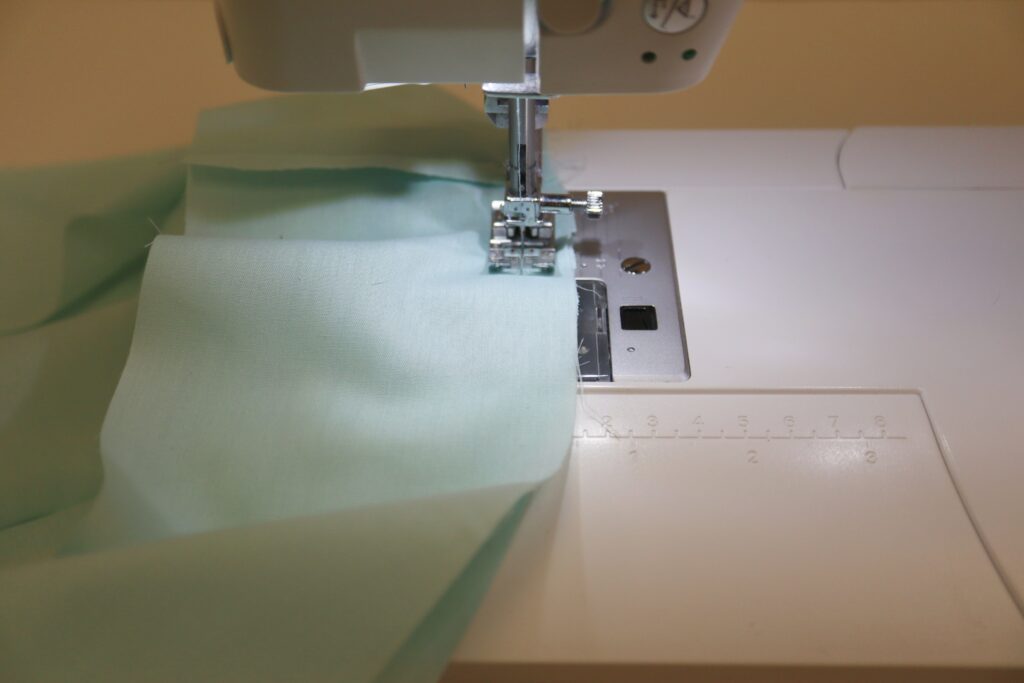
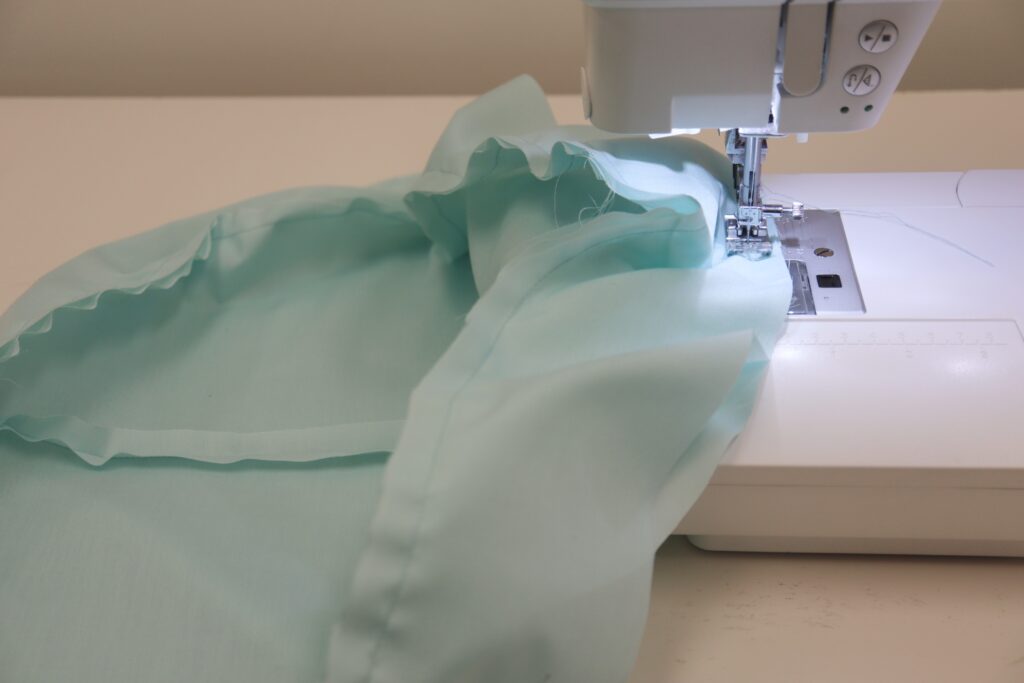
11. Now we are going to sew this to the pillow front. Find the quarter points of the pillow front by folding it in half to mark the halfway points and then fold in half the opposite way, bringing the notches together to mark the quarter points. With right sides together and matching the quarter points, pin the strip to the pillow front. Carefully stitch the strip to the pillow front.
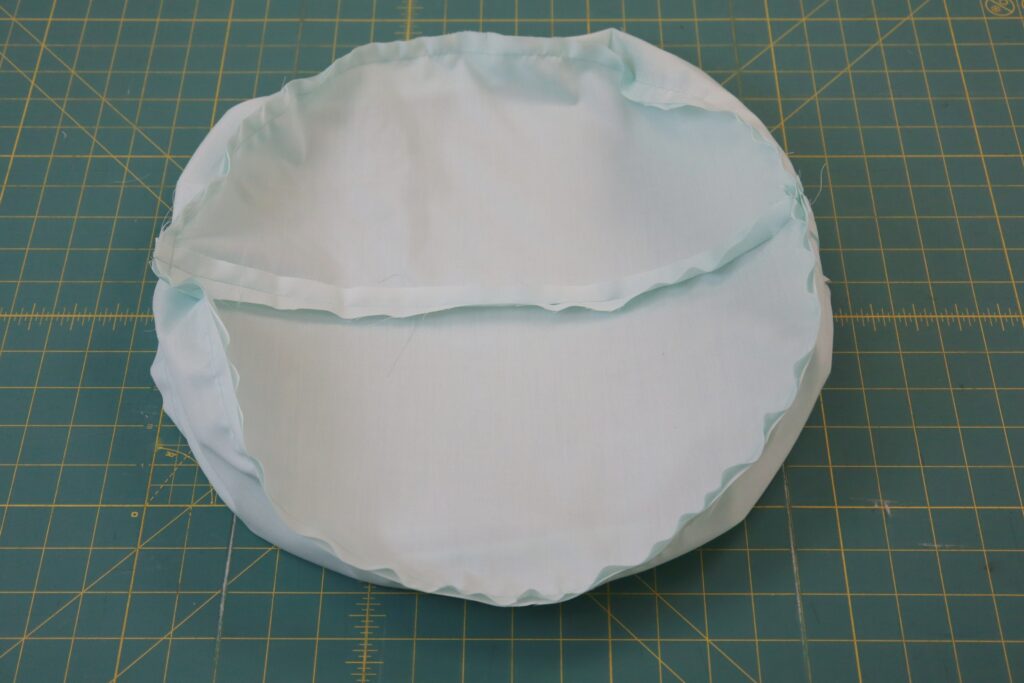
12. Turn the pillow insert right-side-out through the opening in the pillow back.
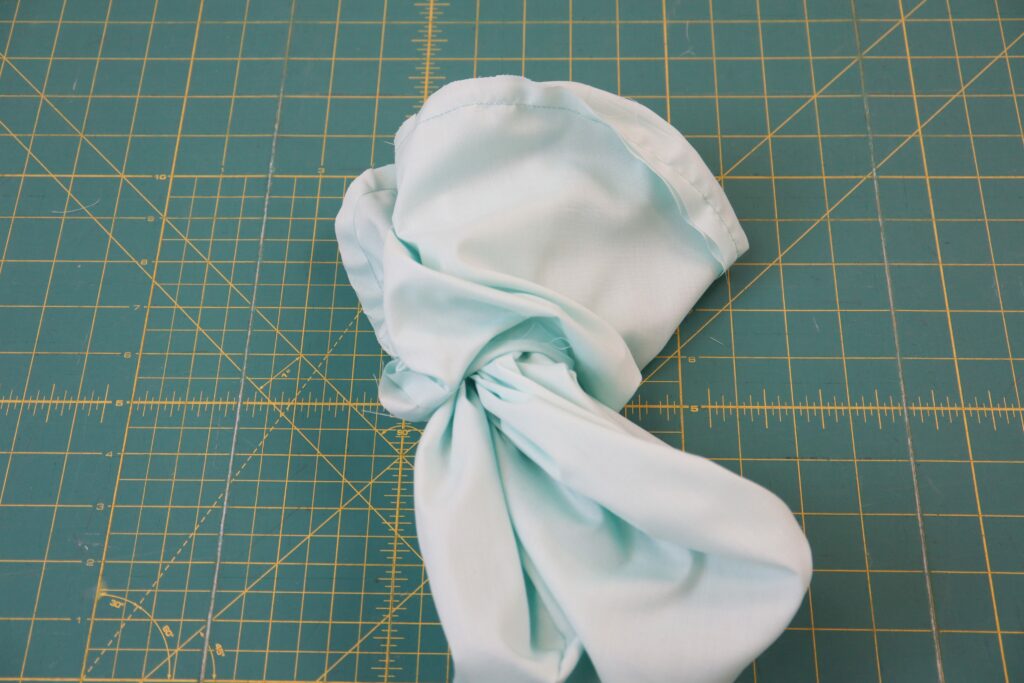
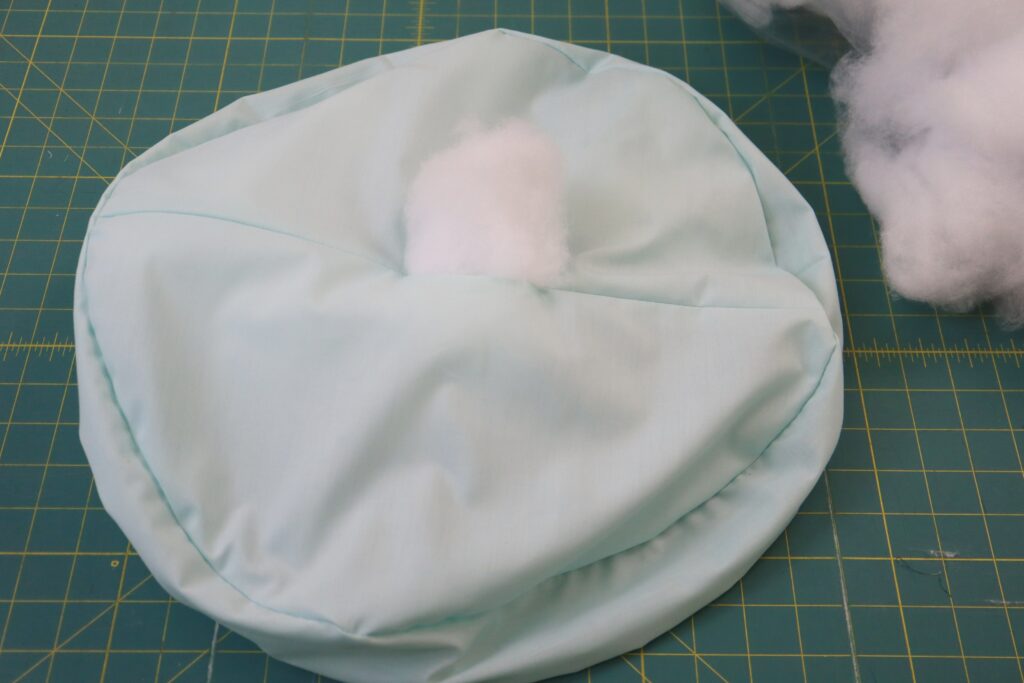
13. Stuff the insert with fiberfill through the opening in the back of the pillow until you are happy with it.
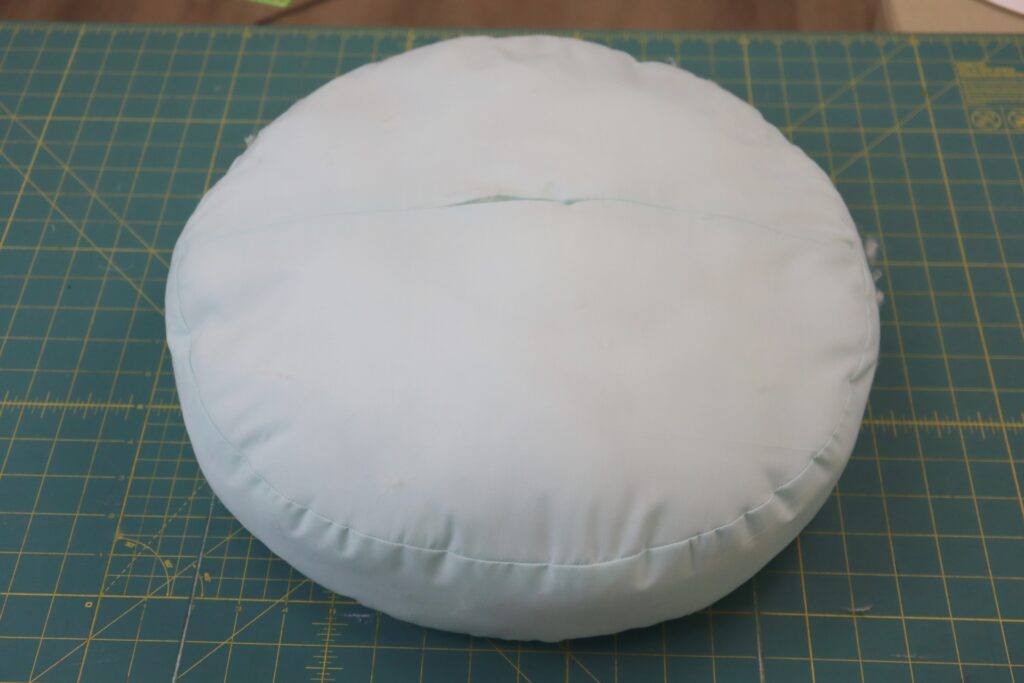
14. Slipstitch the opening closed.
Part Two: Making the Pillow Cover
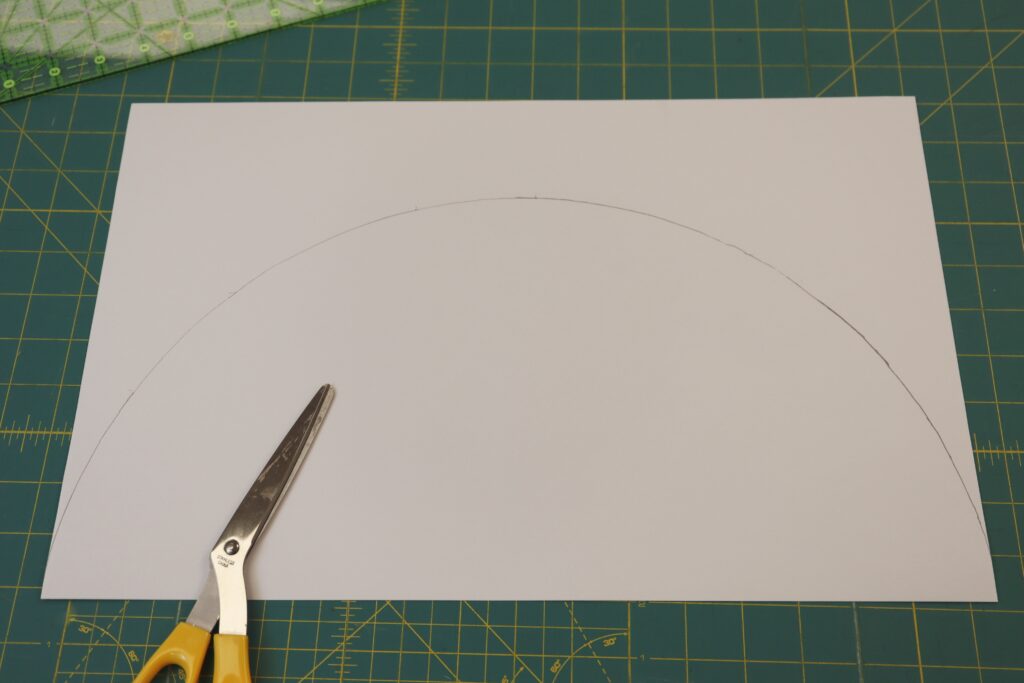
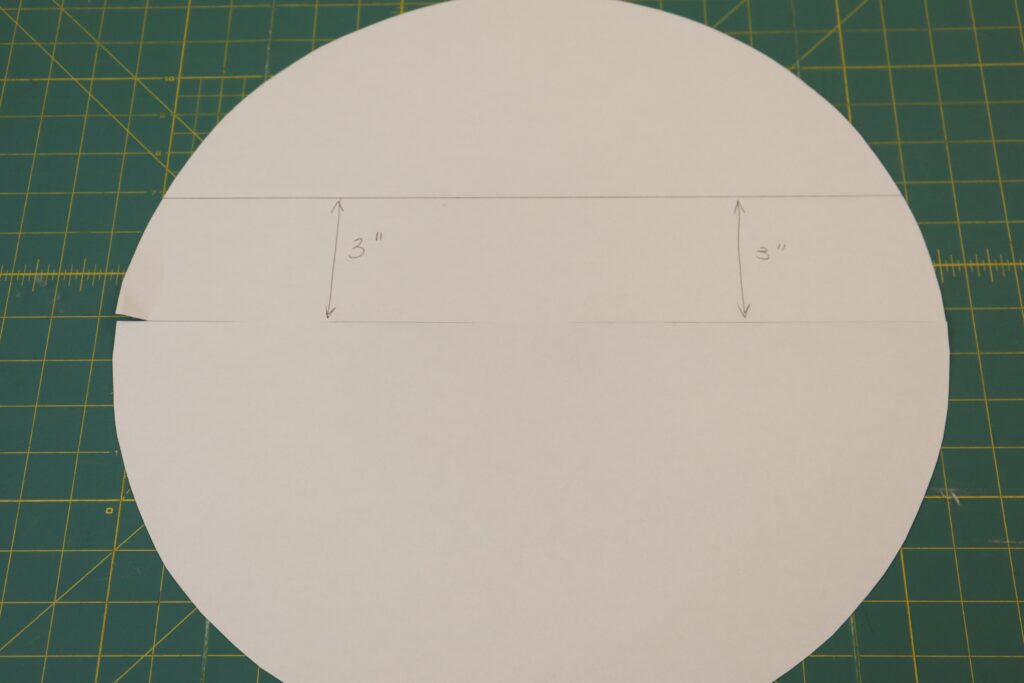
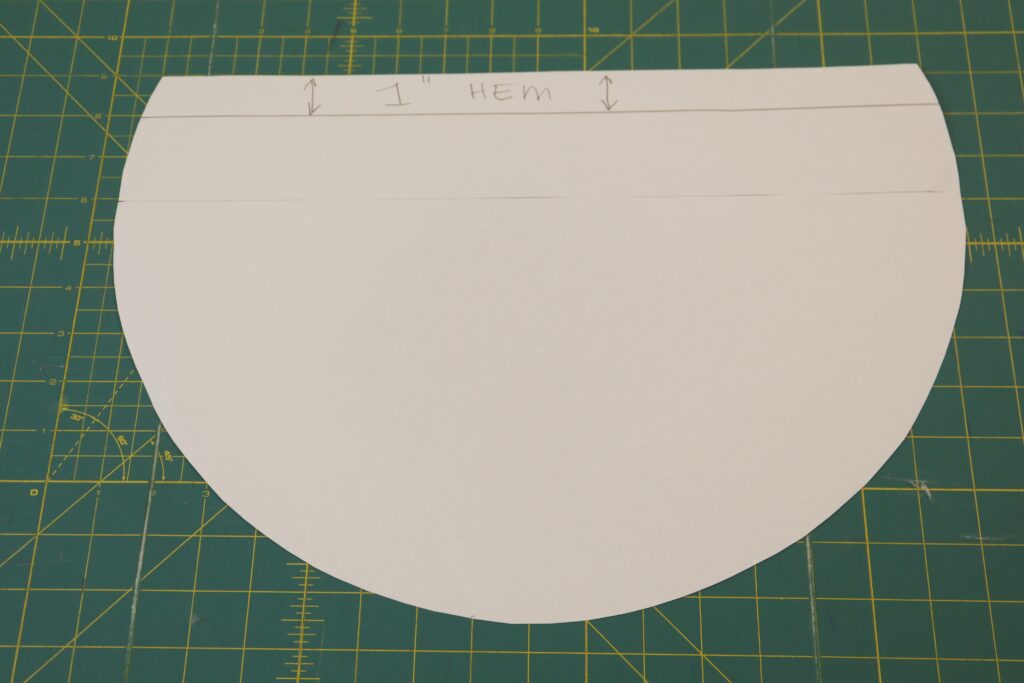
1. We will start by making the pattern piece for the pillow cover BACK. Tape two pieces of 11” x 17” paper together as we did in the previous part. Trace the half circle and cut it out as we did previously. Now, draw a line 3” away from the centre of the circle. Cut along this line. Then draw a line 1” away from the straight line. This 1” will be the hem. This finished pattern piece is the BACK piece for the pillow cover.


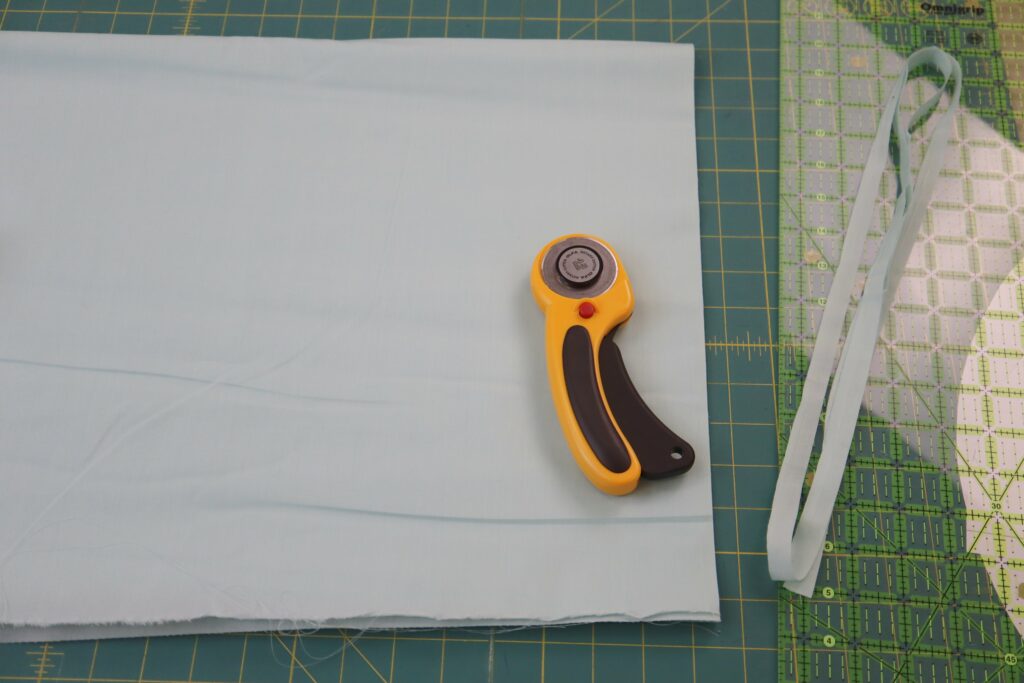
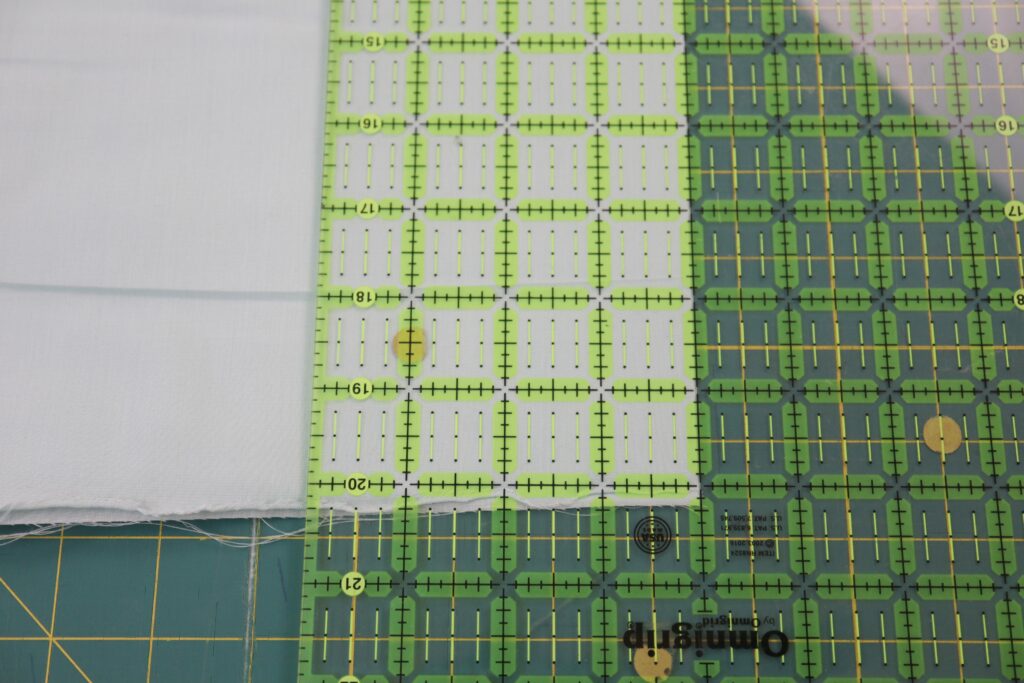
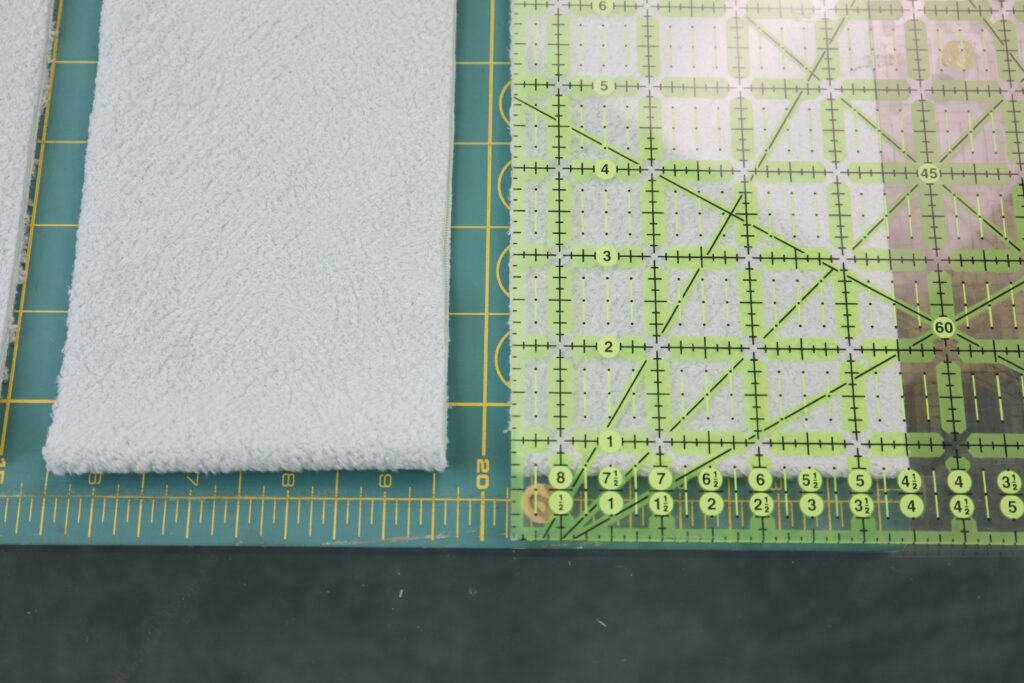
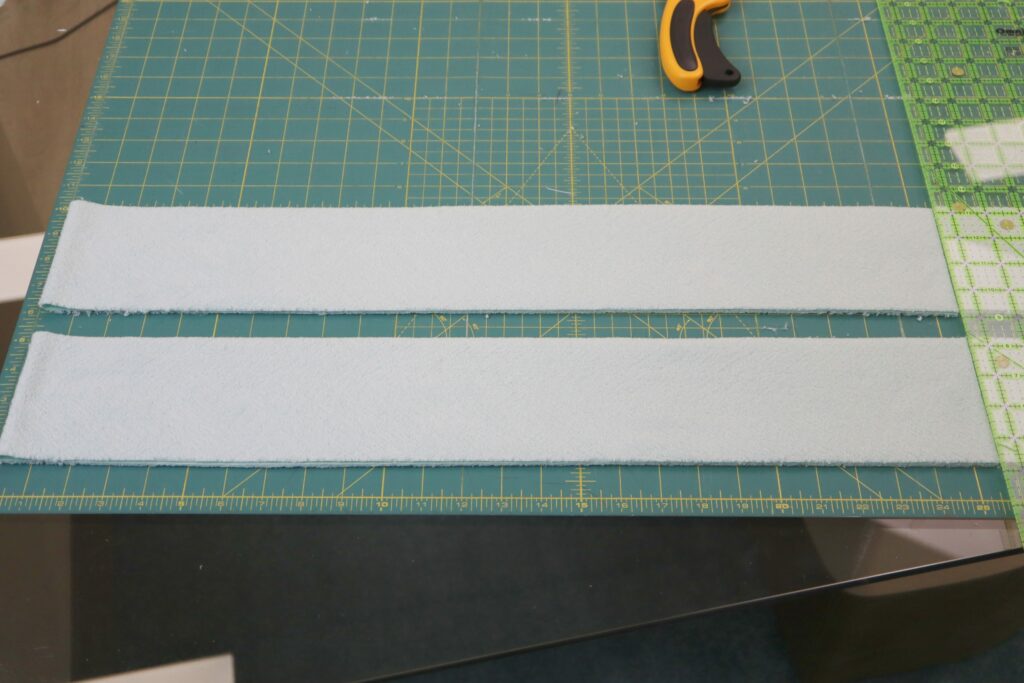
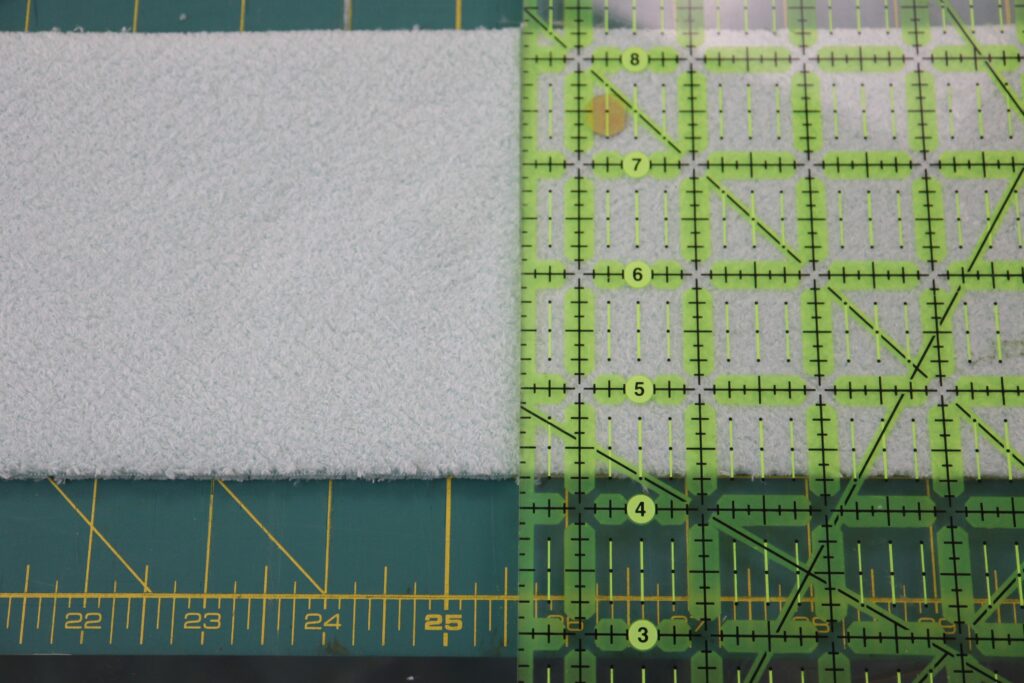
2. Cut 4” strips across the width of the main fabric. Then cut them to 51.25” lengths. We cut our strips folded in half, so we lined up the fold at 0” and cut at 25.625”.
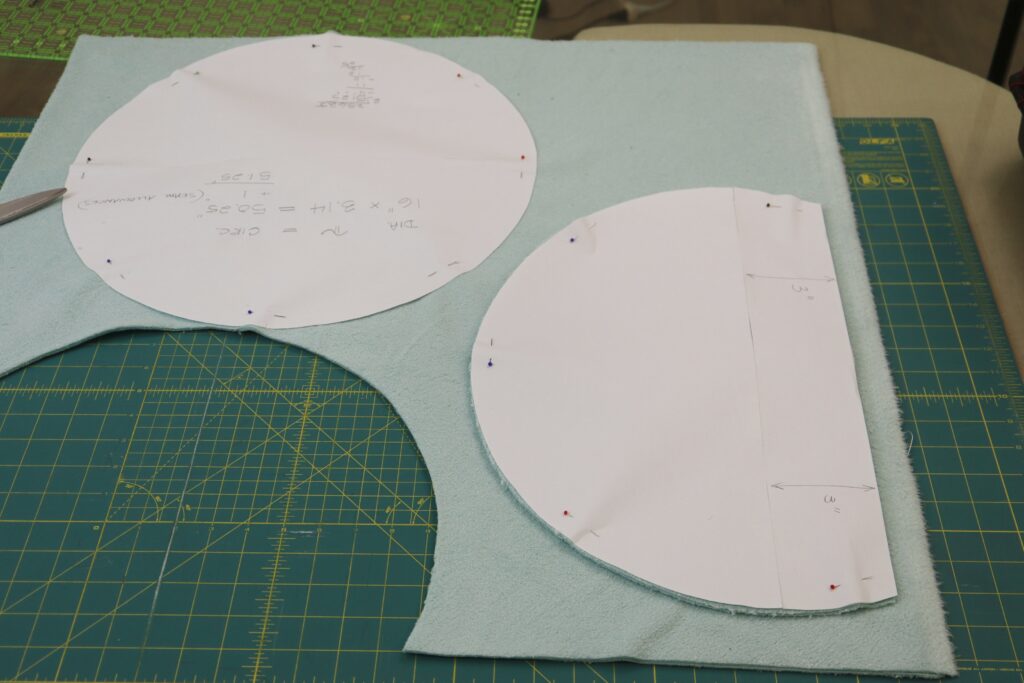
3. For the pillow cover we will use the same pattern piece for the pillow fronts as we did for the pillow inserts. With your main fabric folded in half, cut 2 fronts and 4 backs as shown above. Before you remove the pattern pieces, make notches at the centre line on both the fronts and backs. These notches will be crucial when stitching on the strips later.

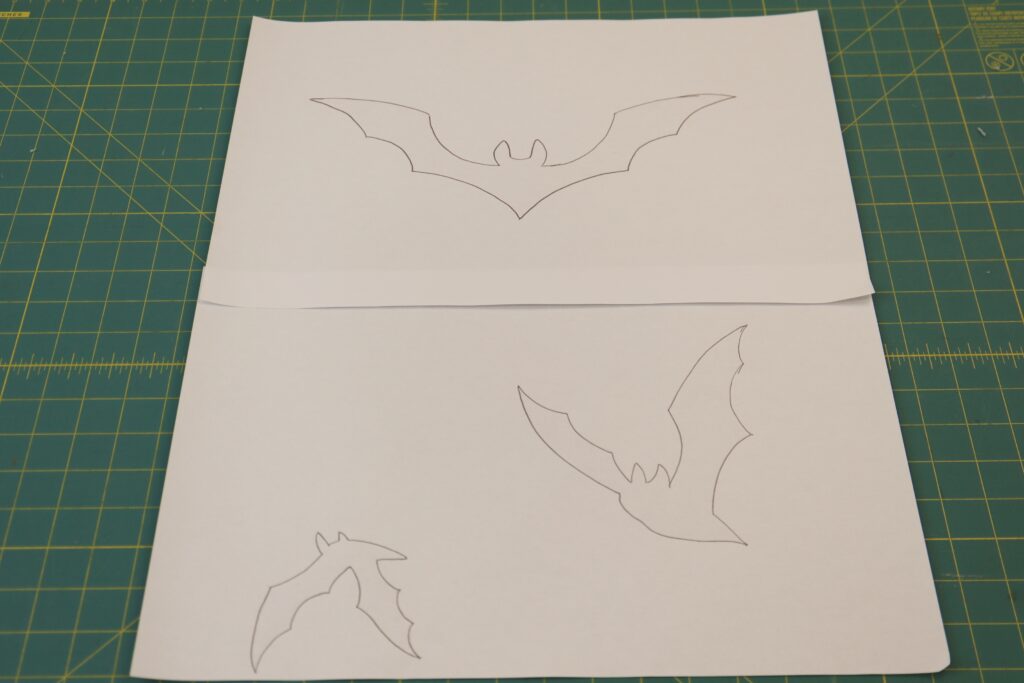
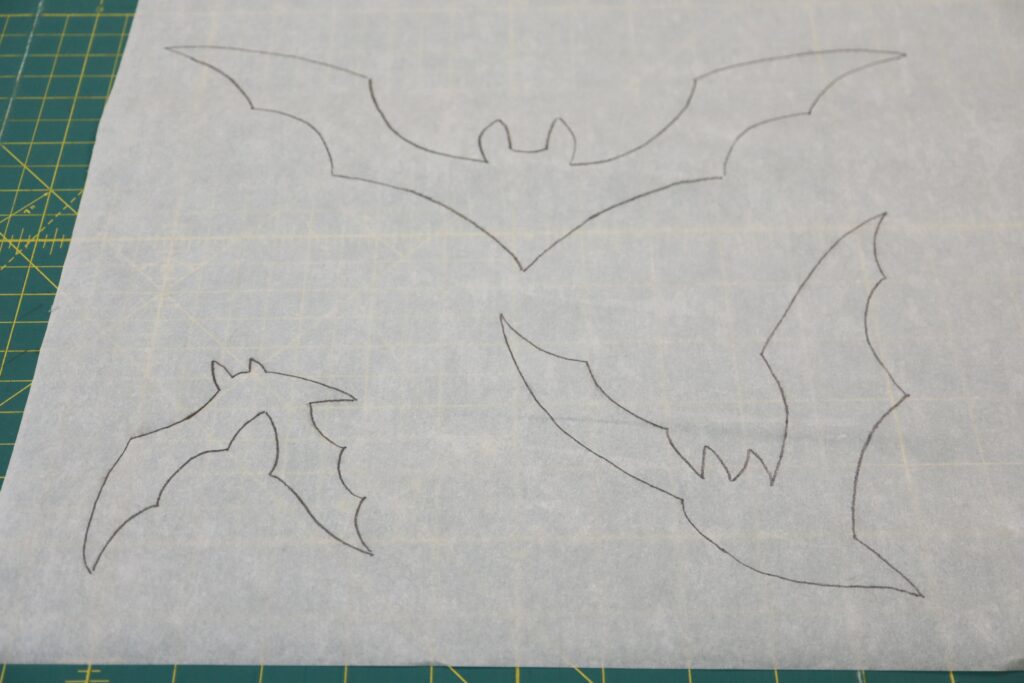
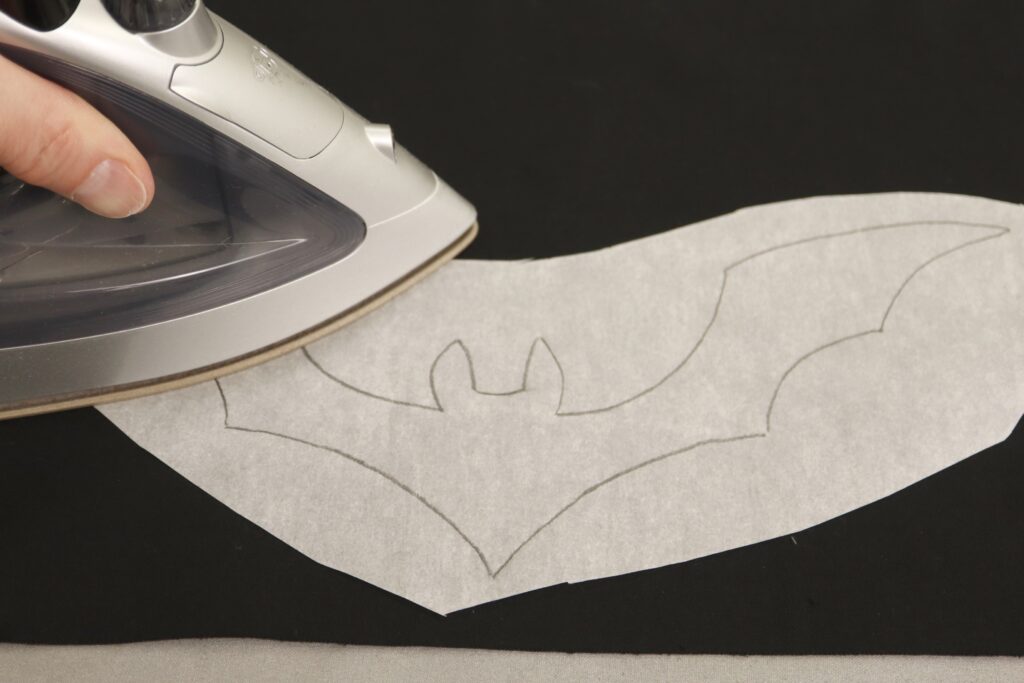
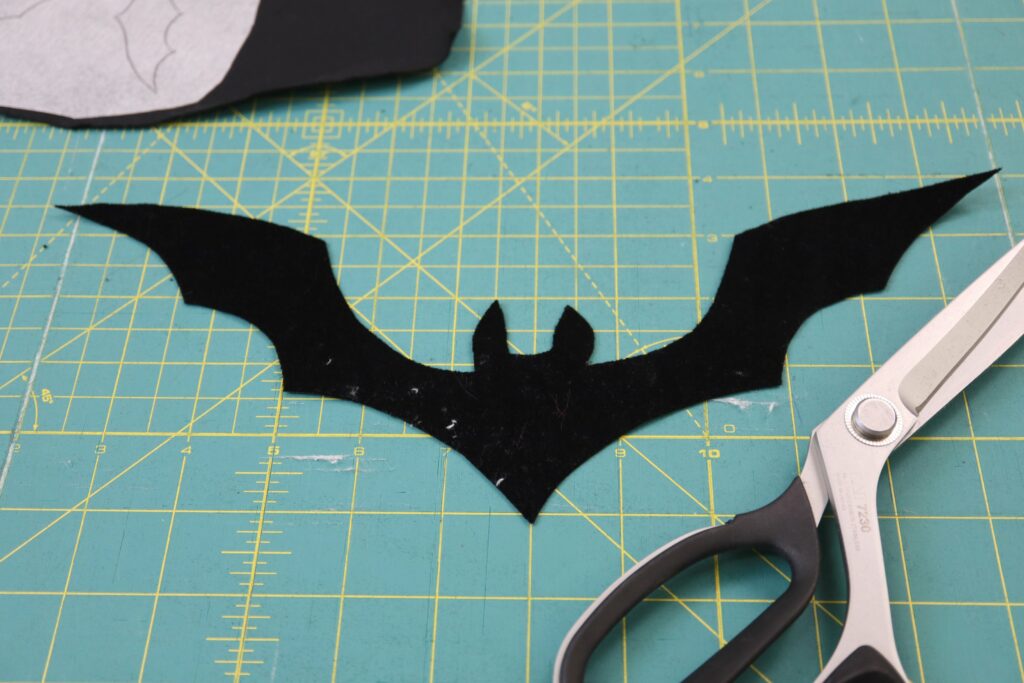
4. Now we will work on the appliques. We took our bat images off the internet. Take your fusible web with the paper side facing up and lay this over your images. Trace the images onto the fusible web. IMPORTANT: The finished images will appear on your pillow as a MIRROR IMAGE, so if you are using any text or directional images, be sure to flip them before tracing.
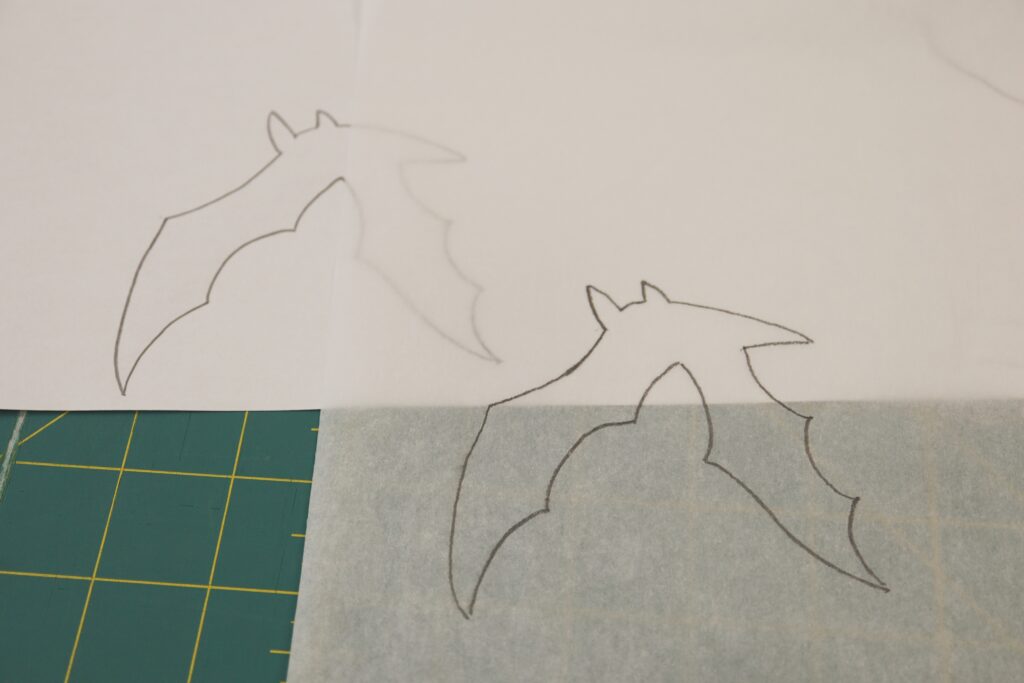
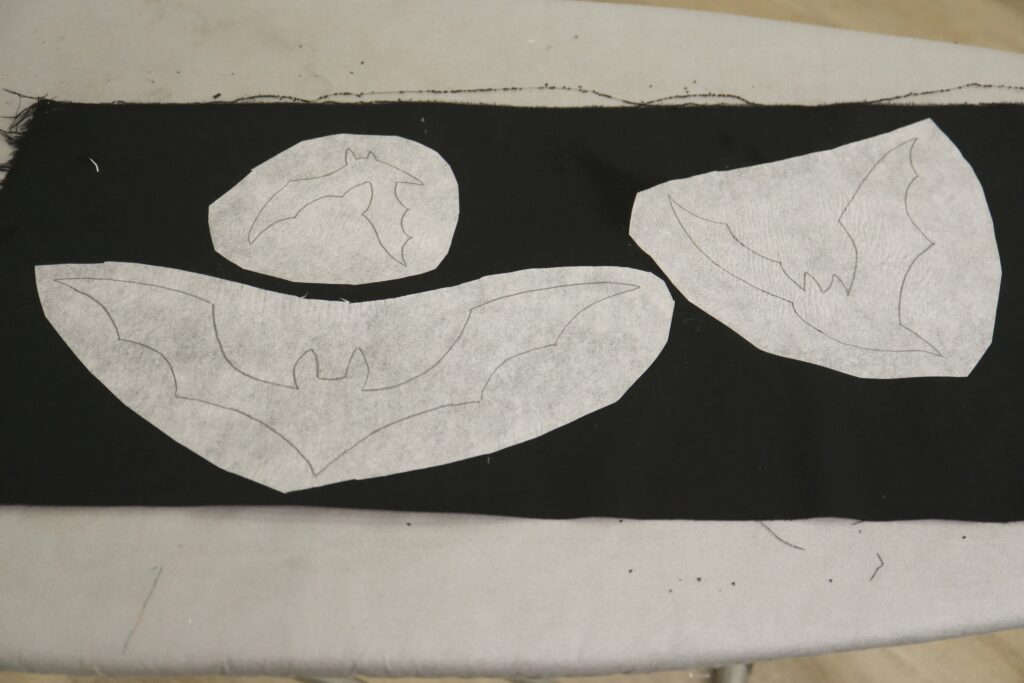
5. Cut the images apart from each other but leave a generous amount of “white” around them as shown above. Lay your applique fabric face down on your ironing board. For us, the have the fuzzy side of the velveteen facing down. Then place one of the fusible web pieces on the fabric with the glue side down. This is VERY IMPORTANT. The iron should never touch the glue side – it would make a terrible mess. With the iron set to a wool setting, place the iron on the paper. Hold for 5 – 10 seconds. Lift the iron and press a new section of the paper. We never want to slide the iron. This can create bubbles or puckers in our applique. Press the other fusible web pieces to the fabric in the same manner and allow them to cool.
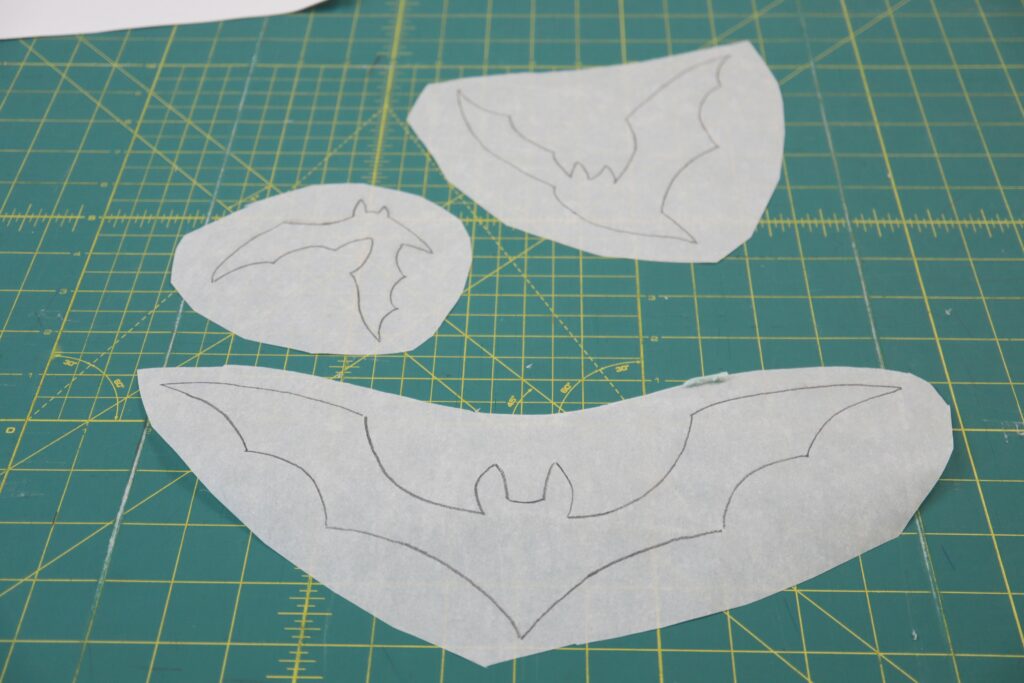
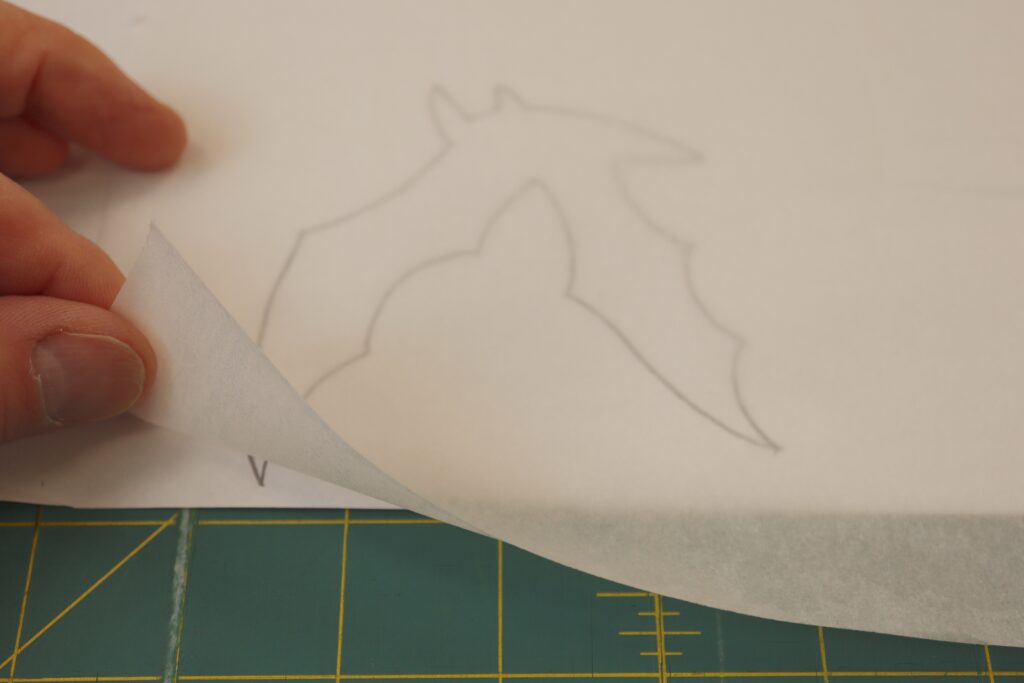
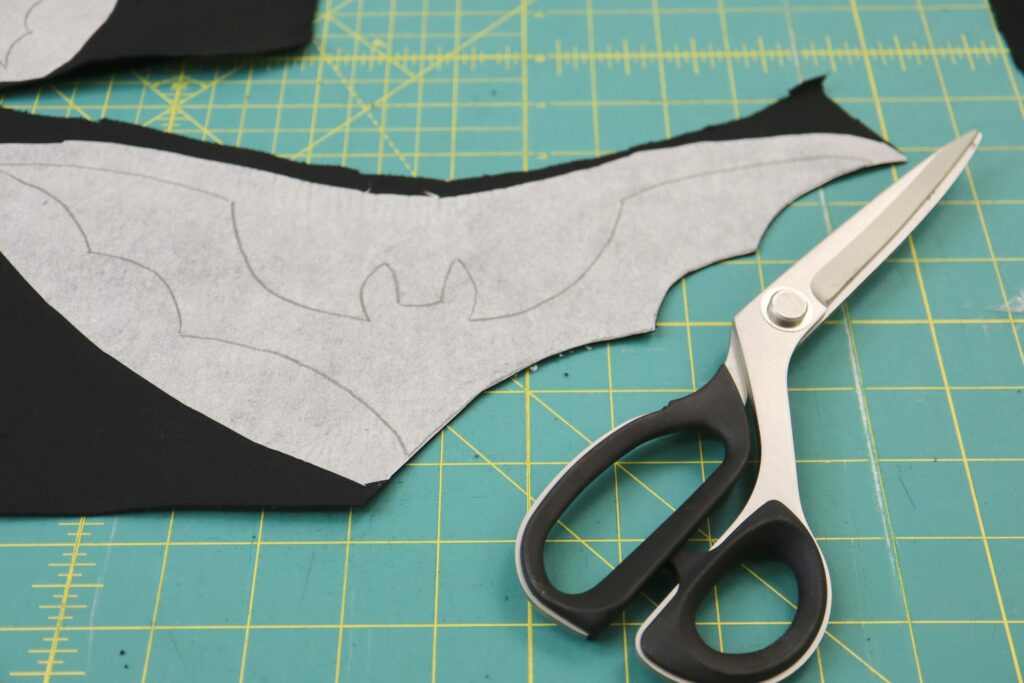
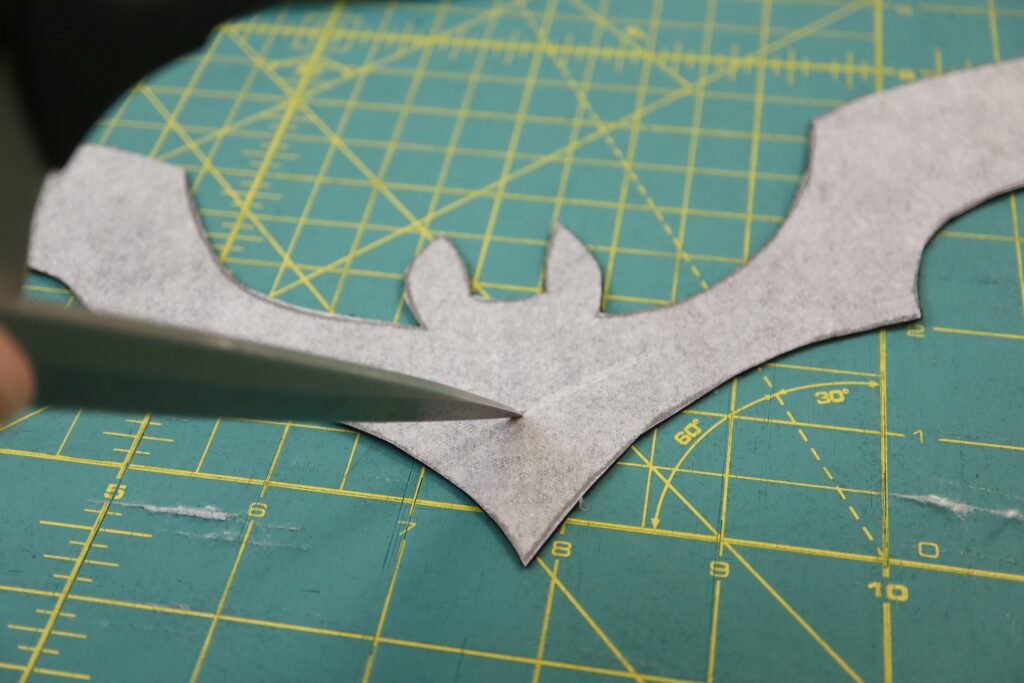
6. Once they have cooled, carefully cut out your applique along the lines. To remove the paper from the applique, lightly score the back of the applique with scissors. Start removing the paper where you scored it. The glue should stay on the fabric and only the paper should come off.
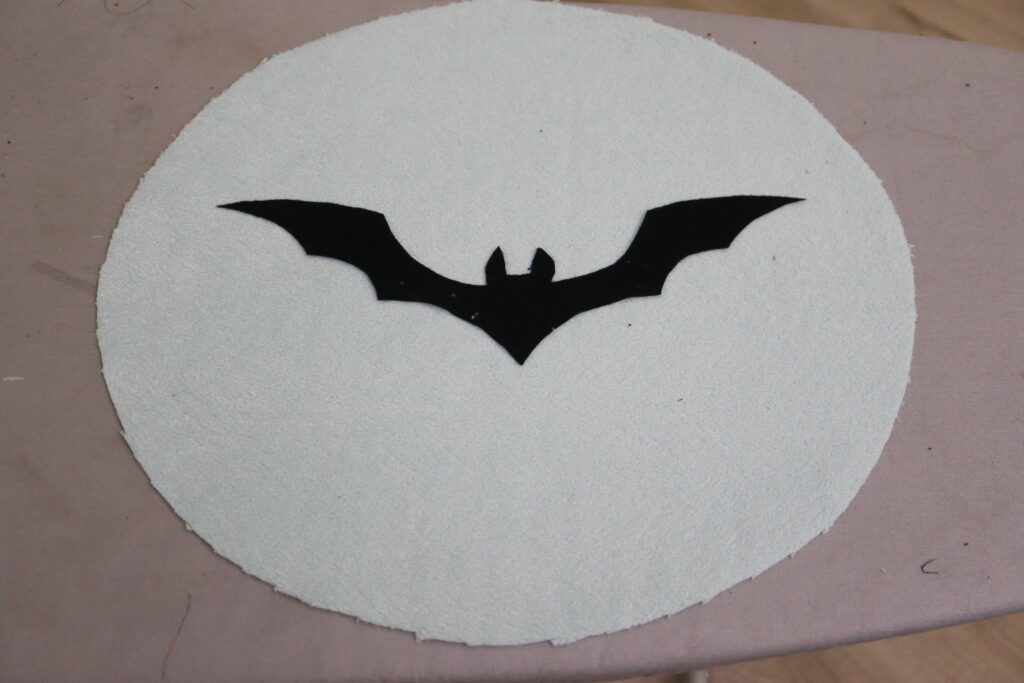
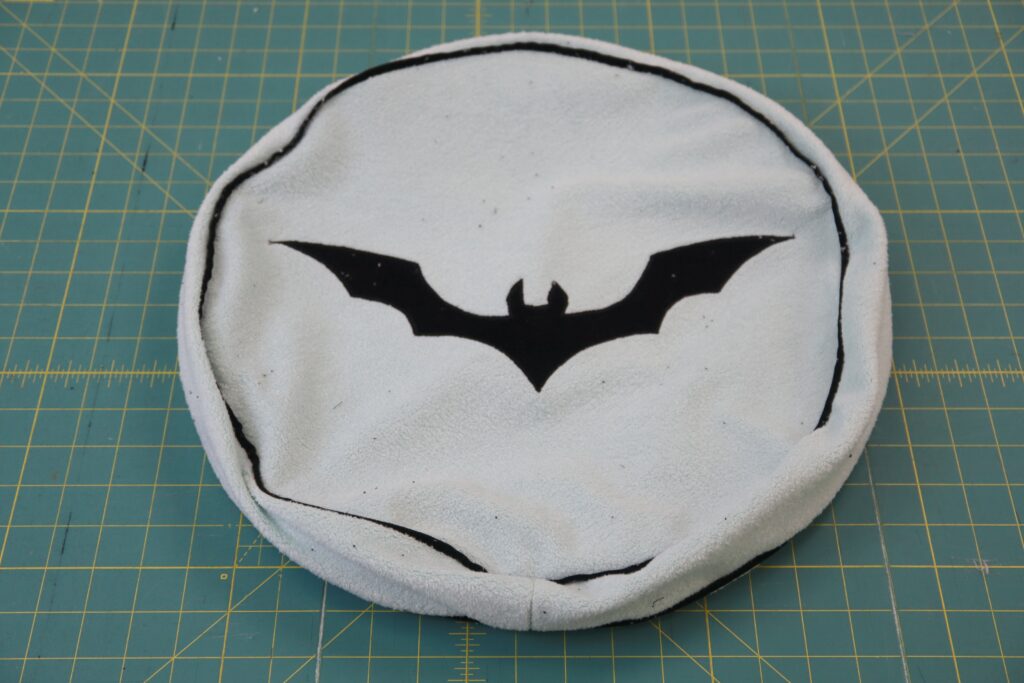
7. Place the applique on the pillow front (main fabric). Once you are happy with the placement, cover the applique with a press cloth or other suitable scrap of fabric. Press the applique in the same way you applied the fusible webbing. Press in one spot for 5 – 10 seconds and then lift the iron and place it on a new spot. Continue this process until the applique is fused in place.
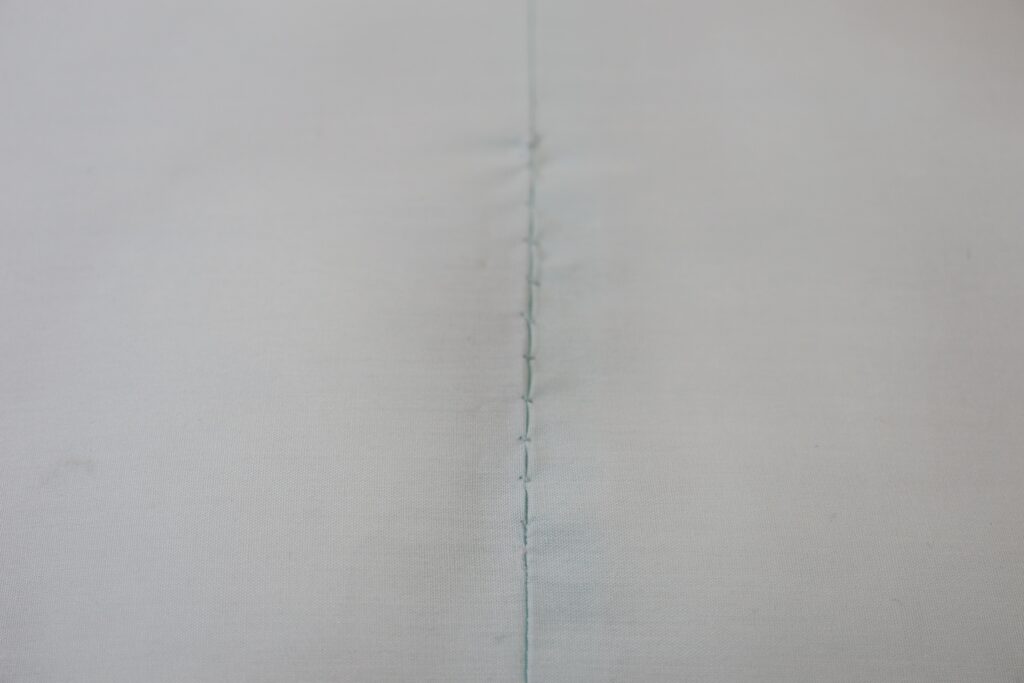
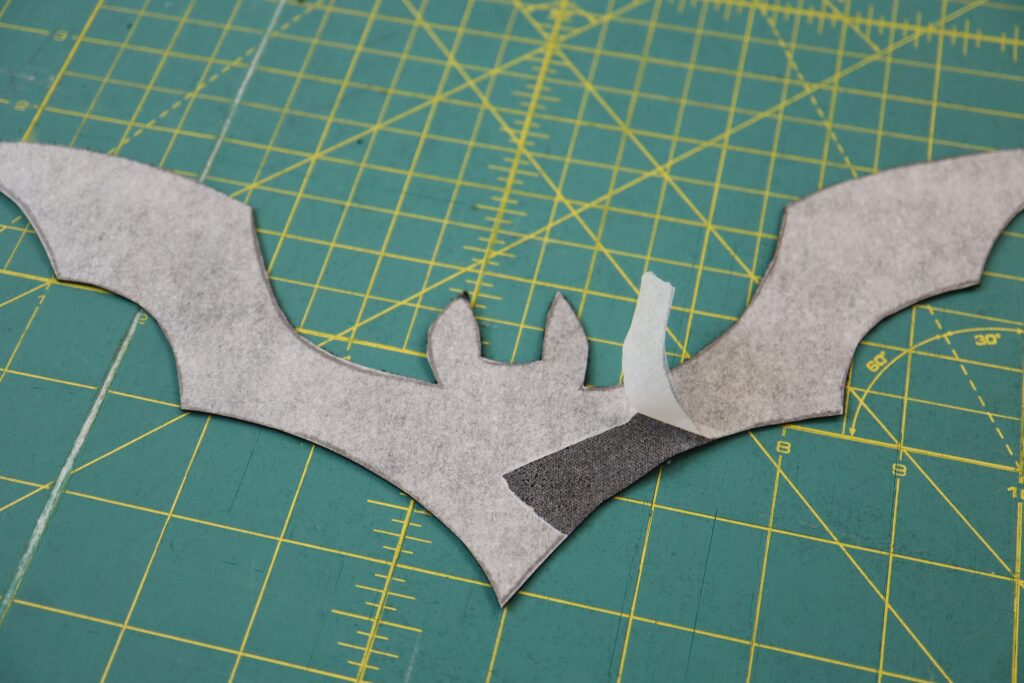
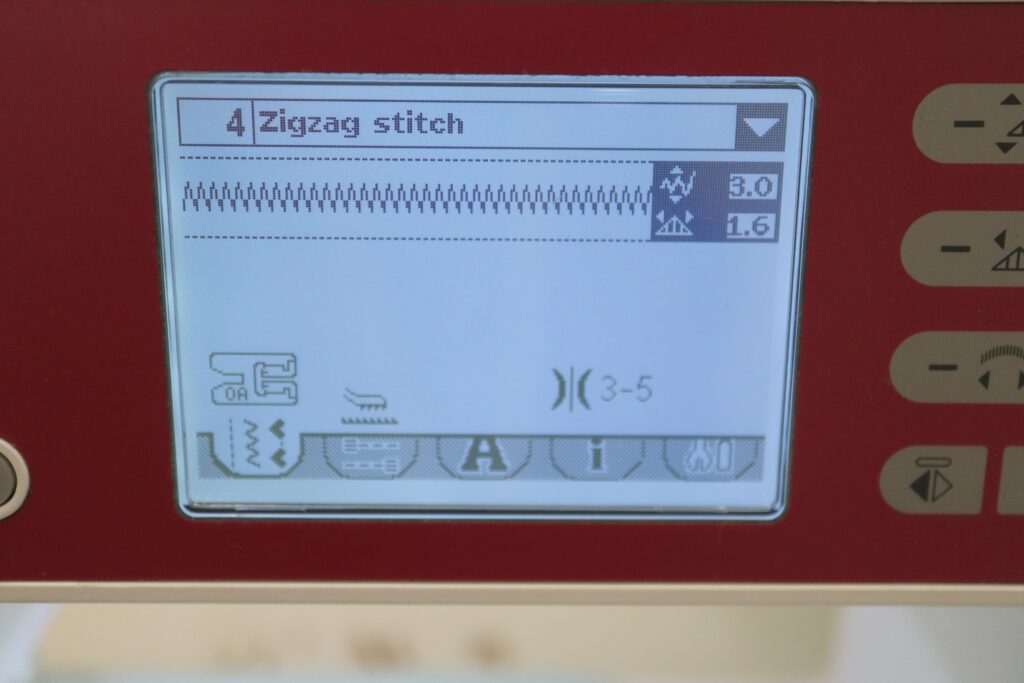
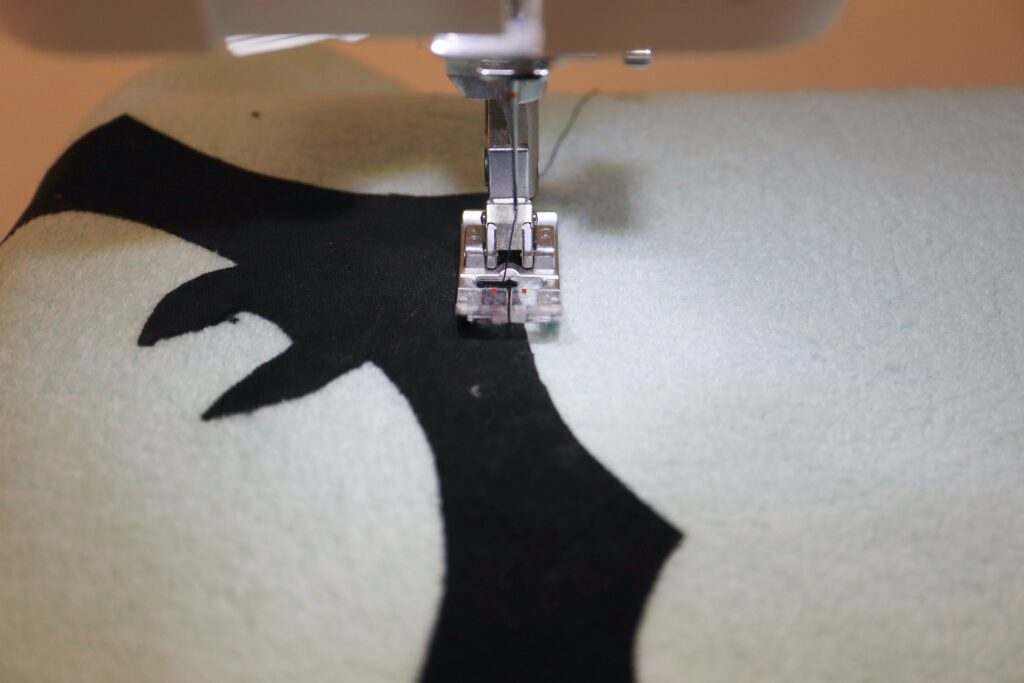
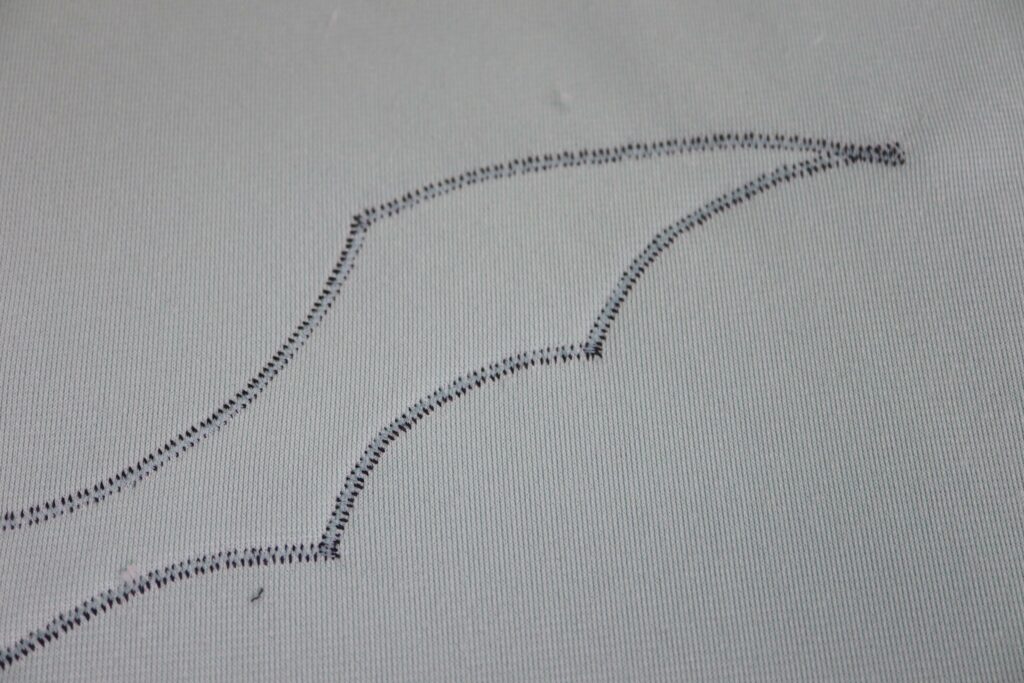
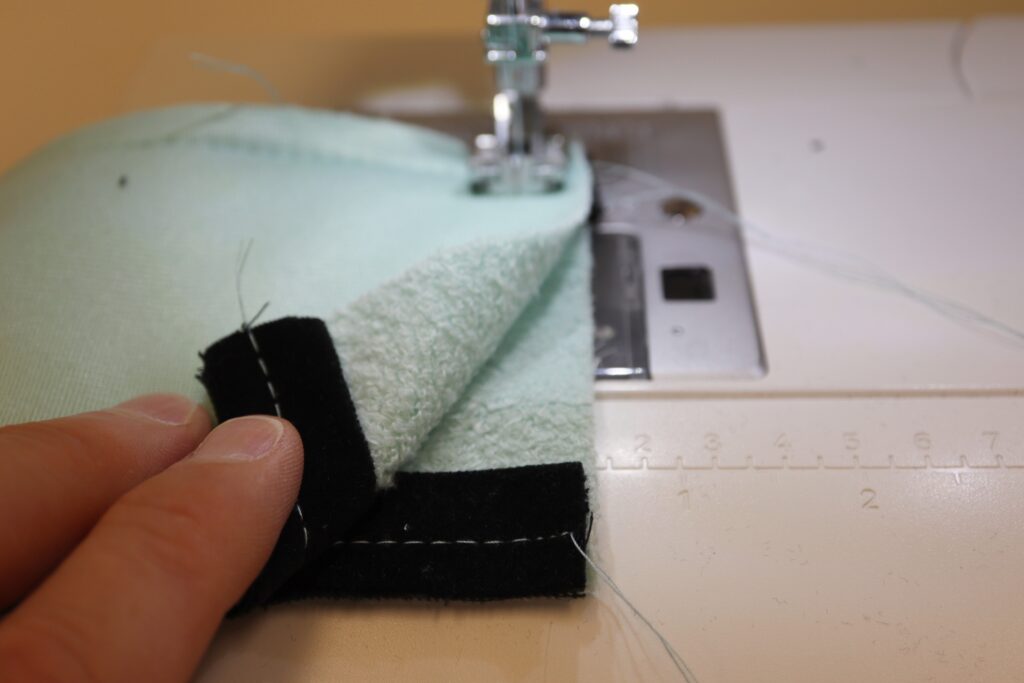
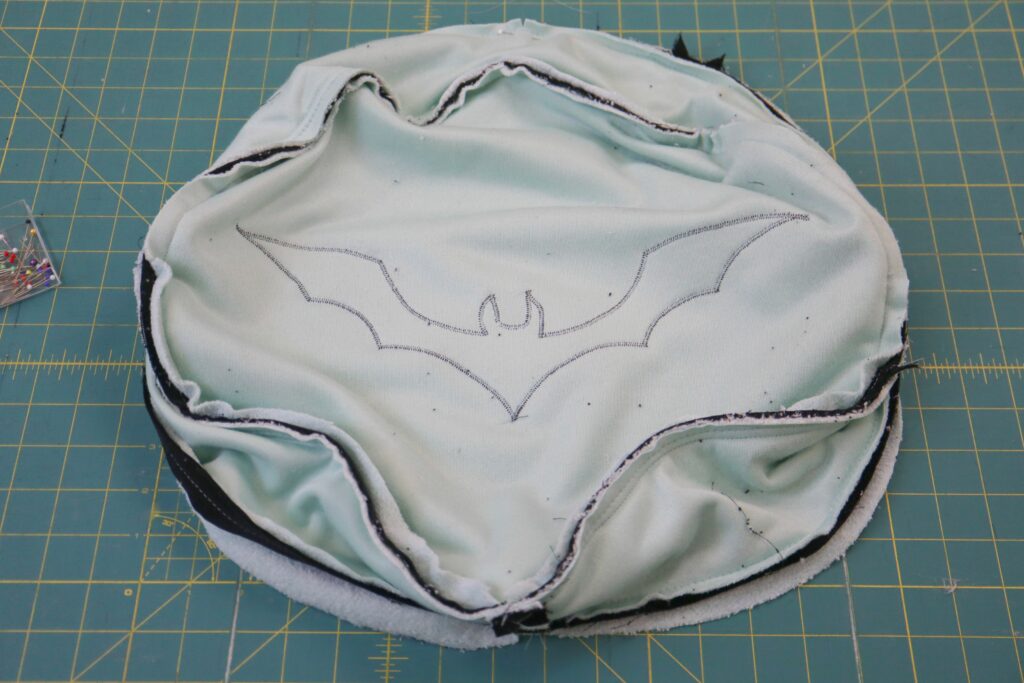
8. Now we are ready to stitch the applique in place permanently. Change your thread to match the colour of the applique (black for us). Set your sewing machine to a short zigzag stitch. As you form the zigzag stitch, the needle will go down on the left into the applique. The needle should go down on the right exactly on the edge of the applique. This zigzag stitch is meant to hold your applique in place AND prevent it from fraying. When you get to any corner on the applique, leave the needle in the fabric, raise the presser foot, pivot your work, and the lower the presser foot and continue stitching. The final photo above, shows the back of our applique to give you a better idea of what the stitching looks like. We would recommend trying out your zigzag stitch on a scrap of fabric to make sure you are happy with it before stitching into your pillow.
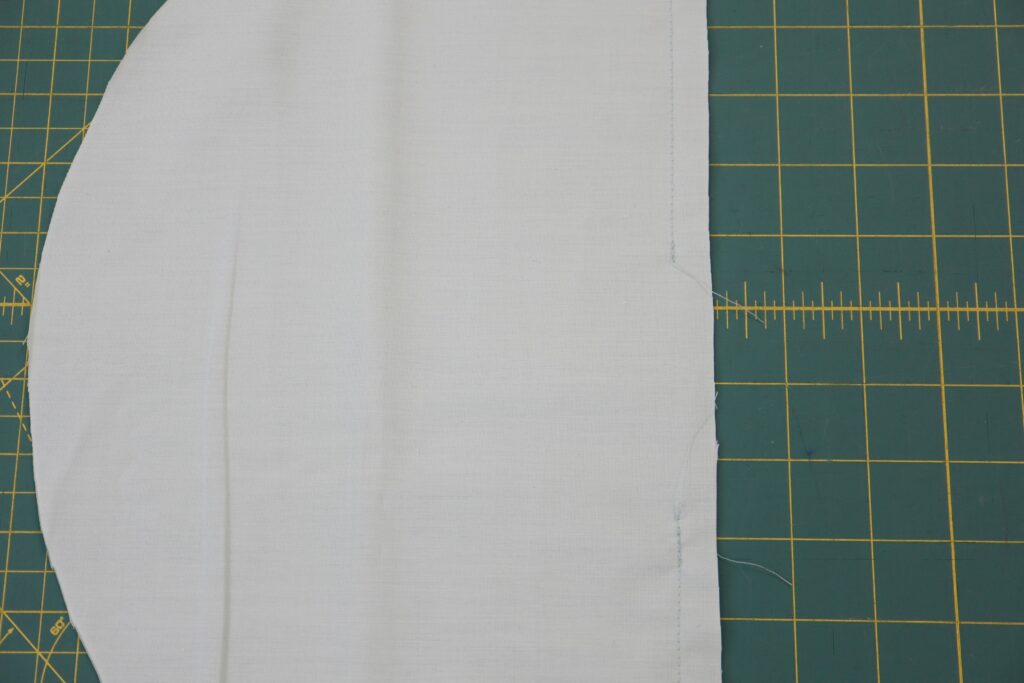
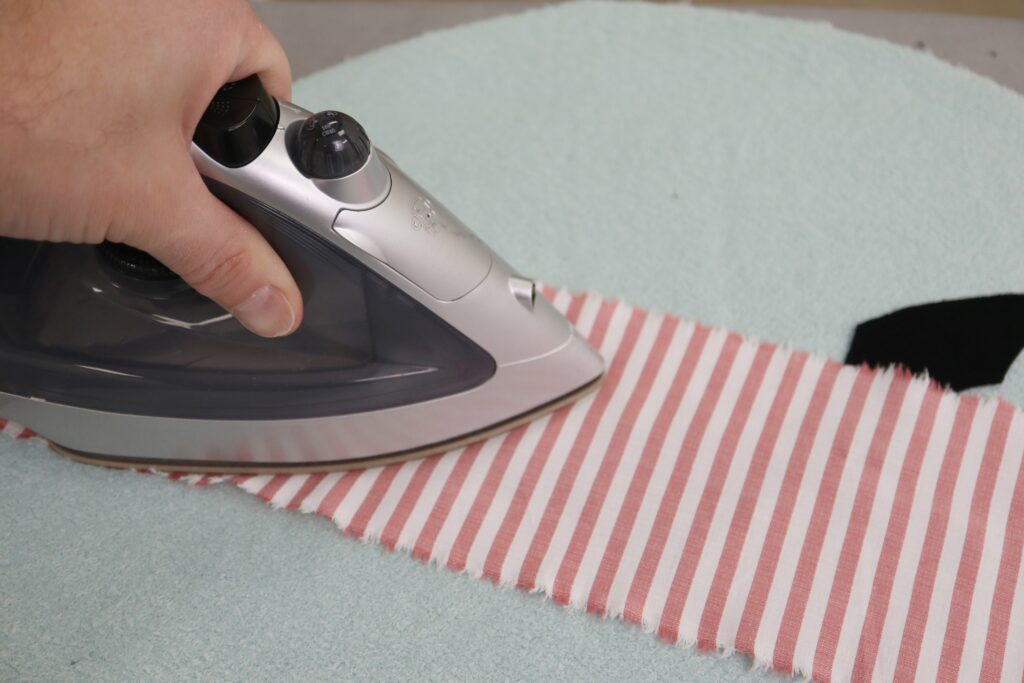
9. We need to hem each of the back pieces. Change the thread colour back to the colour of your pillow cover. Using a long basting stitch, stitch 1” away from the straight edge on each of the back pieces. Now, turn the back piece over and fold back the 1” hem on the basting line that you just stitched. Set your stitch back to a normal length and stitch the hem in place (approximately 1/8” from the cut edge).
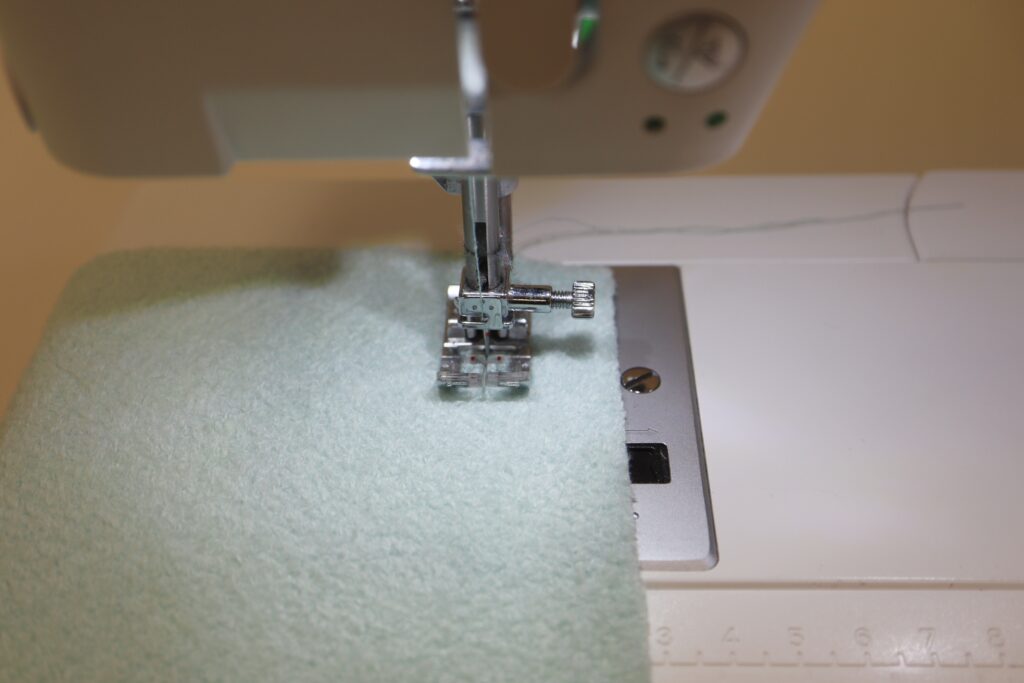
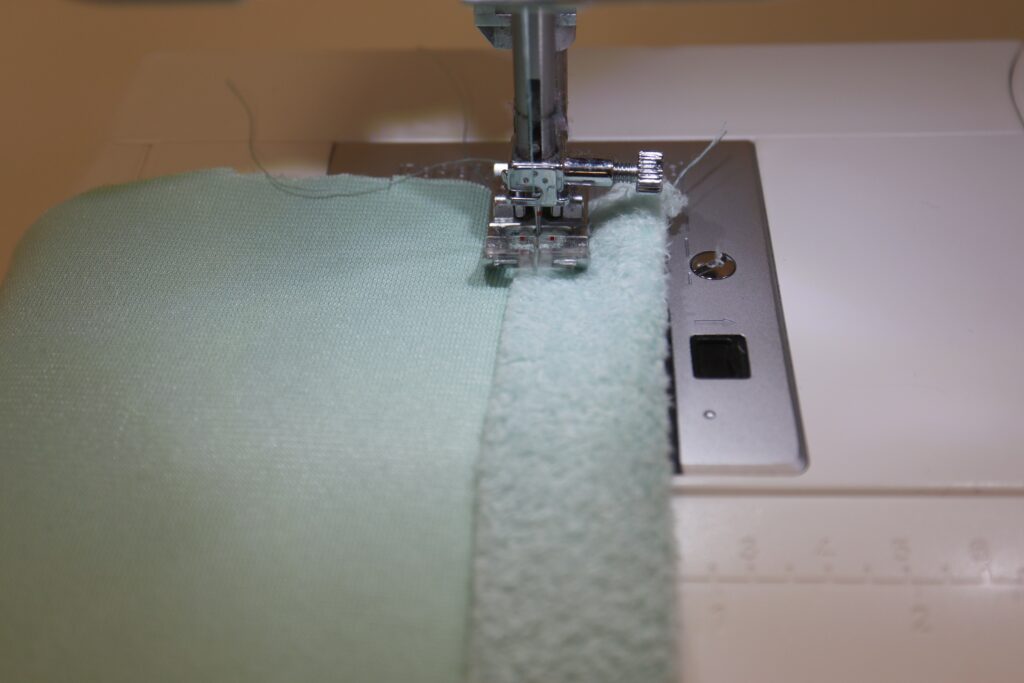
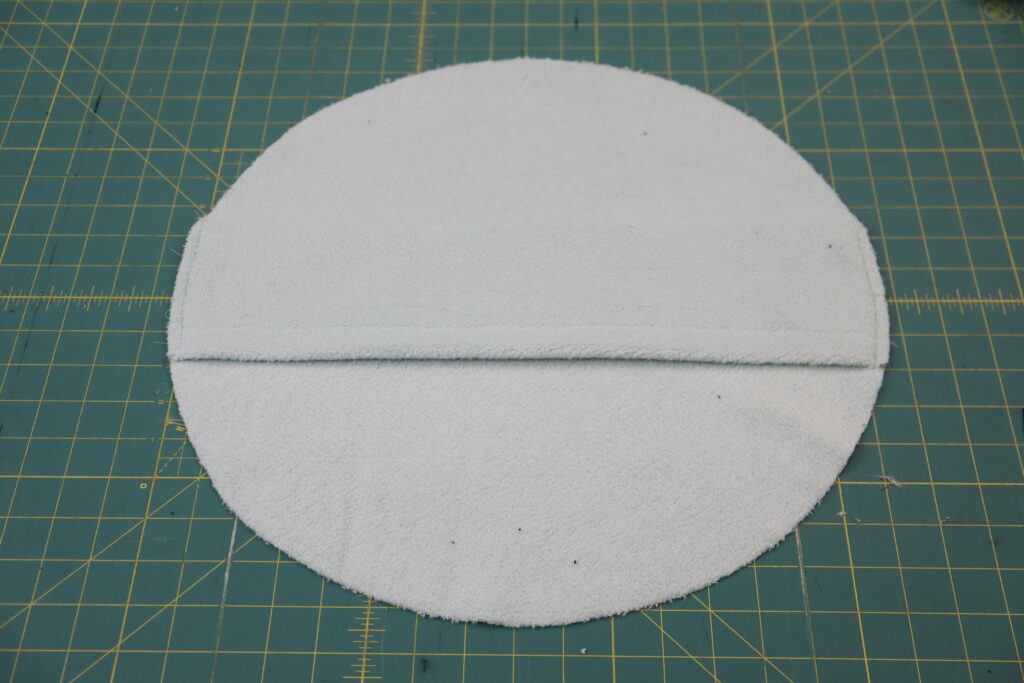
10. Overlap two backs as shown in the first image above, lining up the notches. Pin together as shown. Using a narrow seam allowance (3/8”) baste these pieces together as shown in the second image above.
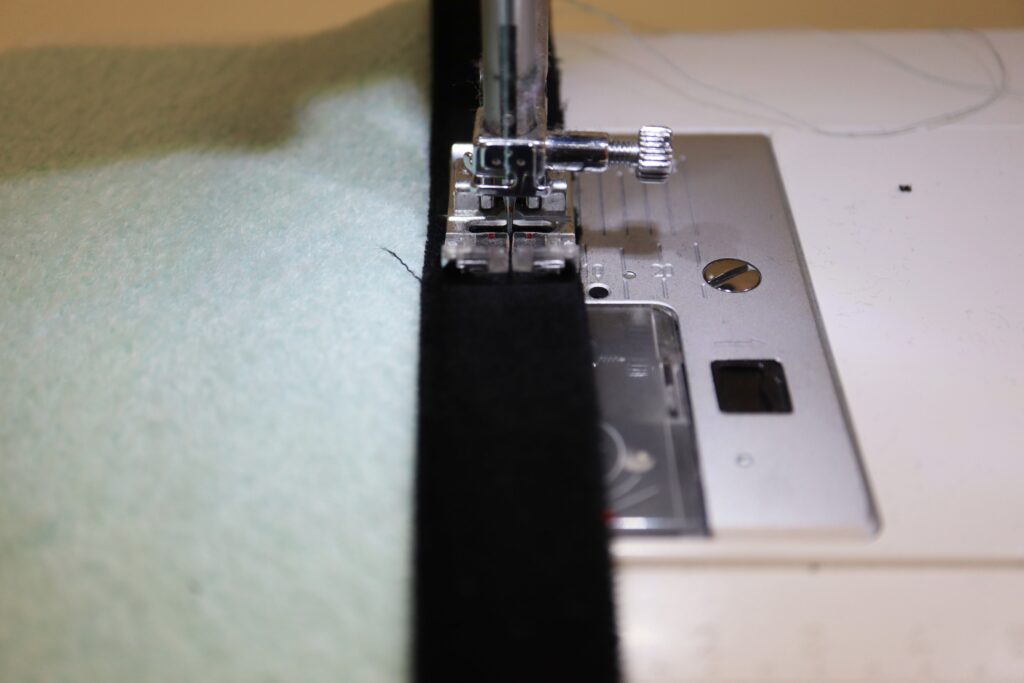
11. Cut four lengths of piping to the same length as your strips (51.25”). Baste the piping to the long edges of the strips using 3/8” seam allowance. Then fold the strip in half right-sides-together and stitch the short ends together. Press this seam open.
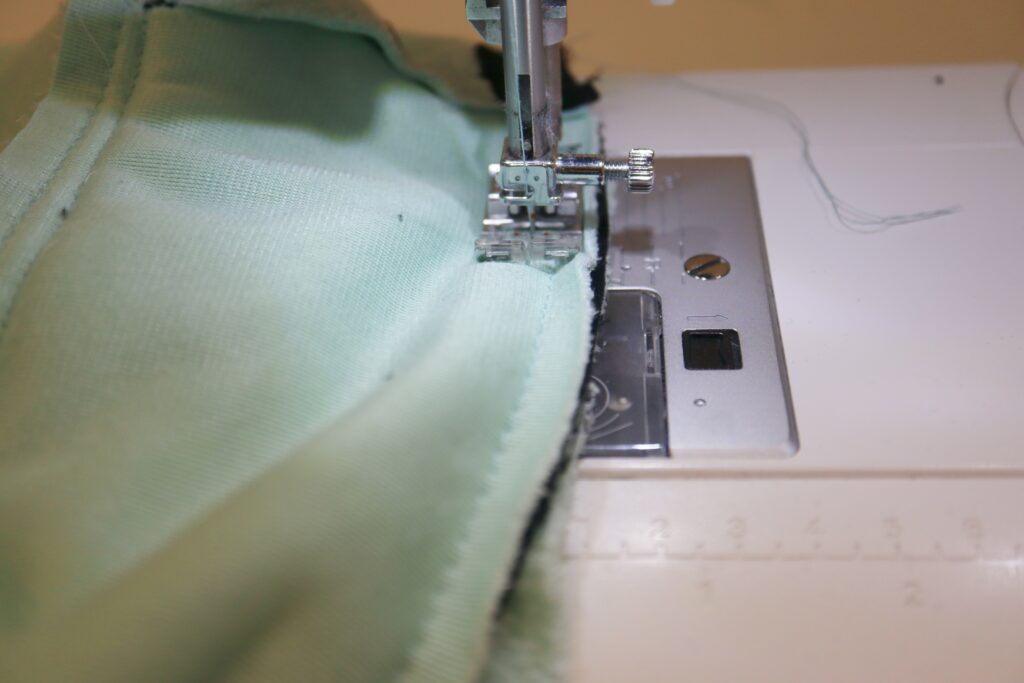
12. Mark quarters on your pillow front and the strip like you did for the pillow insert. Match up these points on the front and strip and pin. Carefully stitch the strip to the front using ½” seam allowance and with the strip on the top for ease of sewing.
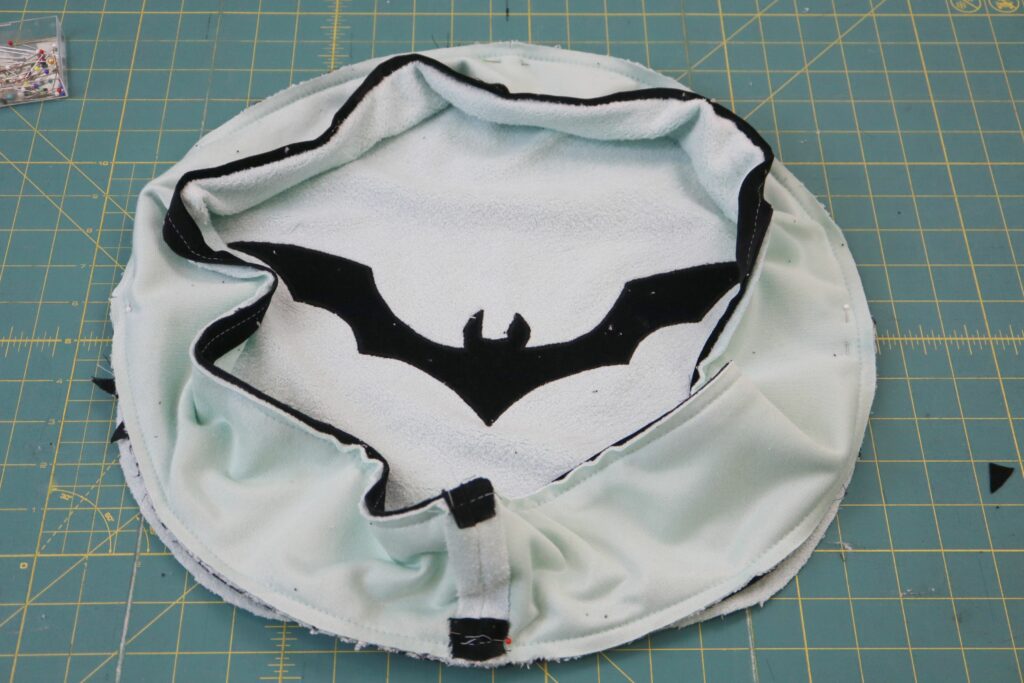
13. Mark quarters on the pillow back. Pin the strip (with front attached) to the pillow back, matching the quarter points.
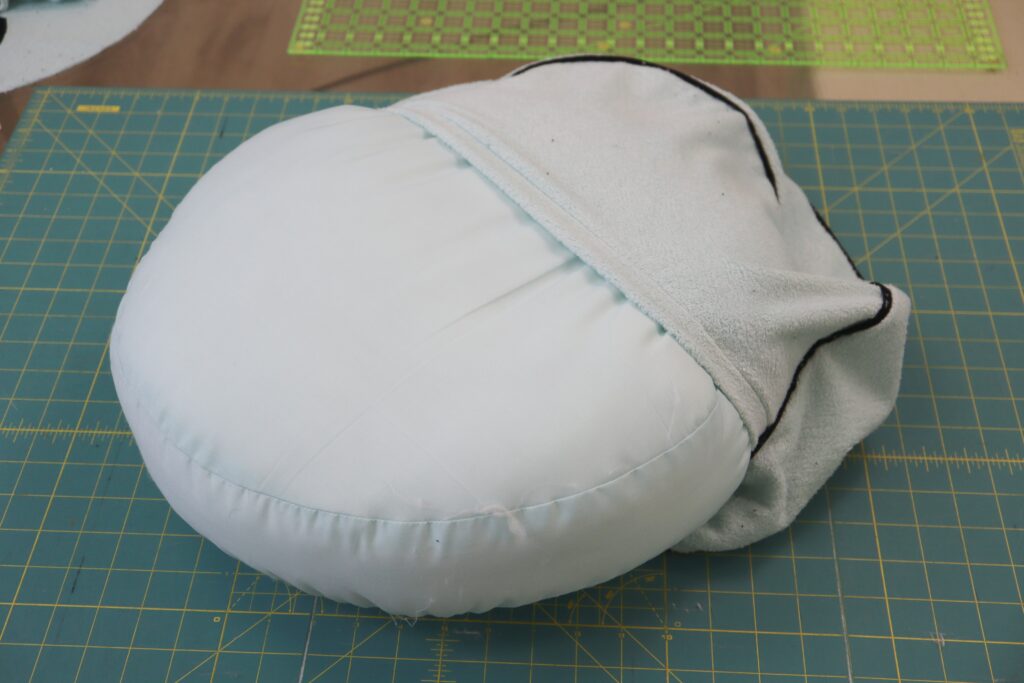
14. Turn the pillow cover right-side-out through the opening in the back of the pillow. Place the pillow insert inside the pillow cover.
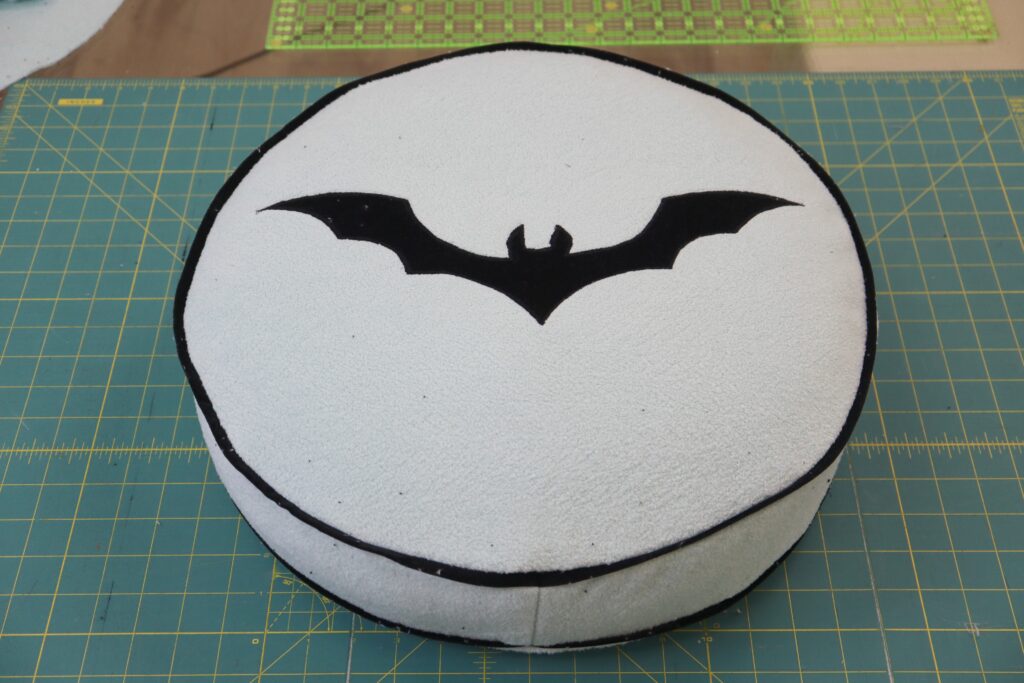
Enjoy the cozy and spooky vibes! If you loved this Halloween themed pillow you might like some of our other Halloween makes! Check out the full list of our Halloween DIYs here.


