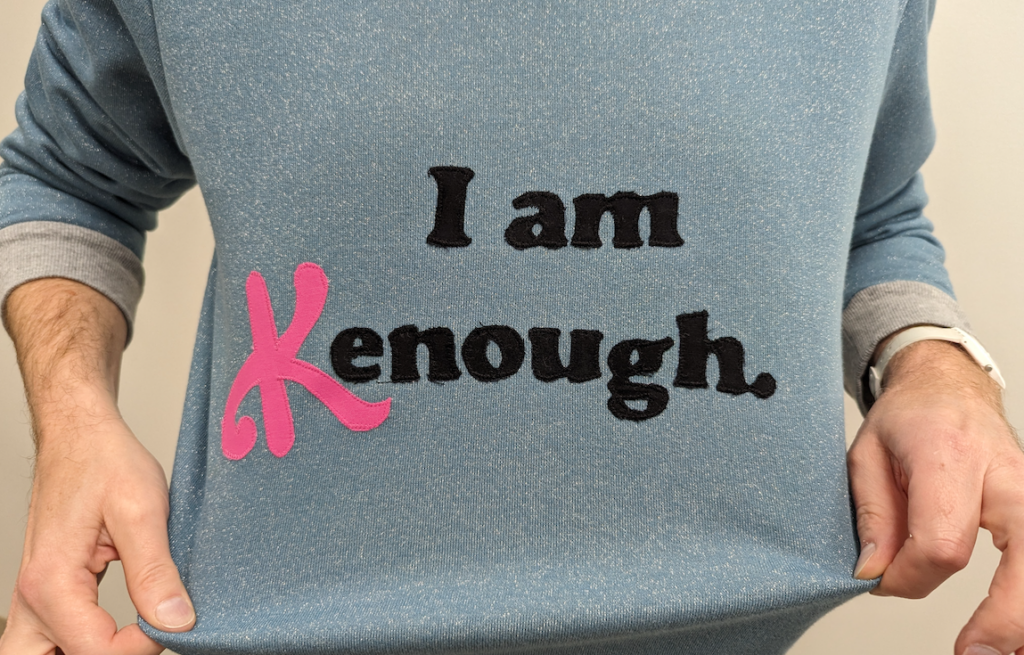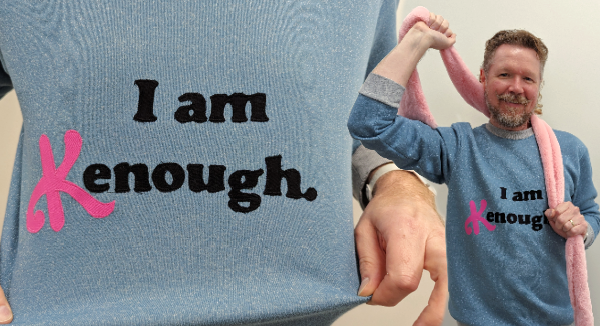
Looking to UP your Halloween game? Are you a Barbie fan? We’re going to teach you how to apply letter decals to any fabric so you can make your own “I am Kenough” sweater or the classic Barbie “B” to any outfit to make it look official!
Follow along with our How To video to watch all the steps in action. Read below to see the full break down of steps and materials you need to make any customised ‘fit. Remember, if you need to slow down any steps, you can reduce the speed on YouTube videos via the settings on the pause bar.
Materials Needed
If you’re making your own sweater (garment) grab all the materials you need to make that outfit, but don’t sew the front or back of your garment together! This will make applying your letter decals much easier. If you’re adding letters to a pre-made garment, you can pick open the side seams (leaving the sleeves and collar attached) to make applying the decals easier and then re-sew the side seams.
- The letter/symbol/shape you wish to recreate
- Wonder Under
- Printer Paper or paper you can see through
- Pencil
- Fabric you are tracing your letter/symbol/shape onto (ideally use a non-stretch, woven fabric)
- Matching thread to your fabric
- Iron (with a wool heat setting)
- Press cloth (scrap piece of medium weight cotton fabric)
- Scissors (paper and sewing)
Sewing Instructions
Step 1. Print off or draw the letter you wish to reproduce. Trace your shape/symbol onto the reverse side of your paper so you have a mirrored version of the image.
Step 2. Trace the mirrored version of the image onto the paper side of your Wonder Under.
Step 3. Rough cut out your image, make sure there is space on either side of your shape so the full image transfers onto the fabric. Place glue side down onto the wrong side of your fabric.
Step 4. Set your iron to a wool-setting. Grab your press cloth and place it over top of your image. Make sure it fully covers the Wonder Under so there won’t be any chance of glue transfer onto your iron. Place your iron down over the press cloth (do not rub or roll), hold for 10 second. Repeat this until the whole image has had heat applied to it. Let cool.
Step 5. Double check that your glue has stuck to all places on your fabric. Grab your scissors and cut your image out carefully. Flip your image over and score the paper with the tip of your scissors (creating a small slit in just the paper, not the fabric), peel the paper away.
If your glue has not stuck down in certain places, make sure to leave the paper in place and you can touch up the application with the iron. Be careful that the iron never touches any exposed glue.
Step 6. Grab the garment you will be applying your image to and find the placement you desire with the glue side down. Grab your iron again, with the press cloth, and apply the image to your garment using the same ironing technique mentioned above. Let cool.
Step 7. Take your garment to the sewing machine and make sure your machine is set to a tight zig-zag stitch. We used a zig-zag stitch with the Width set to 2.5 and the Length set to 2.0. Make sure your needle is lined up so the right side side of your stitch is right against the edge of your decal, and the left stitch of your needle sews into the decal (visually indicated to in the video). Sew your decal onto your garment slowly, taking care around curves, pivoting often. When pivoting on an outside curve, make sure the needle remains down in the right-hand position so your stitch does not become uneven. When pivoting to the inside edge make sure your needle remains down in the left hand position, overstitching by 1 stitch so when you pivot your stitches remain even.
Step 8. Trim your threads, sew your side seams of your garment, and you’re ready to go! Your garment is not only washable, but super fabulous too. Share with us on social media what you created using this technique, and if you come across our video on Instagram or YouTube, be sure to give it a like so more people can learn how to create an beautiful-Barbie decal!