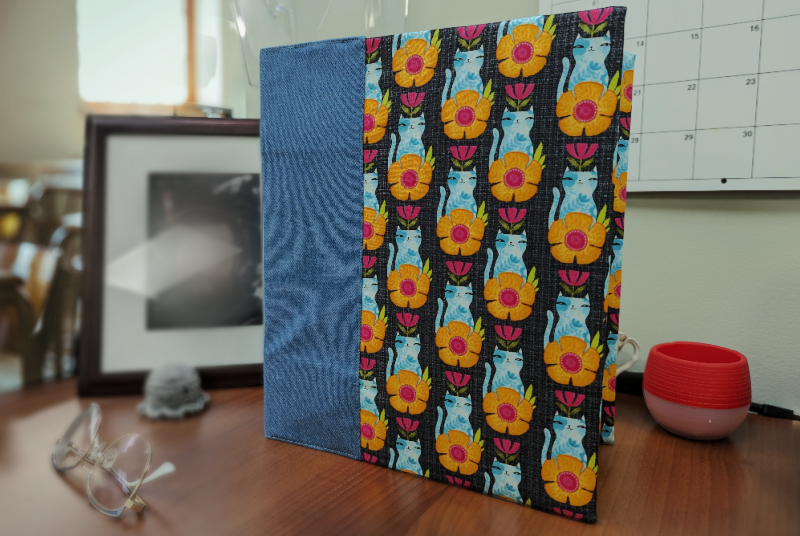
Do you find your binders looking a little dingey over time? Are you tired of the same old boring looks available from your local office supply store? This article will show you that you can create fabric covers infused with your personality AND if they start to get dingey, you can wash them!
Here’s what you’ll need:
- 5/8 yard of fabric for spine. We used our Softwash Denim, but canvas would also be a good option.
- 3/8 yard of printed cotton. We used a print from the Here Kitty Kitty collection by Cori Dantini
- 1 ¼ yards of heavy fusible interfacing. We used Decor Bond by Pellon
- Thread to match your fabric selections
- Rotary Cutter, Ruler and Cutting Mat OR Scissors, Ruler and Fabric Marker
- Sewing machine with straight stitch and zig zag stitch
- A Jeans needle for your sewing machine
- Iron, Ironing Board, and Press Cloth
- A 1” Binder – when opened, our binder measures 22” wide by 12” tall
Step 1: Before we get started, if you are using 100% Cotton fabrics, we recommend preshrinking your fabric.
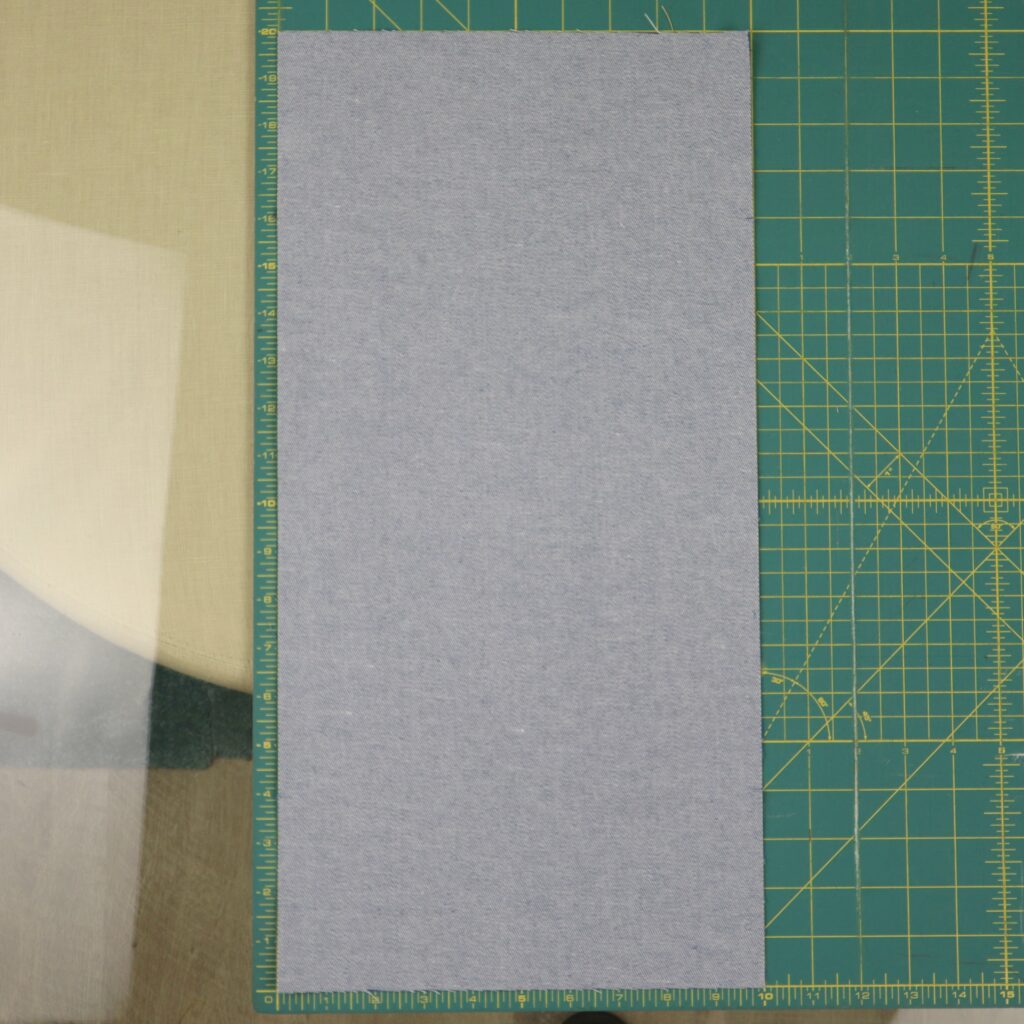
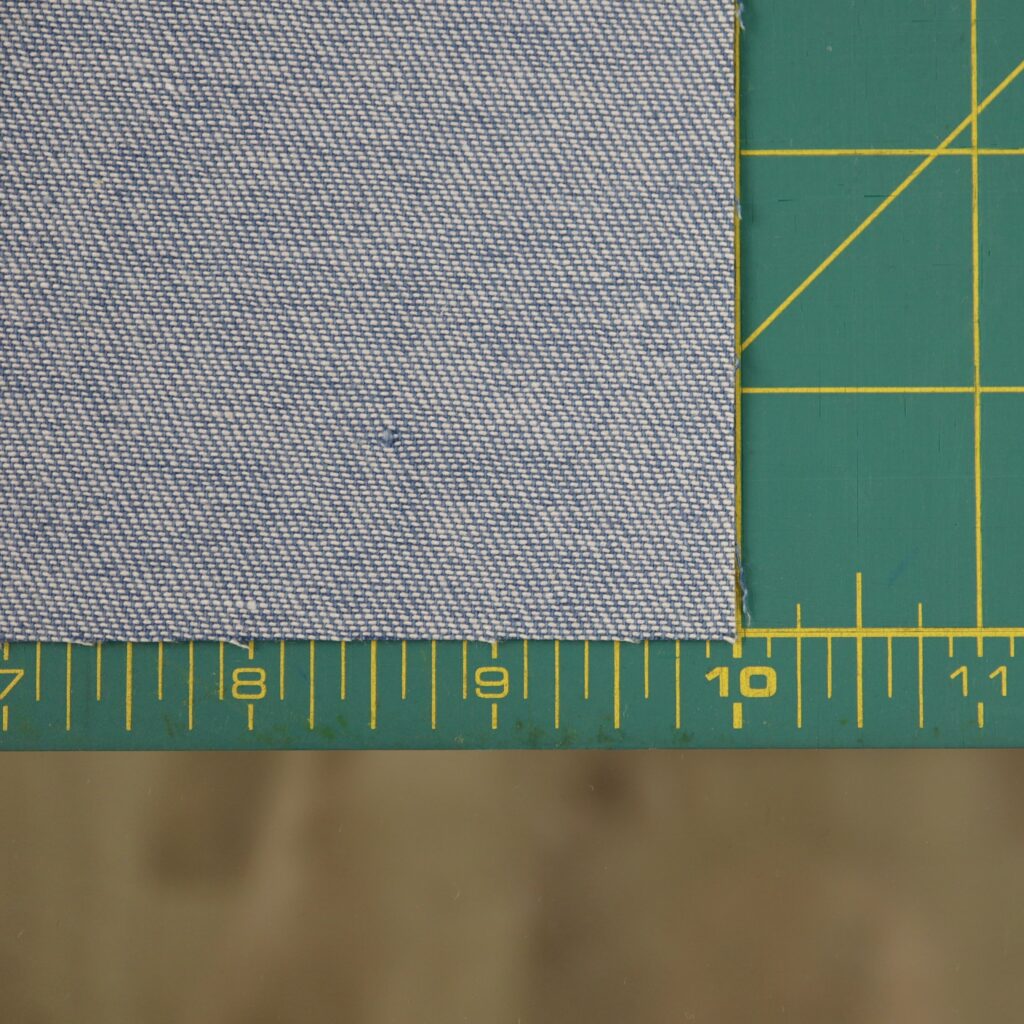
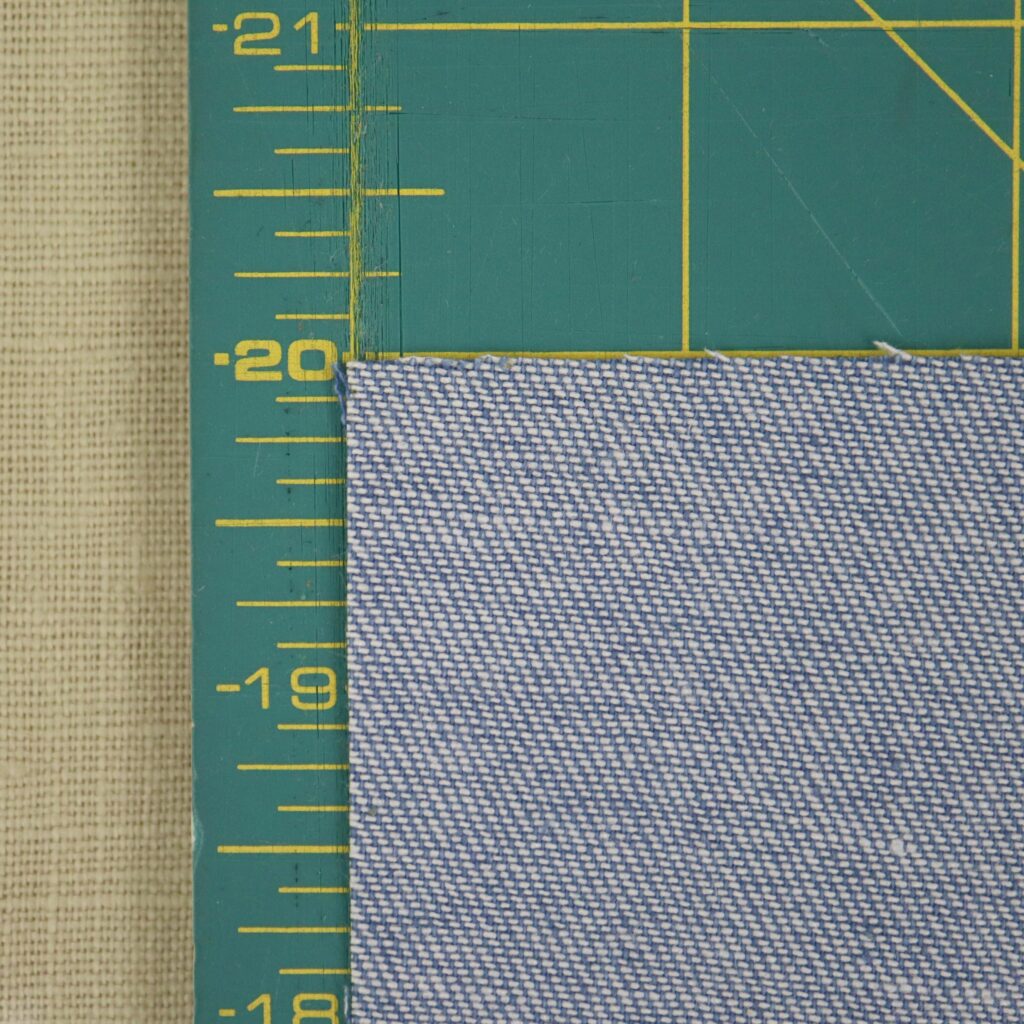
Step 2: Let’s cut the piece for the spine. Cut a piece of denim or canvas 10” wide by 20” tall. (Note: Our 1” binder, when opened up, measures 22” wide by 12” tall. If you are covering a larger binder that is wider than 22”, whatever difference that is, make the spine piece wider by that amount. For example, if your binder is 25” wide when open, cut the spine piece 13” wide).
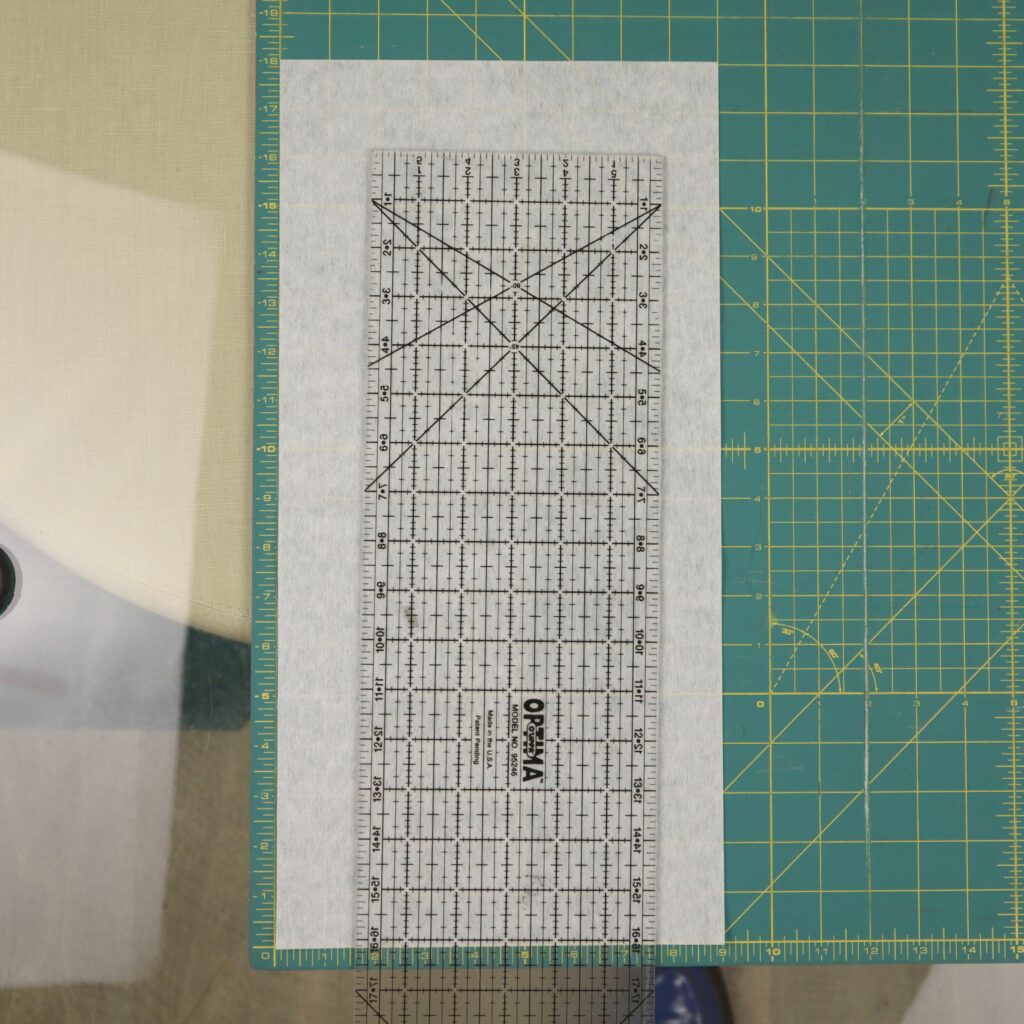
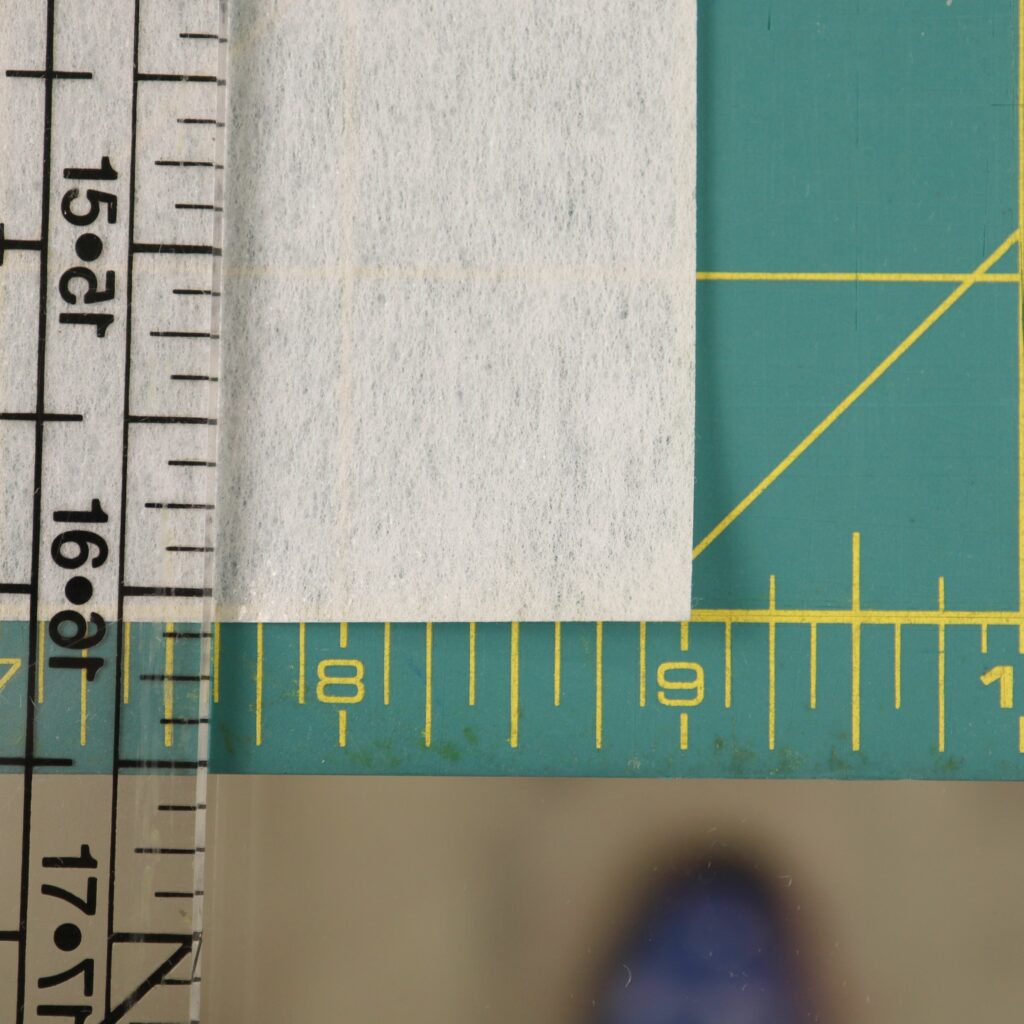
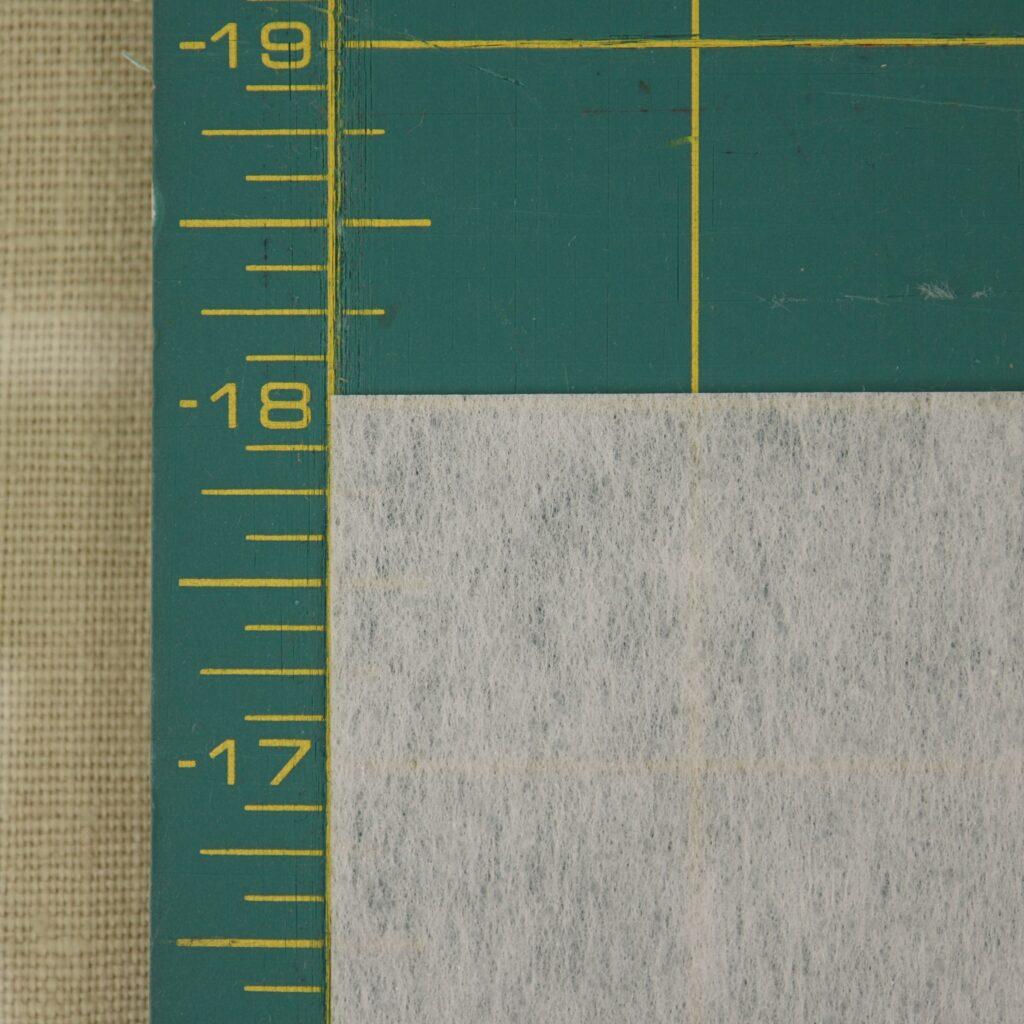
Step 3: Let’s cut the interfacing for the spine. The interfacing should be 1” narrower and 2” shorter than your spine fabric piece. If your binder is 22” wide by 12” tall like ours, cut a piece of interfacing 9” wide by 18” tall. If your spine is wider, cut the interfacing accordingly.
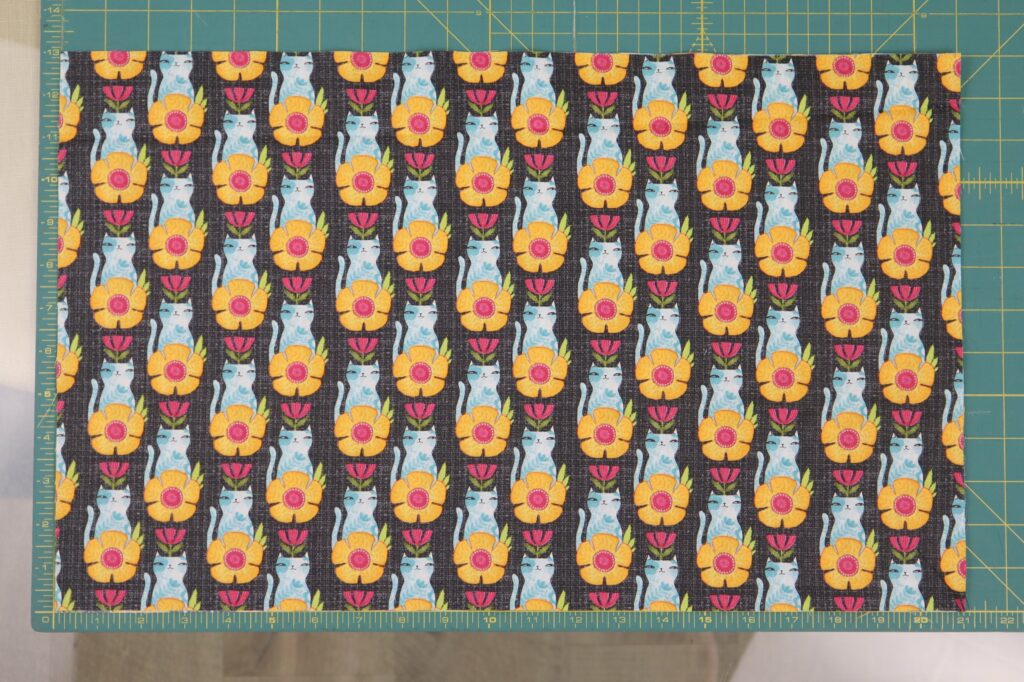
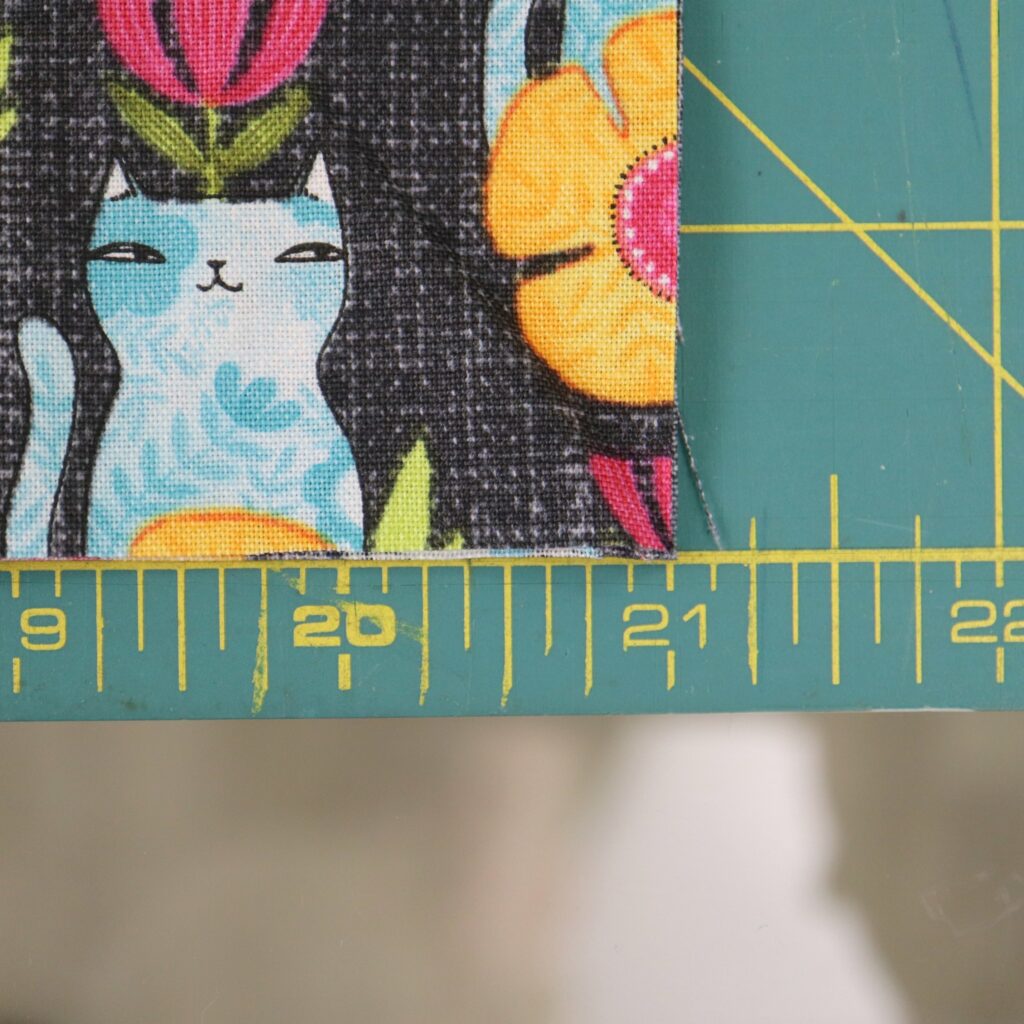
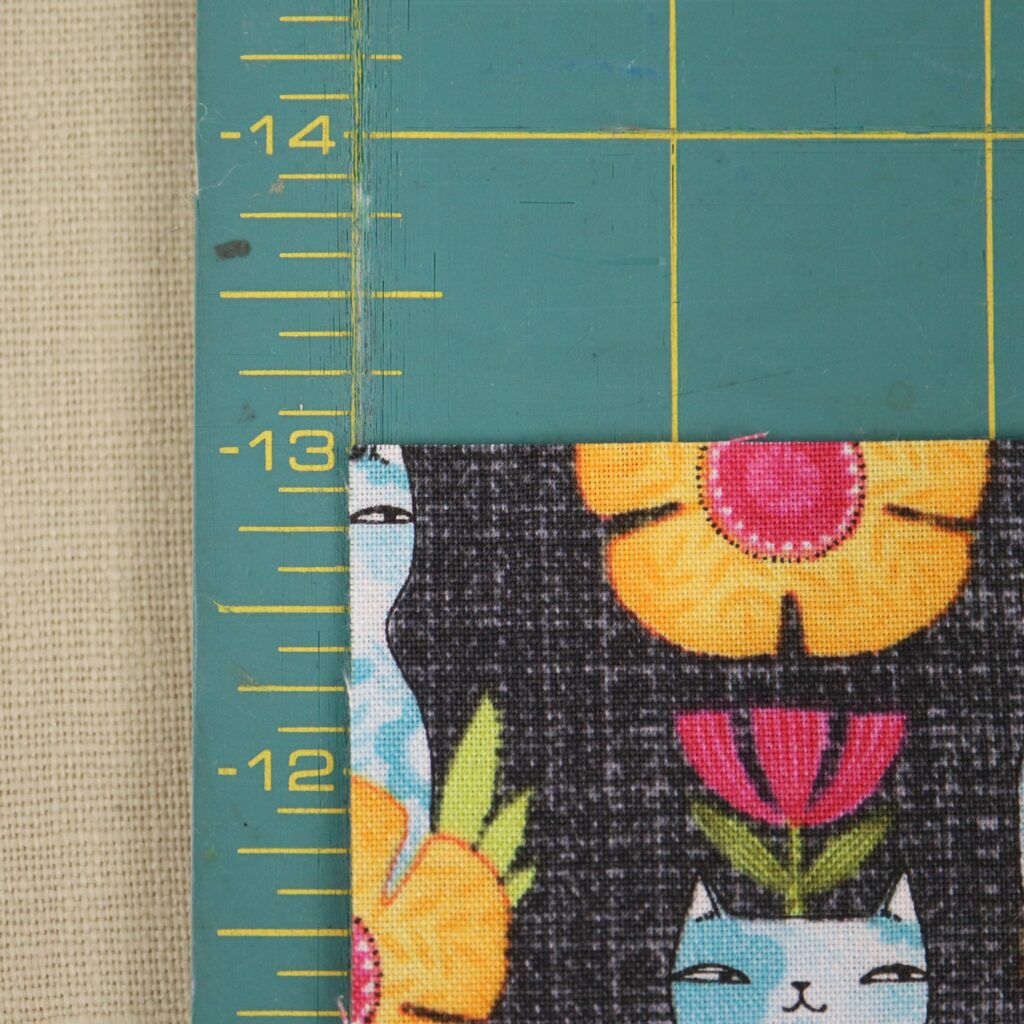
Step 4: Let’s cut the main fabric. Cut two pieces that are 21” wide by 13” tall.
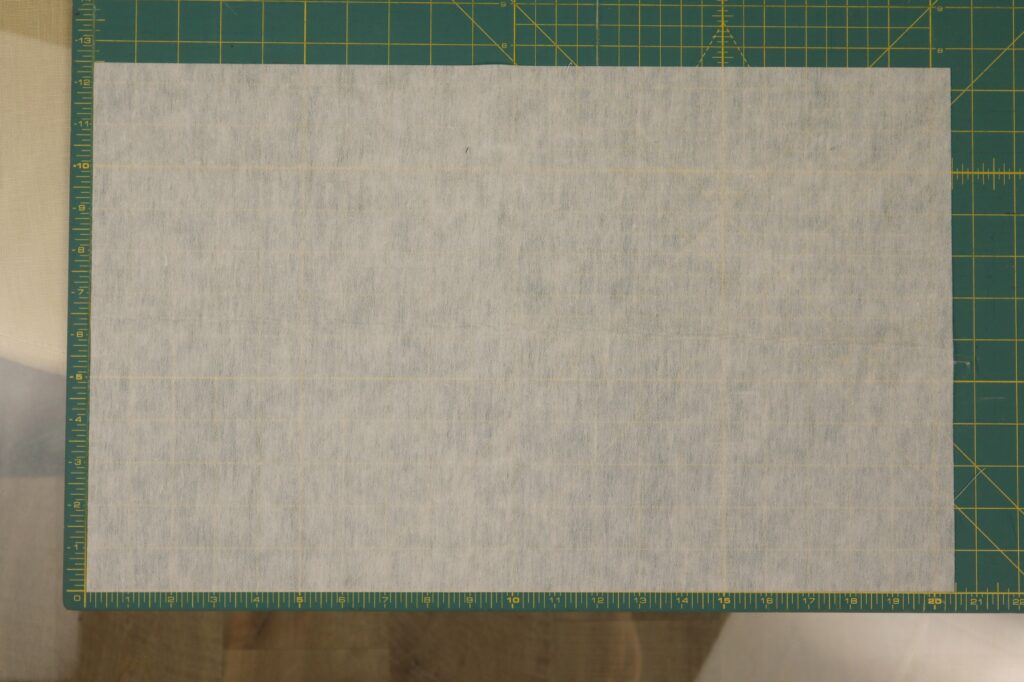
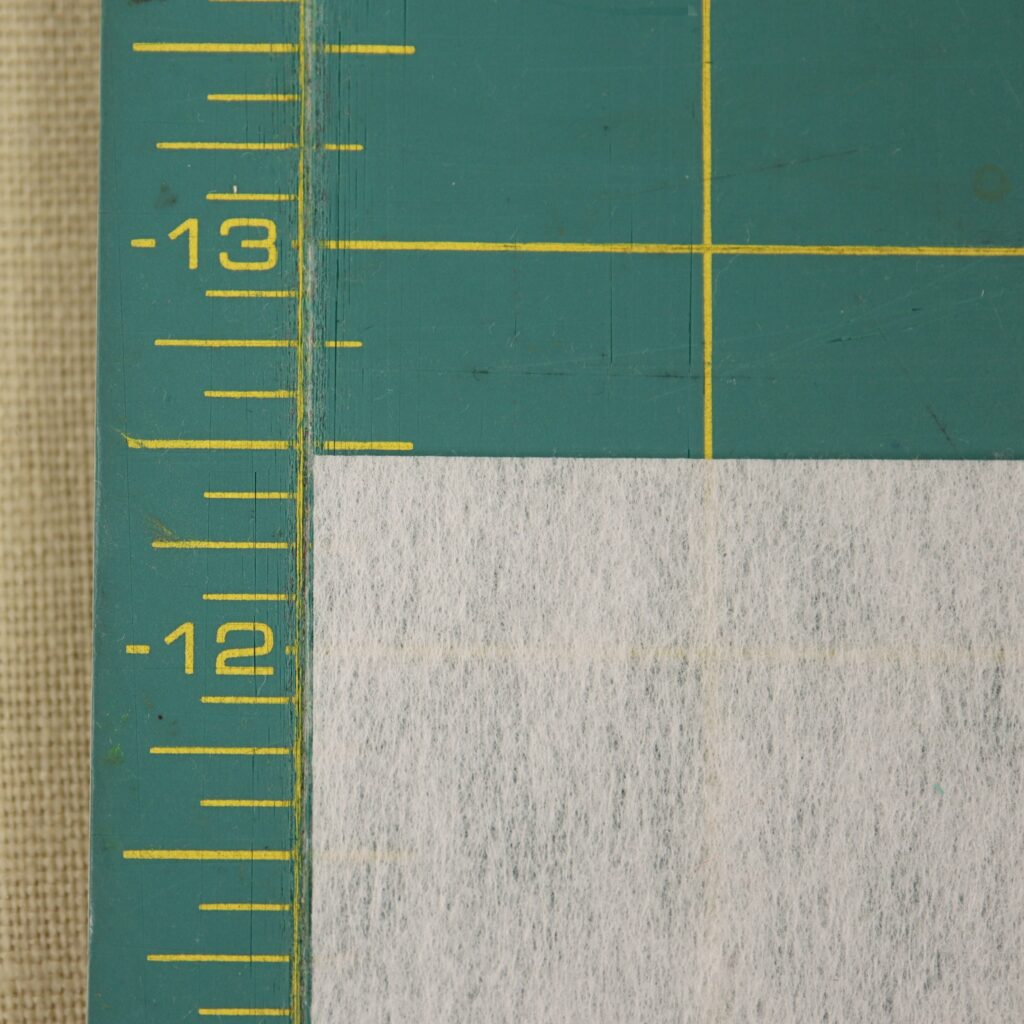
Step 5: Let’s cut the interfacing for our main fabric pieces. Cut two pieces of interfacing 20.5” wide by 12.5” tall.
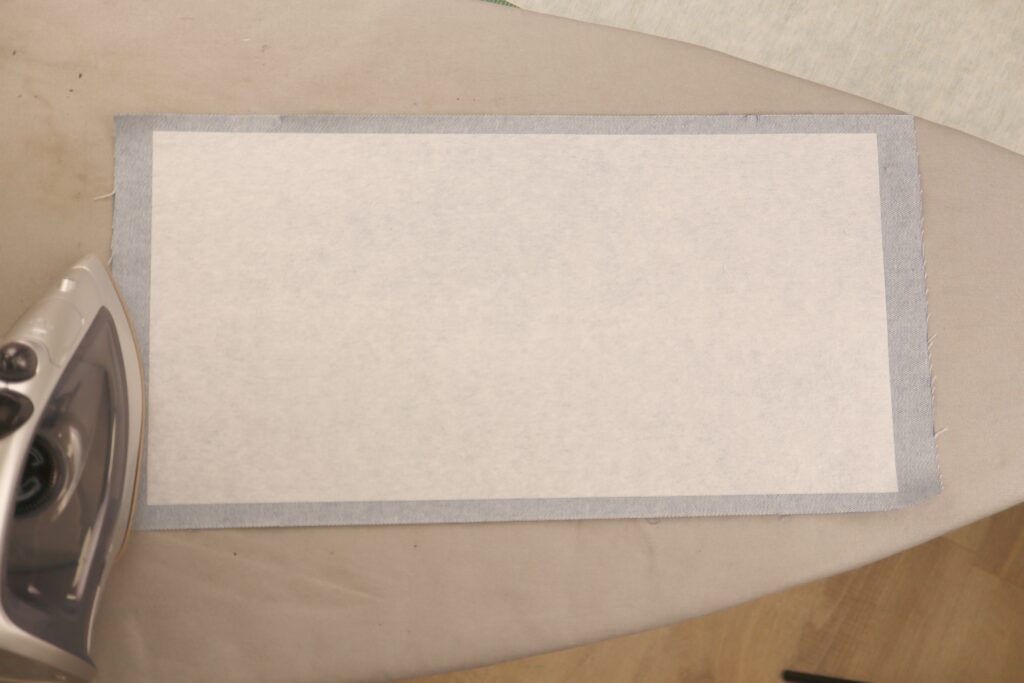
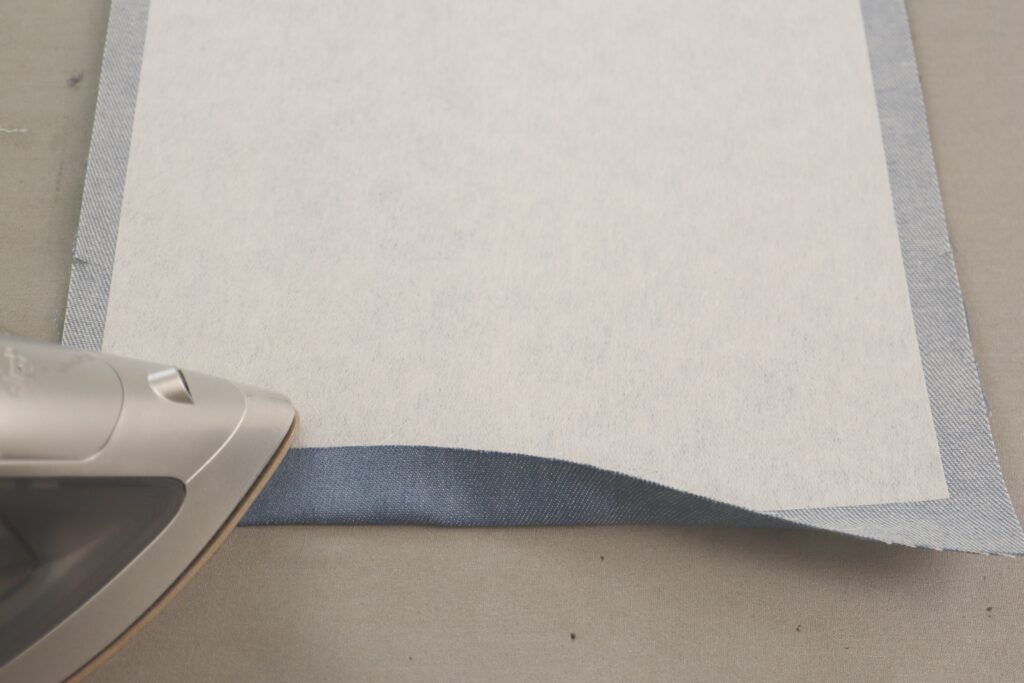
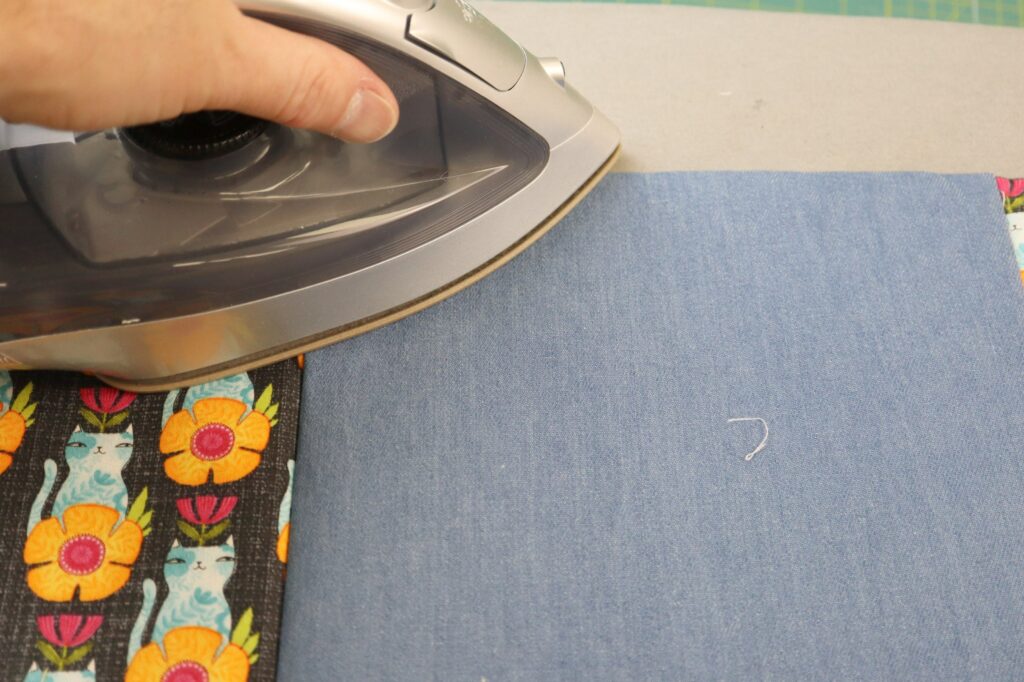
Step 6: Lay the fabric for the spine face down on your ironing board. Center the interfacing on it as shown with the glue side of the interfacing facing down (toward the fabric – away from the iron). With your iron set to the wool setting (medium heat) and steam, press the interfacing in place. We recommend using a press cloth to keep the interfacing from sticking to your iron. Do not slide the iron over the interfacing. Instead, press for about 10 seconds and then lift the iron and press a new section, until all of the interfacing has been applied.
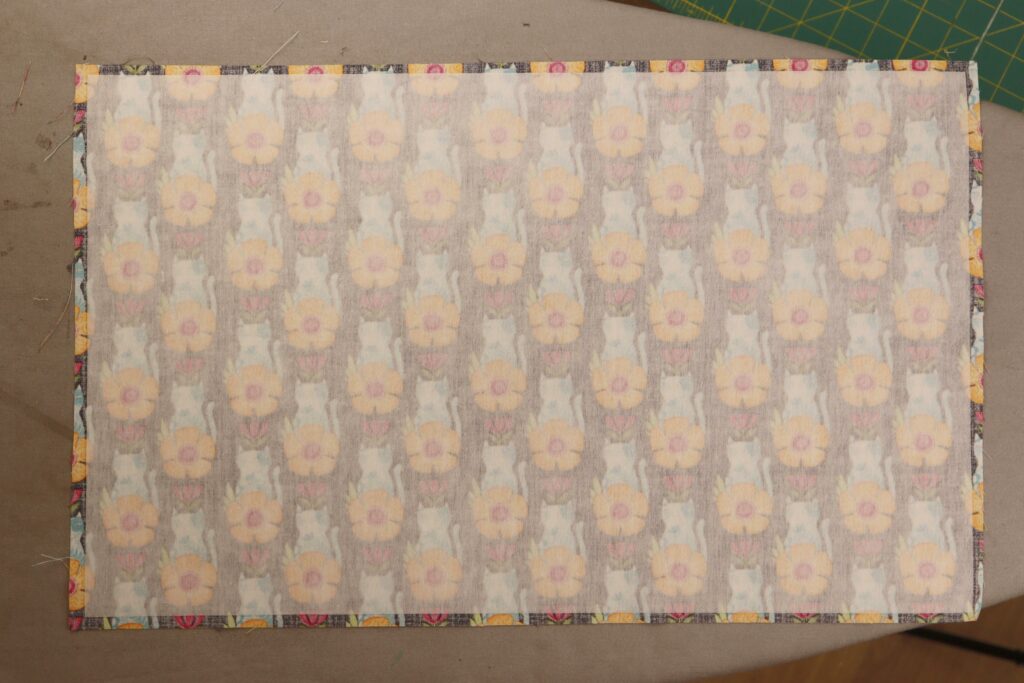
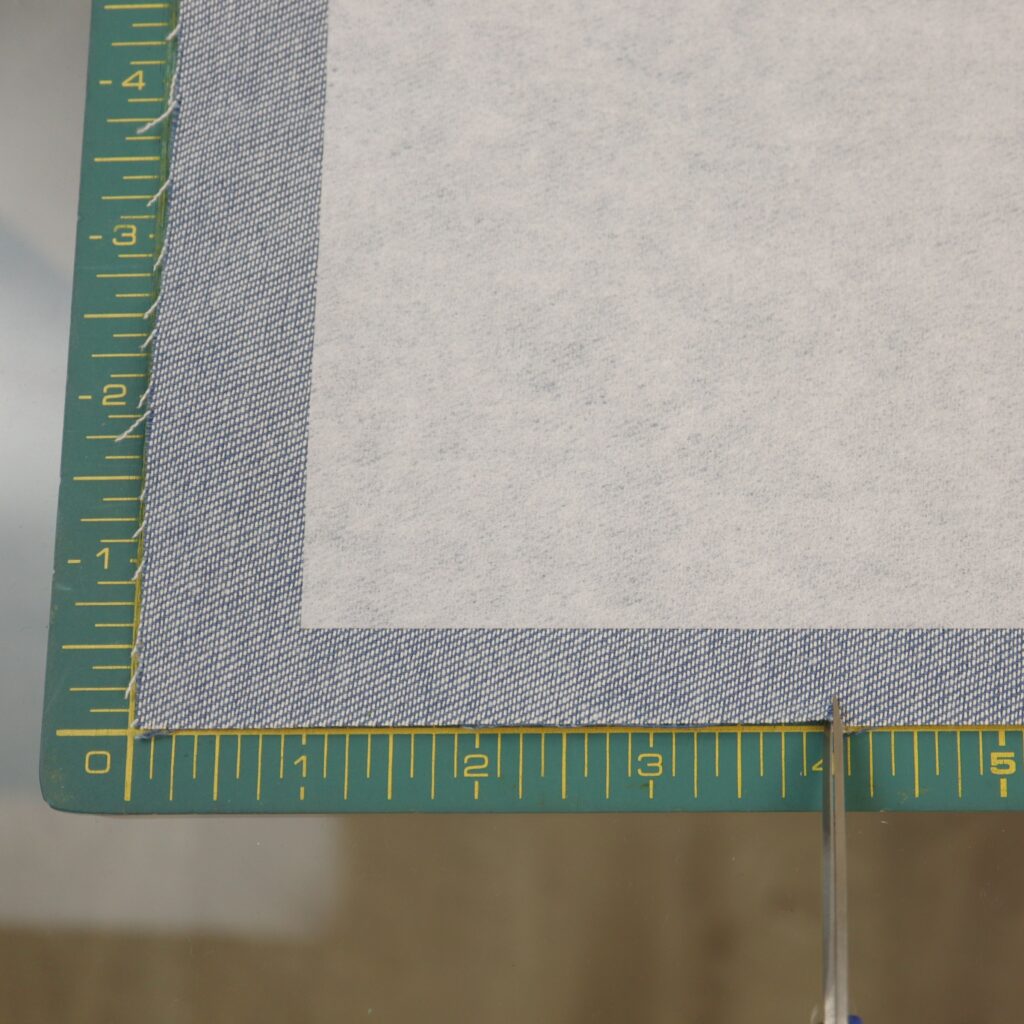
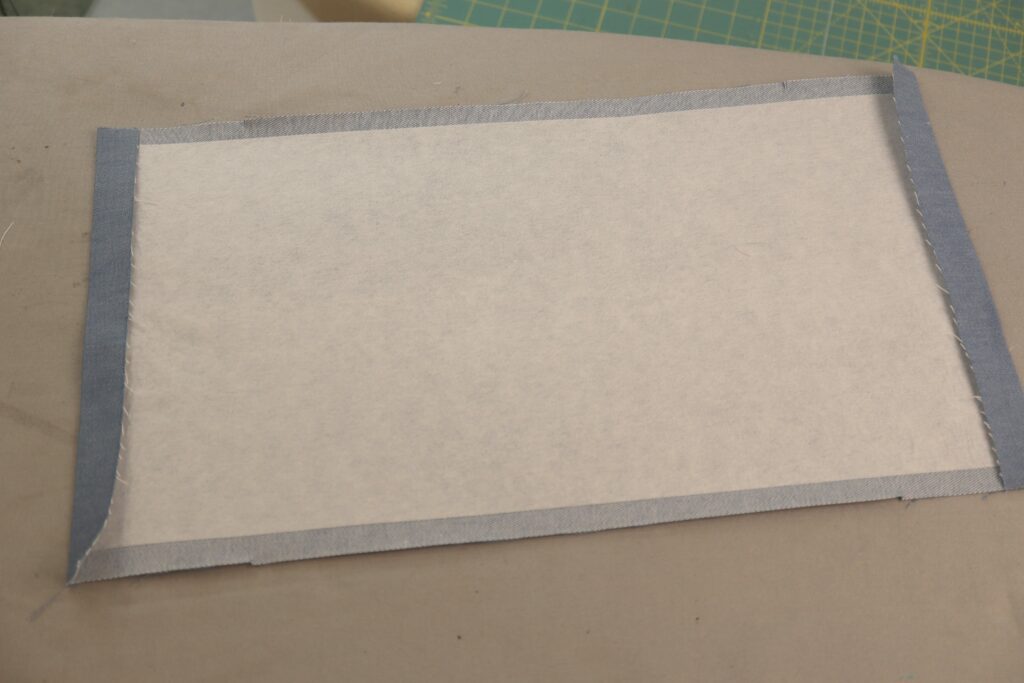
Step 7: Apply interfacing to the back of the main fabric pieces as shown above. The interfacing should sit 1/4” in from the edge of the fabric. Follow the same pressing instructions used for the spine.
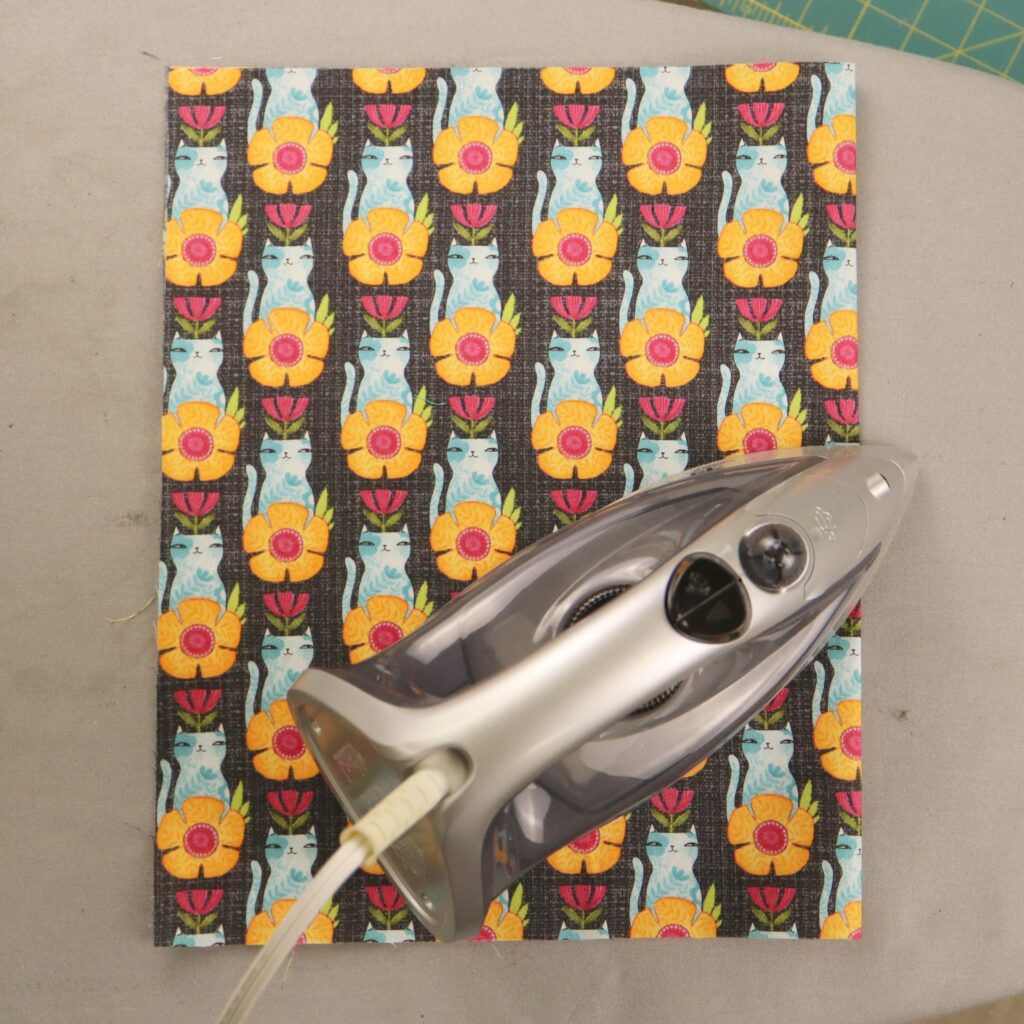
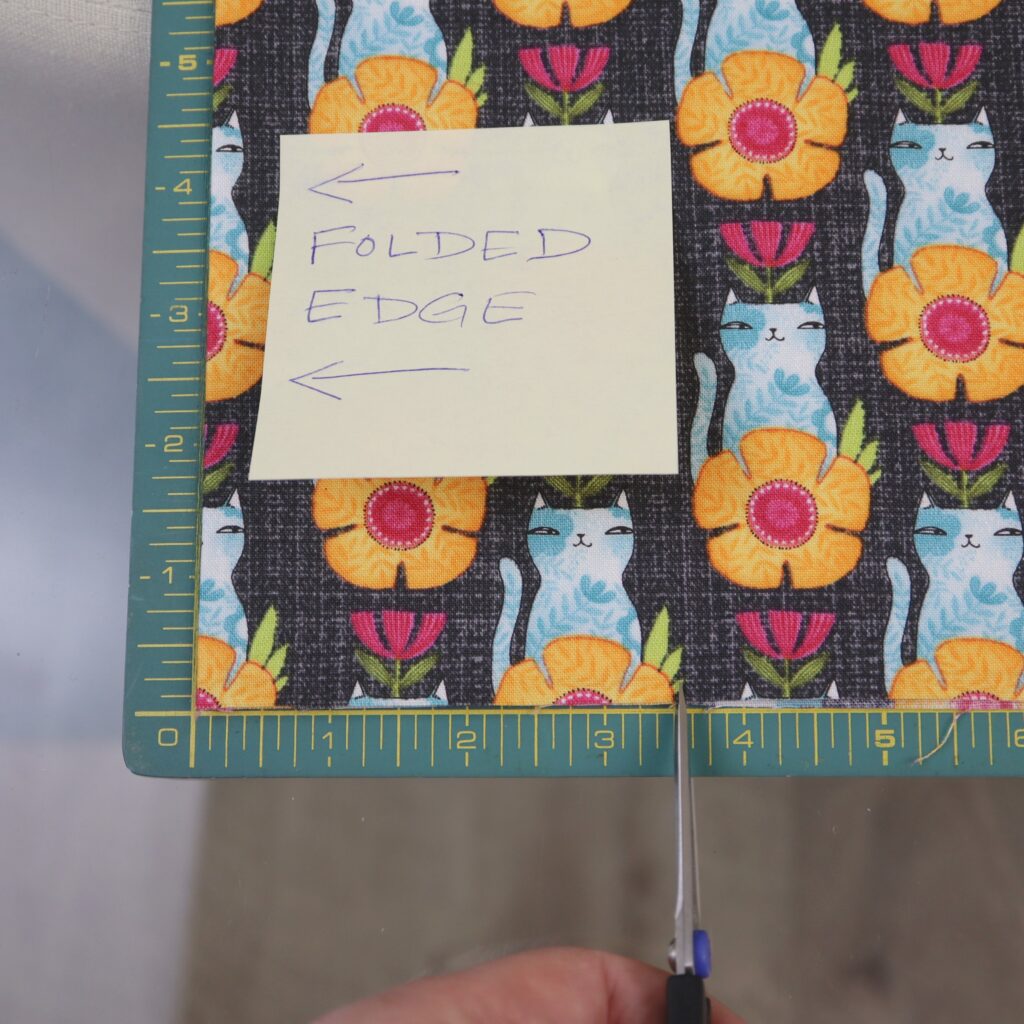
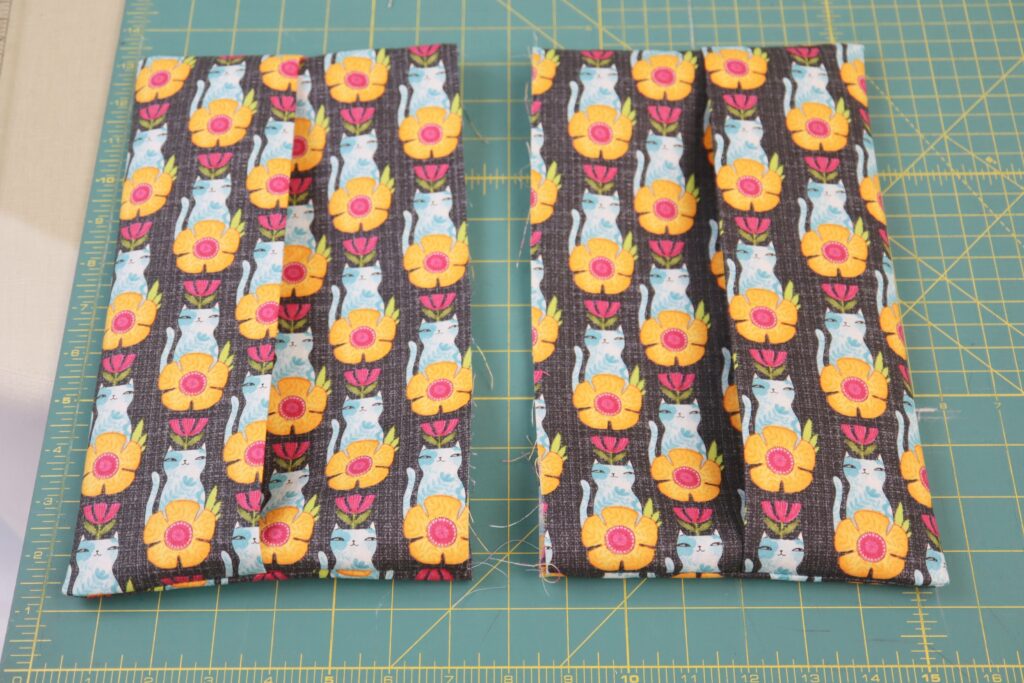
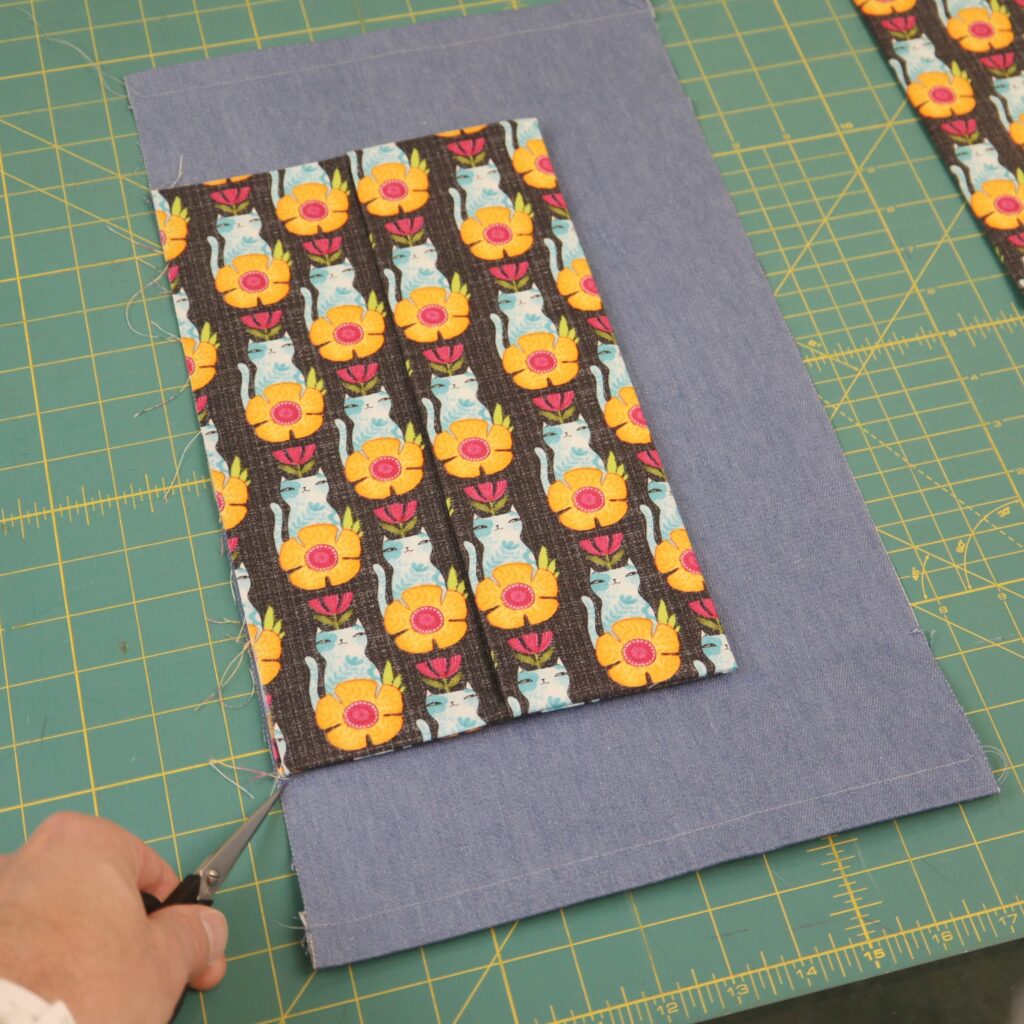
Step 8: Fold the main fabric pieces in half with wrong sides together by bringing the short edges together as shown above in the first image above. Press a nice sharp crease on the fold. Snip a small notch into the top and bottom edges 3.5” from the folded edge as shown in the second image above.

Step 9: Fold the main fabric back along the top and bottom notches as shown above.
Step 10: Flip the main fabric over and fold back the fabric along the notches.
Step 11: It should look like this. The notches are shown here on the left.
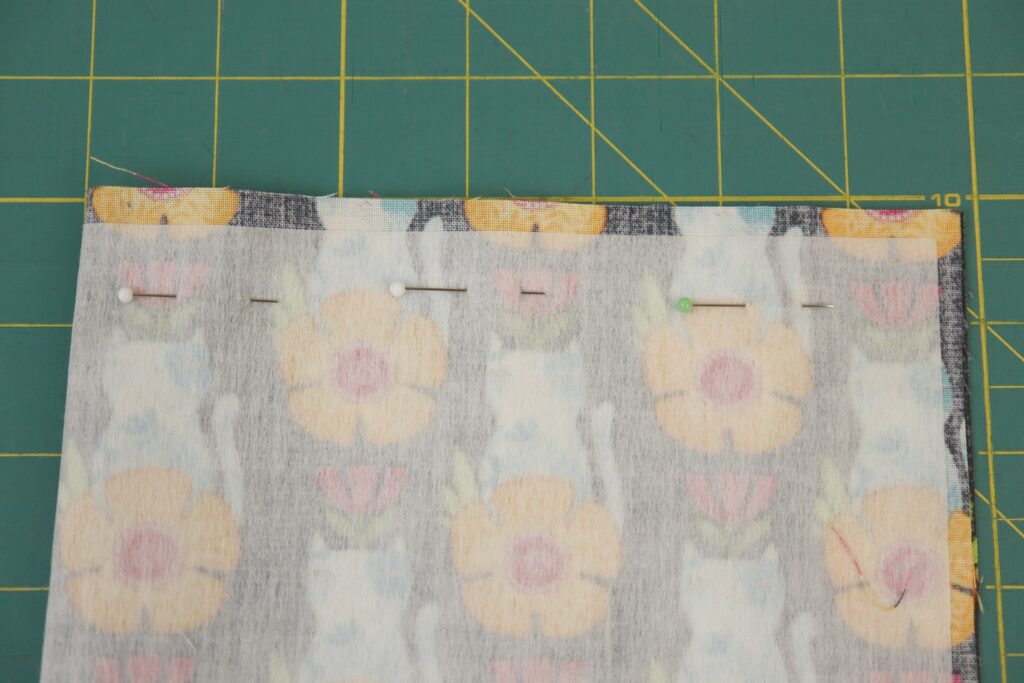
Step 12: Place pins through all layers at the top and bottom of the piece.
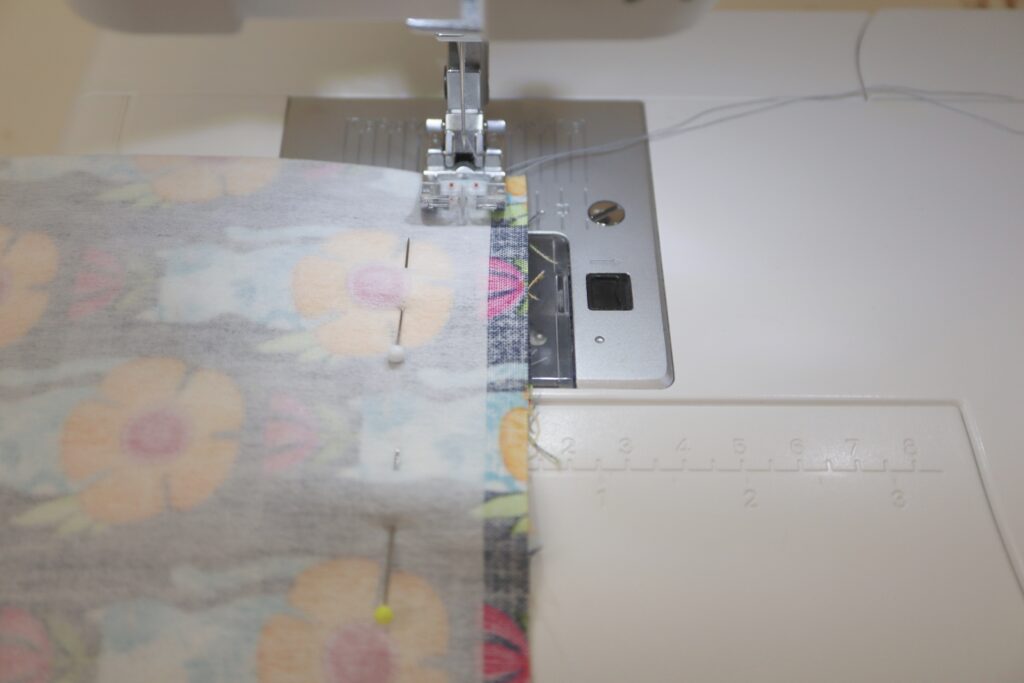
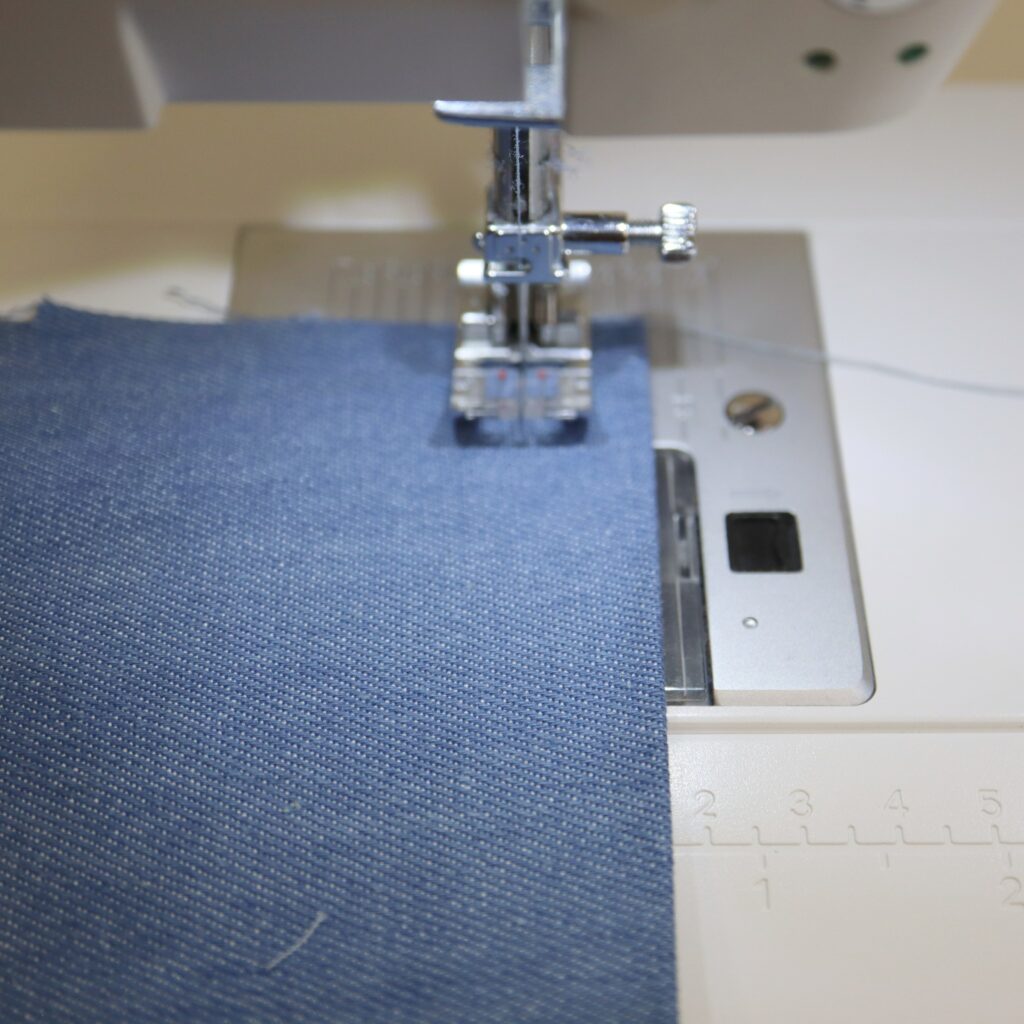
Step 13: Using ½” seam allowance, stitch top and bottom through all layers. Make sure to start and stop with a backstitch. Remove pins as you stitch.
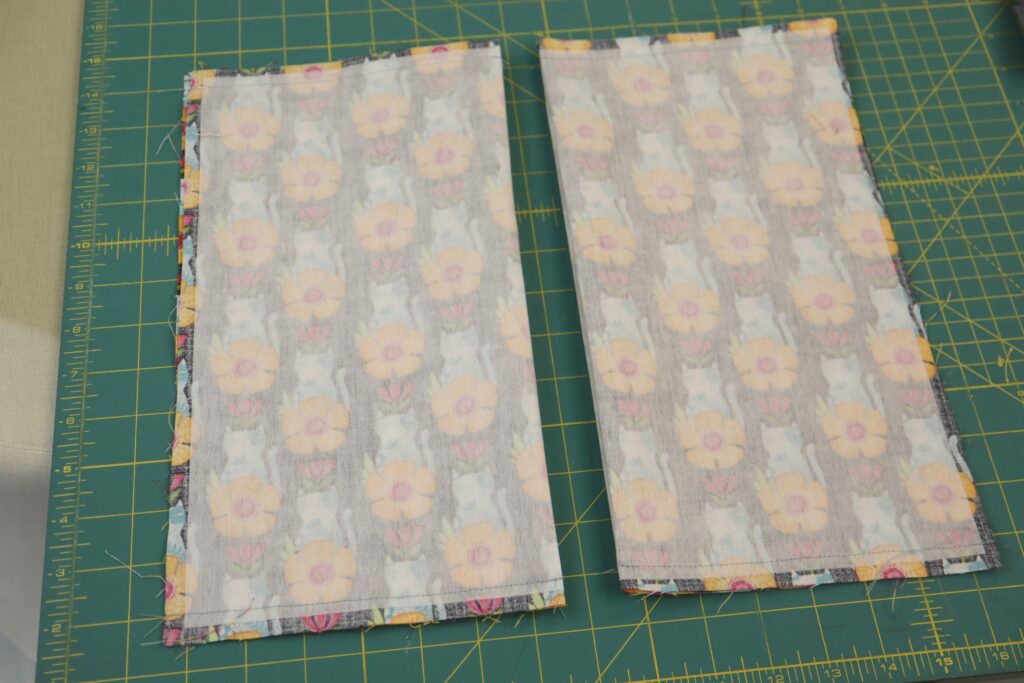
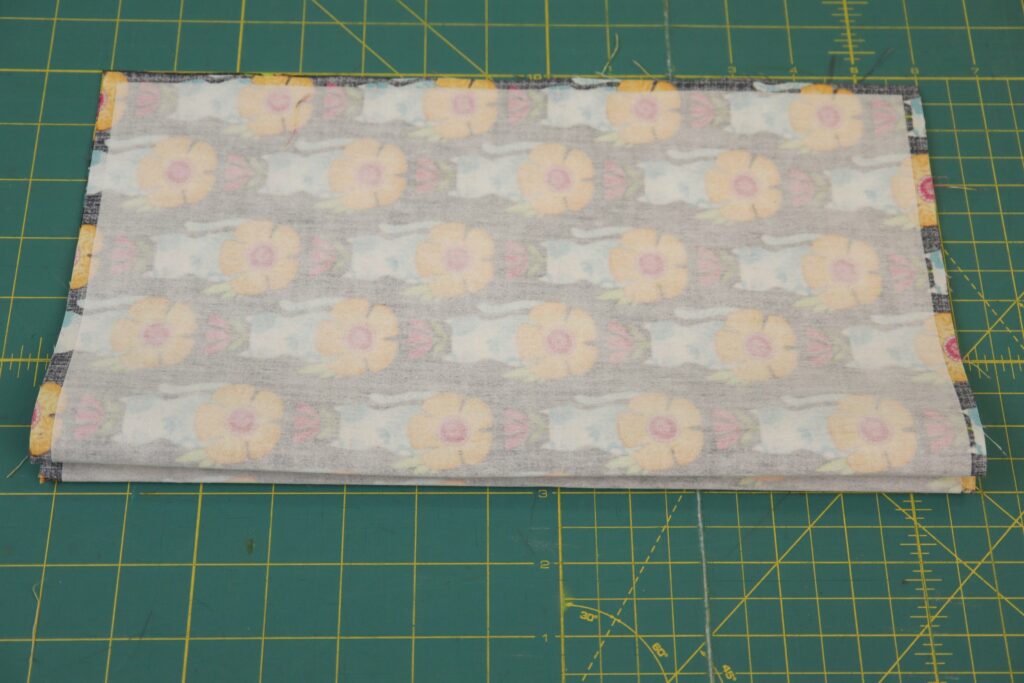
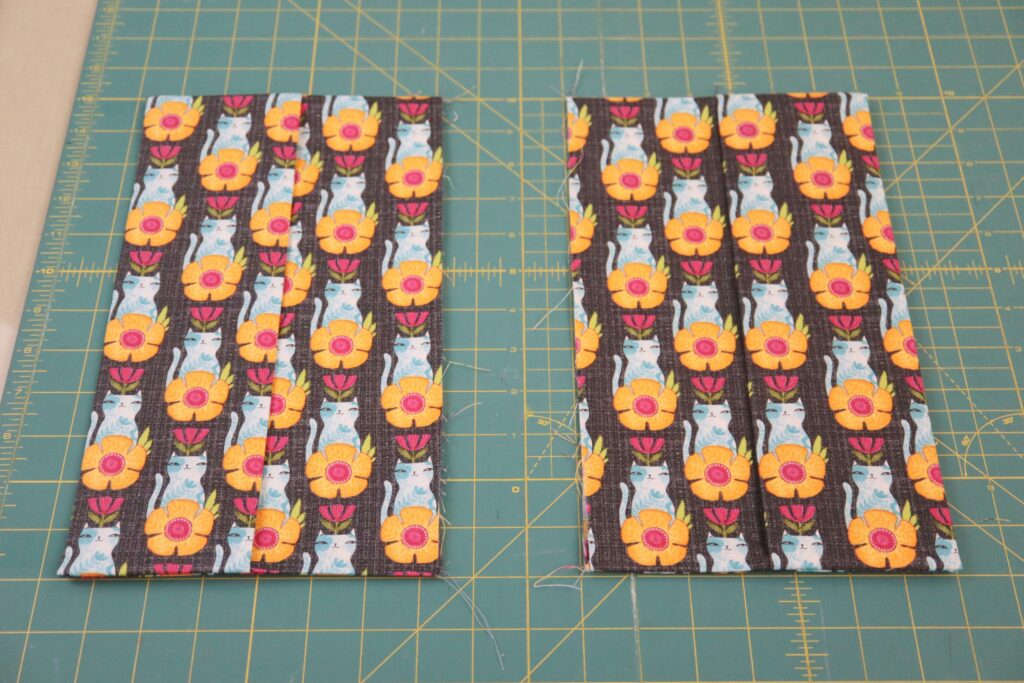
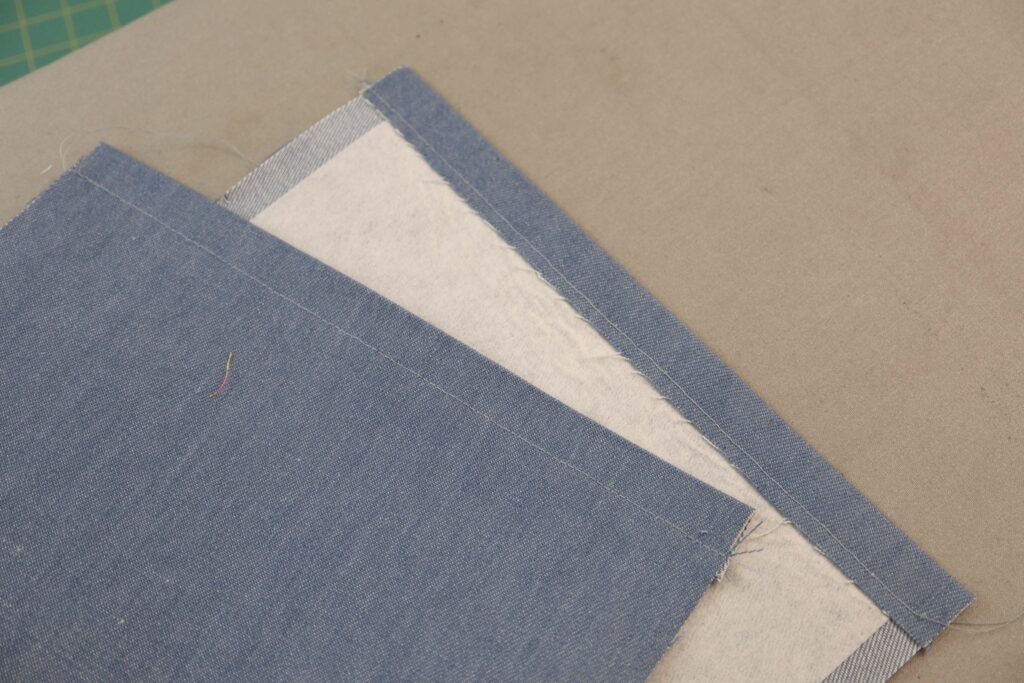
Step 14: Your two main fabric pieces should now look like this.
Step 15: Grade the seam allowances as shown above. Grading seam allowances means that we trim the different layers of the seam allowance to varying widths. This will help reduce bulk at the seams when you turn your work right-side-out.
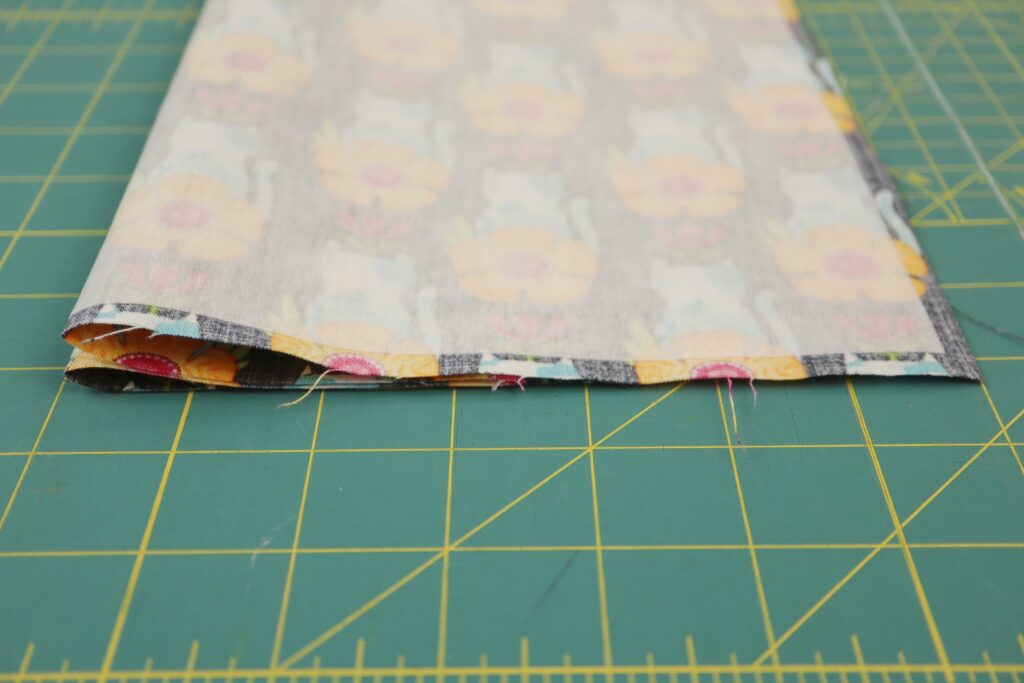
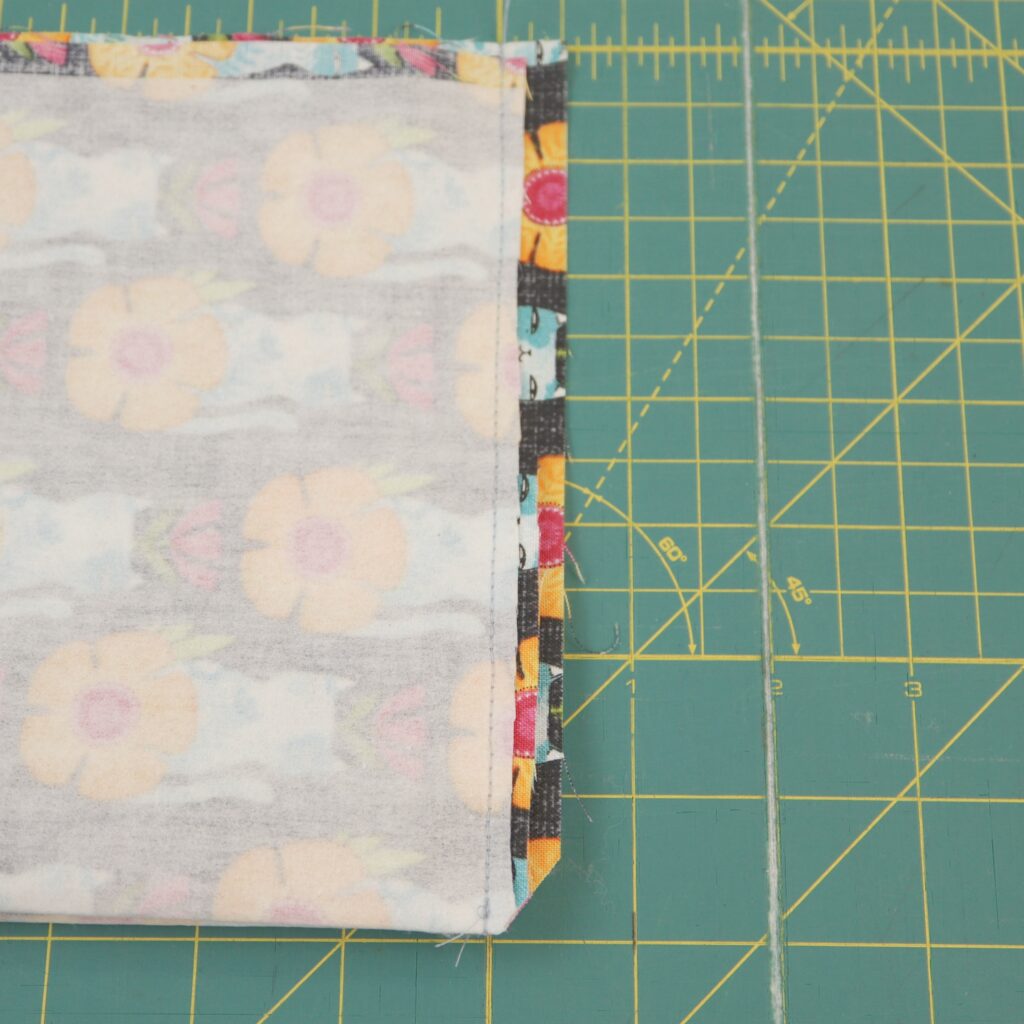
Step 16: Turn your work right-side-out. Take special care to make sure your work is fully turned at the corners.
Step 17: When you have turned both pieces, they should look like this. Make sure that you have a left and right side. You may need to flip one of the pockets the other way in order to make this happen. If you are working with a directional fabric (as we are), make sure that your print is running in the same direction for both pieces.
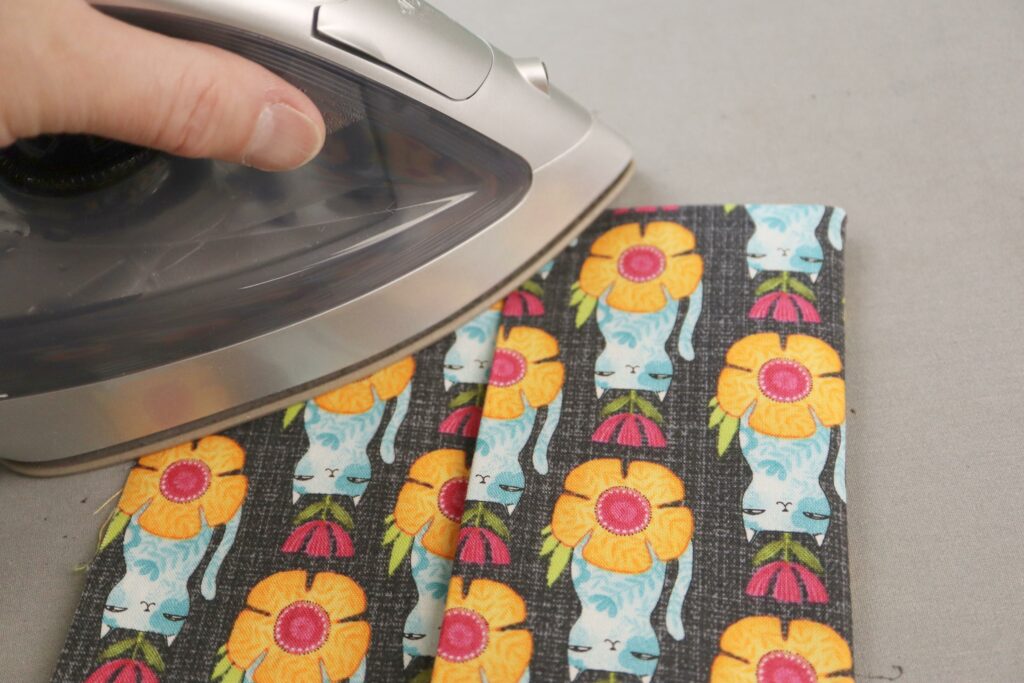
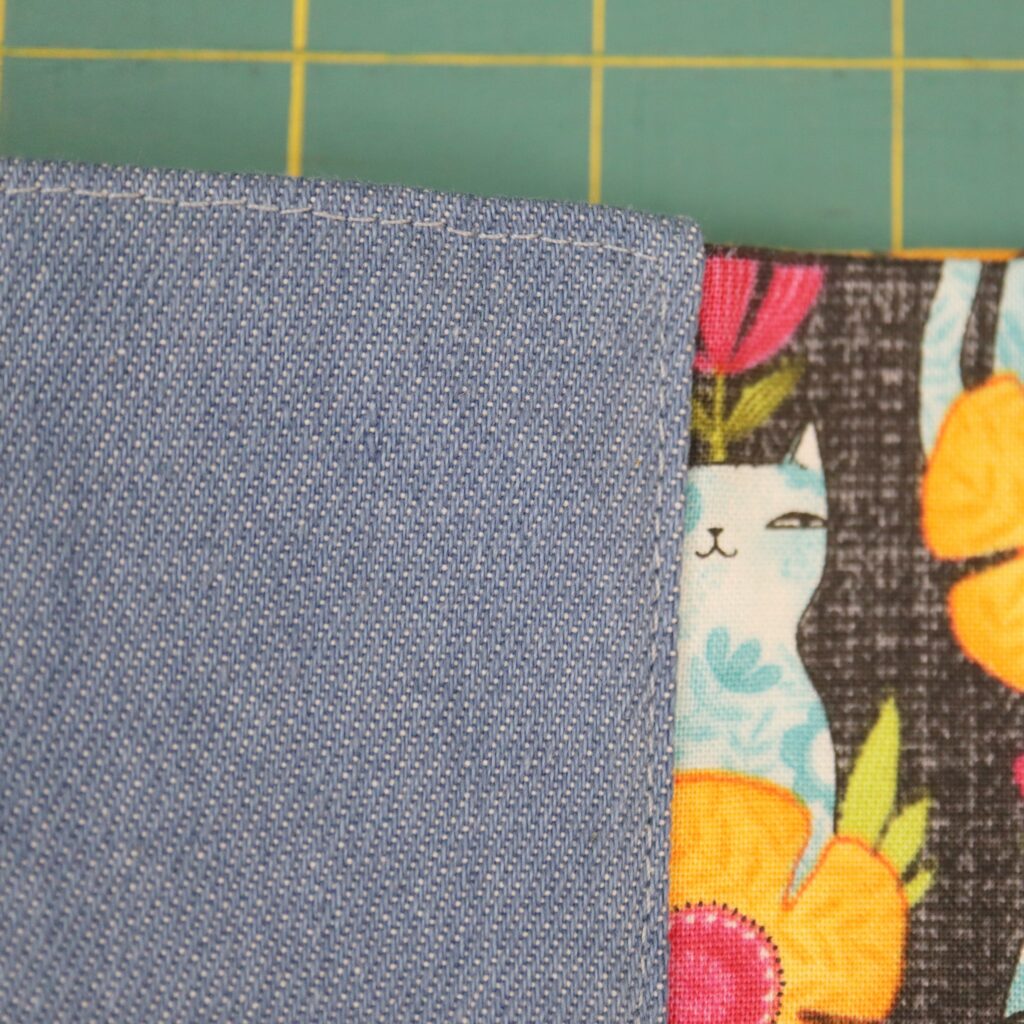
Step 18: Press the top, bottom, and folded edge of the pocket so everything is nice and flat.
Step 19: On both long edges of the spine piece, make small notches 4” from the top and bottom of the piece as shown above.
Step 20: At the top and bottom of the spine piece press up a 1” hem using the interfacing as a guide.
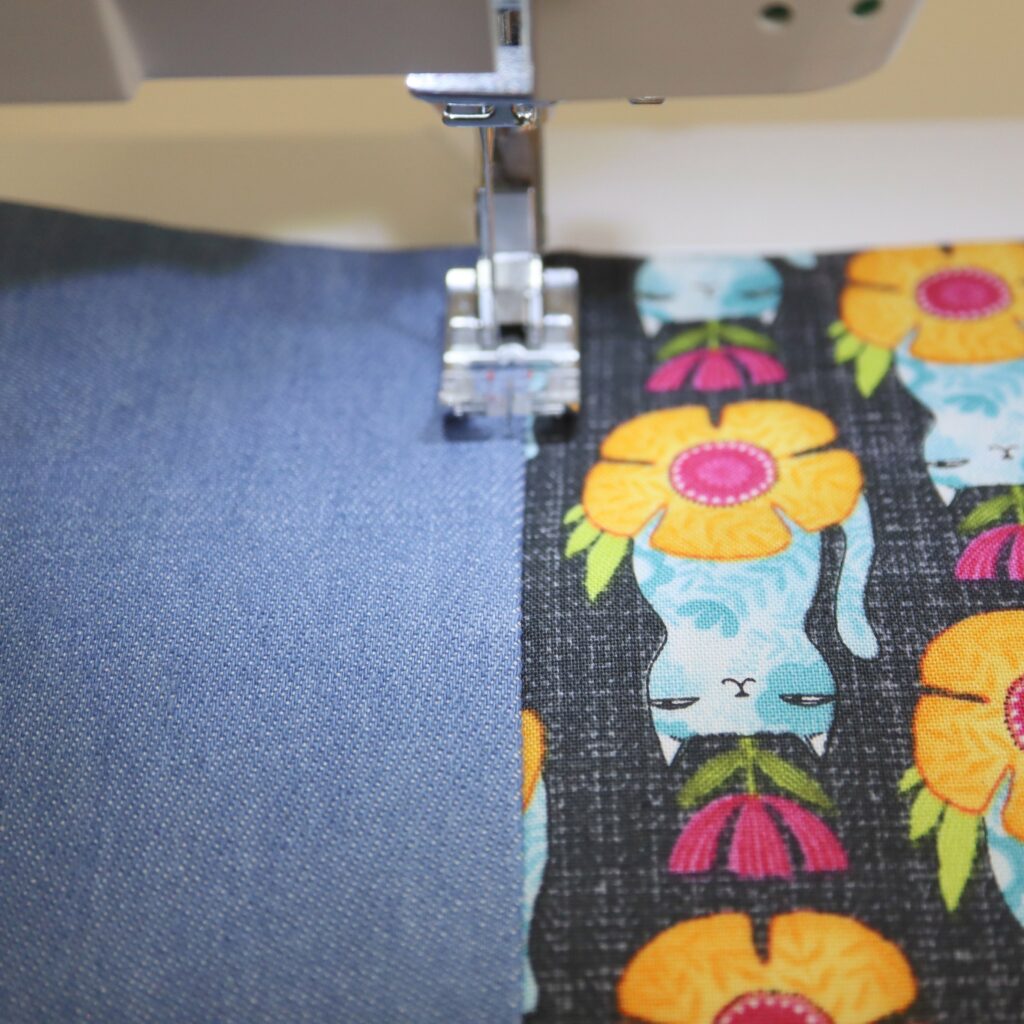
Step 21: Stitch the hems in place 5/8” from the folded edge as shown above.
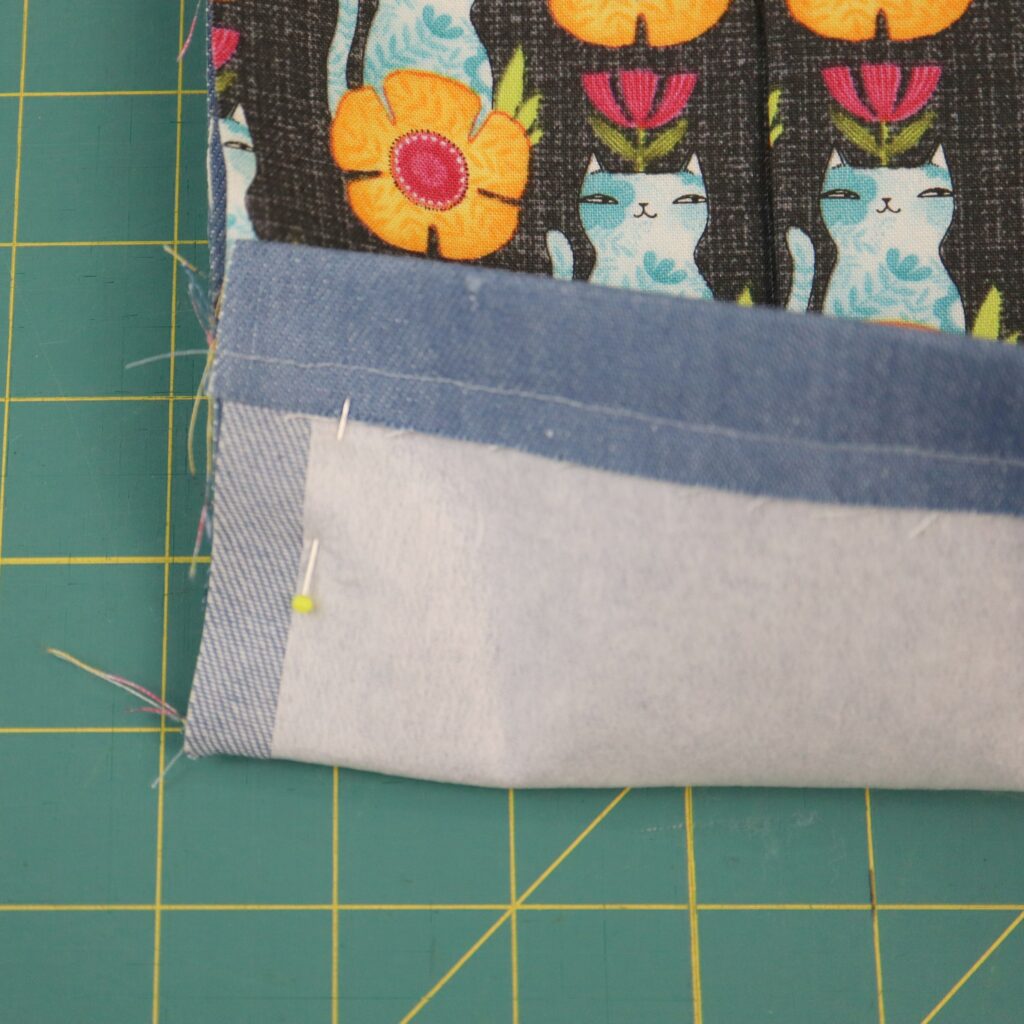
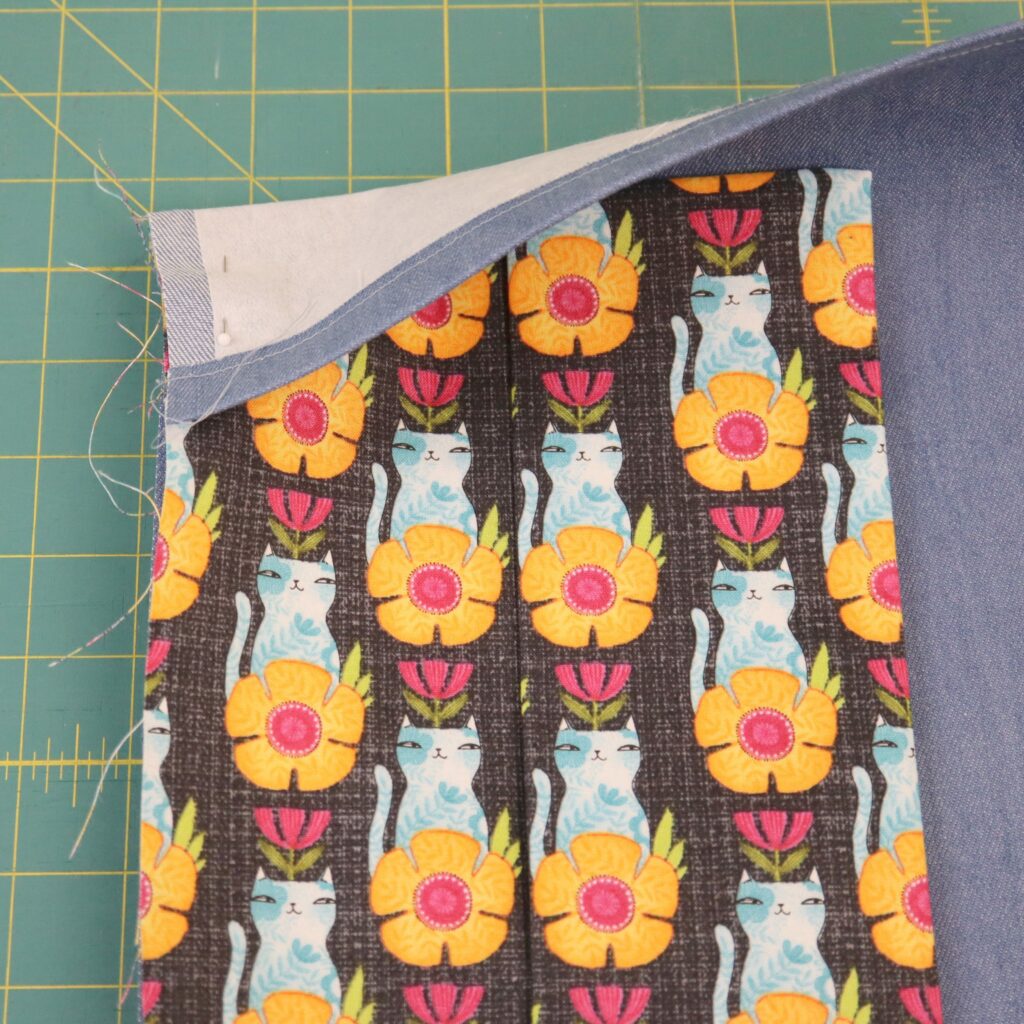

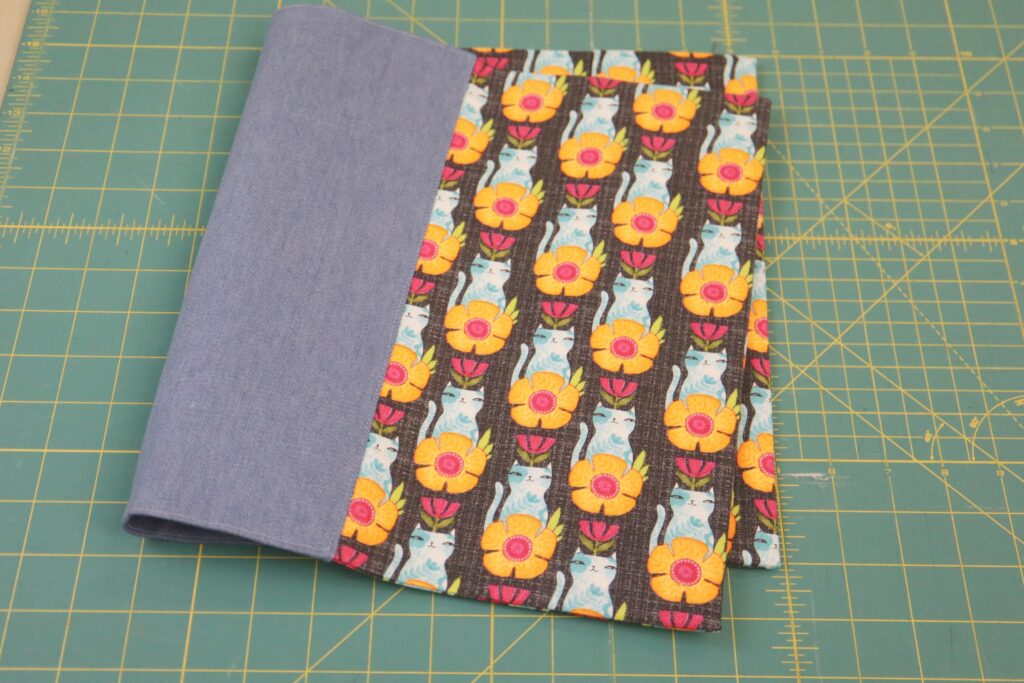
Step 22: With the right side of the spine piece facing up, place one of the main fabric pieces on top of it lining up the raw edges on the left-hand side as shown in the first image above. The pocket of the main fabric piece should be facing up. The top and bottom edges of the main fabric piece should line up with the notches on the long edge of the spine. Fold the top and bottom edges over the main fabric piece and pin in place as shown in the second and third images above. Repeat the same process on the other long edge of the spine as shown in the fourth image above.
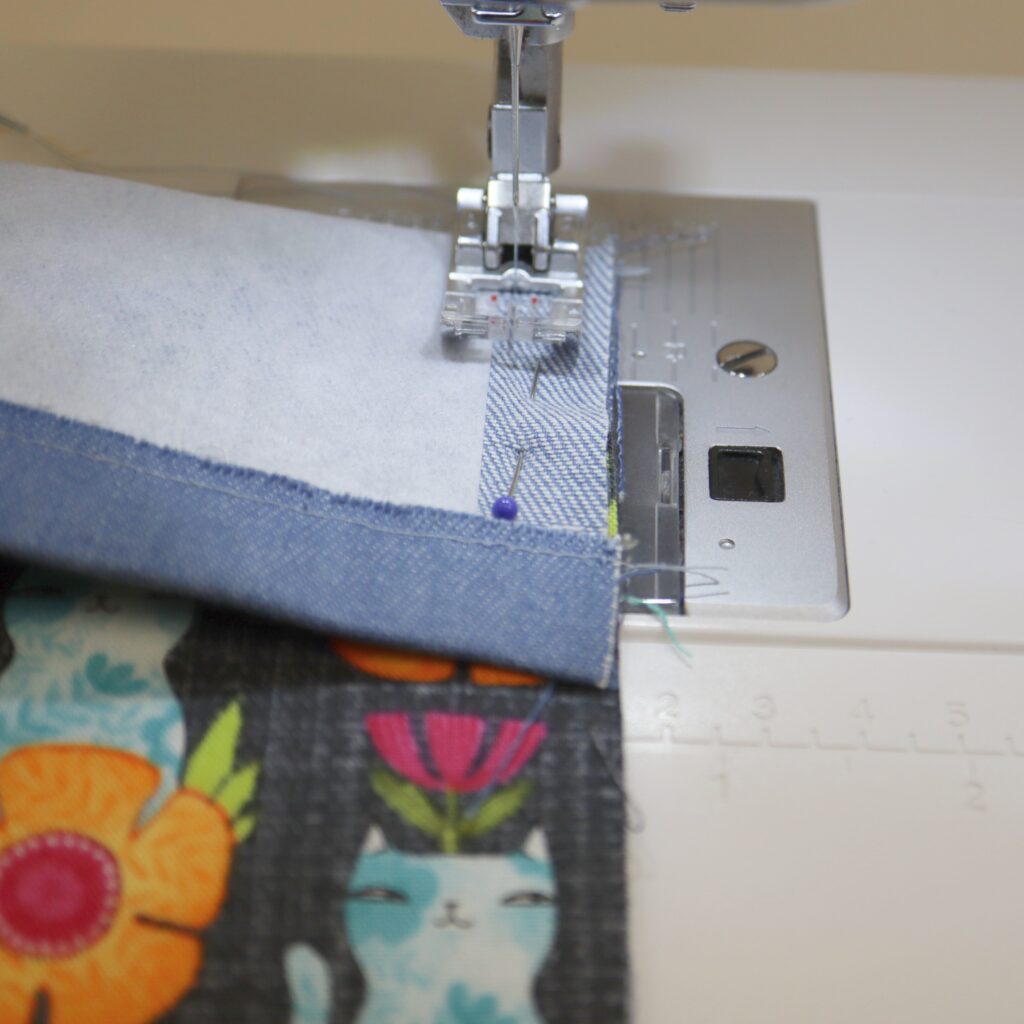

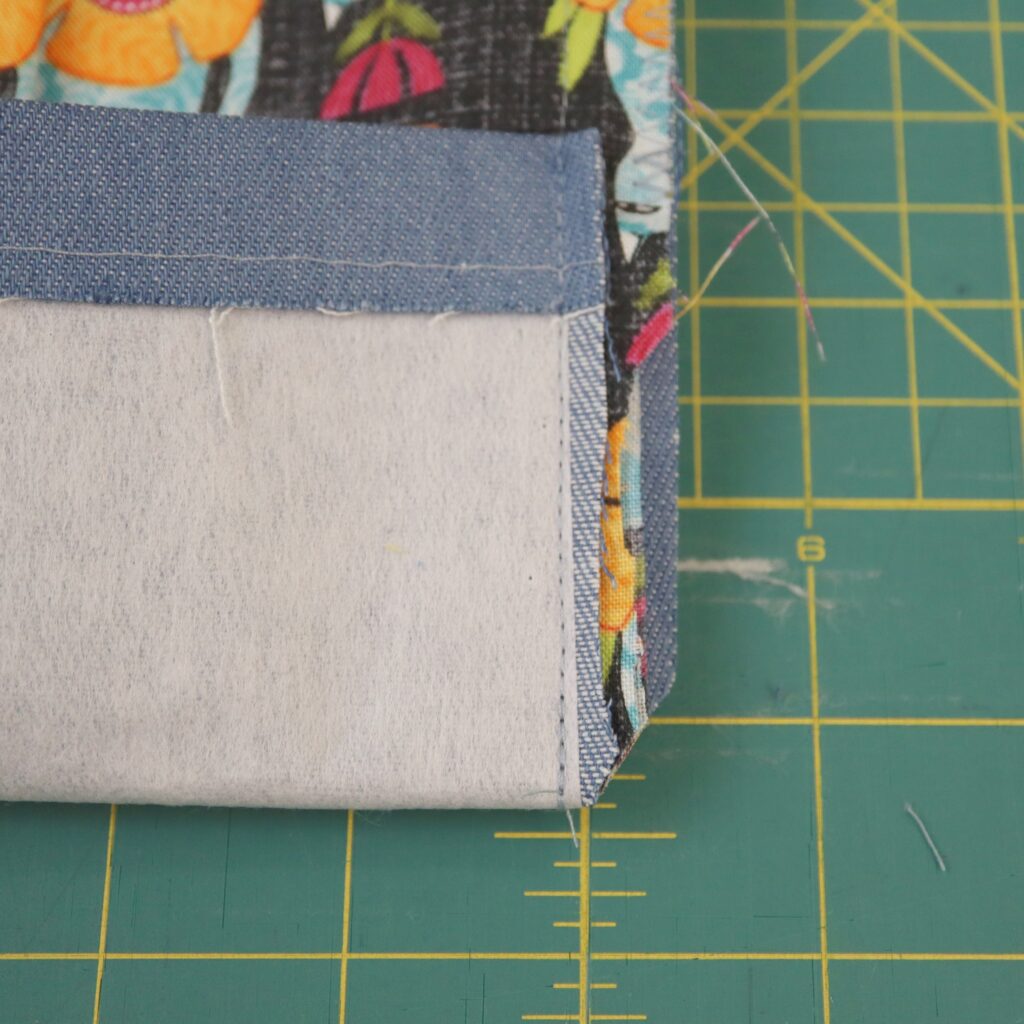
Step 23: Using ½” seam allowance, stitch through all layers along the long edges removing pins as you go and starting and stopping with a backstitch. Do this for both long edges. Change stitch to a medium width zigzag stitch. Fold back the seam allowance of the spine as shown in the second image above and zigzag along the raw edges. Trim the four corners and grade the seam allowance as shown (do not trim away any seam allowance where you have zigzag stitched).
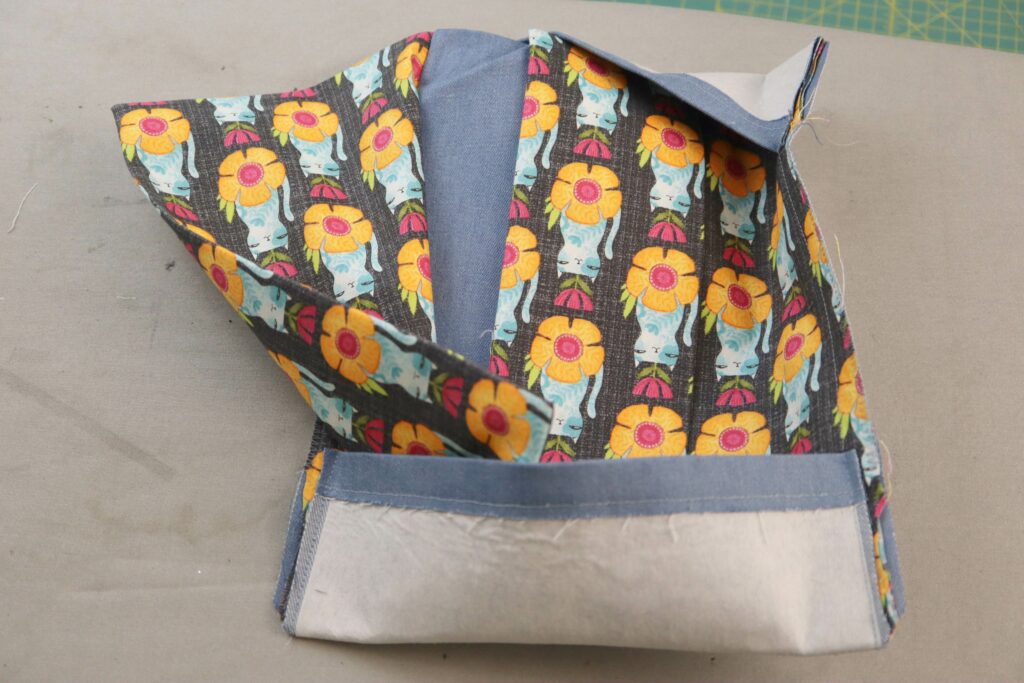
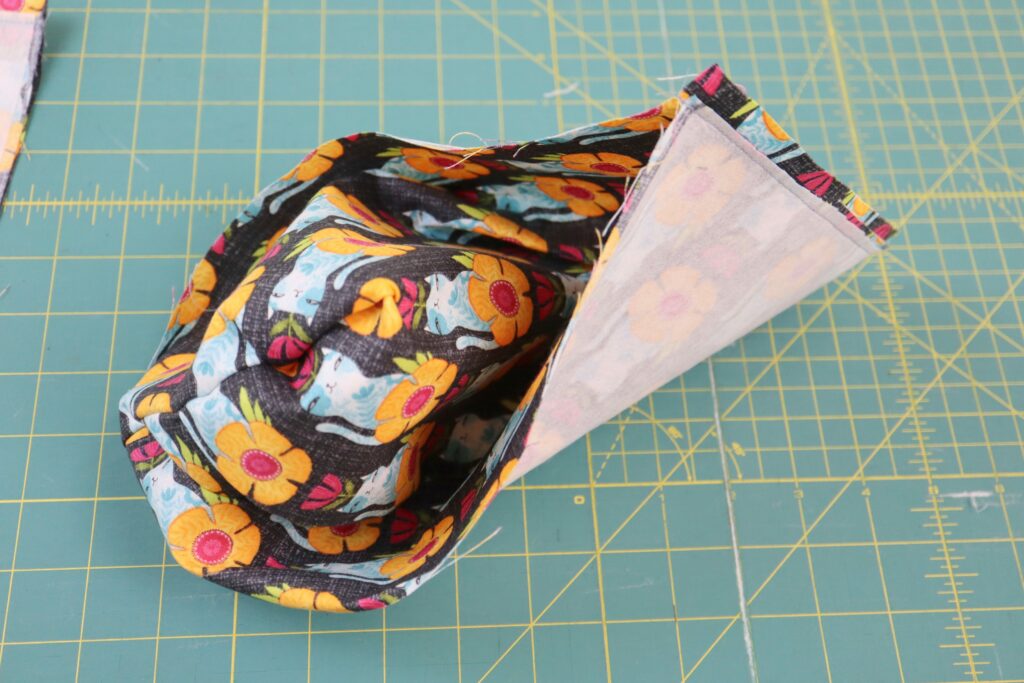
Step 24: Turn binder cover right-sides-out as shown in images above.
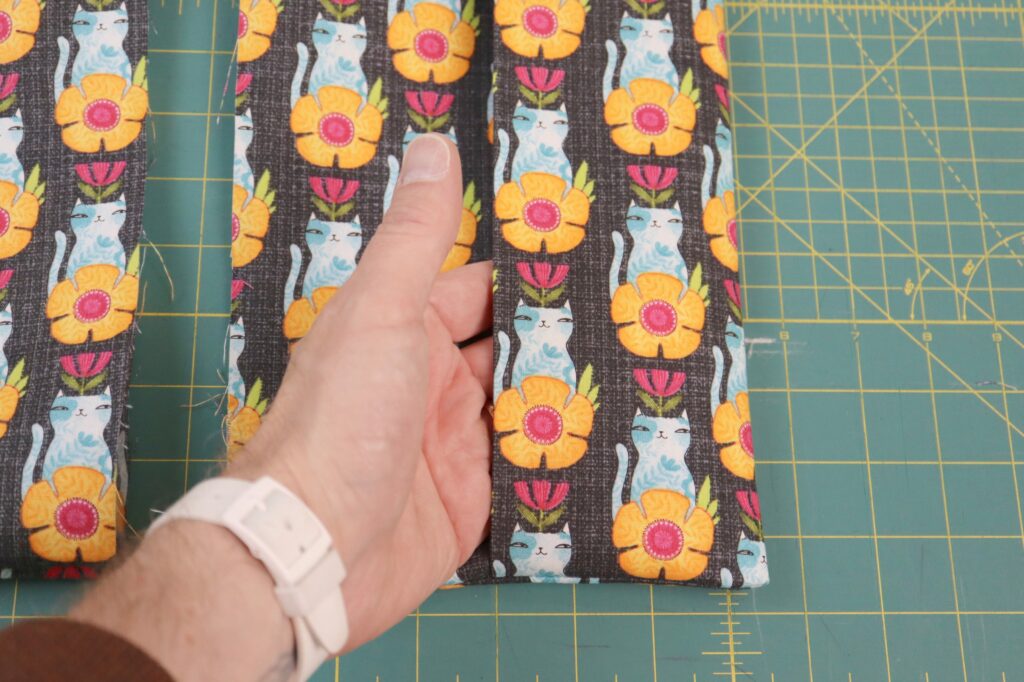
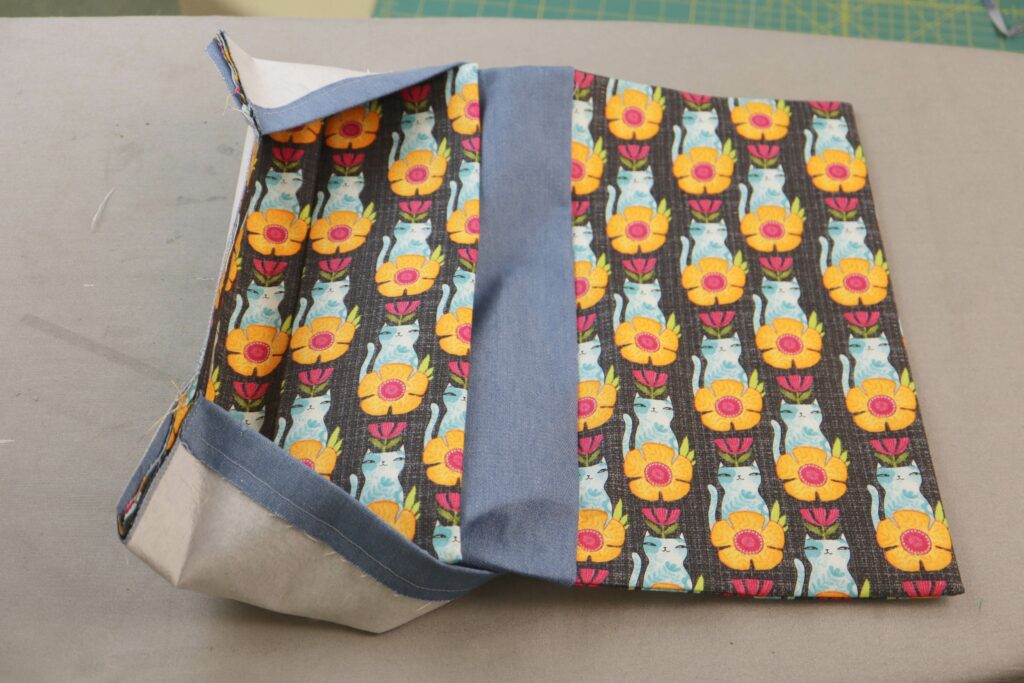
Step 25: Press a nice crease in the top and bottom edges of spine as shown above. Press lengthwise seam allowance toward the spine (they will want to do this naturally).
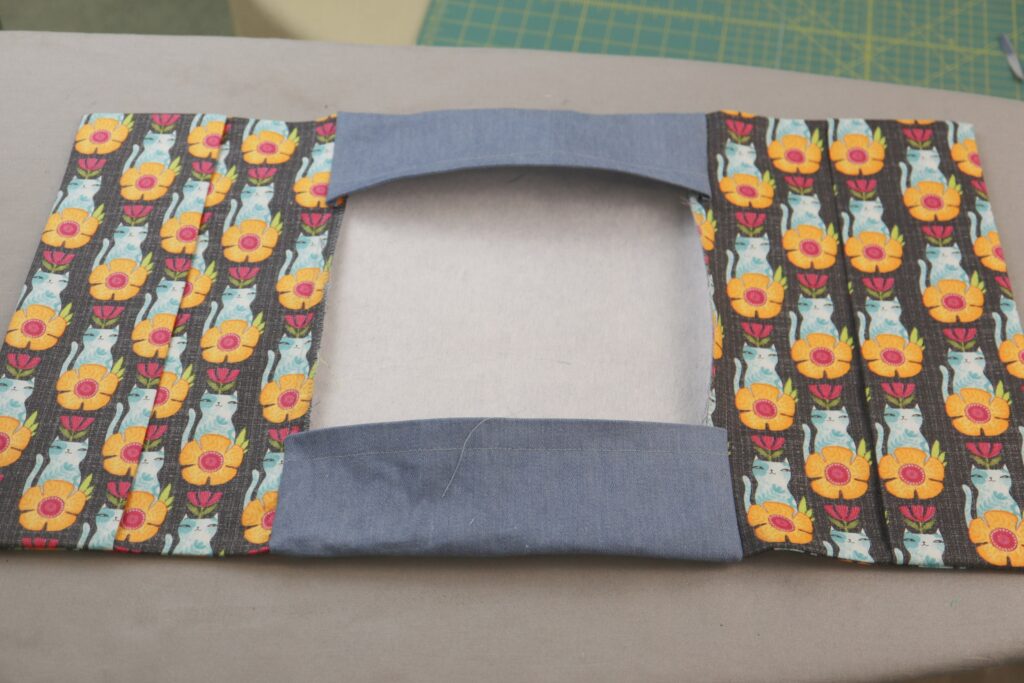
Step 26: Make sure that you set your sewing machine back to a straight stitch. Starting on the back of the binder cover, edgestitch along all edges of the spine pivoting at corners. When you get back to where you started stitching, overlap a few stitches and backstitch. Trim threads close to stitching.
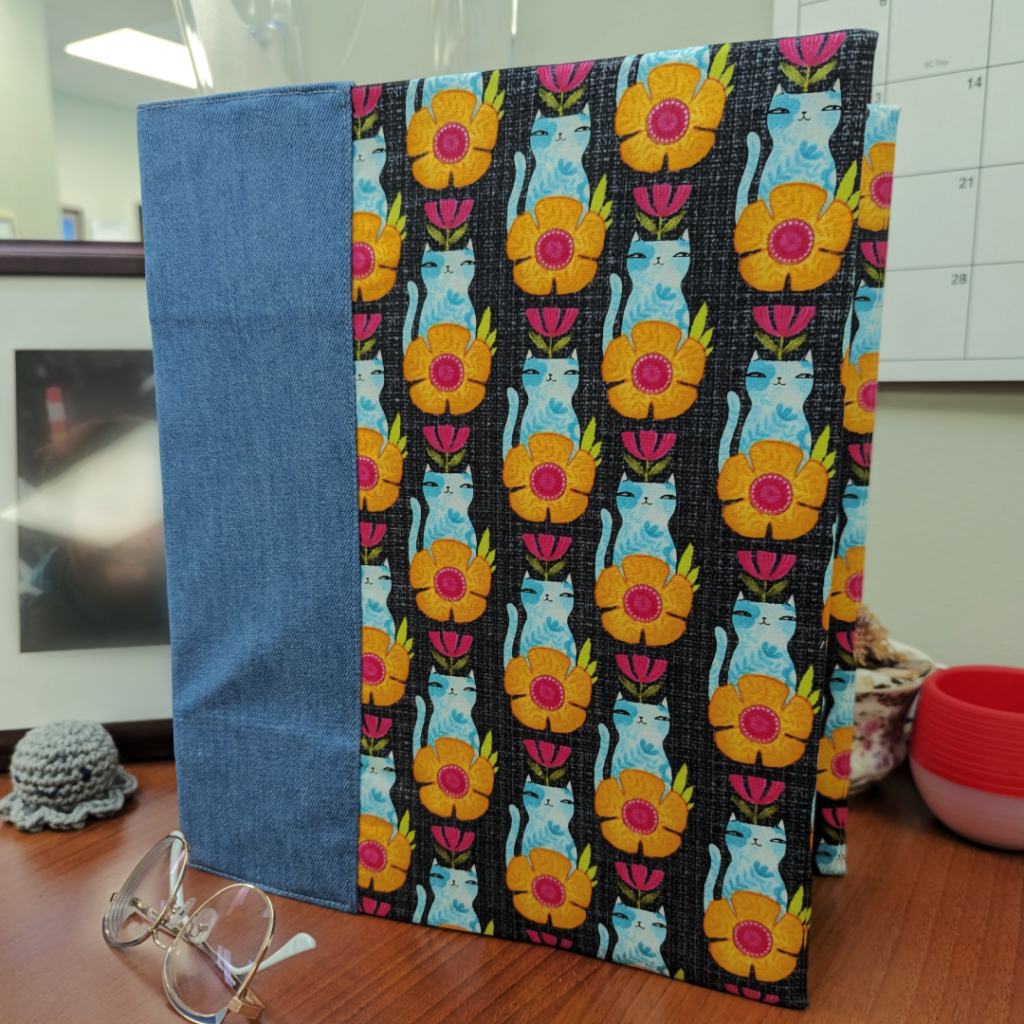
Congratulations! You are ready to re-style your binder. Slide the front and back covers of you binder into the pockets of your cover. Make sure you get to class before the second bell rings!


