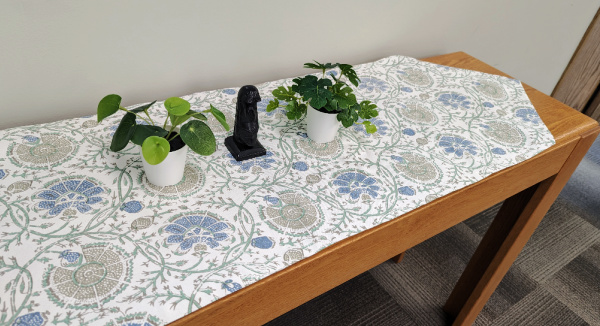
Are you inspired by beautiful home décor fabrics but not sure how to incorporate them into your space? Do you find that some décor projects are too challenging or time consuming? We suggest checking out this simple table runner D.I.Y. There is no pattern required. You don’t need a serger, and there is no hand sewing. A table runner is an easy way to update seasonal décor in your home and make a space feel fresh and lively. Runners are perfect for a dining table, kitchen table, coffee table, of even as an accent on a credenza or wide dresser. Runners are a perfect setting to highlight other objects too, such as floral arrangements, candles, or framed photos. So come along with us and learn how to make a runner in under an hour!
Note: Our finished runner measures 14.5” wide and 52” long at the centre.
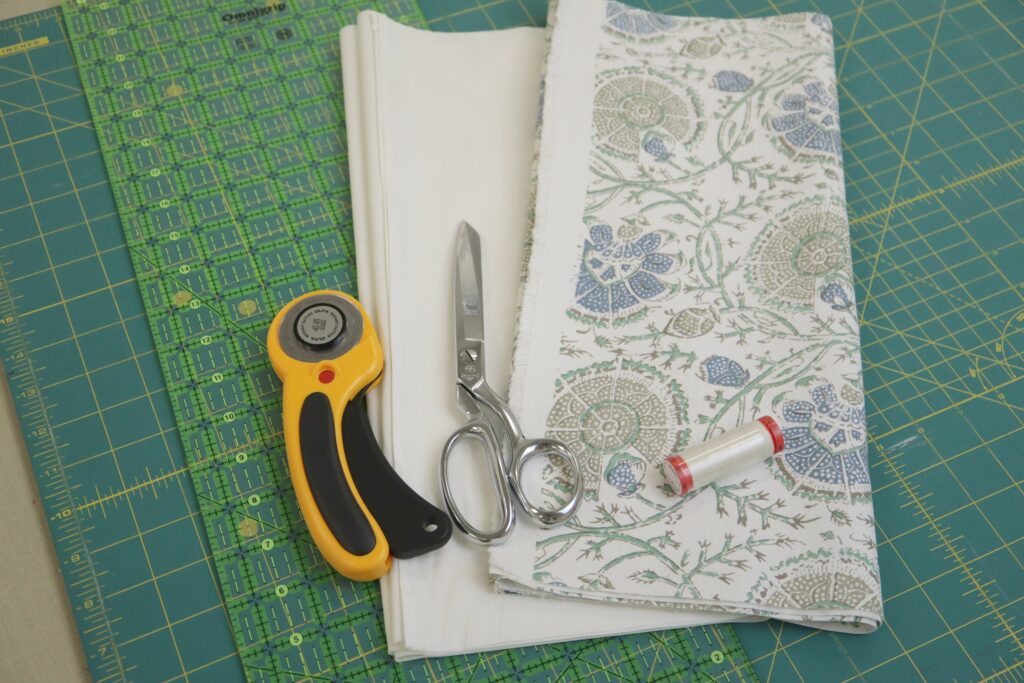
What you’ll need:
- ½ yard (approx. 0.5m) of 54”/137cm wide main fabric (non-directional print). We used Kochi Print #41400
- ½ yard (approx. 0.5m) of 54”/137cm drapery lining or similar cotton or polyester and cotton blend fabric
- 1 spool of matching thread
- Rotary cutter, ruler, and mat OR scissors, ruler, and fabric marker
- Sewing machine with a straight stitch and zigzag stitch
- Iron and ironing board
Sewing Instructions:
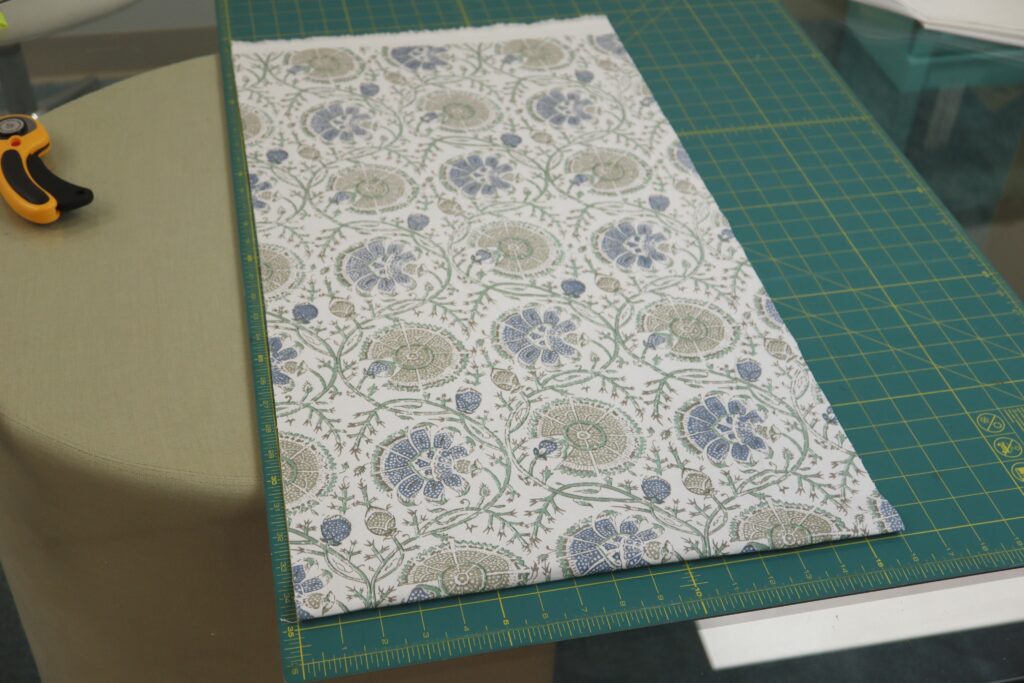
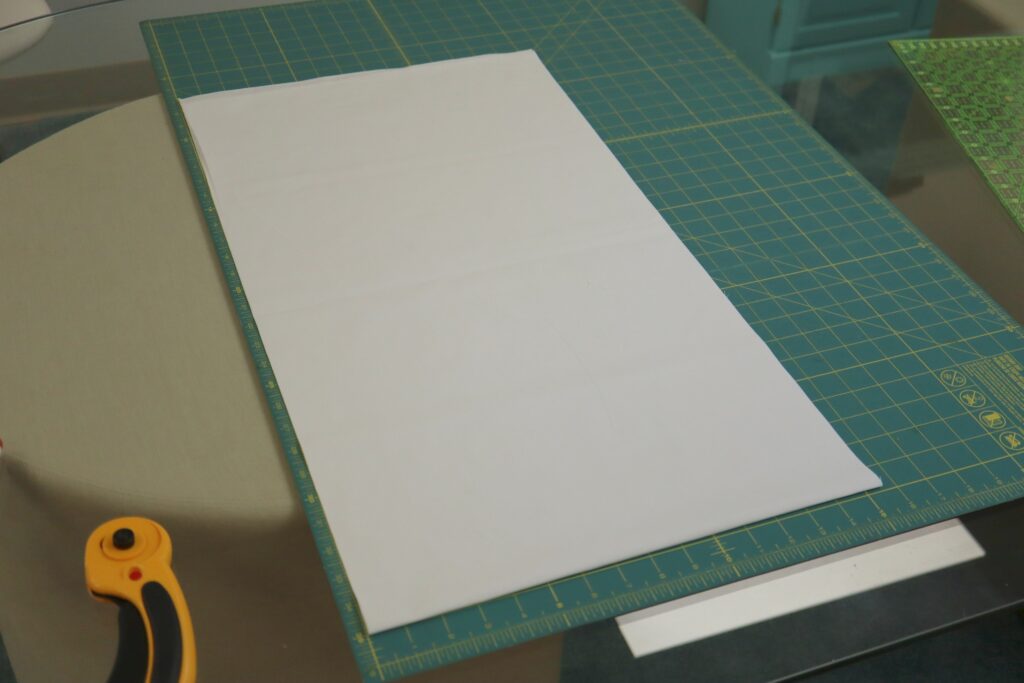
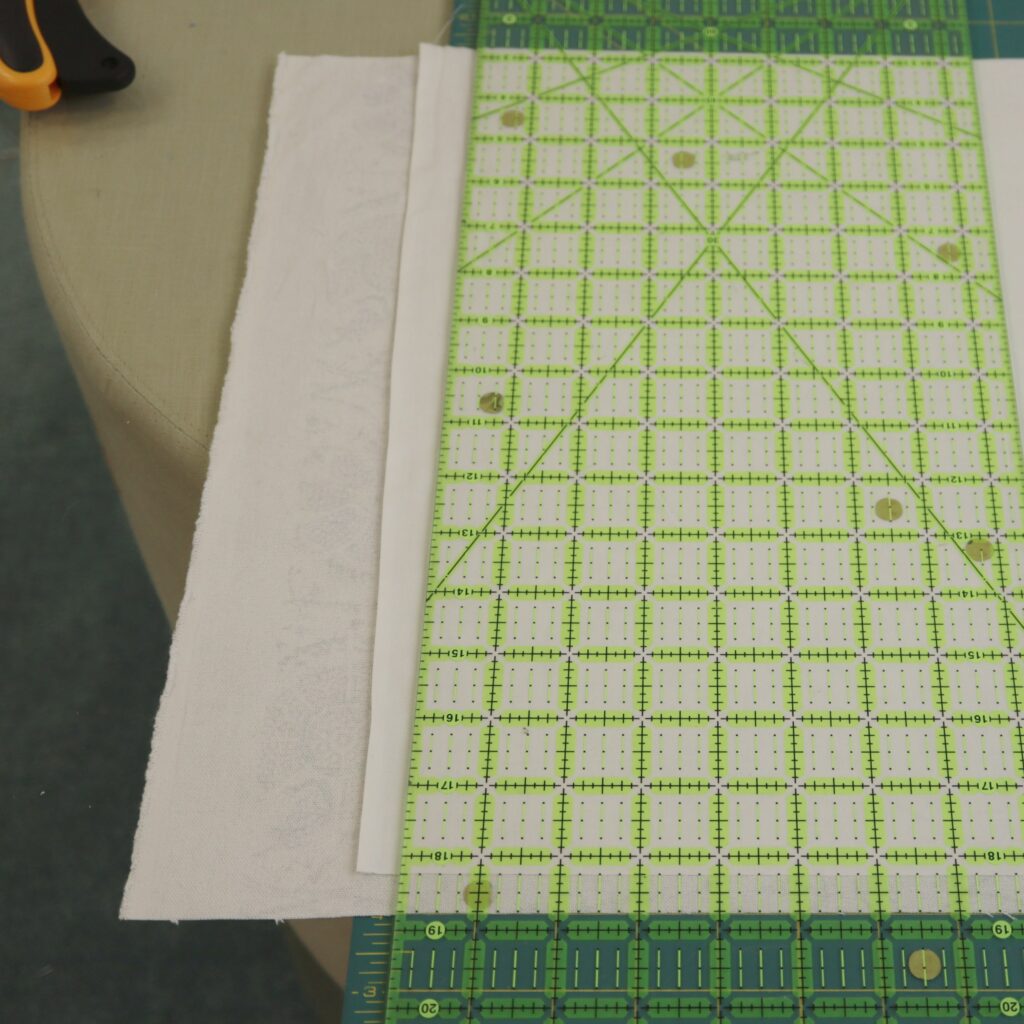
Step 1: Let’s cut our main fabric. Take your main fabric and cut it down to 16” (41cm). Leave the width of the fabric as it is for the time being.
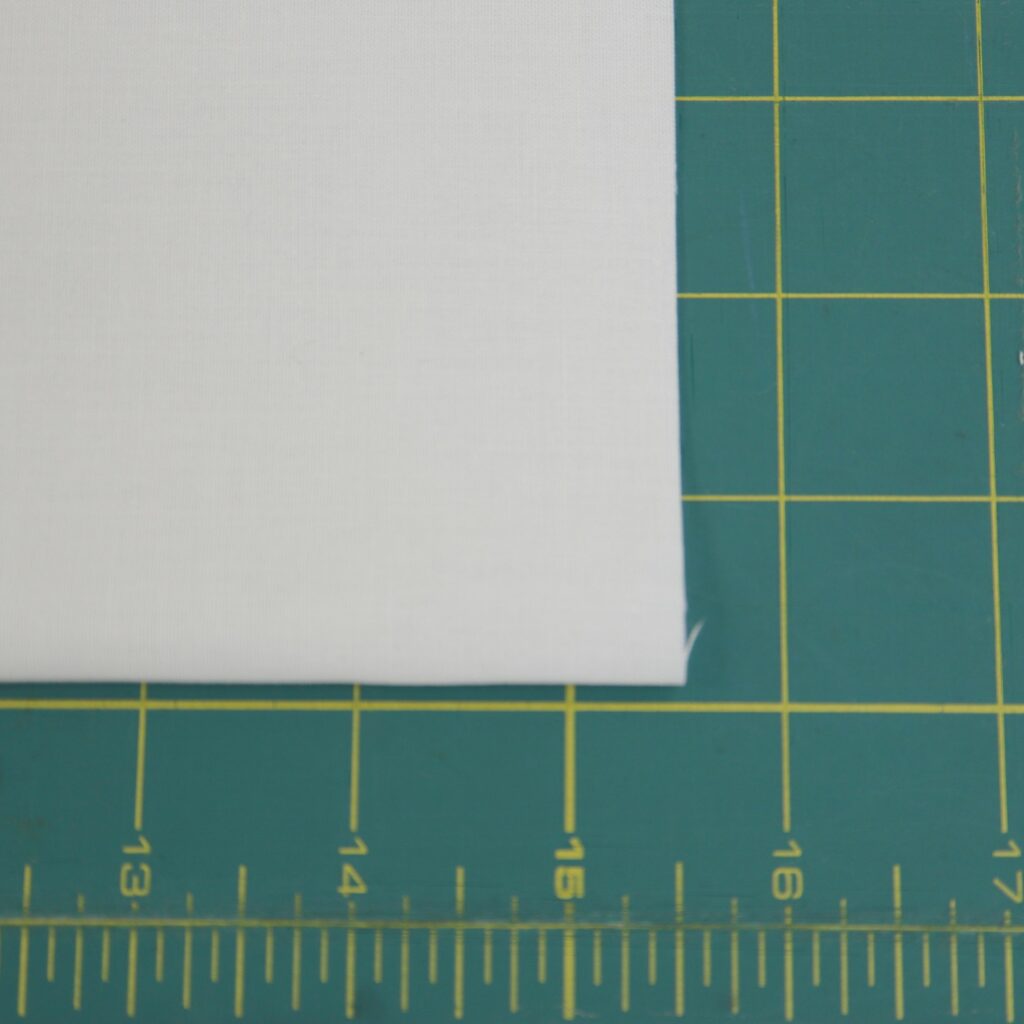
Step 2: Let’s cut the lining. Take the lining and cut it down to 15.5” (39.5cm). Leave the width of the lining as it is for the time being.
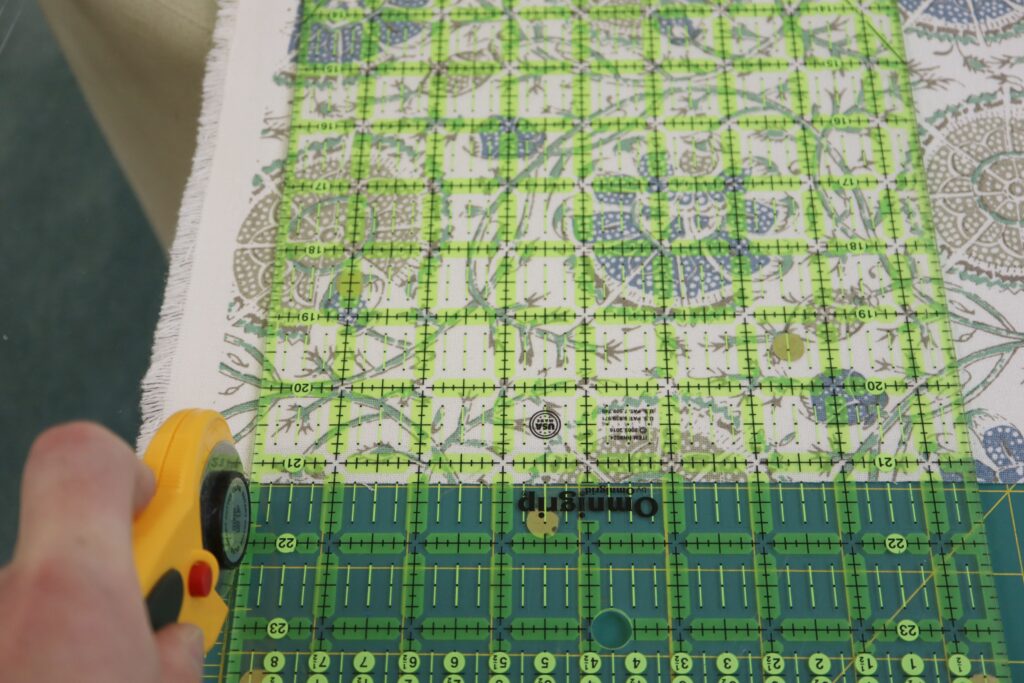
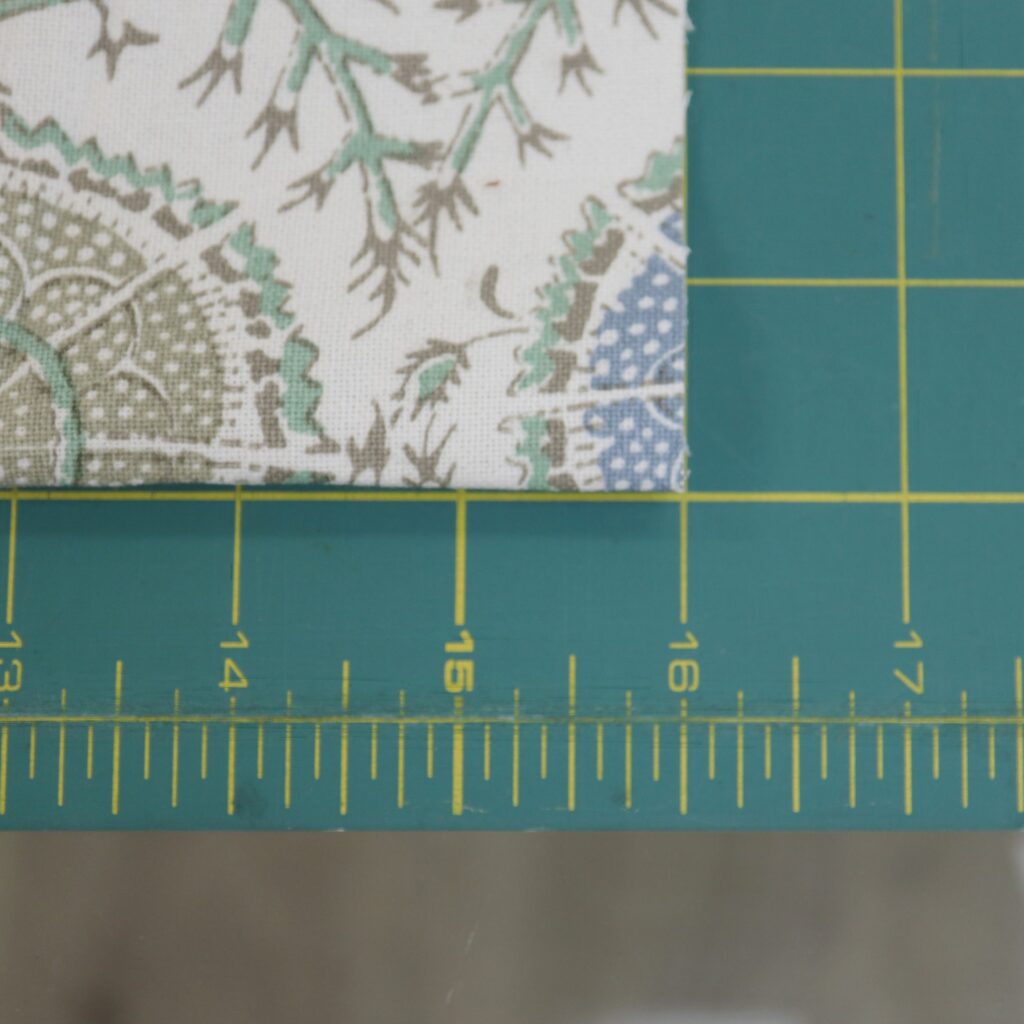
Step 3: Lay the main fabric over the lining matching up one long edge. At the narrow end, cut off the selvedges of the main fabric and the lining at a right angle as shown above.
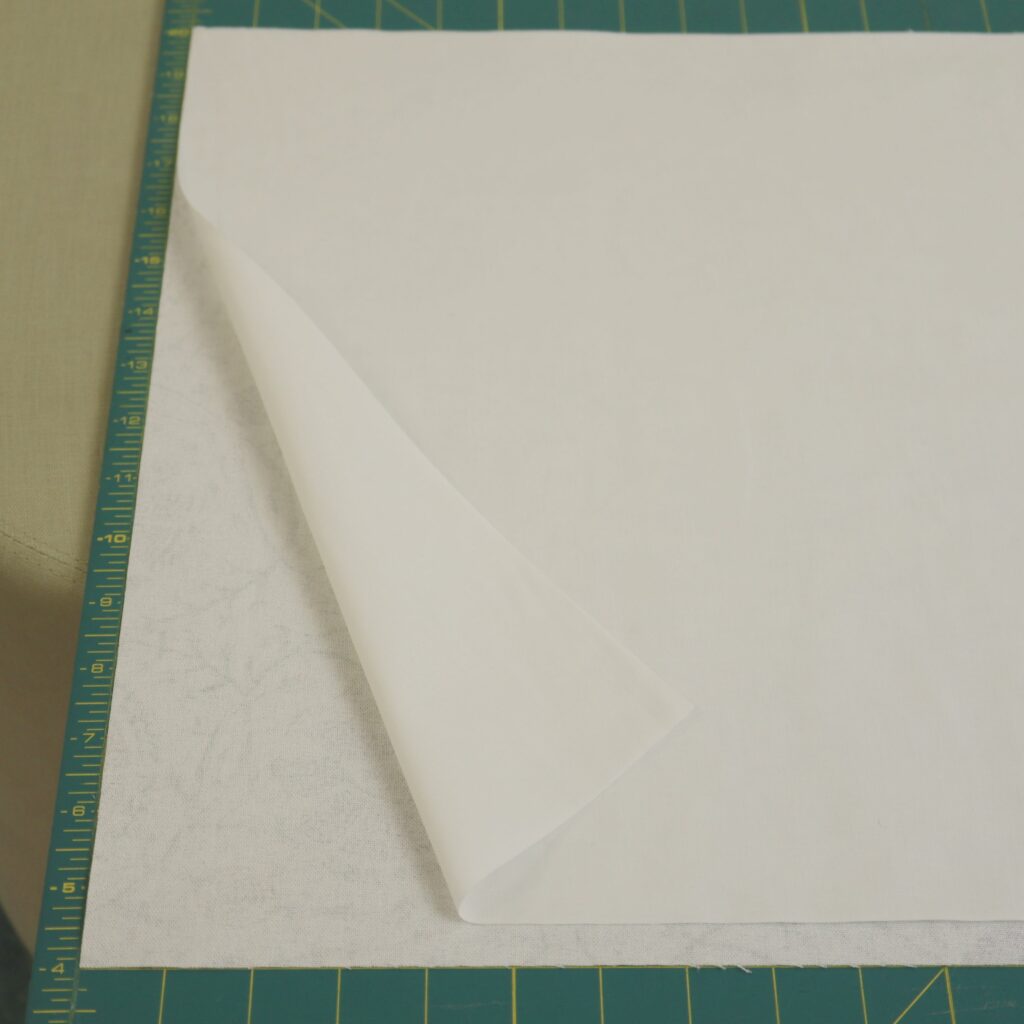
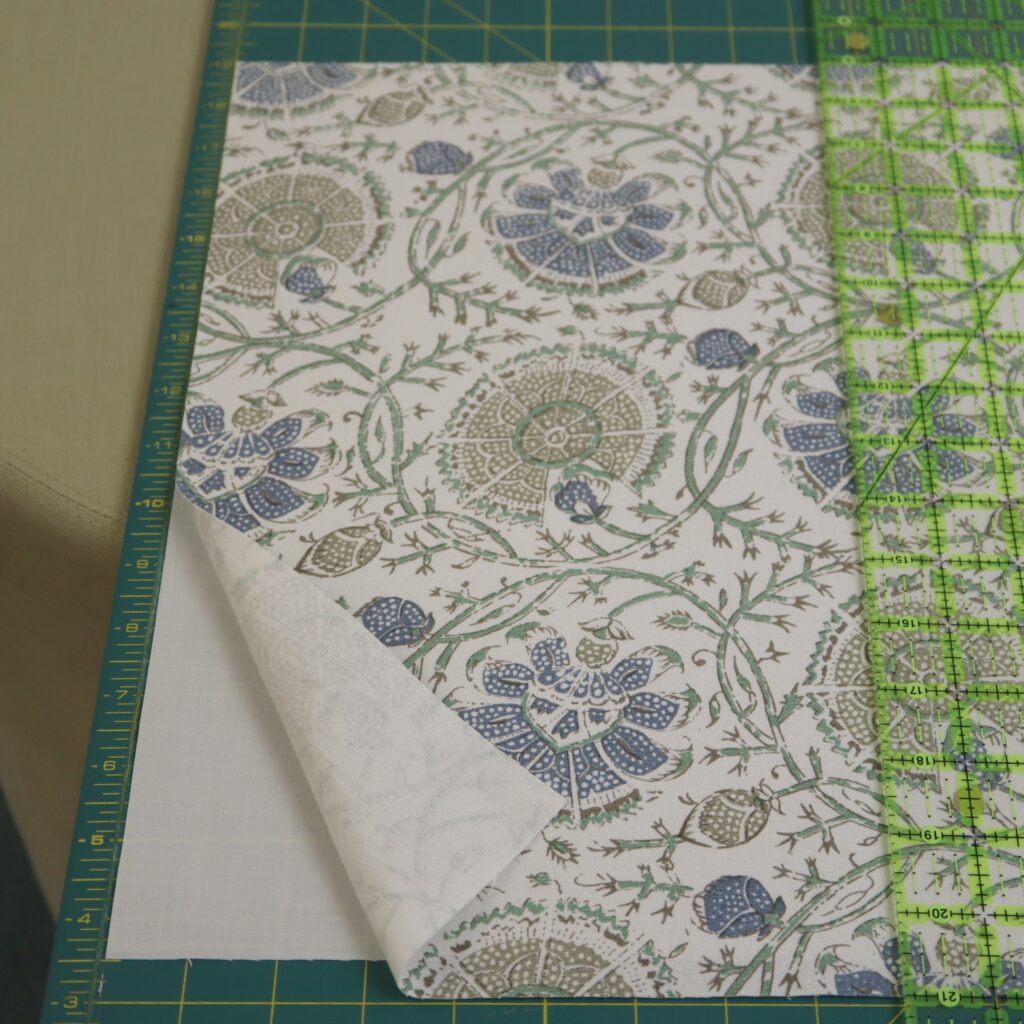
Step 4: Turn your work over making sure that the main fabric and lining are still lined up on one long edge and that the ends that you just cut are still lined up. Cut off the selvedges at the other end as shown above. Your main fabric and lining should now be the same length and the lining is ½” narrower than the main fabric.
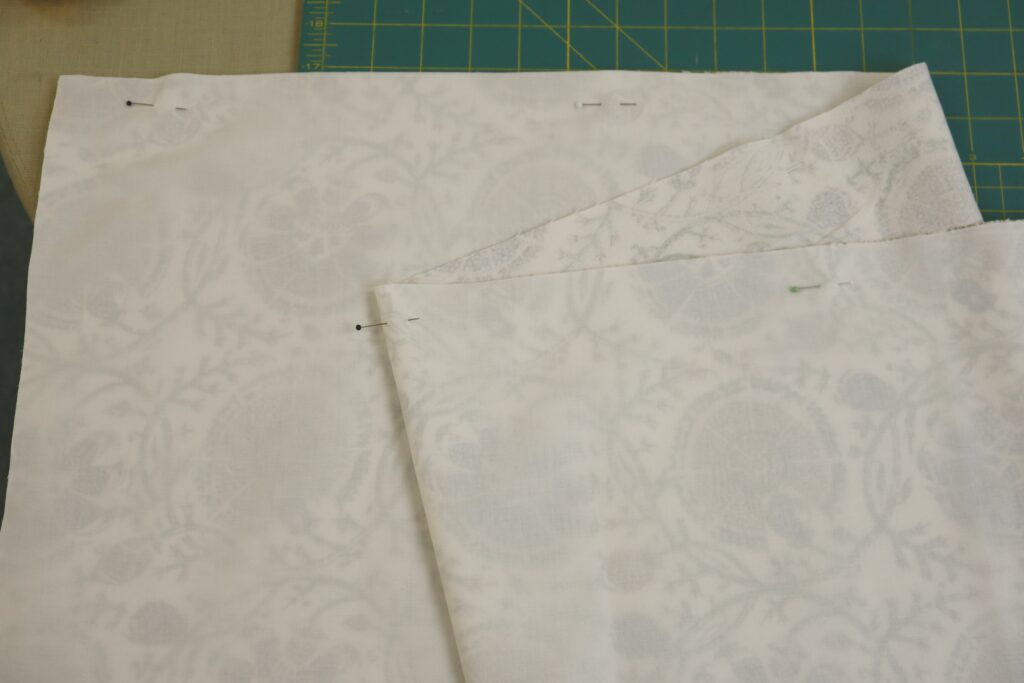
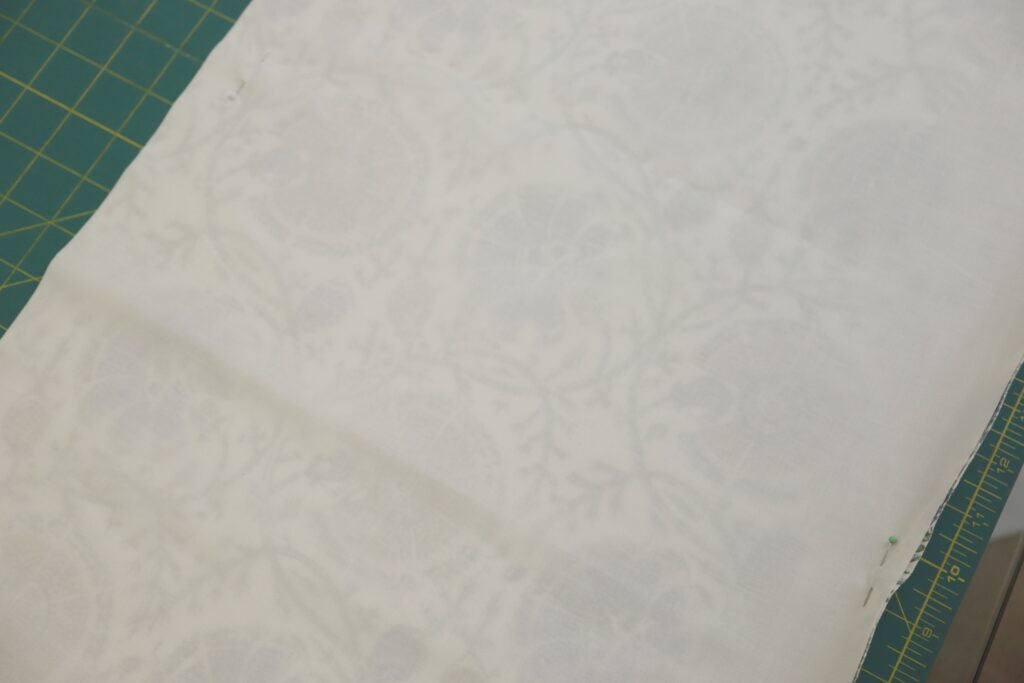
Step 5: Let’s pin! Place the main fabric and lining right sides together lining up one long edge. Place pins through both layers of fabric along that edge. Then line up the other two long edges and pin through both layers as you did along the other side.
Step 6: Let’s sew! Stopping and starting with a backstitch and using ½” (13mm) seam allowance, stitch along each of the long edges removing the pins as you go. You should now have a long tube.
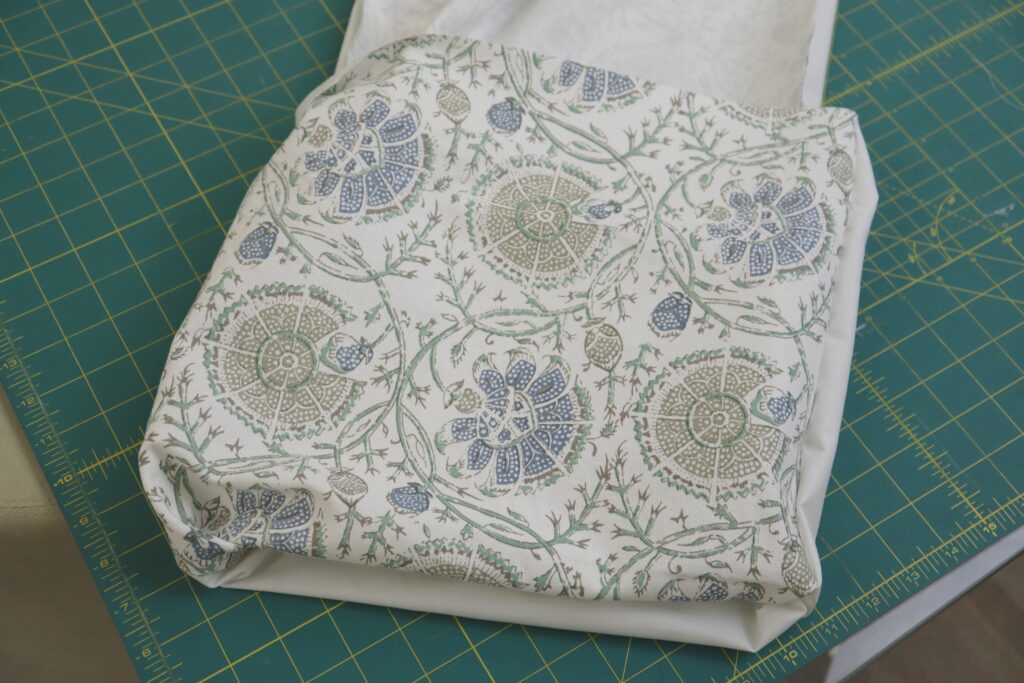
Step 7: Let’s turn. Turn the tube right-side-out as shown above.

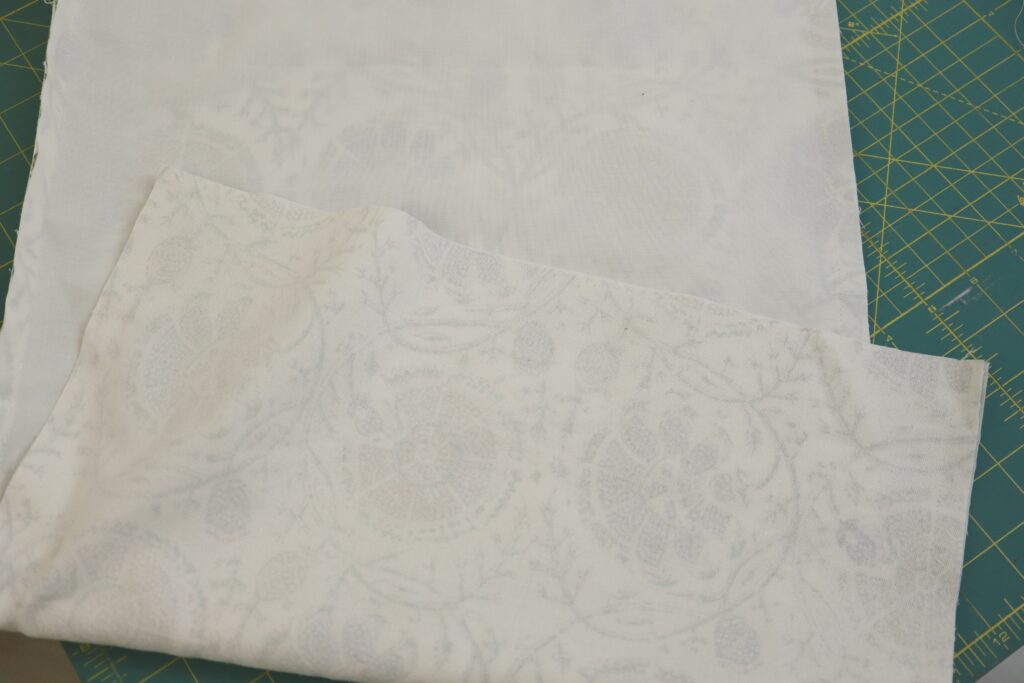
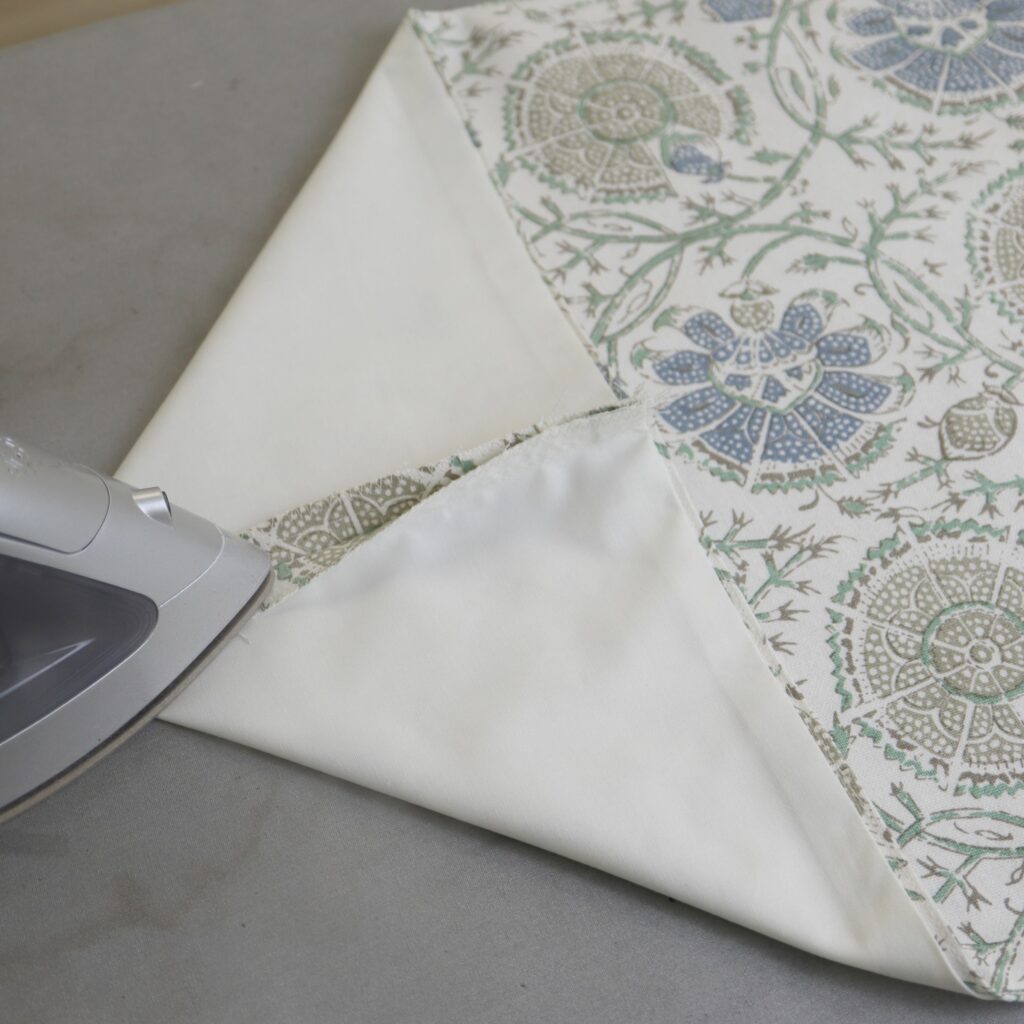
Step 8: Let’s press. Press the seam allowances toward the lining as shown in the first image above. Lay the tube flat with the lining facing up as shown in the second image above. You should find that the main fabric wraps around slightly to the lining side. Make sure that you have equal amounts of the main fabric showing on each side.
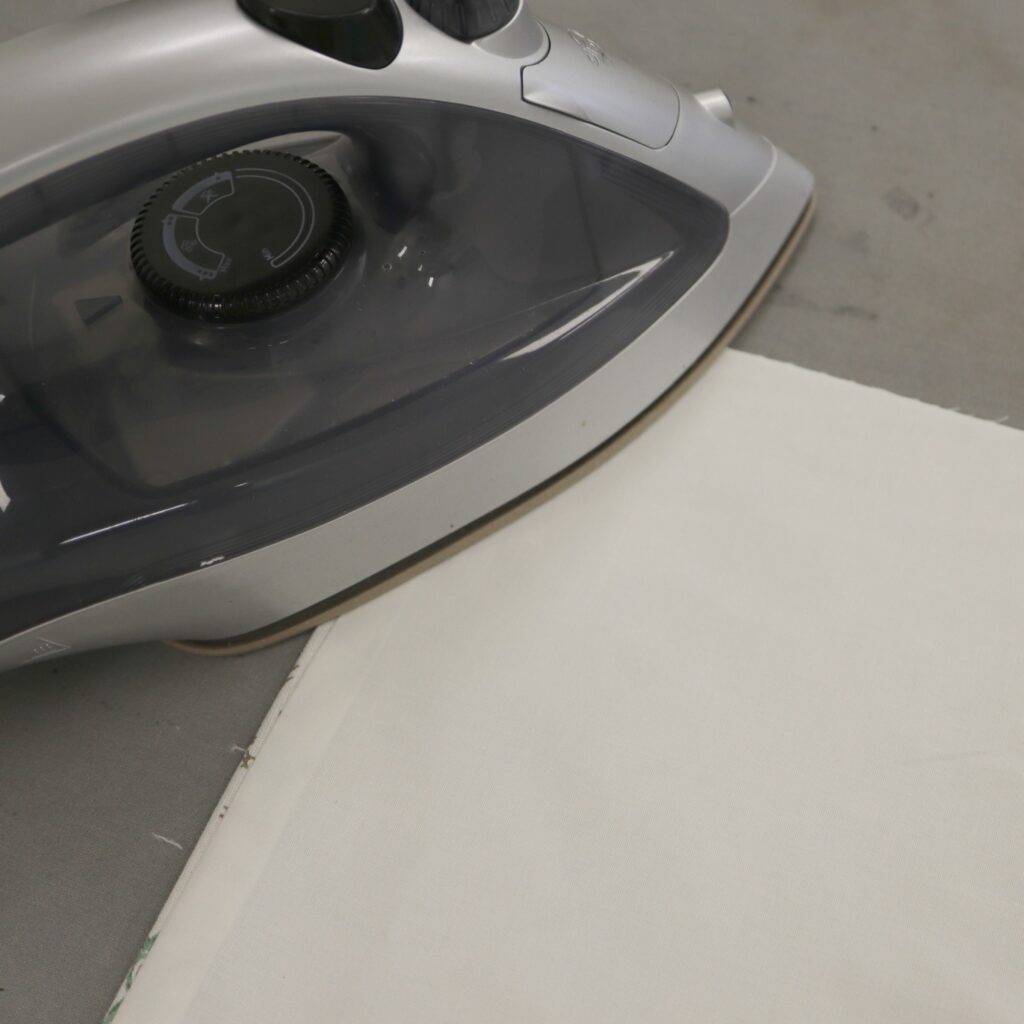
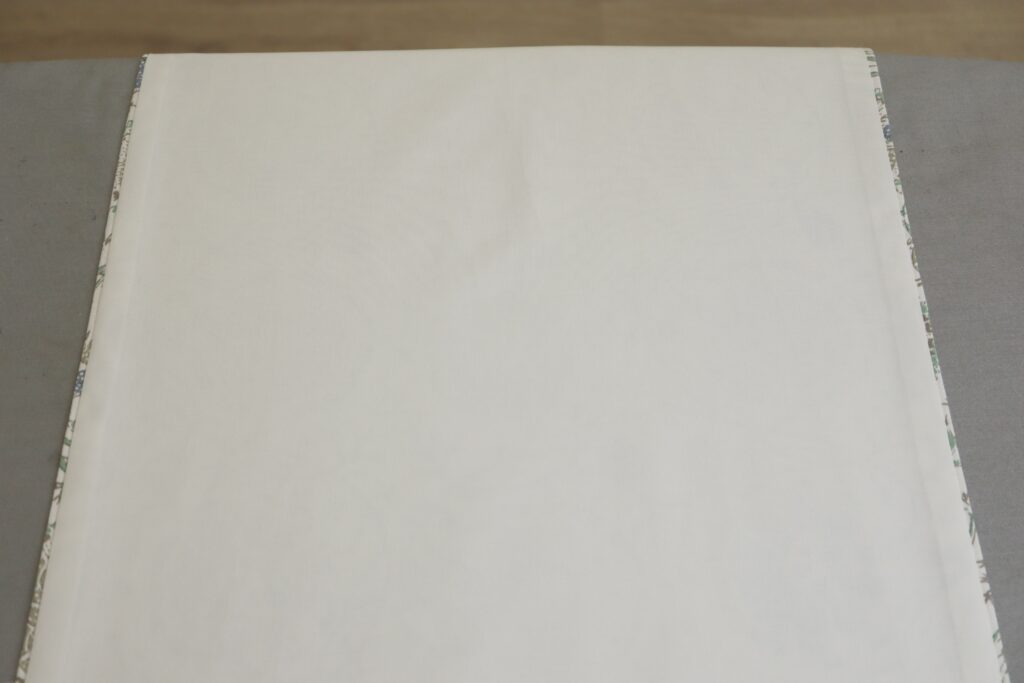
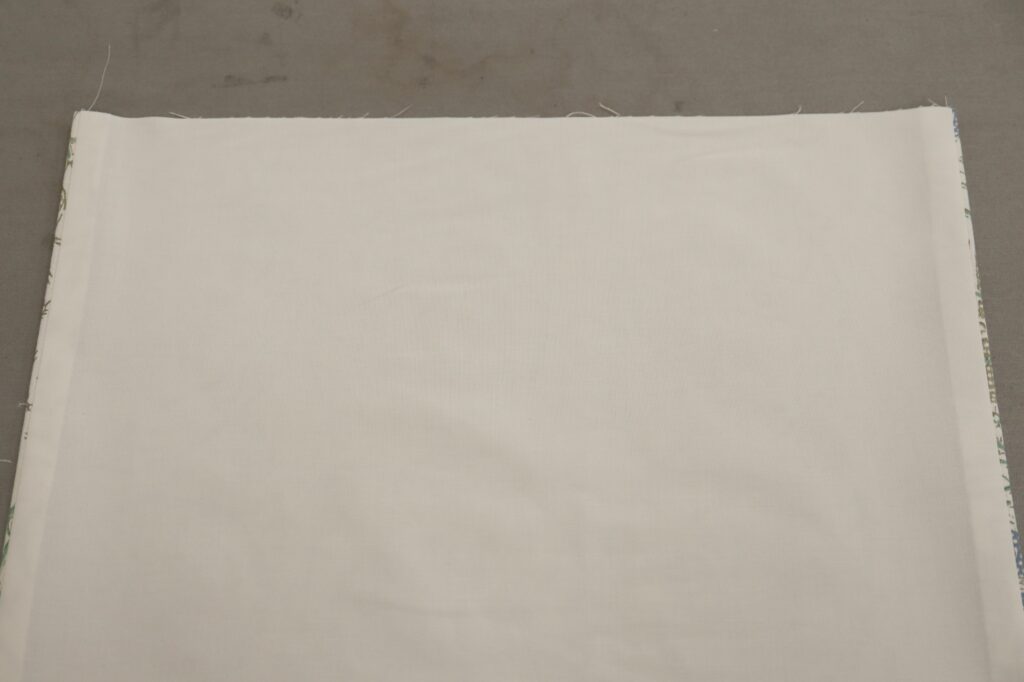
Step 9: Let’s press again. From the lining side, press both long edges of the runner as shown above.
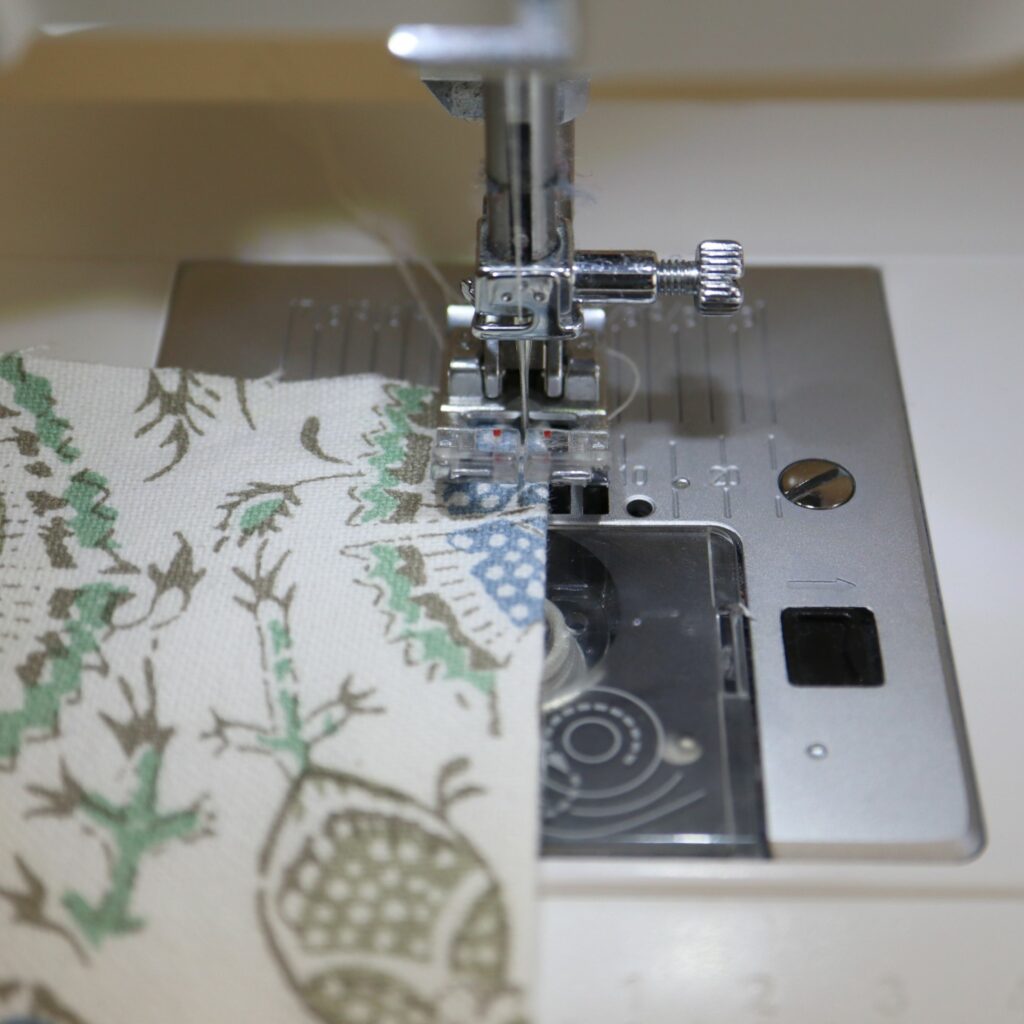
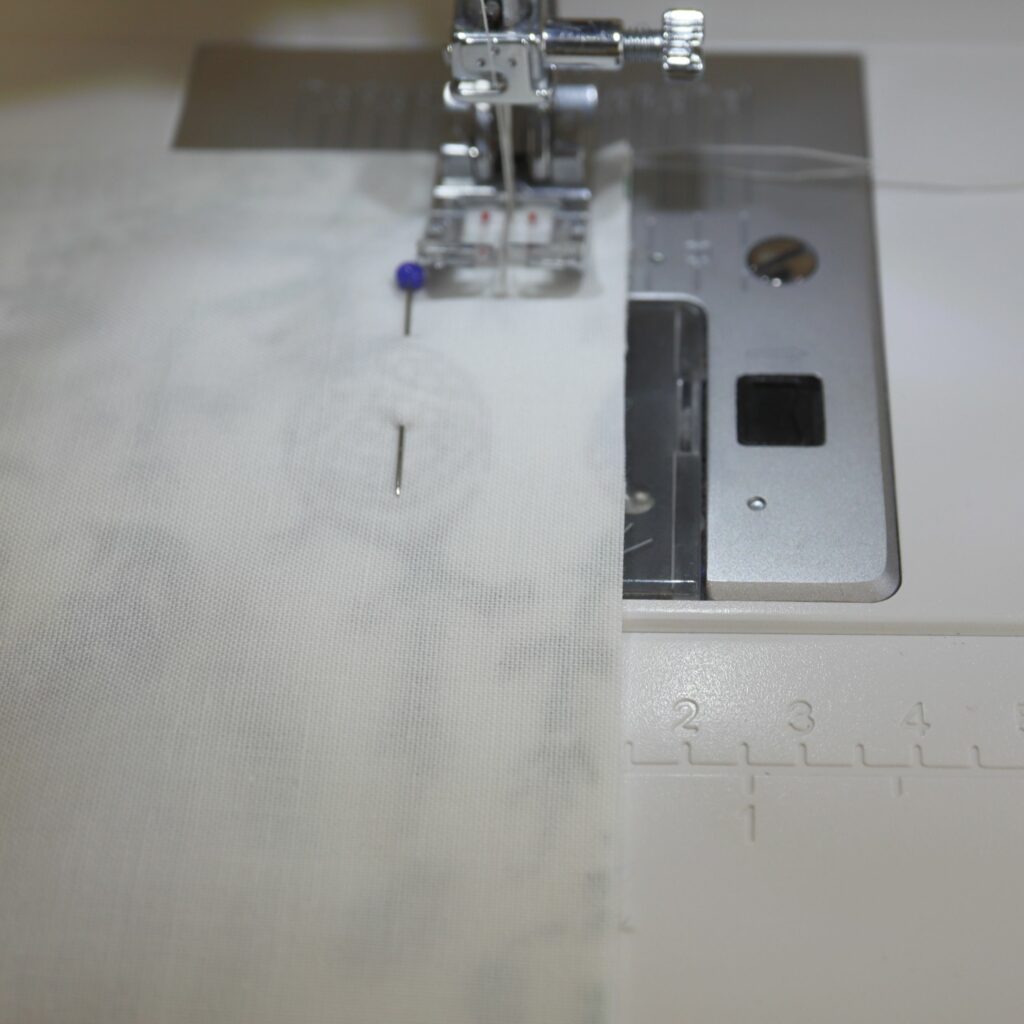
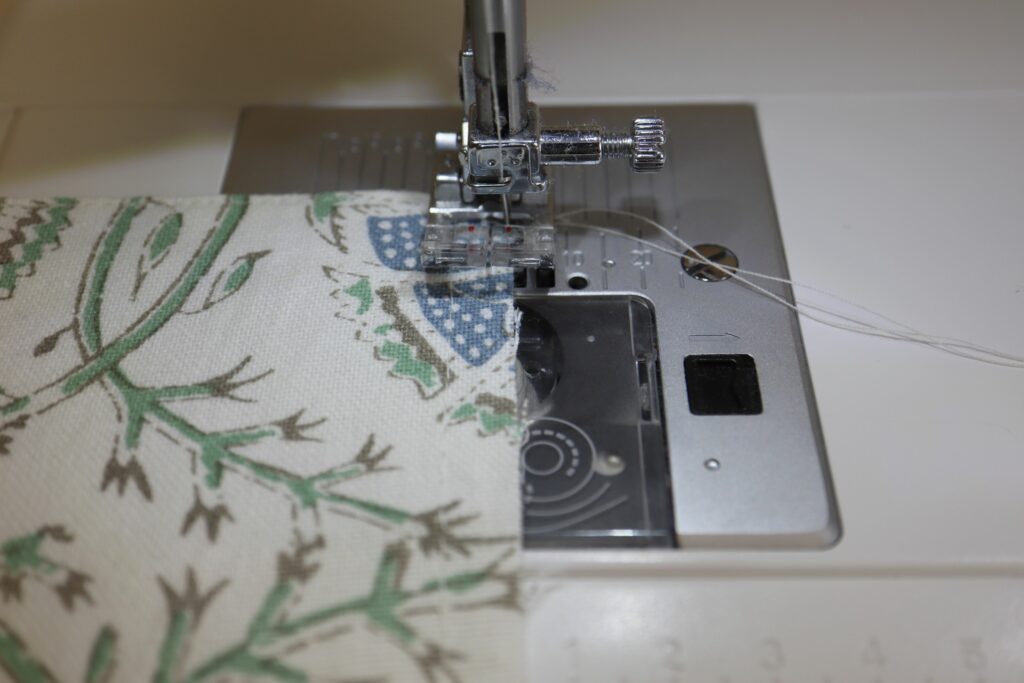
Step 10: Let’s edge stitch. From the right side, we will now stitch along the long edges of the runner 1/8” (3mm) from the edge of our work, using the presser foot as a guide. Do this for both long edges.
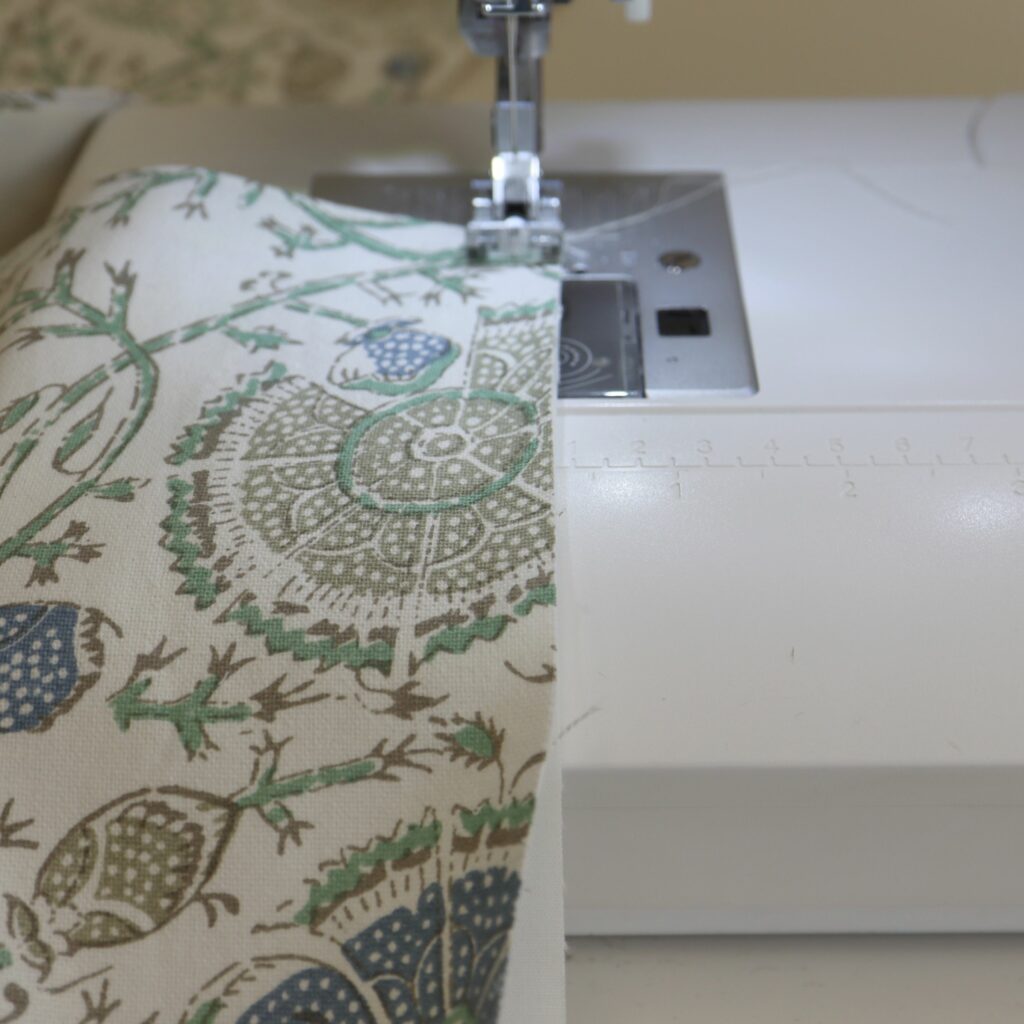
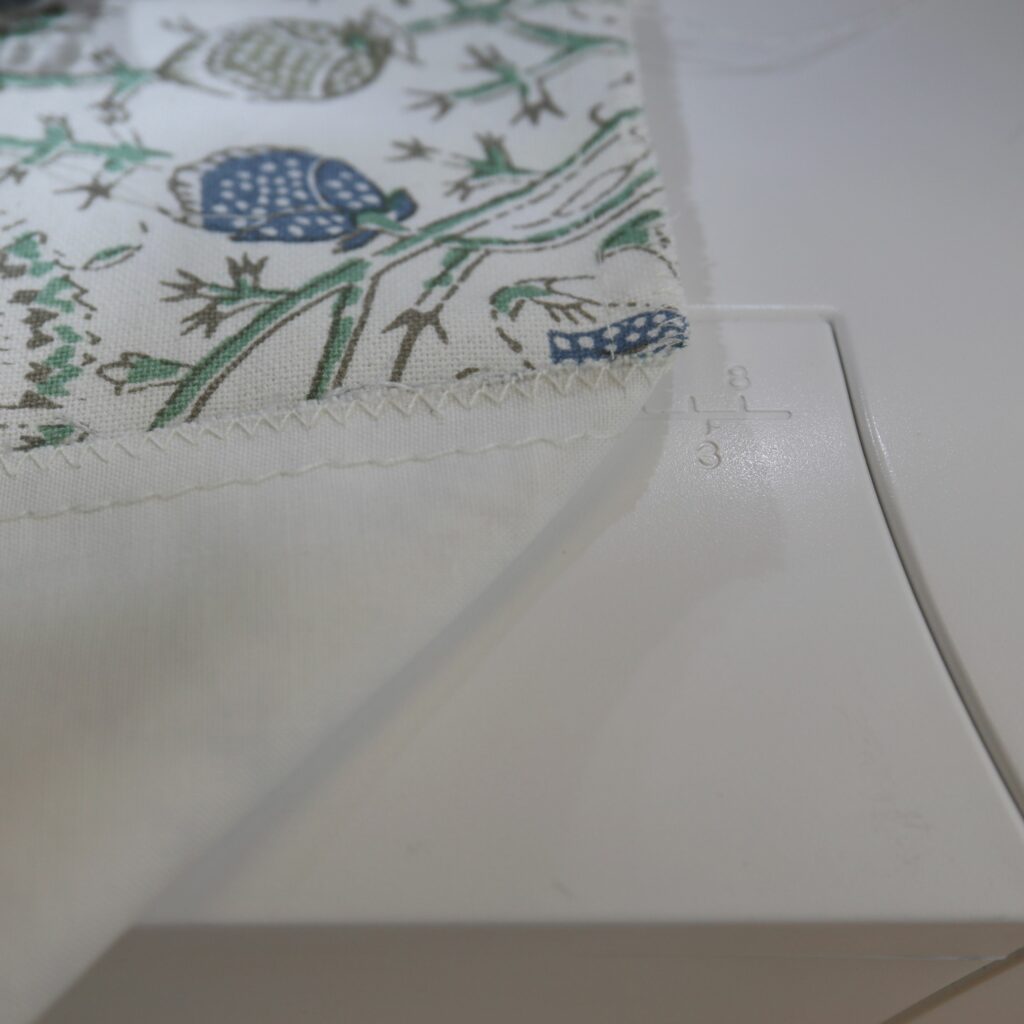
Step 11: Let’s finish the short ends. Using a longer stitch and 3/8” (10mm) seam allowance, sew through both layers at each of the short ends of the runner. Then switch to a zigzag stitch and zigzag the raw edges together. This will keep the raw edges from fraying when you wash the runner later.
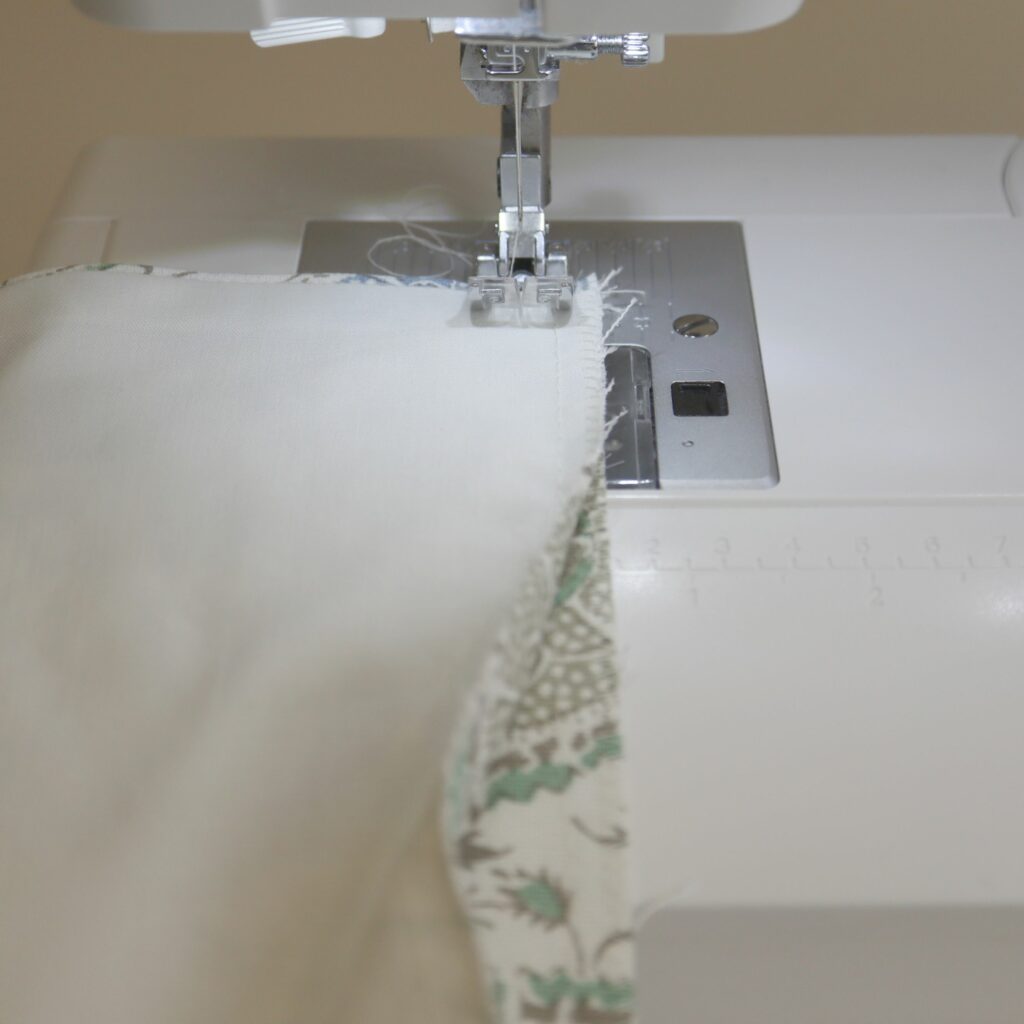
Step 12: We’re almost there. Bringing the long edges together, and with the right sides facing each other, fold the runner in half. Switch your sewing machine back to a straight stitch and use ½” (13mm) seam allowance to stitch through all four layers at the short end of the runner. Repeat this step for the other end of the runner. Trim the corner (close to the folded edge) as shown in the second image above.
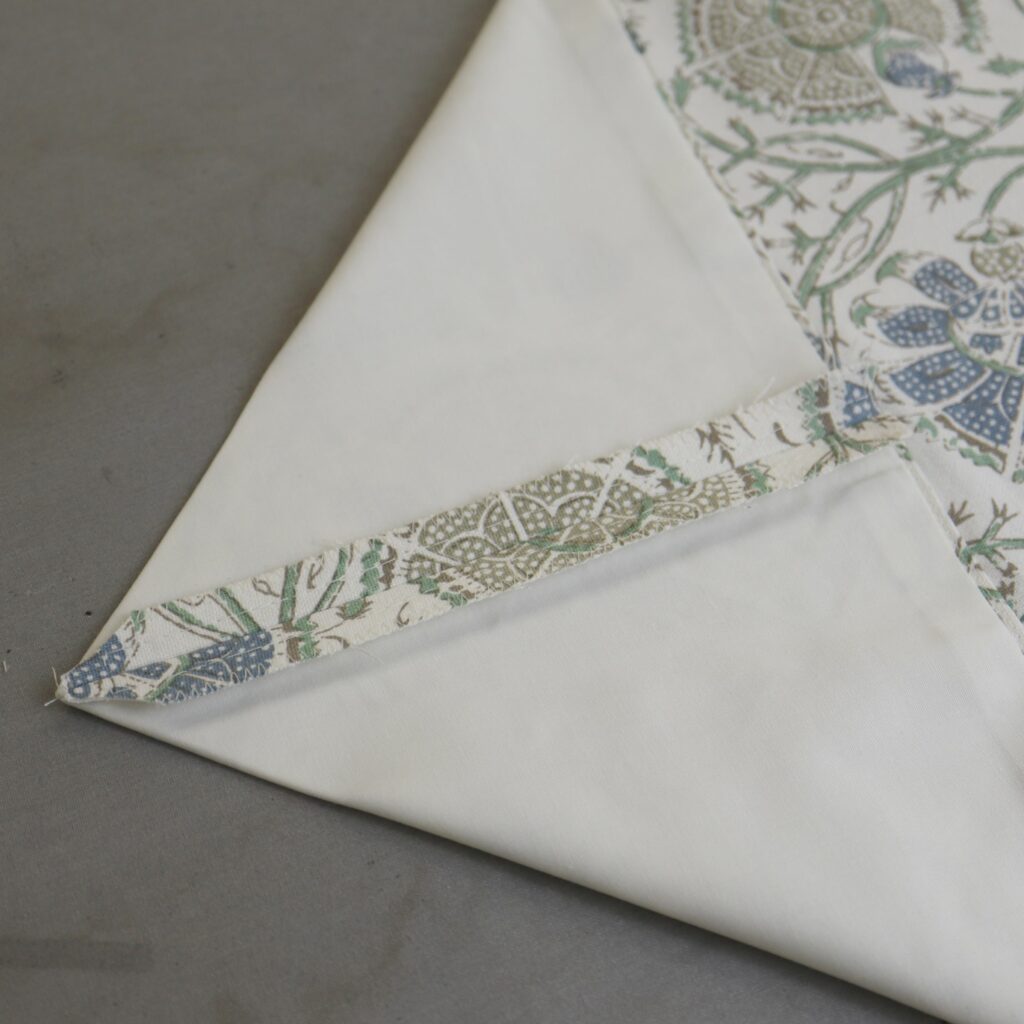
Step 13: Press open the seam that you just stitched as shown above.
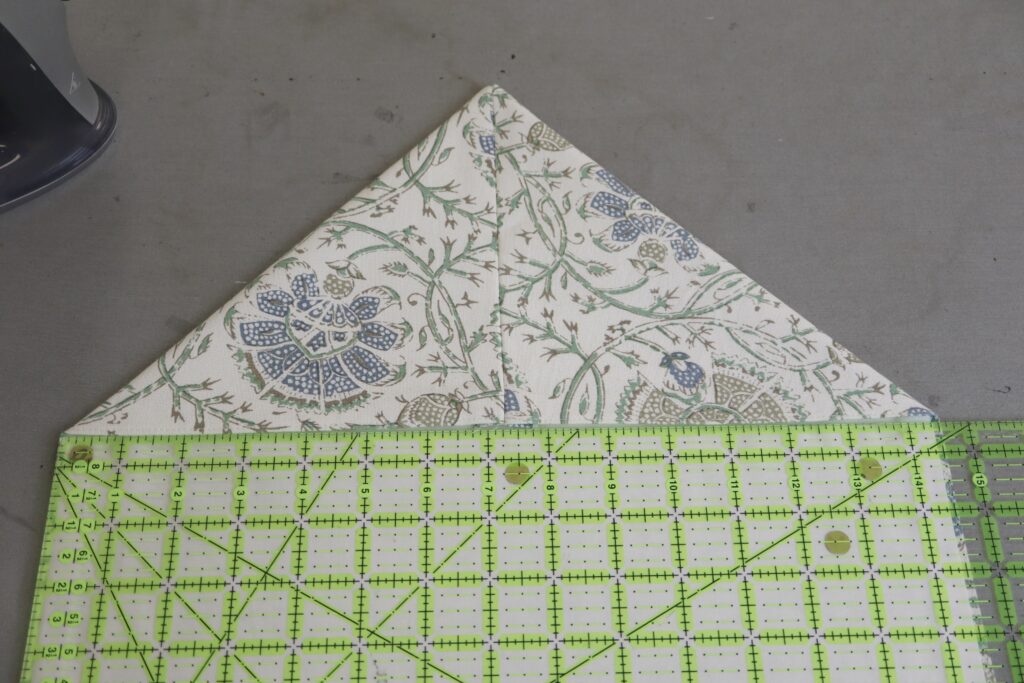
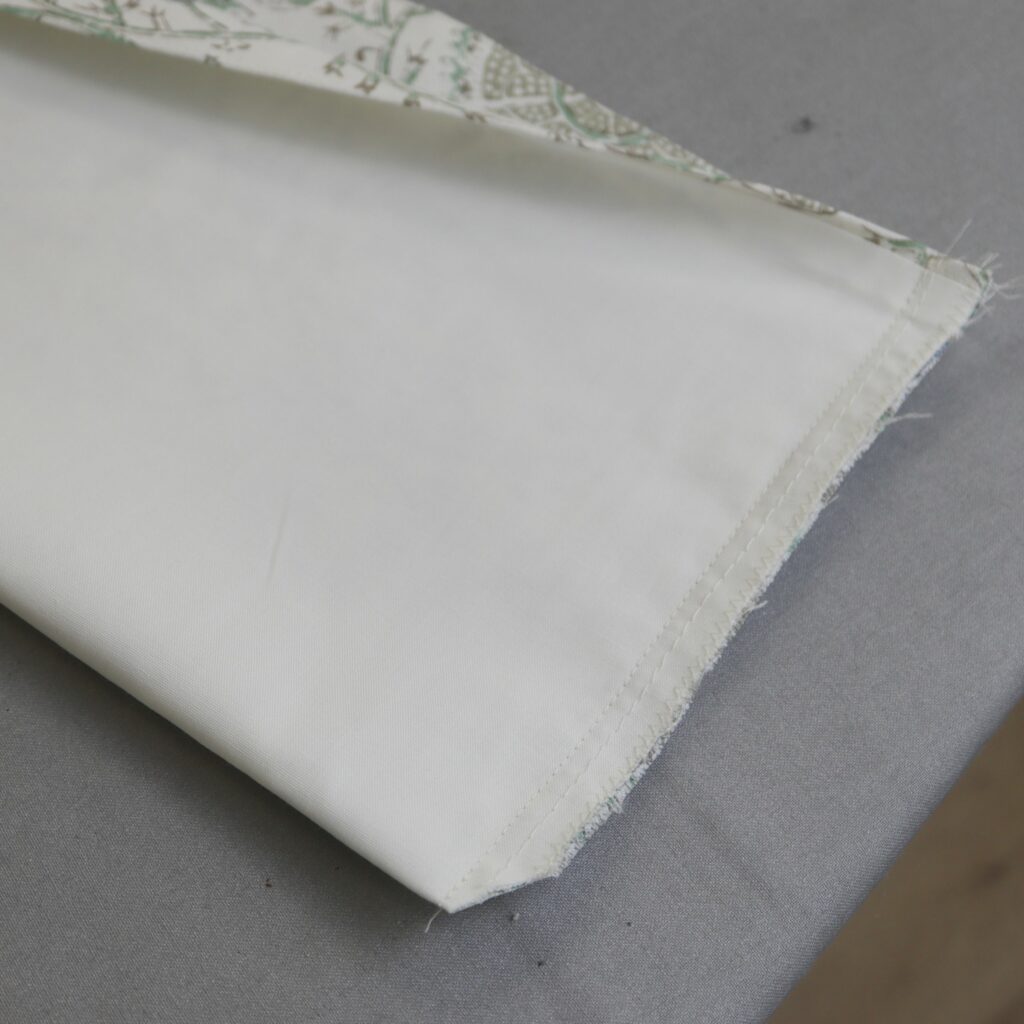
Step 14: Big finish! Turn the end of the runner right-side-out. Use a ruler to make sure that the seam that you just pressed is lined up with the centre of the runner. Press the two folded edges at the end of the runner nice and flat.
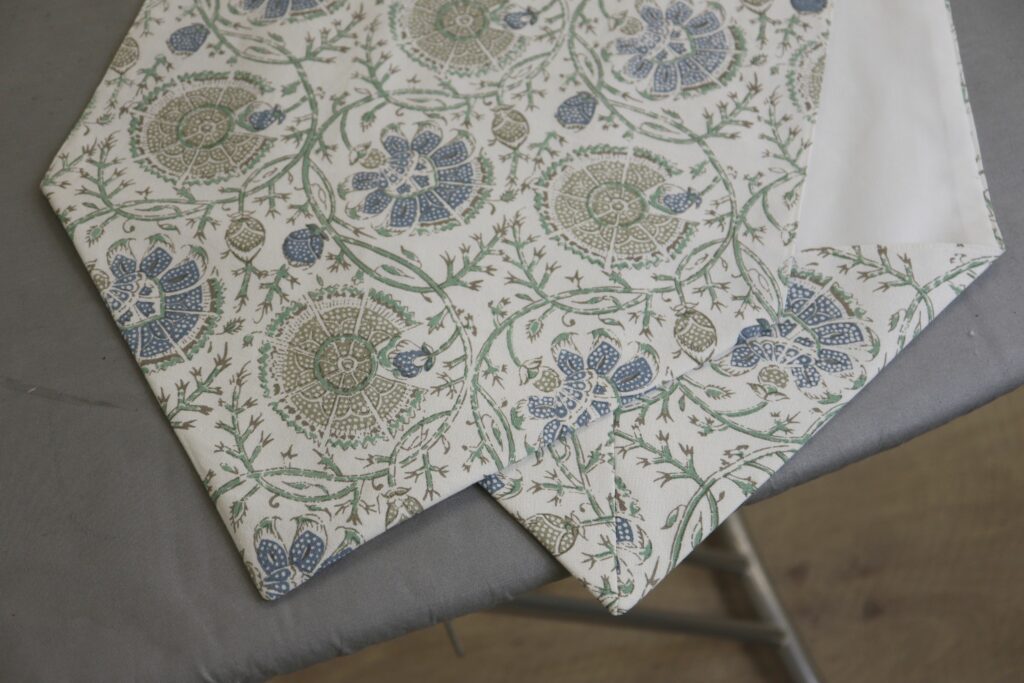
Congratulations on completing your runner!
Special note for directional fabric: If you are using a directional home décor fabric (i.e., a fabric whose pattern runs along the length of the fabric) you will need additional fabric. To make a runner the same size as the one we have shown, you would need 1.5yds (1.4m) of fabric and you would cut the main fabric along the length. Once you have cut the fabric you need for your runner, you will have lots of fabric leftover. You can use this to make an additional runner, placemats, cushions or other objects such as wine bags.
Special note for longer table runners: If you would like a longer table runner, it is best to select a fabric whose pattern runs along the length of the fabric. How ever long you would like your runner, make sure that you have a couple of extra inches of length of fabric. For instance, if you would like a finished runner 70” long, you would need to purchase 72” (2 yards or 1.8m) of fabric. Make sure that you get the same amount of lining.
As mentioned above, you would have lots of fabric leftover. With the extra fabric could make a second runner for yourself or make one as a gift for a friend! We loved making this tutorial, and it was such a fun way to add some seasonal decor to any living space. Think of making this is with a Spider Tulle on top of a gorgeous, black home decor velvet! The possibilities are endless.
If you liked this content and want more, let us know! We won’t know what you’re looking for unless you tell us. Comment here or follow us on Instagram and Facebook where we post tons of short DIY videos and How To’s on our YouTube. Plus! Share your makes with us, you might just get featured on our page if you use #CreateWithFabricana.


2 thoughts on “Simplest Seasonal Decor Table Runner DIY – No Serger! No Hand Sewing!”
very nice. I do these runners for Xmas crafts. I put a very thin layer of thinsulate inside and a cotton backing.
Hi Kim. Yes, the Thinsulate would give the runner a bit more umph! Thanks for the suggestion!