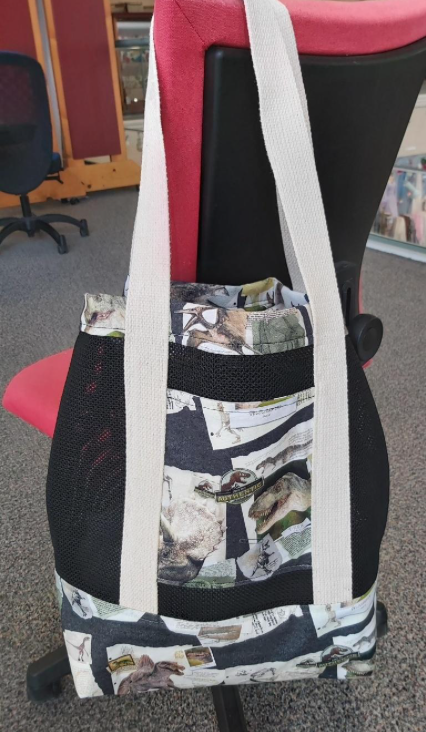
This bag involves the same materials as our “Colleen: Large mesh window tote” bag, but with a little extra detail! Using some extra fabric, you can create a drawstring cuff and a self or contrasting lining at the bottom of the bag. These steps are very similar to our other bag, but are slightly more advanced. This tote is absolutely perfect for hikes or bumpy rides where you don’t want anything spilling out of your tote!
Try making 1 of our 2 other totes using similar techniques!
The Colleen: Large mesh window tote
The Janice: Drawstring and self-lined tote (read below!)
The Mini Colleen: Small mesh window tote
You can mix and match the techniques for any of these bags together too! Maybe you want to line your mesh tote, or maybe you want the extra pockets from the small mesh tote tutorial.
Materials
(You will have enough materials to create 2 bags)
- 2 ½ yards of nylon or cotton webbing (1” or 1 ½” wide) for straps
- 19” x 15” of contrasting fabric (if making a contrasting lining)
- 2 ½ yards of cording
- 2 cord locks
- If making large contrasting pocket: 7” x 11” contrasting canvas
- 3/8 yard of heavy mesh
- If making a large mesh pocket instead of canvas pocket buy ⅝ yards of mesh and Extra-wide Double-fold Bias Tape 2” by 7”.
- 3/4 yards of canvas (most nylon fabric are water repellent and don’t require lining)
- If self lining with the same fabric and making a matching large pocket, buy 1 ¼ yards of canvas. You may require more canvas if your fabric is directional (if you want all the stripes facing the same way, etc).
- If self lining with the same fabric and making a Mesh pocket, buy 1 ¼ yards of fabric. This is enough fabric to make Extra-Wide, double-fold bias tape out of the same canvas.
- Tailors chalk or fabric marking pen
- Sewing clips (instead of straight pins)
- Matching or contrasting thread
- Jeans machine needles
- Safety pin or bodkin
- Painter’s tape (optional)
- Hand sewing needle (optional)
Instructions
Step 1. Cut fabric as follows
Mesh: 2 pieces 19” x 11” (Pattern piece “B1” and “B2”) this is the middle of your bag.
Canvas: 2 pieces 19” x 15” (Pattern piece “C1” and “C2”) this is the bottom of your bag and lining.
2 pieces 19” x 3 ½” (Pattern piece “A1” and “A2”) these are the top two strips of your bag.
2 pieces 8” x 19” (Pattern piece “E1” and “E2”) for the drawstring cuff.
Webbing straps: 2 pieces, each 45” long
Pocket(s) – If using Canvas, cut pocket to 7” x 11” (pattern piece “D”)
Step 2. If making a mesh pocket: Cover one short end of your large mesh pocket (pattern piece D) with the bias tape or your extra canvas piece double folded like bias tape. This will be the top or bottom of your pocket, and will make your pocket longer/deeper while also covering the raw edge.
Step 3. Follow instructions for our “Colleen” tote from steps 2 through 10. (Pictures included)
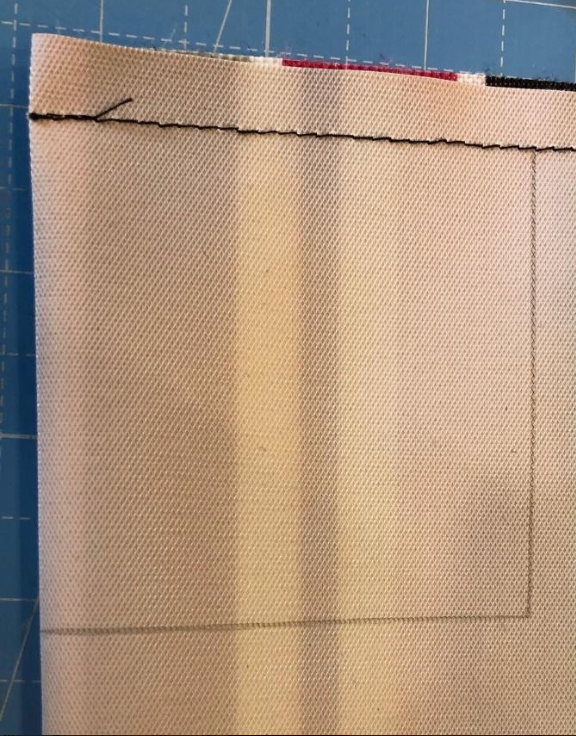
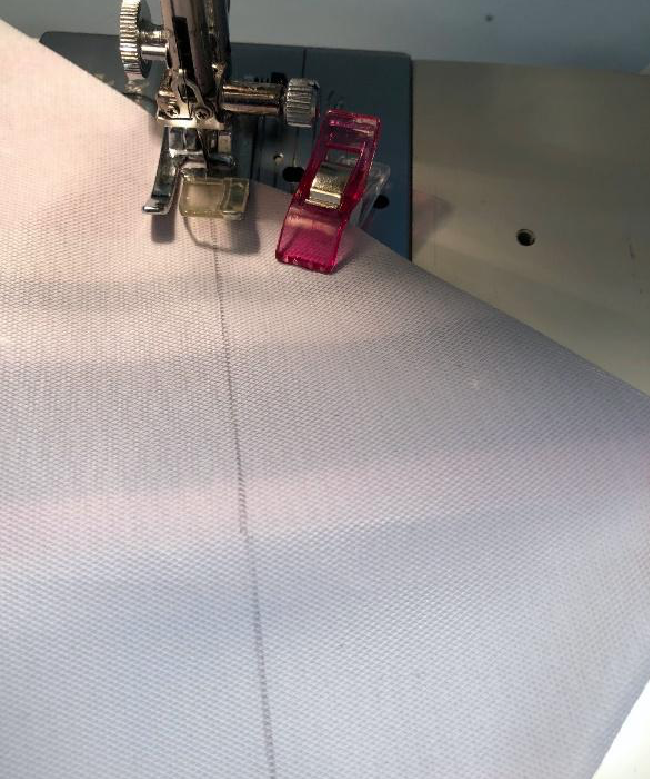
Step 4. For the lining at the bottom of your bag, fold over a ½ inch seam allowance to the wrong side of the pattern piece C2 along the 19” sides and baste.
Step 5. Fold the lining piece in half and sew the sides together along the 15” side to create a “pouch.”
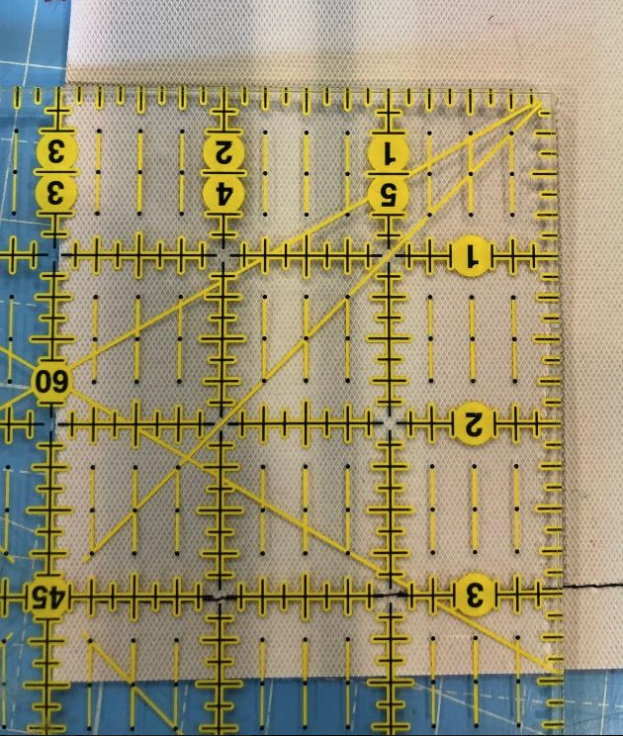
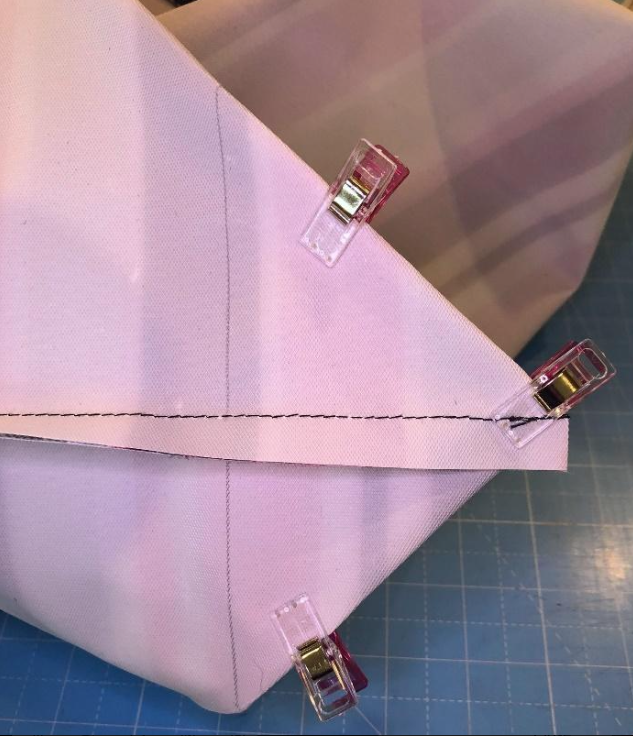
Step 6. Draw a 3” box at the bottom of your lining (C2), the same way you did with the bottom of your bag, measuring in from the seam allowance at the sides. Marking the box on both sides of the bag will make it easier to stitch.
Step 7. Fold the side seam so that it lines up with the bottom of the bag, using the box you drew as reference. You will now have what looks like a triangle. Hold it in place with clips and sew along the marked line. You can choose to trim the triangles, or leave them in place.
Step 8. Turn your lining right-side out. Hand or machine stitch your basted hem edge to the inside of the bag, lining it up where the bag fabric and mesh meet at the B / C seam. This will hide all your seams inside.
Step 9. Fold pattern piece E1 in half long sides together along the base; do the same for pattern piece E2. This is for marking purposes only: you will be making 2 “tubes” of fabric out of the cuff pieces, the top is where the fold is. Then ¾ inches down from the fold on E1 and E2, make a ½ inch mark on both layers of fabric. These points are important for later to know where to sew for your channel.
Step 10. Unfold. Along the sides of E1 and E2 where you have made your “marks,”(the 8” sides) fold the fabric back by ½” to create a single-fold hem. If the fabric you are using is susceptible to fraying you can create a double-fold hem instead, but don’t use more than ½ an inch.
Step 11. Pin/clip fabrics so short sides connect right sides together, creating the side seams of the cuff. You are connecting pattern piece E1 to pattern piece E2 along the 8” side of the fabric.
Step 12. Starting at one end of your fabric along the side seam you have hemmed, sew up until you hit your first “mark” from earlier, backstitch. DO NOT SEW the side seam between these two marks. Turn your fabric around and sew from the end of your fabric up to the second “mark,” backstitch. Repeat this for the other side seam until you have a tube.
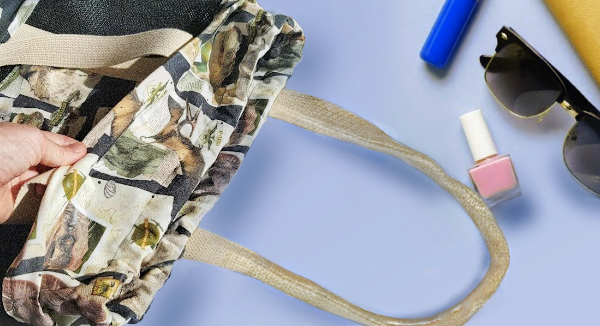
Step 13. Fold the tube you have created out of pattern pieces E1 and E2 in half so that the wrong sides are together and the tube now forms a cuff. You should be pulling from the top of the fabric piece down to match the two raw edges together (and the gap between the marks should be open still, at the top of your fold).
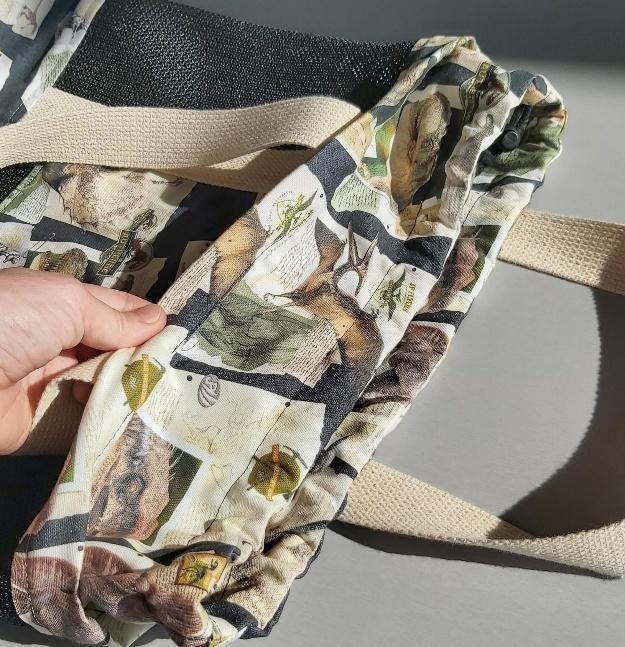
Step 14. At the marked line from earlier, pin the cuff all the way around the top fold and topstitch ¾” down from the folded edge to create the drawstring channel.
Step 15. Cut your length of cording in half and thread one piece (using a bodkin/safety pin to help) from one opening in the channel all the way through the channel to come out at the same side. Then, starting at the other opening, repeat this so the cord starts and finishes at the other opening. You should have 2 drawstring ends coming out of both sides. Add your cord locks on each side and tie a knot in each cord near their ends to make sure your cord locks won’t slip off.
Step 16. Turn the top edge of the bag down 1” to create a double-fold hem, and insert the raw edges of your cuff into this hem. Sew in place, keeping the webbing out of the way, so all your raw edges are hidden and your cuff is secured to the top of your bag.
Step 17. Turn your bag right side out and enjoy!
We hope you enjoyed this tutorial on making this awesome tote! It was put together by our staff member Colleen (assisted by Janice) and will be in-store on display in Coquitlam for a short time. These techniques are timeless though and perfect for any style tote you could make in the future. If you enjoyed this tutorial or want to see others like it, let us know in the comments!