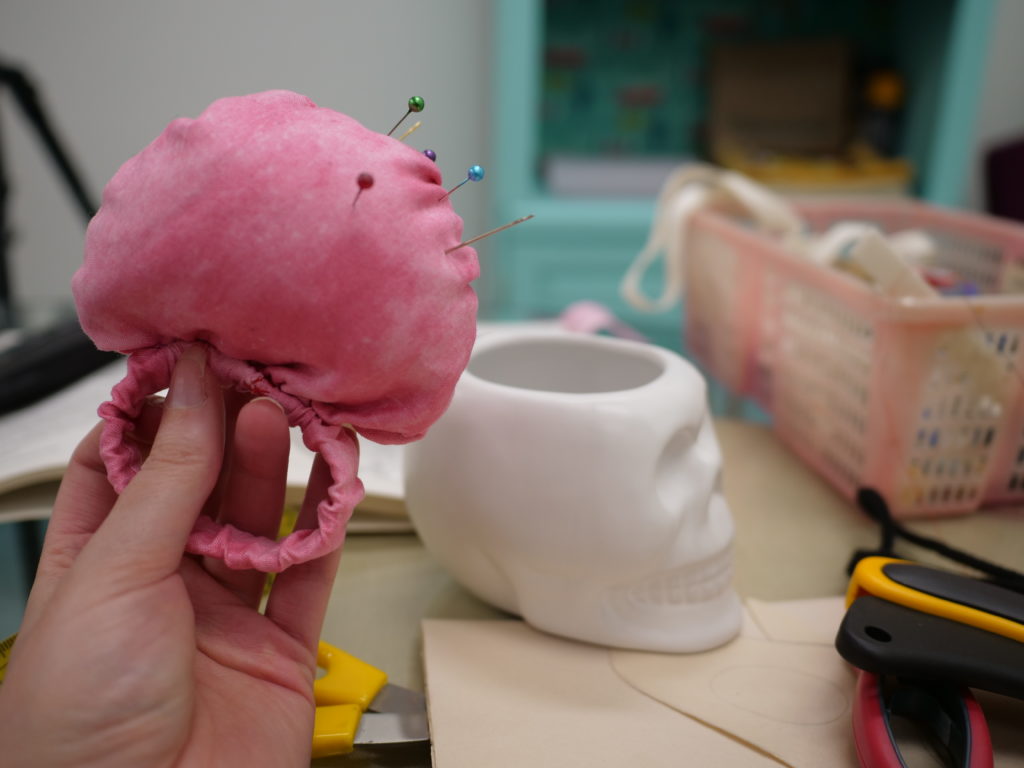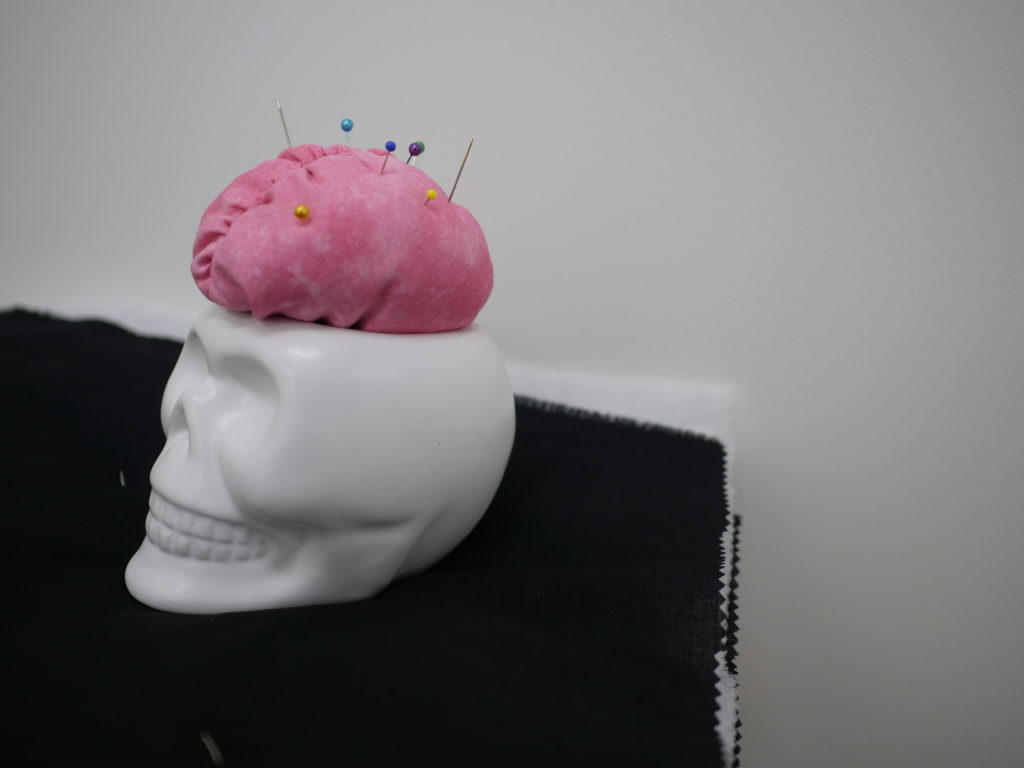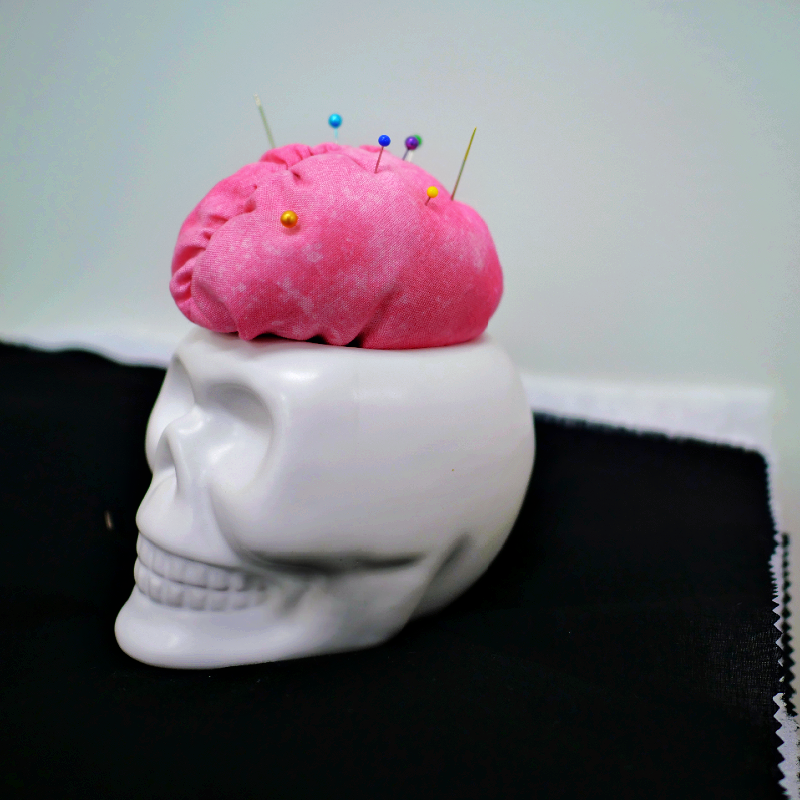
Skull with Brain Pin Cushion. With wrist band detail!
Pin cushions are the handiest tool a sewist can have. It secures all your pins, makes them easy to find, and with our wristband design, you can easily take your pins with you as you work on a project. But why not make your pincushion aesthetic too! Get into the holiday spirit, or make your pincushion a permanent home decor piece! You can use our DIY to make a cute potted-cactus pincushion, a fake-foamy cup of coffee pincushion, or follow along directly and recreate our spooky, brain pincushion.
Materials:
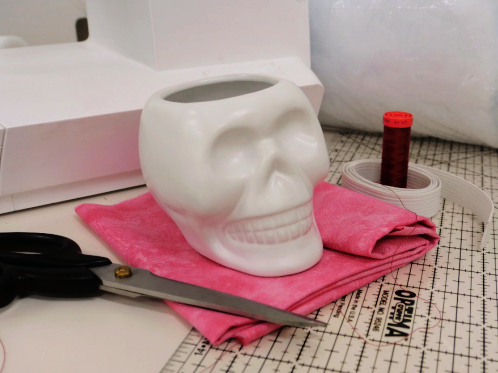
- Cotton, woven fabric (45” by 12″ cut) We used a Batik!
- ½” wide flat elastic or ¾” wide flat elastic
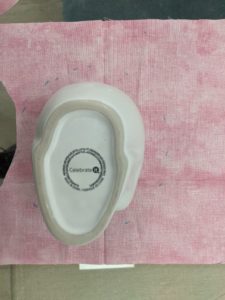
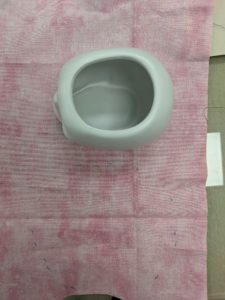
- Small flower pot, ceramic ramekin, or mug
- All purpose thread
- Top stitch thread (optional)
- Polyfil / Stuffing
- Hand sewing needle
- Medium/ large safety pin
- Sewing pins
- Measuring tape
- Flat ruler
- Fabric scissors
- Iron
- Sewing machine, or hand-sewing equipment
Please note: these measurements are for our ramekin holder. You may need extra fabric depending on the size of your container.
How to sew your pin cushion:
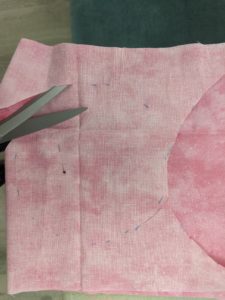
- Start by measuring the size of your ceramic pot. The goal is to get your pin cushion to fit inside the opening. We traced the opening of our ramekin directly onto the fabric, and then added 2 inches to the diameter.
Our opening is not a perfect circle, so our pattern is not circular either. This easy sewing method means you don’t have to make patterns!
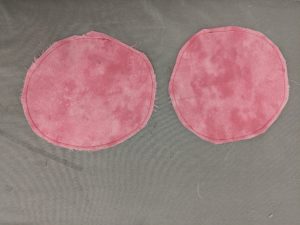
- Cut 4 pieces of your pattern. The easiest way to do this is to fold your fabric on top of itself and cut through 2 layers of fabric to get 2 circles. Then trace your pattern onto the fabric again, and cut 2 more layers.
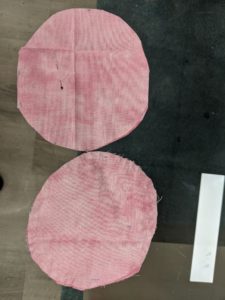
We recommend 4 pieces of fabric when using craft cotton because you want your pins to securely stick into your pin cushion. If you are using a heavier weight fabric, you may be able to get away with only using 2 pieces instead of 4.
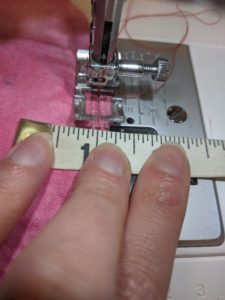
- Next, take your circles to the sewing machine and sew your 4 circles together to create 2 sets of circles. Sew around the edge using a ⅓” seam allowance, and 2.0 (regular) stitch length. Stitch length is the size of the stitch itself, and this can be adjusted with a dial or on your machines’ digital screen. Typically the stitch length is set to 2.0.

Start and finish your stitch with a back stitch to secure the seam, make sure to sew your circles together with the “right side” of the fabric facing out. (That’s the side you WANT people to see, facing out). In the end, you should have 2 circles, with your bright fabric pattern facing outward on both sides.
You can pin your circles in the middle if that makes sewing easier for you.
- To achieve the “gathered look” our brain has, we will be using a fun and easy gathering technique. Iron your circles flat, and head back to your machine. Adjust your stitch length to 4.0. Sew your 2 circles together by starting a new seam, using a ½” seam allowance.
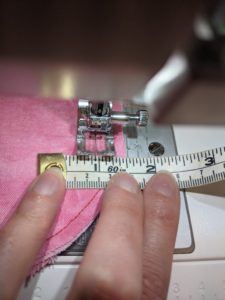

Sew around your circle, leaving a 3” opening at the bottom of your circle. DO NOT back stitch at the beginning OR end of your seam.
- Next, choose an end of your 4.0 seam and pluck the loop of thread at the end so both the bobbin thread, and the needle thread are coming out of the same side of the fabric.
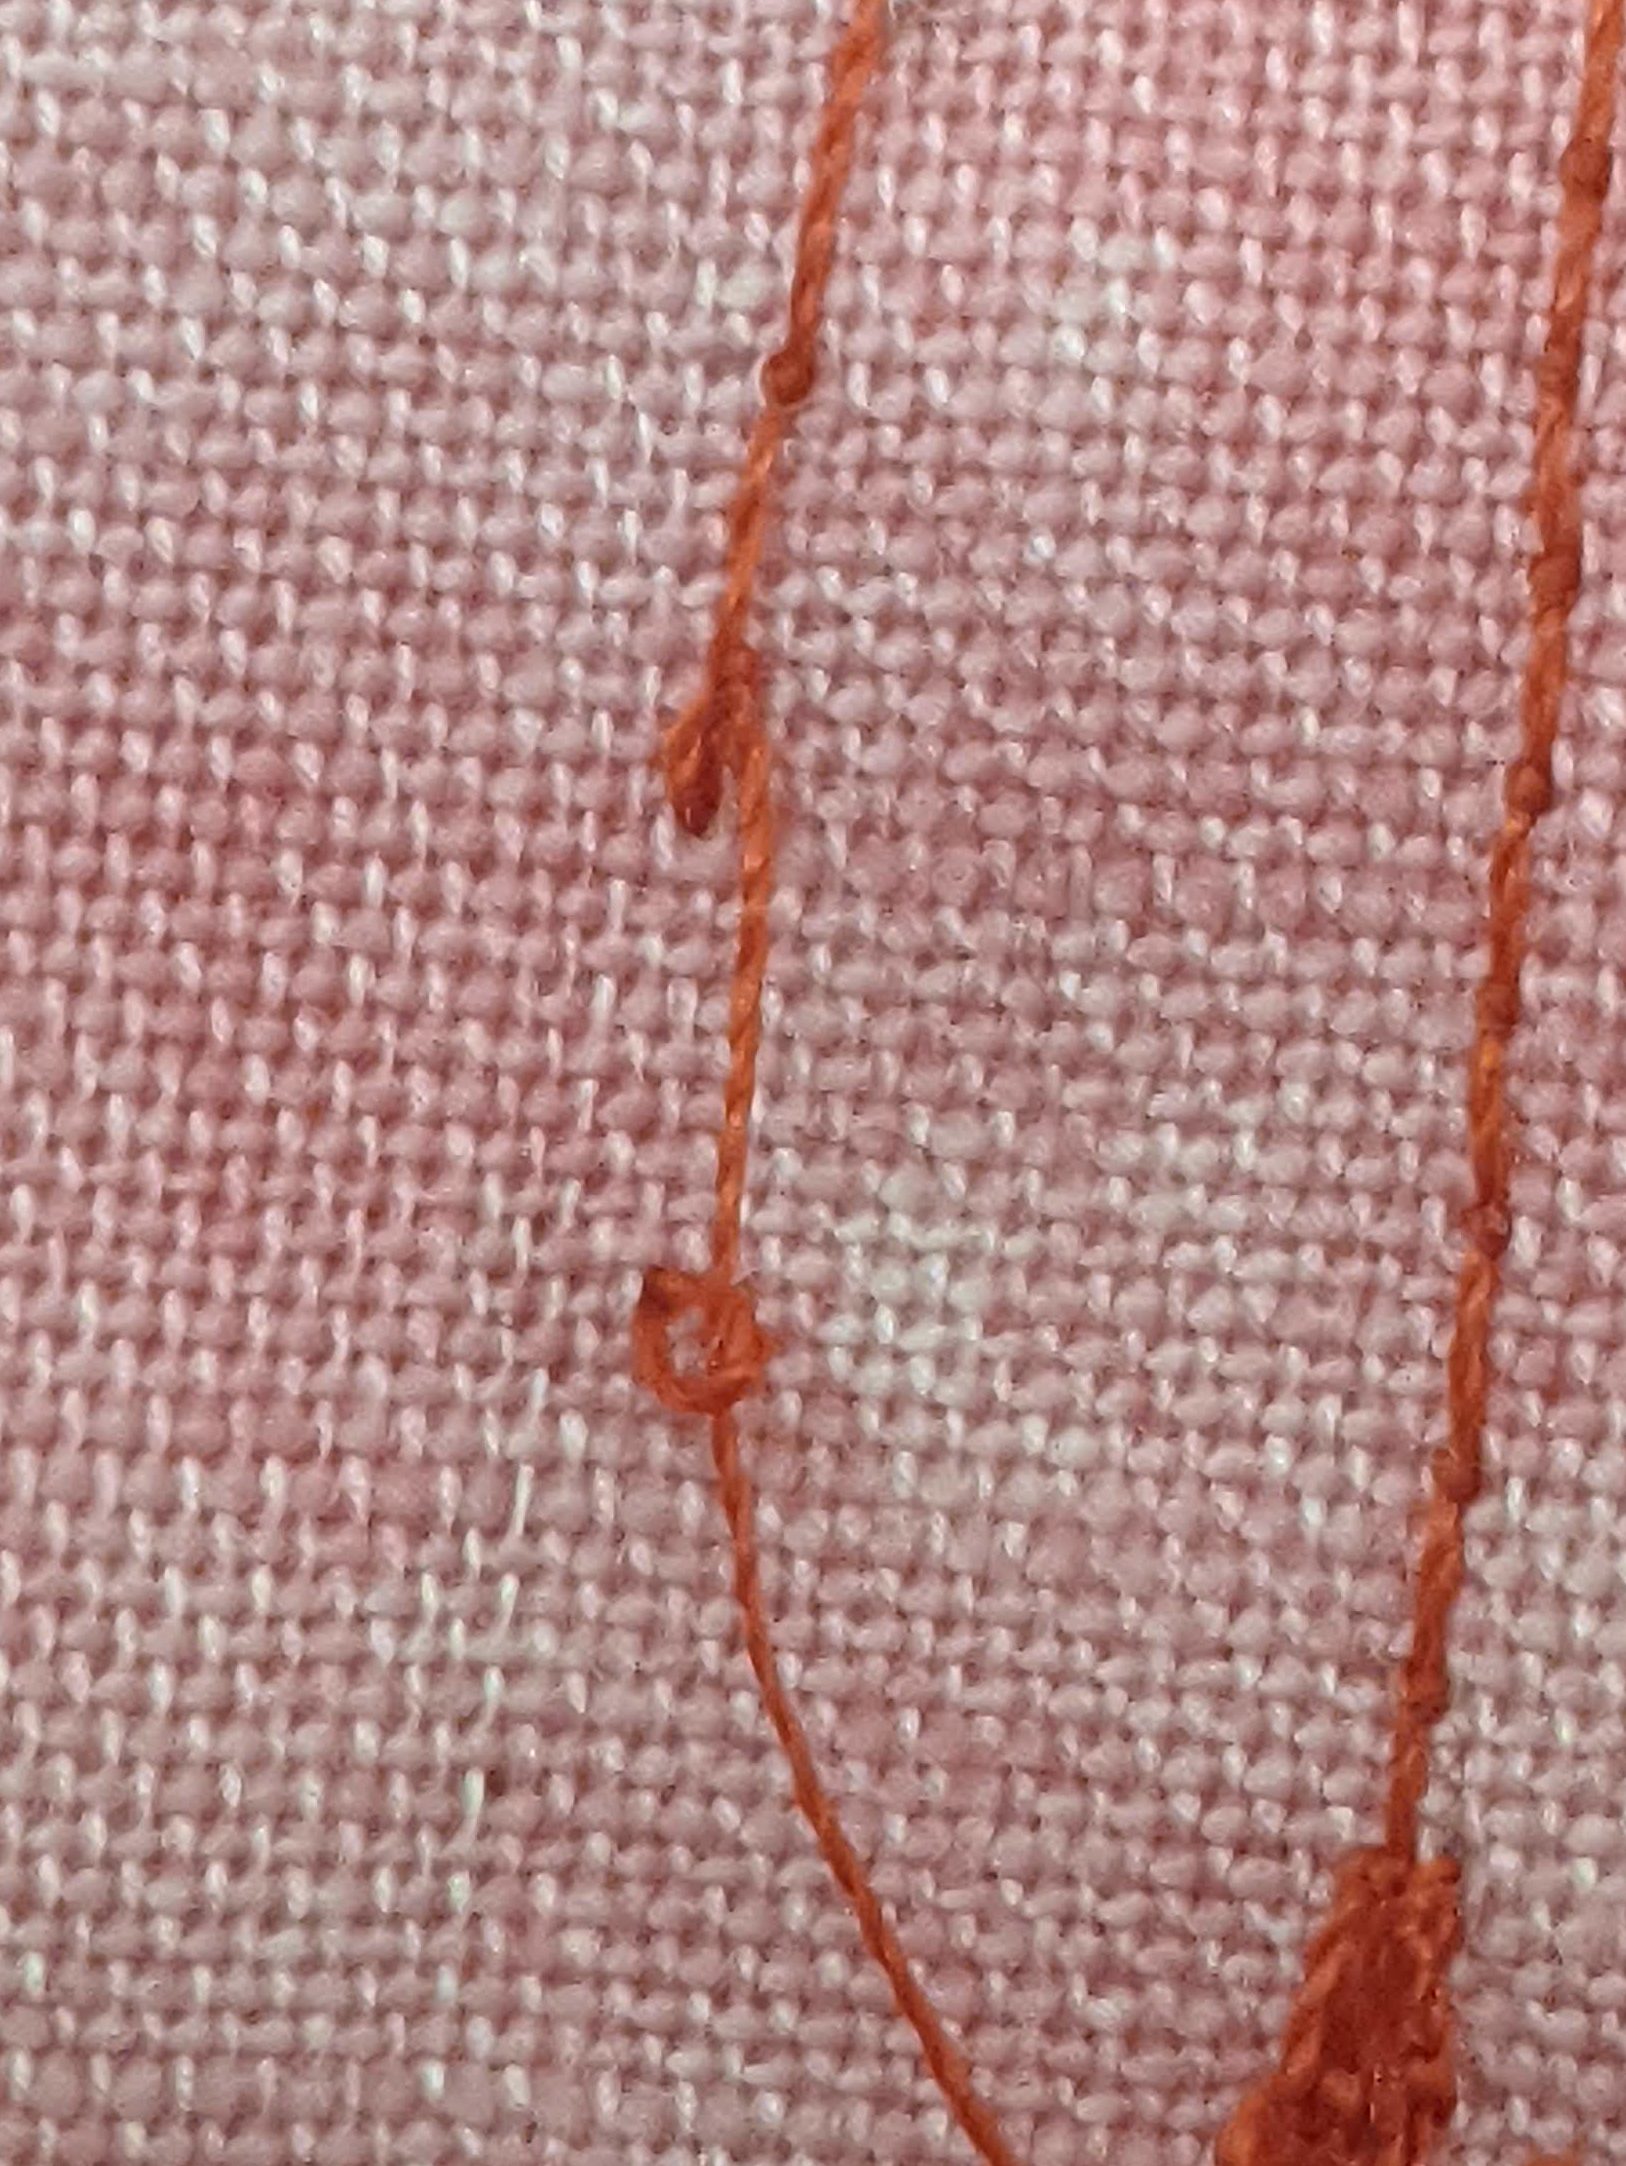
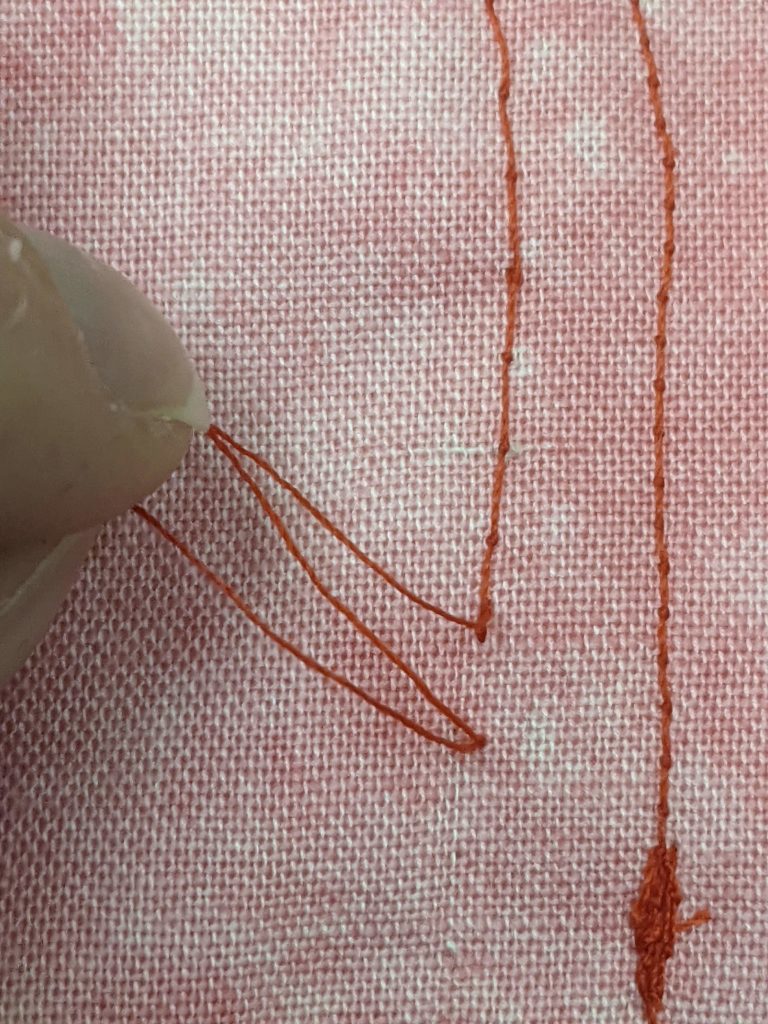
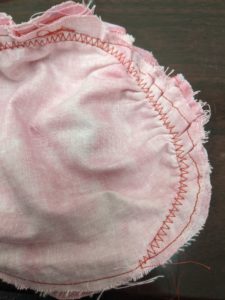
- Let’s get to gathering! Holding the seam in your left hand, gently and firmly pull on the ‘bobbin thread’ of your seam with your right hand. You will feel the fabric naturally wanting to shift; encourage it by gently pulling with your left hand. You will see the fabric starting to “gather” while the ‘bobbin thread’ gets longer.
Make sure you do not push the gather too far along the seam to the other end of the opening, or you’ll “release the tension” and lose all the gathers you’ve created. Continue pulling the ‘bobbin thread’ and the seam to create new gathers. Repeat these two steps until you have a satisfying amount of gathered fabric. For our project, since we only want a small gather at the “front” of the brain, we stopped moving the gather between the 4”-6” mark around the circumference of our circle.
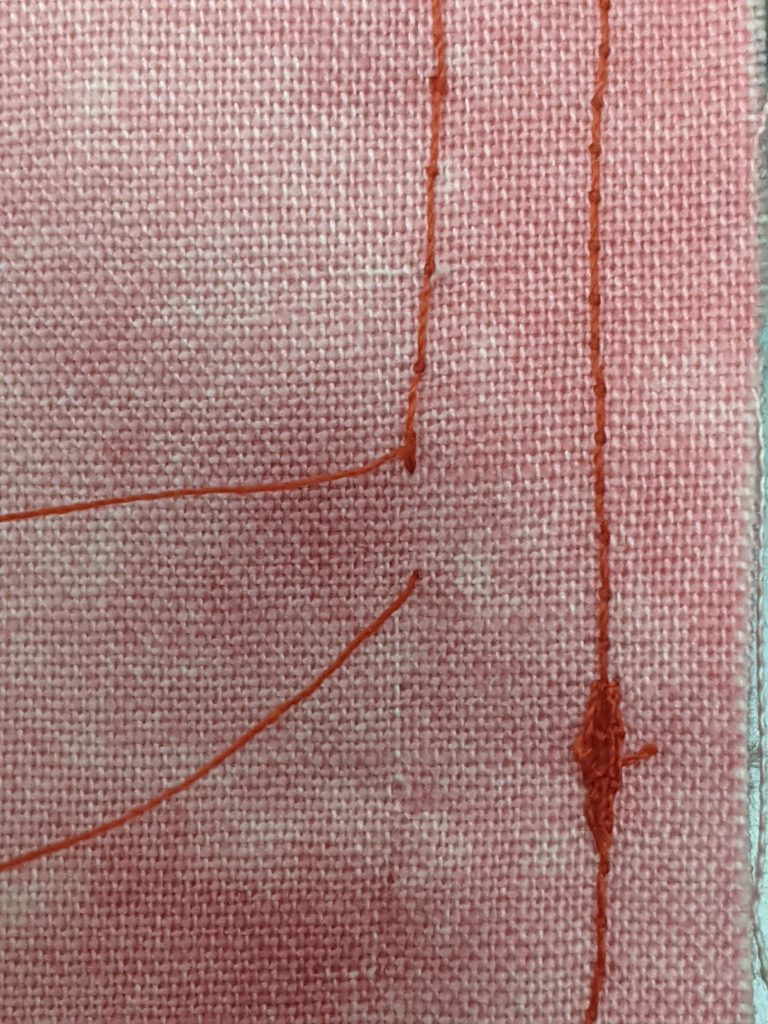
Once you’ve gotten a nice gathering of puckers, hold your ‘bobbin thread’ while you encourage the gather along the seam and further across your fabric. If you do not “spread out” the gathers farther along the seam, the bobbin thread will snap and you’ll have to start again.
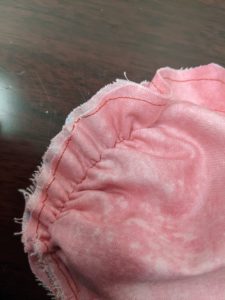
- Head back to your sewing machine, switch to a zig-zag stitch, and set the stitch length to 3.0. Make sure to start and end with a back stitch to secure your work. Sew along the inner seam allowance at the ½” mark, and OVER your gathers. Ending your stitch at the end of this seam. This will secure your work, and guarantee your gathers won’t accidentally release.
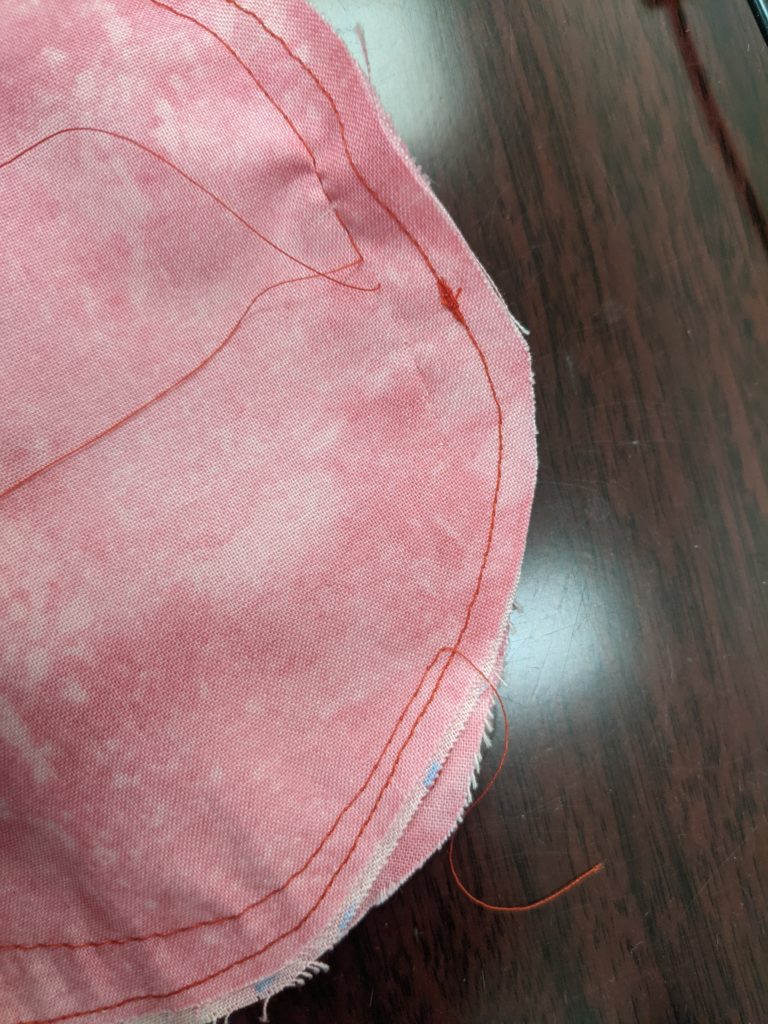
- Turn your circle inside out, using the opening at the bottom. You now have an odd looking pillowcase!

- Grab your stuffing and fill your ‘pillowcase.’ For our brain design, make sure the stuffing is packed tightly at the top to get the right shape. Leave a 1” unstuffed portion near the opening of the casing.
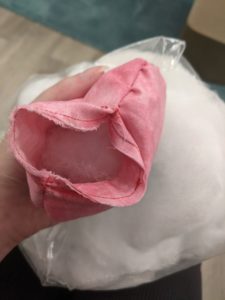
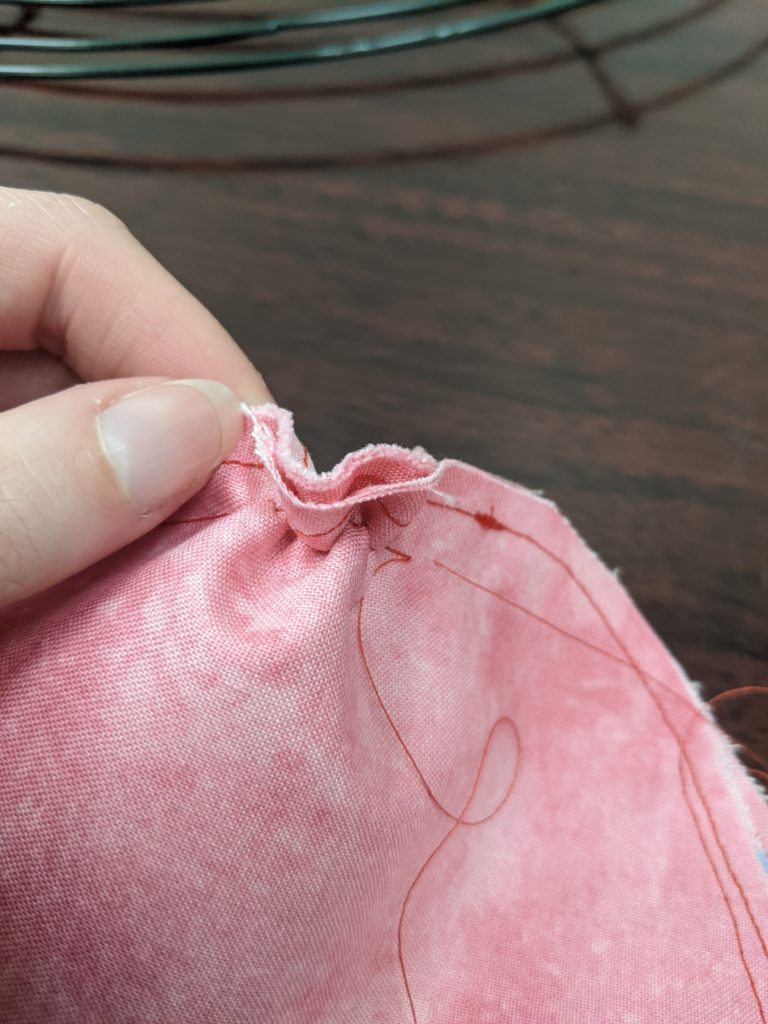
Make sure you test your casing inside your ramekin opening to see if you’ve stuffed the casing enough. It should fit snugly, and keep its shape, but should not be so firm that the pin cushion is not malleable.
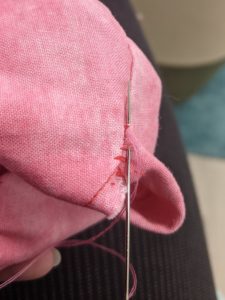
- Grab your hand sewing needle and your top stitching thread. We wanted to make sure our “gathering” was very obvious so we started stitching from the inside of the casing, through the fabric and back into the casing and through the stuffing. To hide the stitching here, we made sure to stitch along the preexisting seam. If you want to create additional patterns on the outside of your cushion, now is the time to do it!
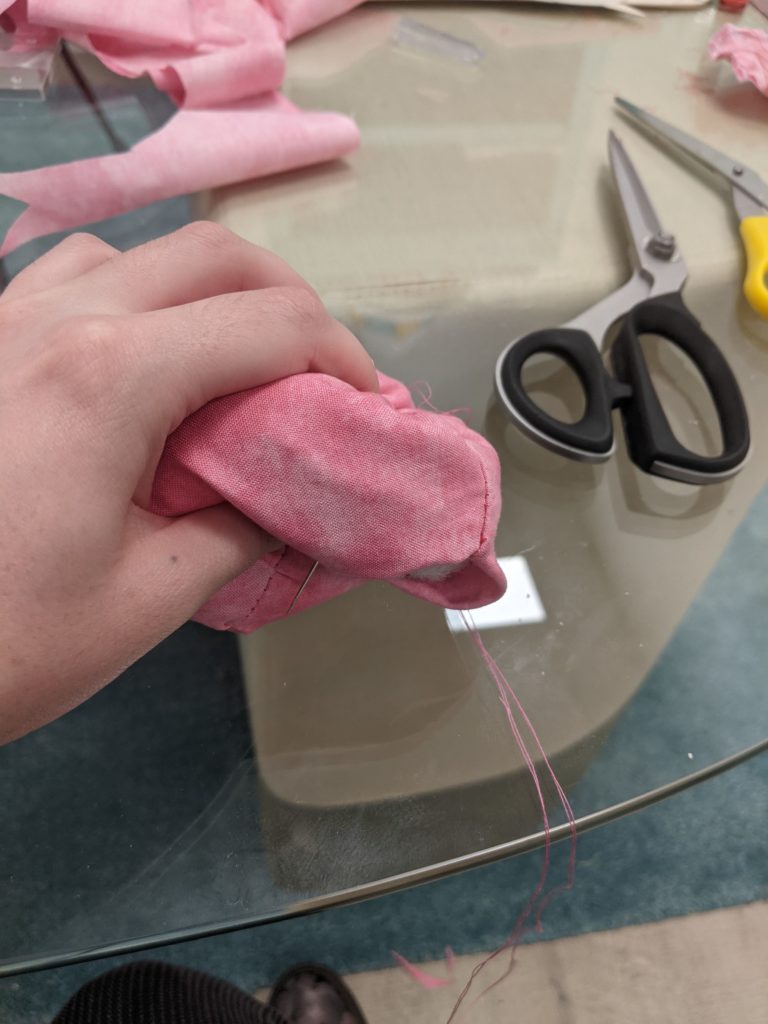
Make sure to tie off your top stitching thread with a knot on the inside, and hide your tails by sewing through the outer layer of the fabric and snipping the thread short.
- Leave your cushion for now, and head back over to your fabric in order to make your wrist strap! Measure the length of your wrist using a measuring tape, making sure to tighten the elastic so it sits comfortable on your wrist, but will not slip off. Add 1” to that length, and cut your elastic (for us that means 6.5” sized wrist, 7.5” cut). Our elastic is ¾” wide.
Fabric Length: Using a flat ruler, mark the length of your wrist, and add 2.5” to the end (10”).
Fabric Width: Mark the width of your elastic on the fabric, and add 2.5” (3 ¼”).
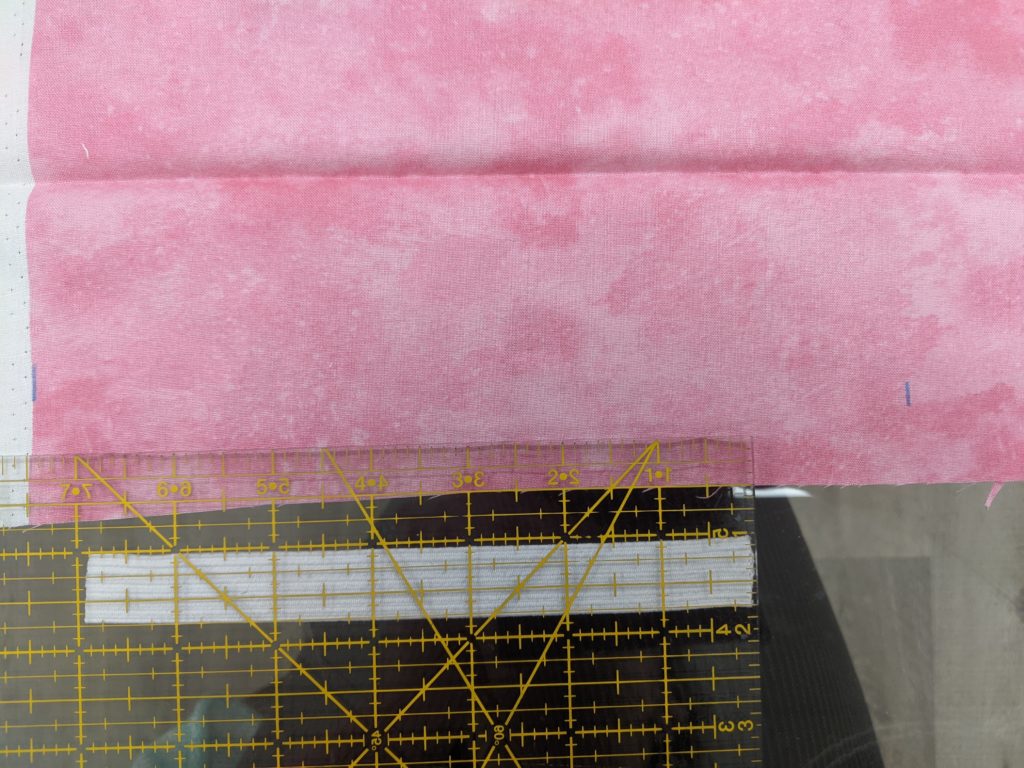
The final length of the fabric cut is 10” L x 3 ¼” W.
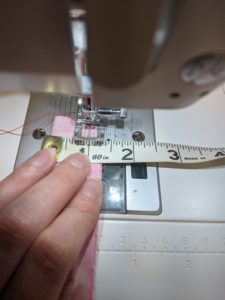
- Head to your sewing machine, using a straight stitch, 2.0 stitch length, and a ½” seam allowance, sew along one length of your wristband fabric with the ‘wrong side’ of the fabric facing out. Make sure to start and end with a back stitch!
You should now have a cylinder with an opening at both the top and bottom. Turn your cylinder right side out, so the “right” side of the fabric is facing outward.
- Grab your cut elastic, and secure a safety pin on one end of the elastic. Feed the elastic through the fabric cylinder you sewed, making sure to keep hold of the other end of your elastic so you have a tail at both ends.
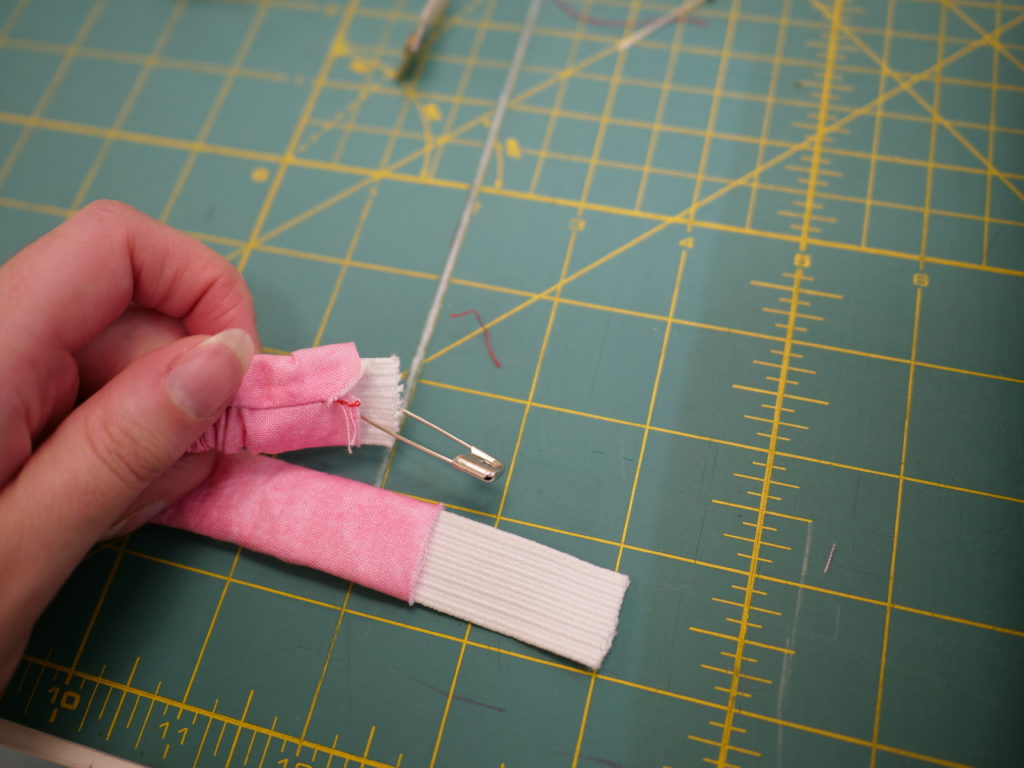
- Overlap your elastic by 1” and use a straight stitch to secure the two ends together.
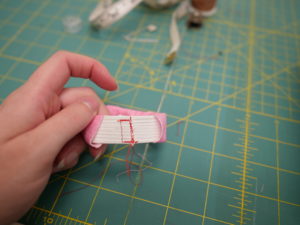
- Using a matching thread (we didn’t so y’all could easily see the stitching), zig-zag stitch the two ends of your wristband casing together. You can sew through the elastic too! The zig-zag stitch will make sure the elastic stays stretchy.
You can use a ladder stitch instead to make the seam invisible!
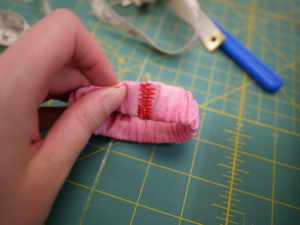
- (Optional) Sew the opening of your cushion closed using a ladder stitch, hiding the raw edges inside. Make sure to leave a ½” of unstuffed fabric available in order to sew the cushion onto your wristband.
- Grab your hand-sewing needle and stick your wristband on! Or use a secure model….
Take your cushion and secure it to the wrist band using an invisible stitch. If you did not close the opening to your cushion in step 16, you can close it at the same time you stitch the cushion to the wrist band. Make sure the raw edges are inside your cushion casing as you sew it closed.
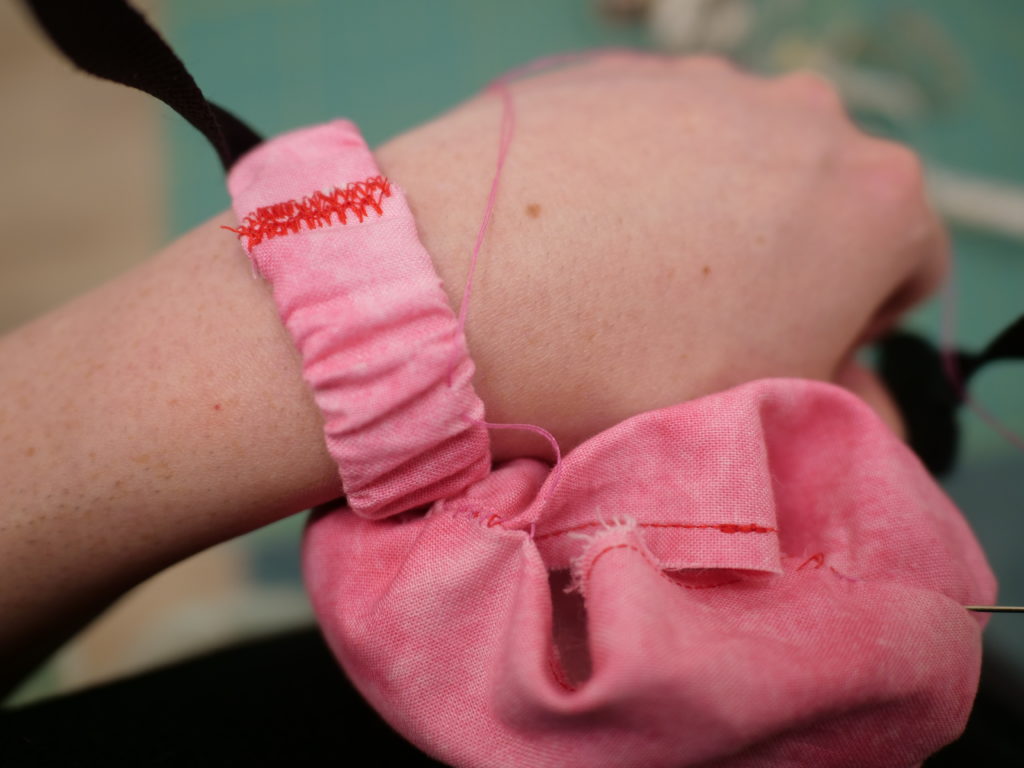
Try to sew through the fabric on the wrist band, instead of the elastic so the elastic does not lose its stretch. Select 3-4 key spots where you want to sew through the elastic band, and the top layer of fabric, but do not sew through all 3 layers.
Tip: Place the cushion on the wristband so the wristband seam is hidden.
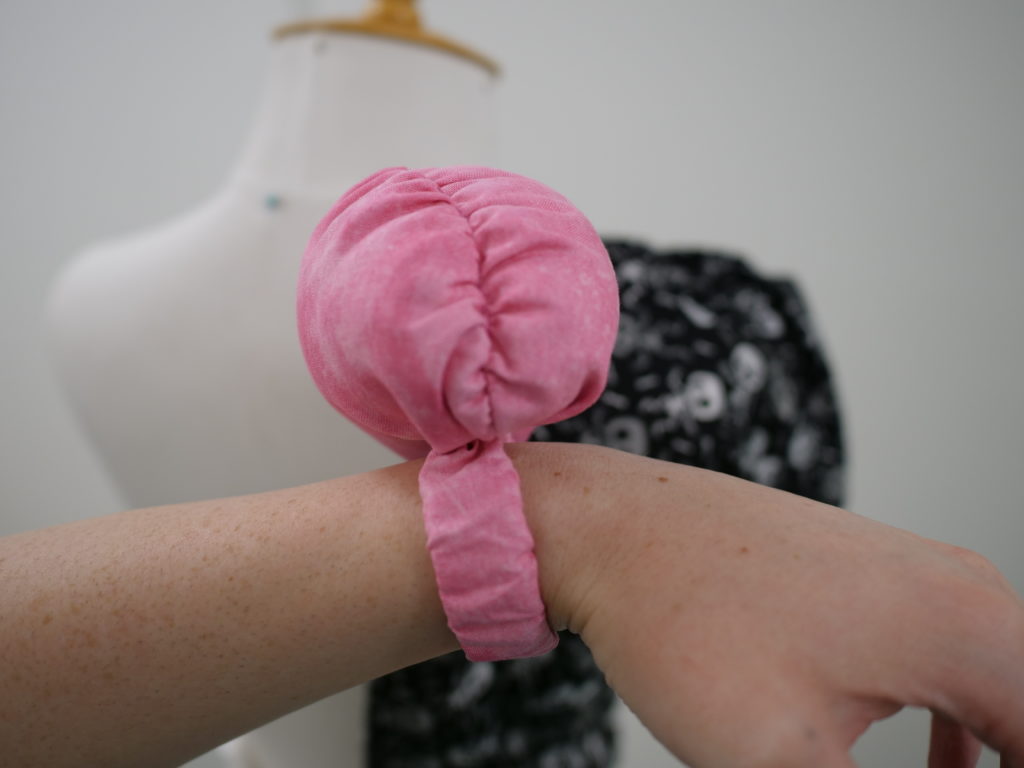
Your brain should now be perfectly perched on your wrist band! And you should have an excellent stand to keep your pin cushion in so you’ll never lose it. Enjoy!