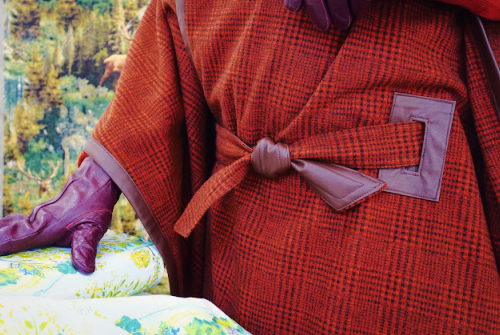
This post is the second post in a series of techniques we used to create a fashionable belted cape with contrast binding and belt holes. In this post you will learn how we created the beautiful and functional openings that hold our belt and help to keep our cape in place. We used a faux leather fabric to create a contrast look but you can use other fabrics including the same fabric as your cape (may require stabilizing with a lightweight interfacing) or another contrasting woven fabric.
For our other two tutorials on how to make a cape, head to How to make Continuous Mitered Binding or Joining Binding.
Materials needed
Here are some supplies you will need (not including the fabric used for the actual cape):
- .25 yards faux leather
- Removable fabric marker. We used tailor’s chalk
- .125 yards light to medium-weight fusible interfacing
- 1 Package of basting tape. We used Wonder Tape (1/8” wide)
- Clear ruler
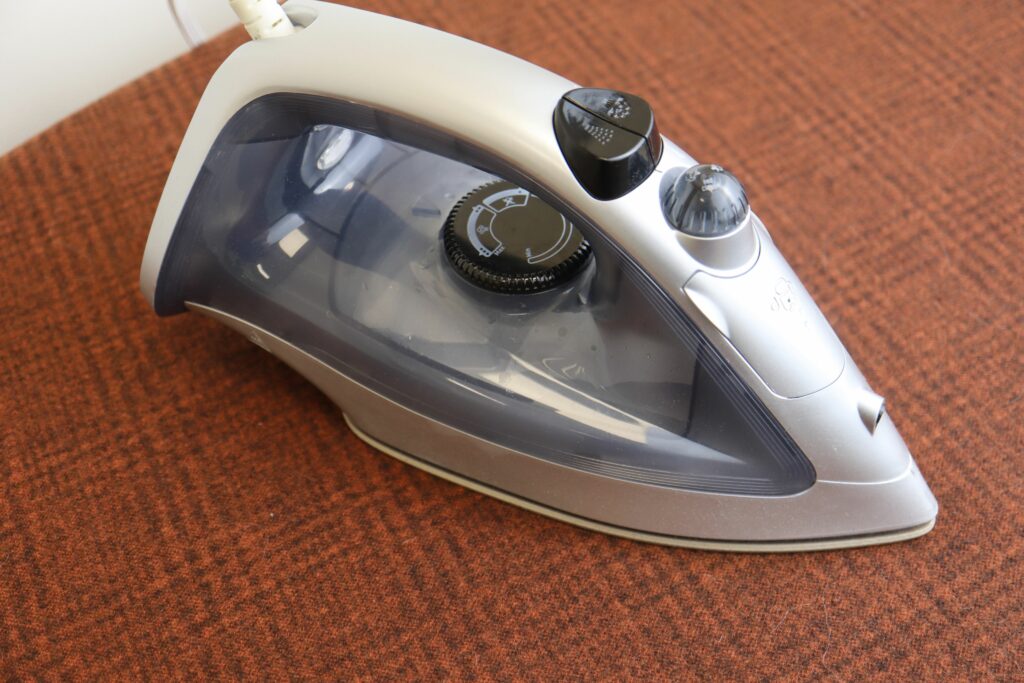
- Iron and Ironing board
- Sewing machine with straight stitch and thread to coordinate with faux leather
- Fabric scissors
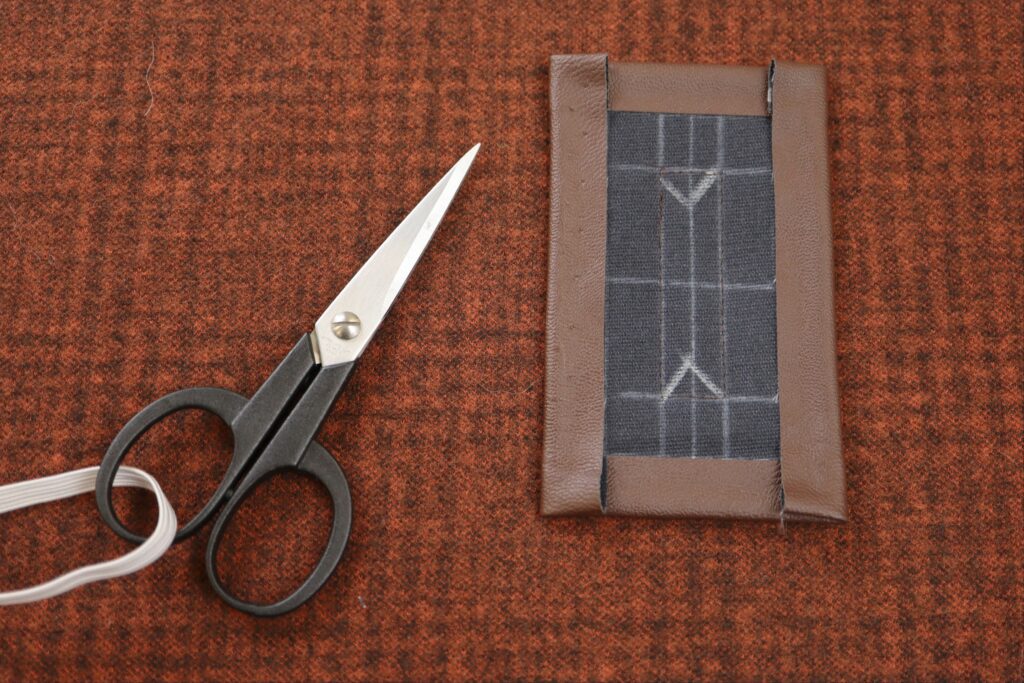
- Small sewing scissors with sharp points
- Rotary cutter, rulers and mat (if you don’t have these items a ruler, fabric marked and scissors will also work).
Sewing instructions
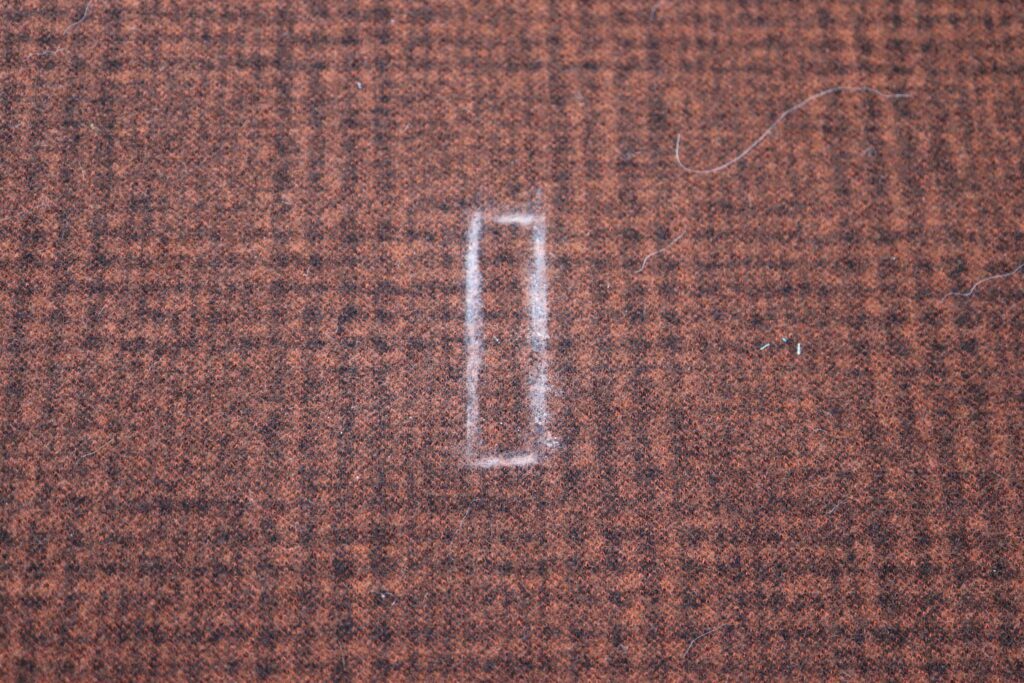
The first thing we need to do is mark the placement of our belt hole. On the back of the cape, we measured one quarter of our waist measurement from the centre-back out to the left and right. We also measured down from the shoulder the distance from the shoulder to the waist (measured on the body). We did the same on the front, but keep in mind that our cape overlaps in the front so our quarter-waist measurement must be measured from the actual centre-front (not from the front edge). Our belt is two inches wide, so we made our belt hole 2” by ½”. We marked the belt holes on the back of the fabric (wrong side). There are four belt holes in all.
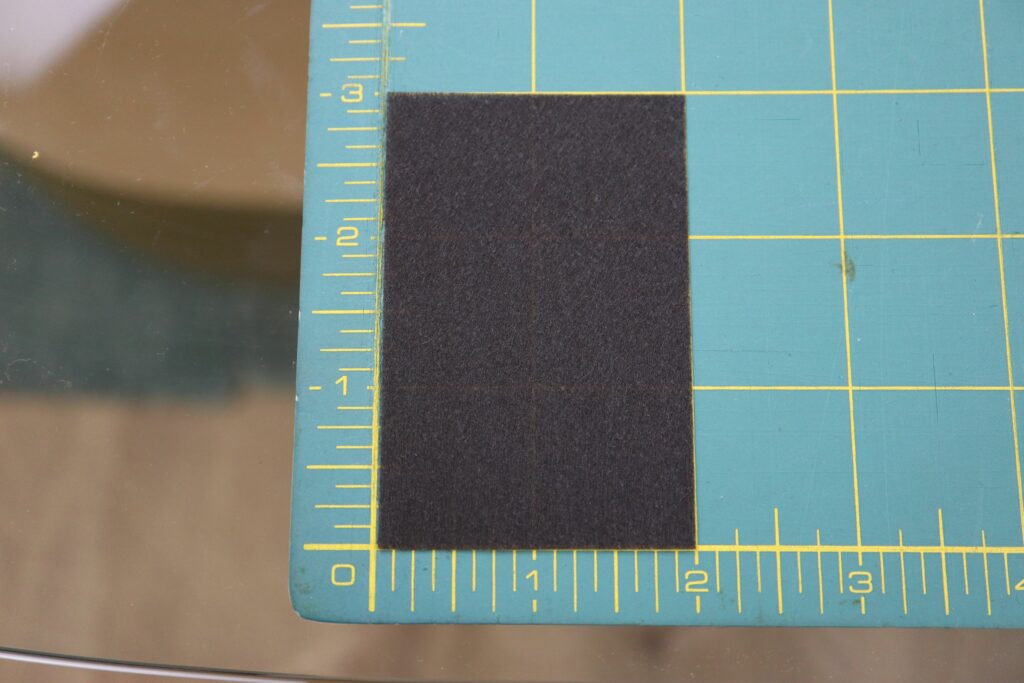
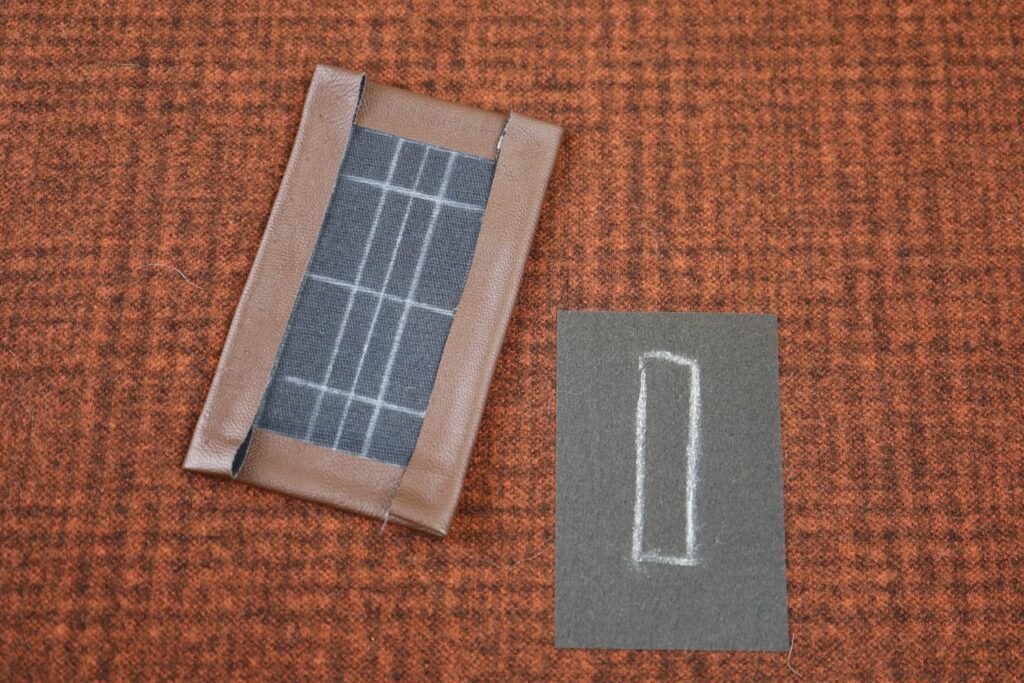
In order to stabilize the fabric where the belt holes go, we need to apply some fusible interfacing. We used a medium weight, non-woven, fusible interfacing. We cut four pieces 3” tall by 2” wide.
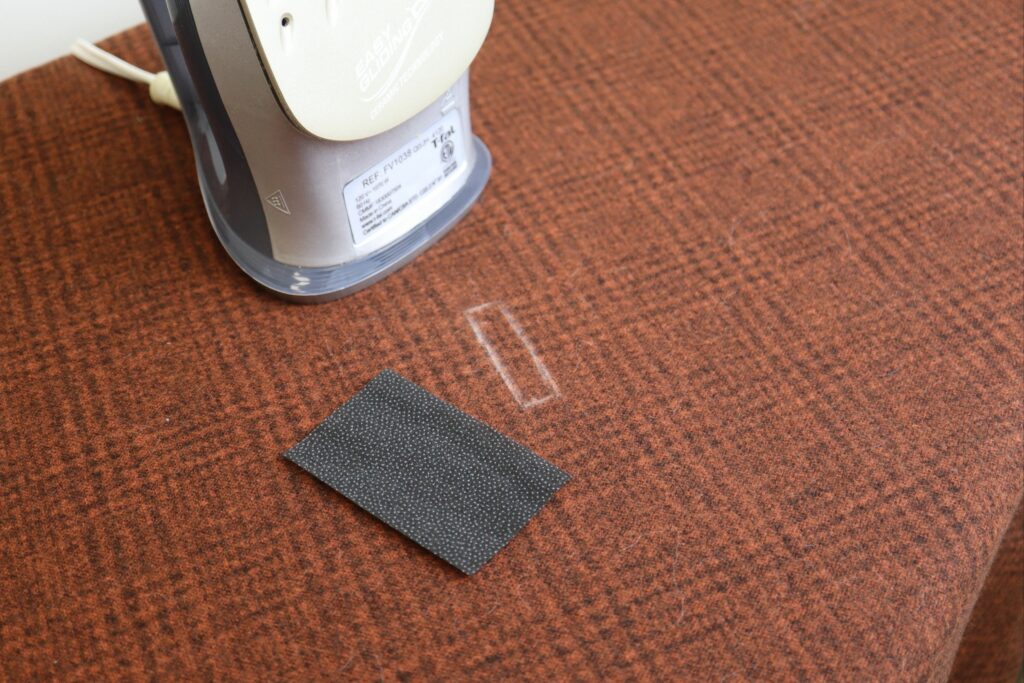
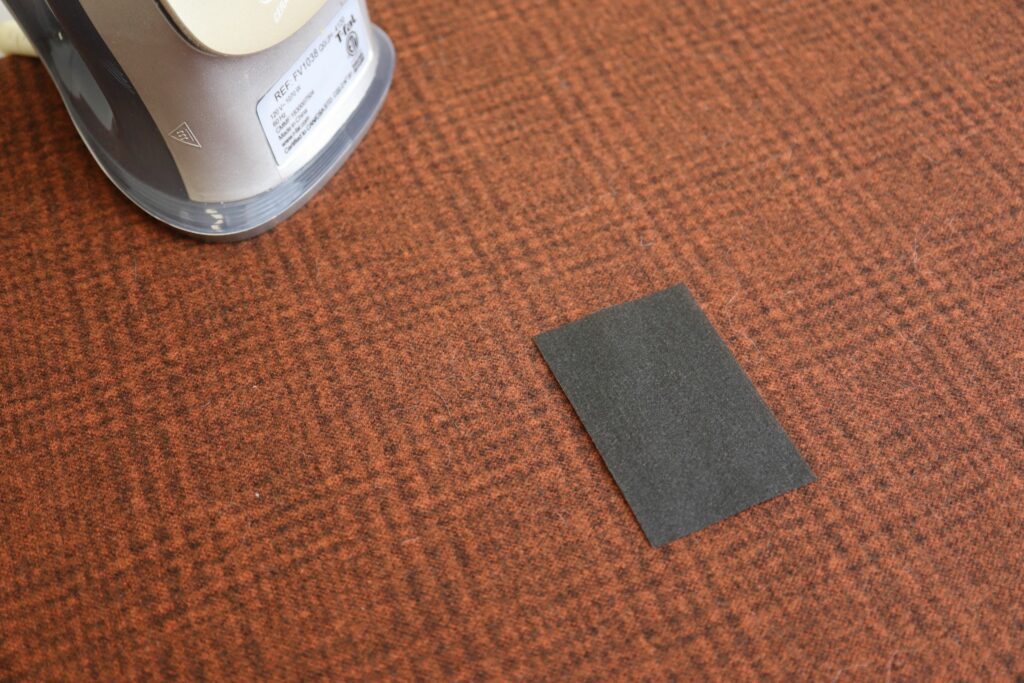
Heat your iron to a wool setting. Place the interfacing with the fusing side facing the back of the fabric and the piece centered over the marked belt hole. Place the iron over the interfacing for 5 – 10 seconds. It is a good idea to use a pressing cloth to protect your iron from any glue from the interfacing.
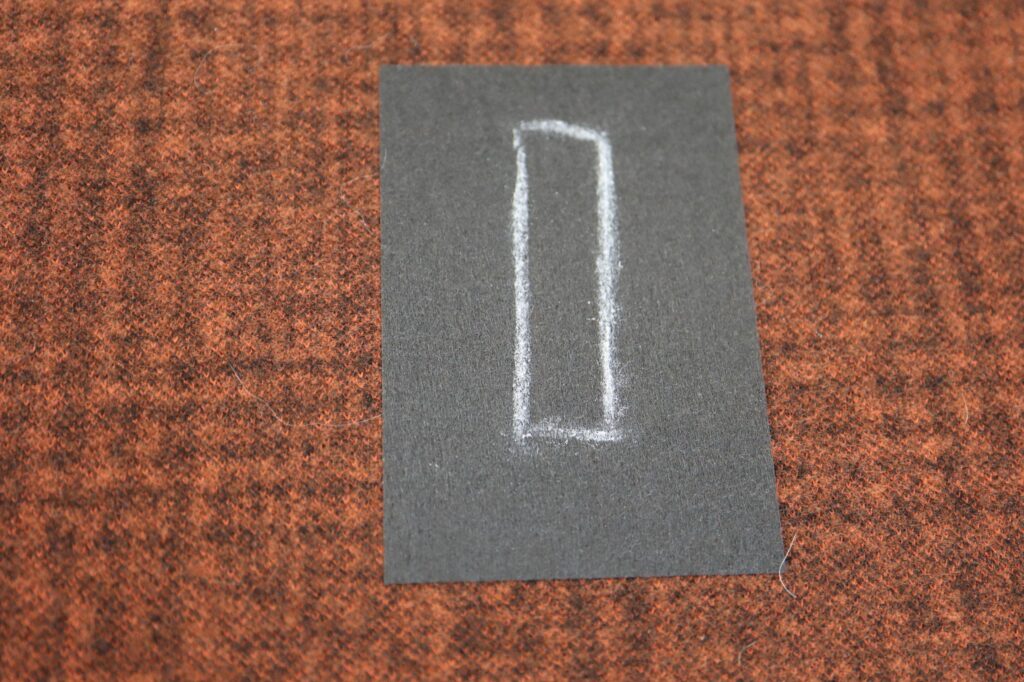
Now that you’ve covered up the original marking, re-draw the belt hole placement centered on the interfacing (2” x ½”).
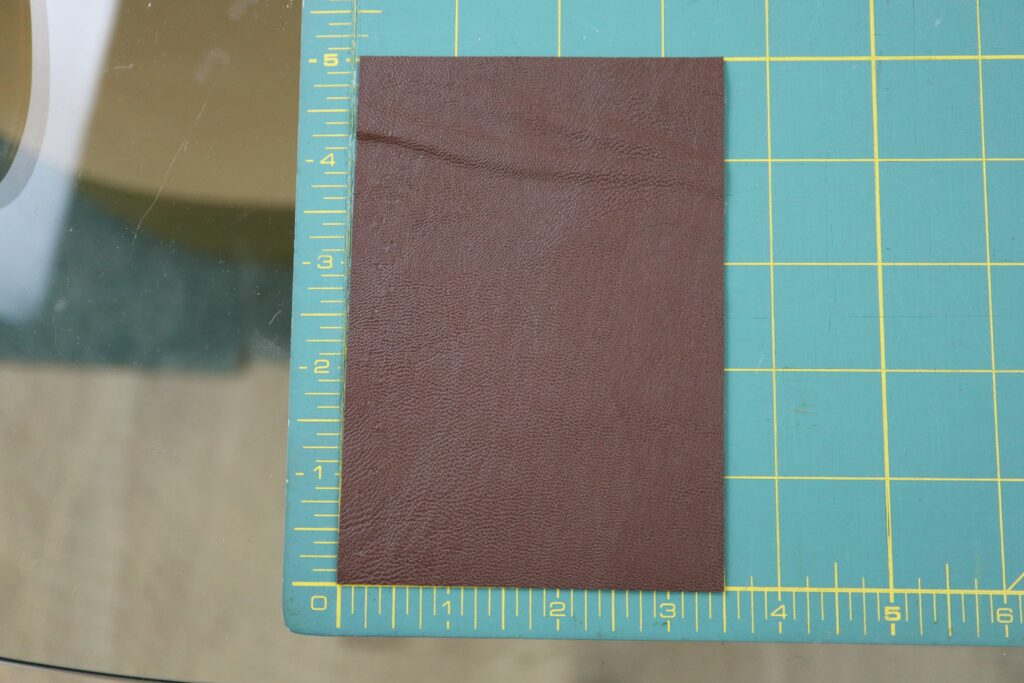
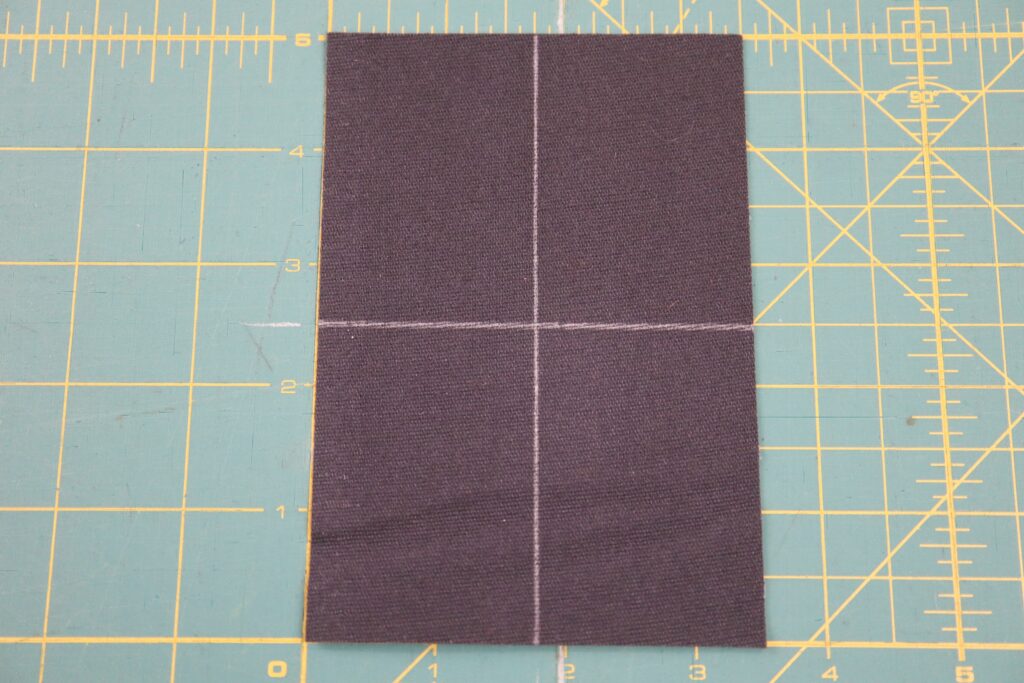
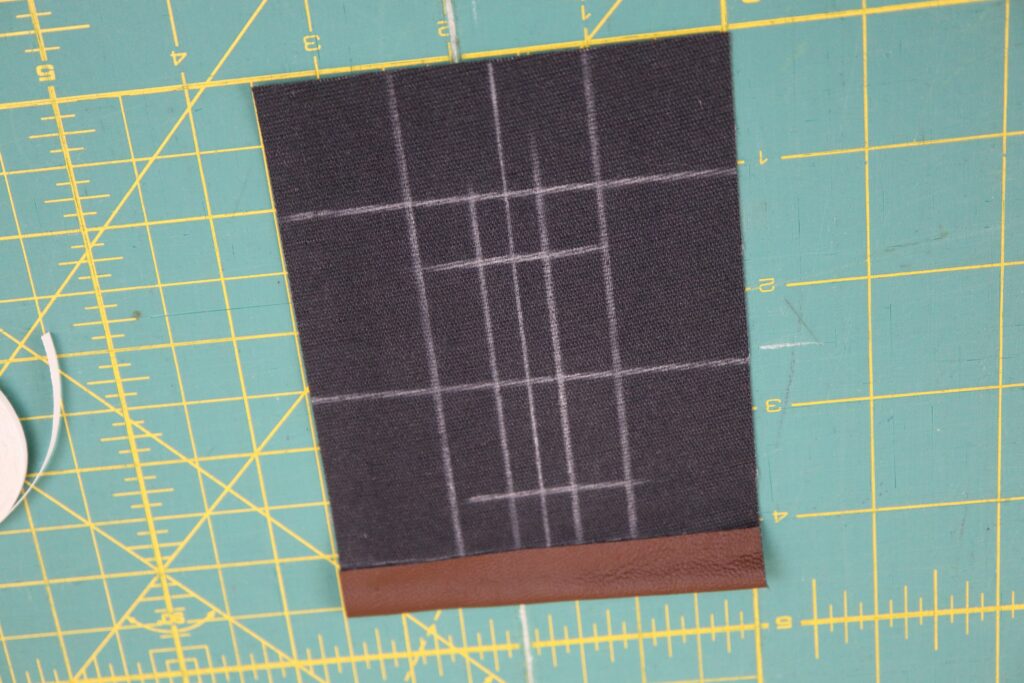
Cut our four pieces of the faux leather (or fabric of your choice) that are 5” tall by 3.5” wide. The piece is shown with the lengthwise grain running up and down.
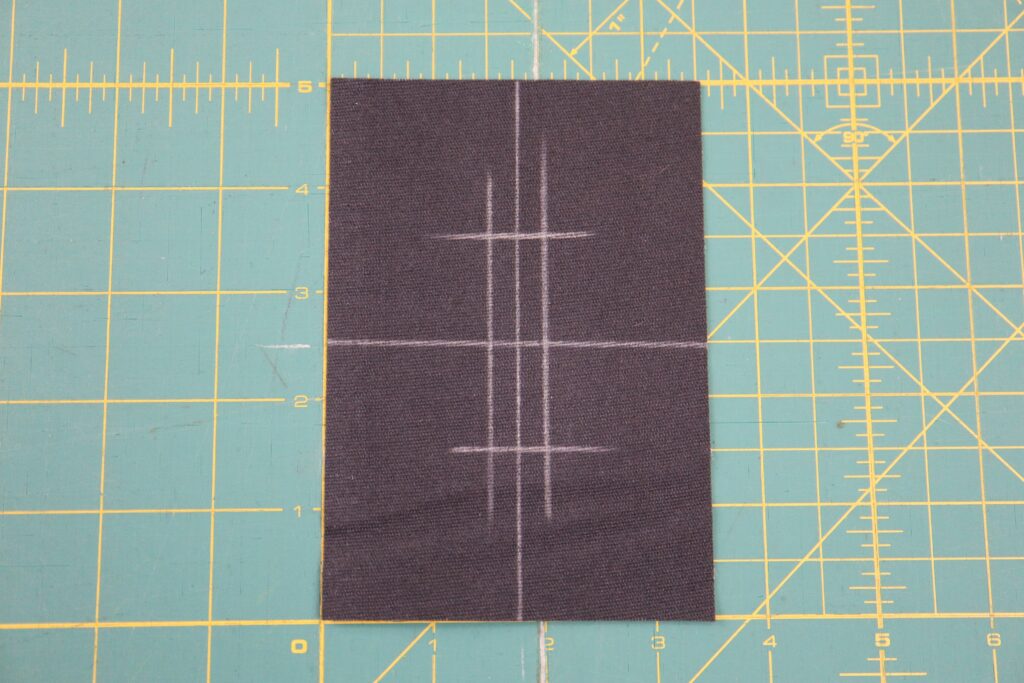
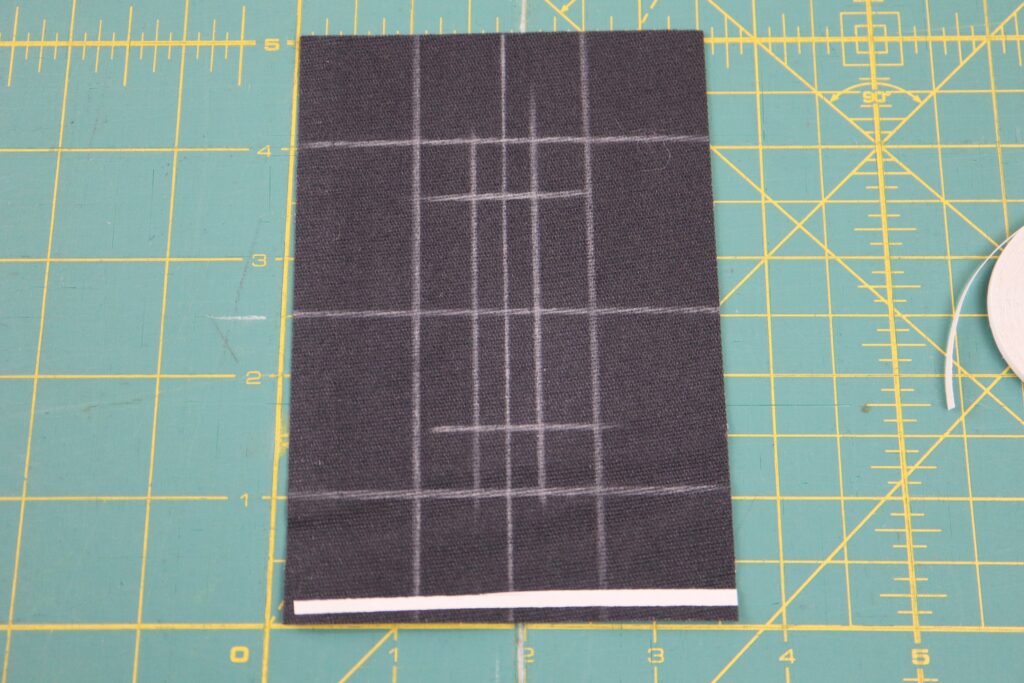
On the wrong side of the faux leather draw two lines centered lengthwise and crosswise to find the centre point. Then draw the belt hole centered on the piece (2” x ½”) as you drew on the back of your cape pieces.
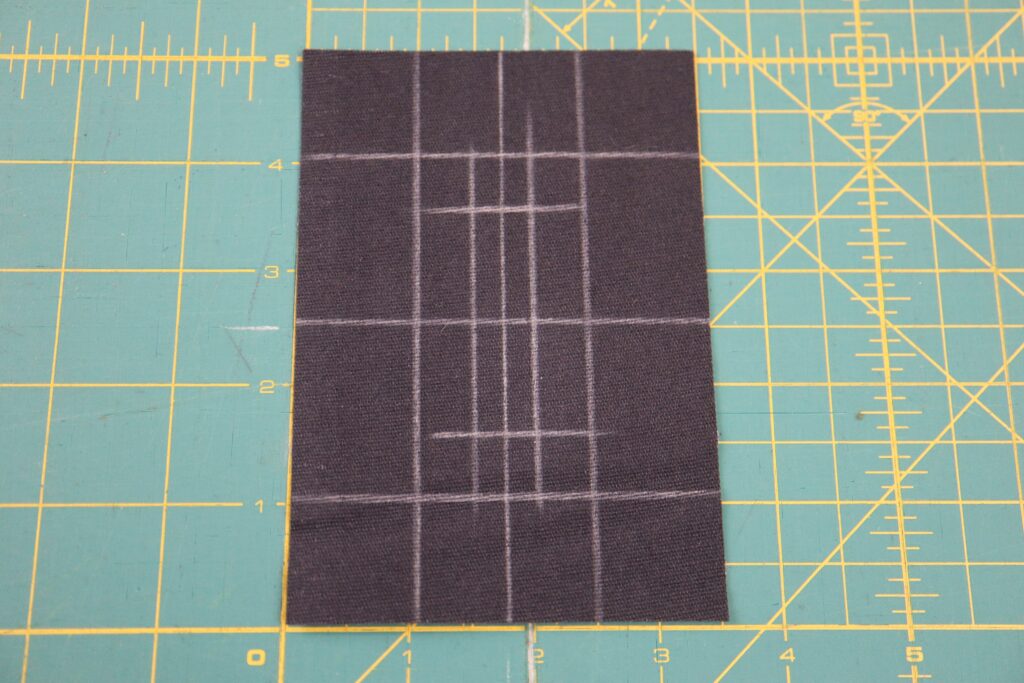
Then draw lines 1” in from each edge. These will be placement lines for your hem.
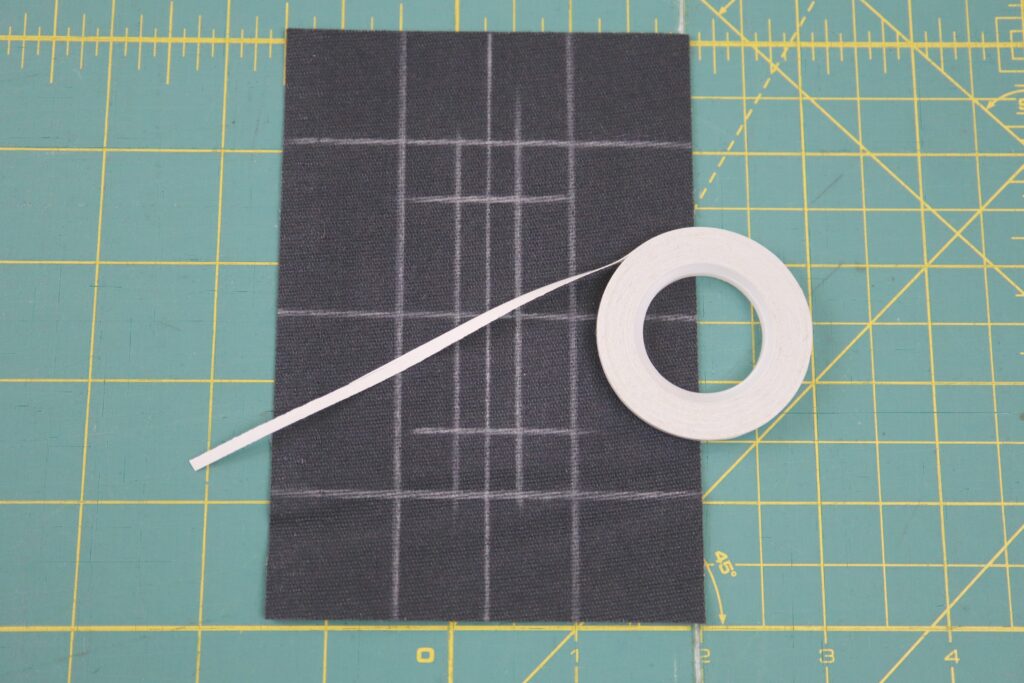
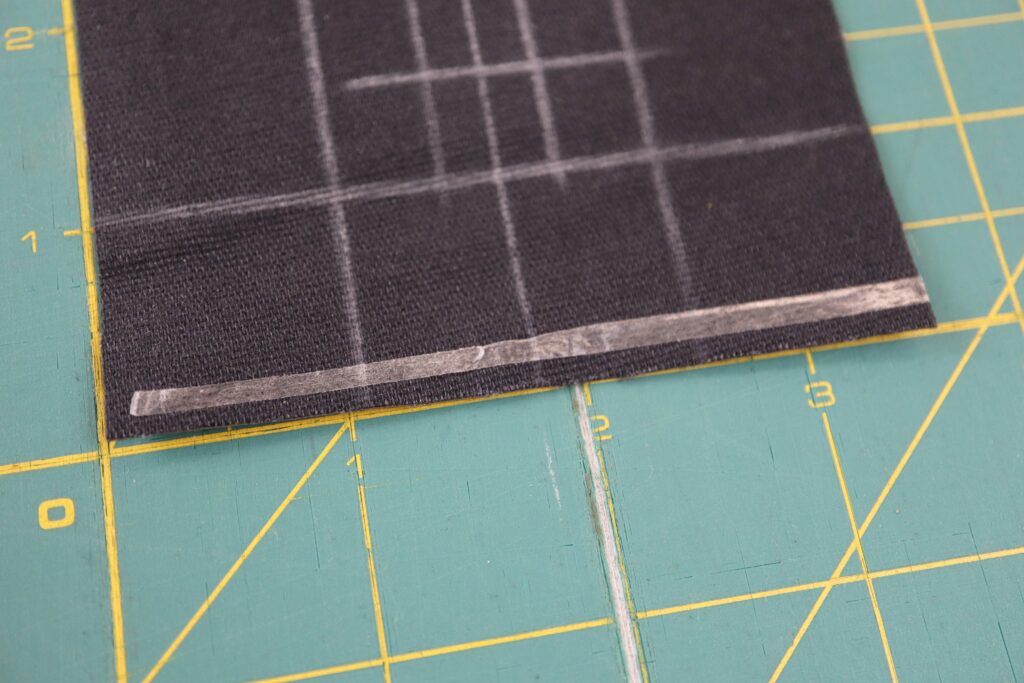
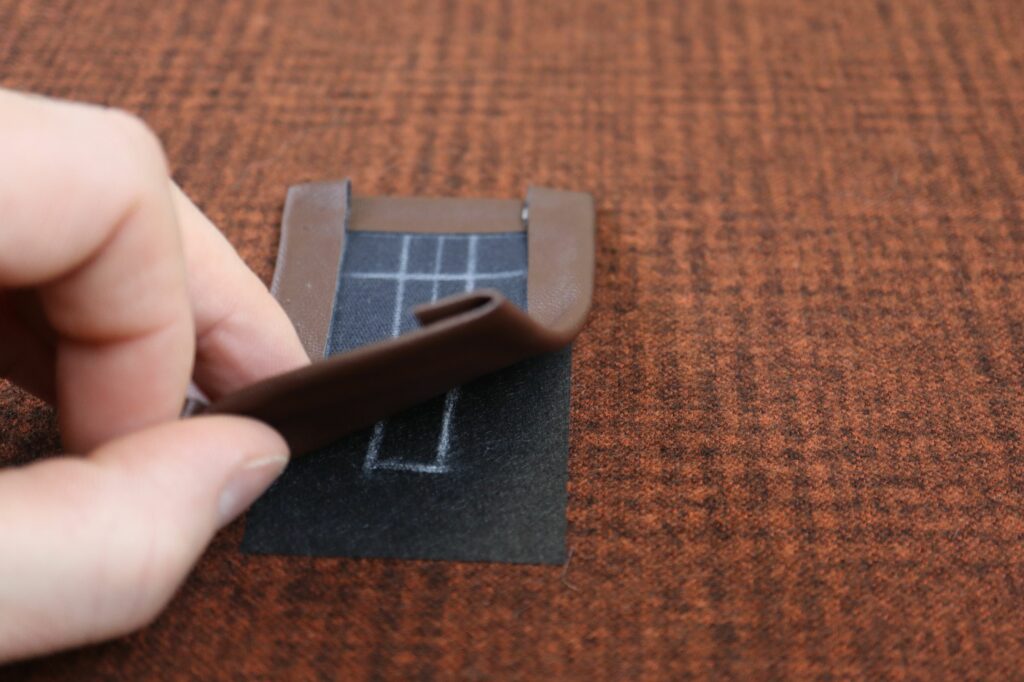
Take your basting tape (Wonder Tape) and cut a piece just shy of the width of the piece. Place the tape close to the lower edge as shown. Press down with fingers to make sure that tape is adhering to the back of the fabric.
Peel off the paper backing to reveal the adhesive. Bring the lower edge to meet the placement line as shown in the second image above. You will be creating a ½” finished hem. Continue this along the entire width of the piece and press with fingers to secure hem.
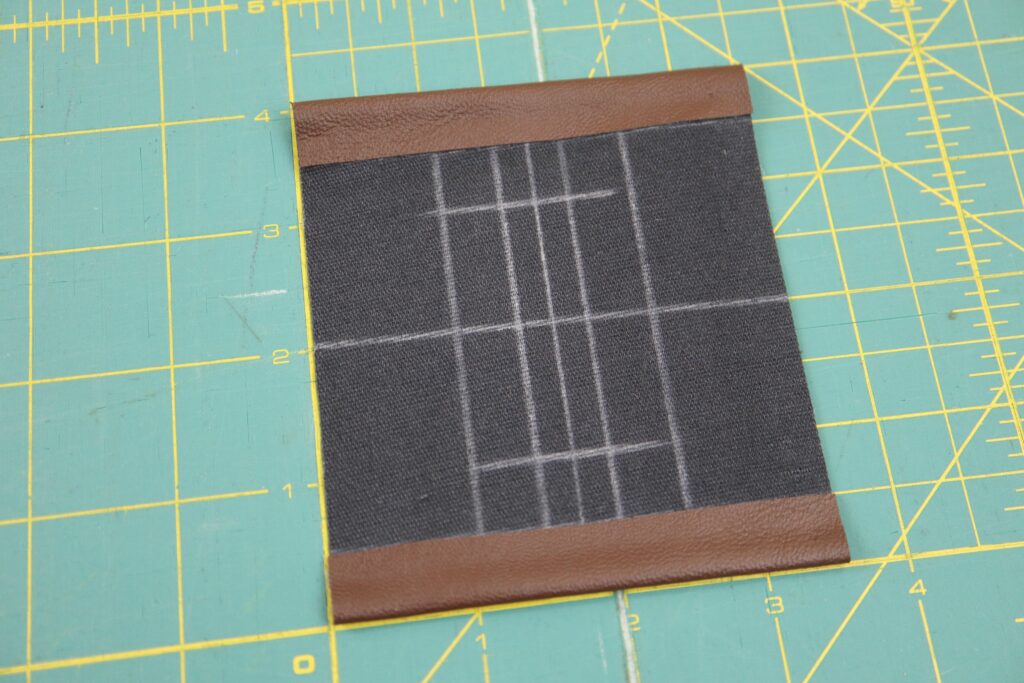
Follow the same process for the top of the piece and then the two sides as shown above.
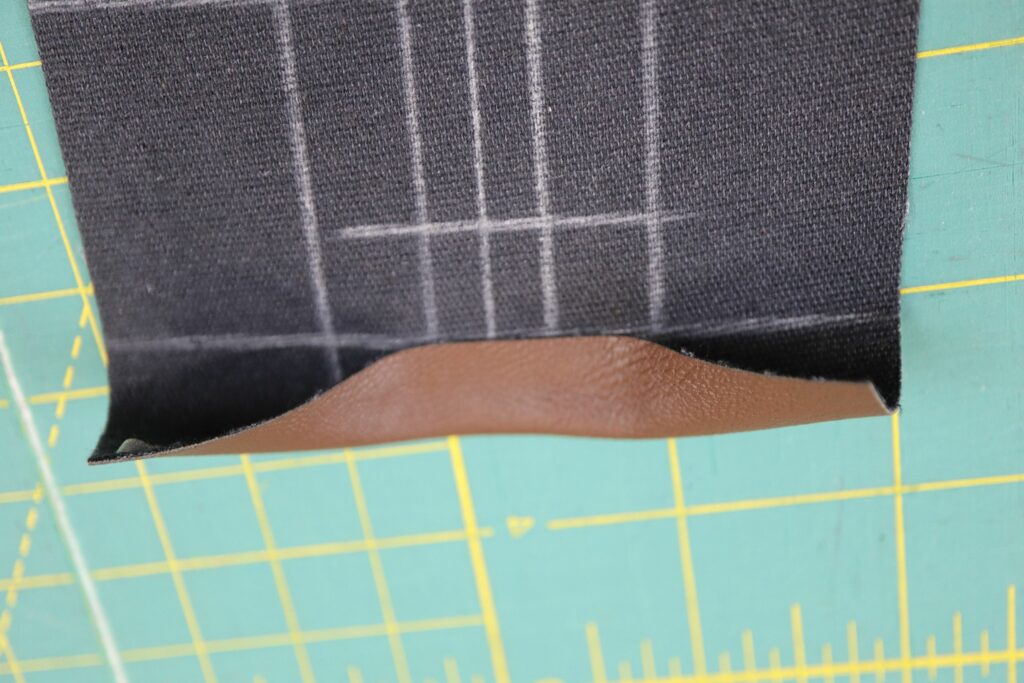
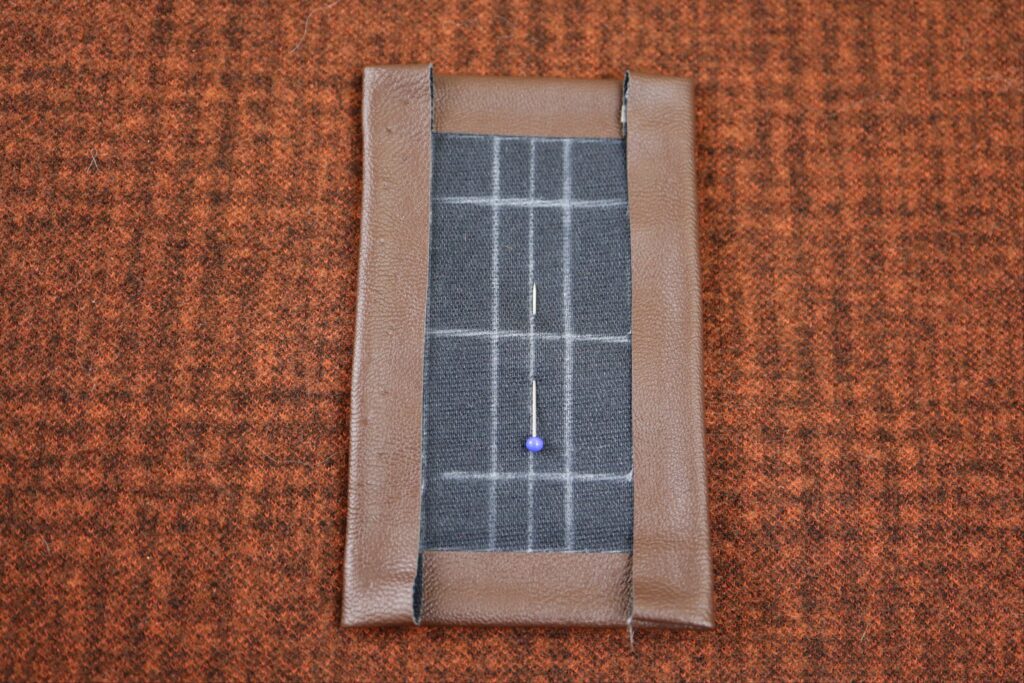
Take the hemmed piece and place it face down on the back of the fabric. Make sure to line up the drawn belt hole through both layers as shown in the second image above.
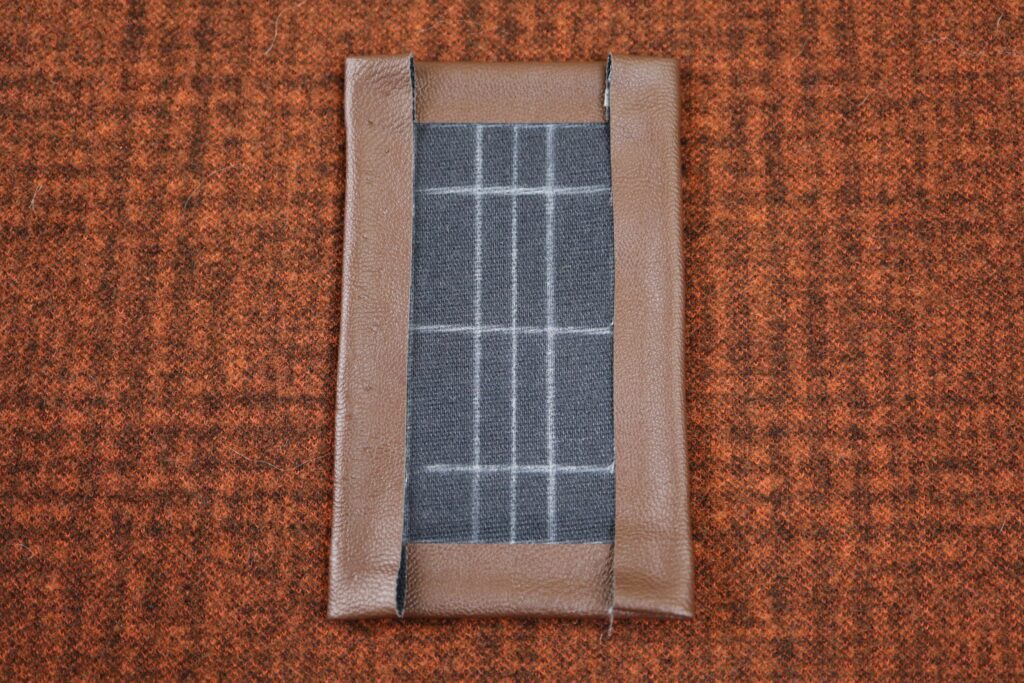
Pin in place in the centre of the piece. Do not pin outside of the 2” x ½” markings. If you are using faux leather, like we did, the pins would leave permanent holes.
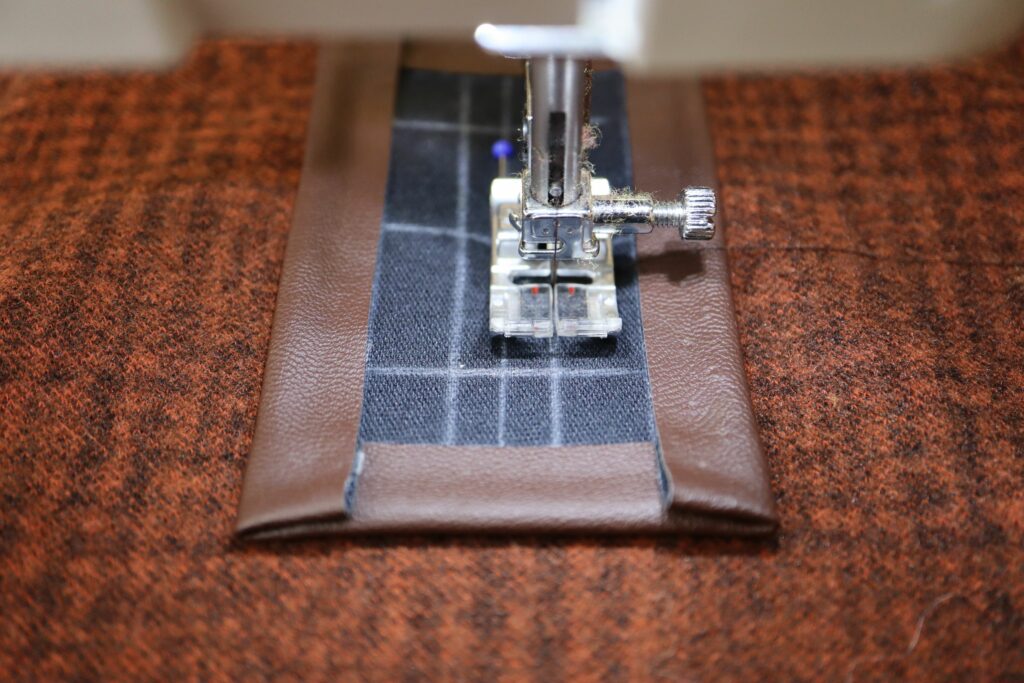
Stitch through both layers along the marked 2” x ½” box. Make sure last few stitches over lap the first few stitches for added strength.
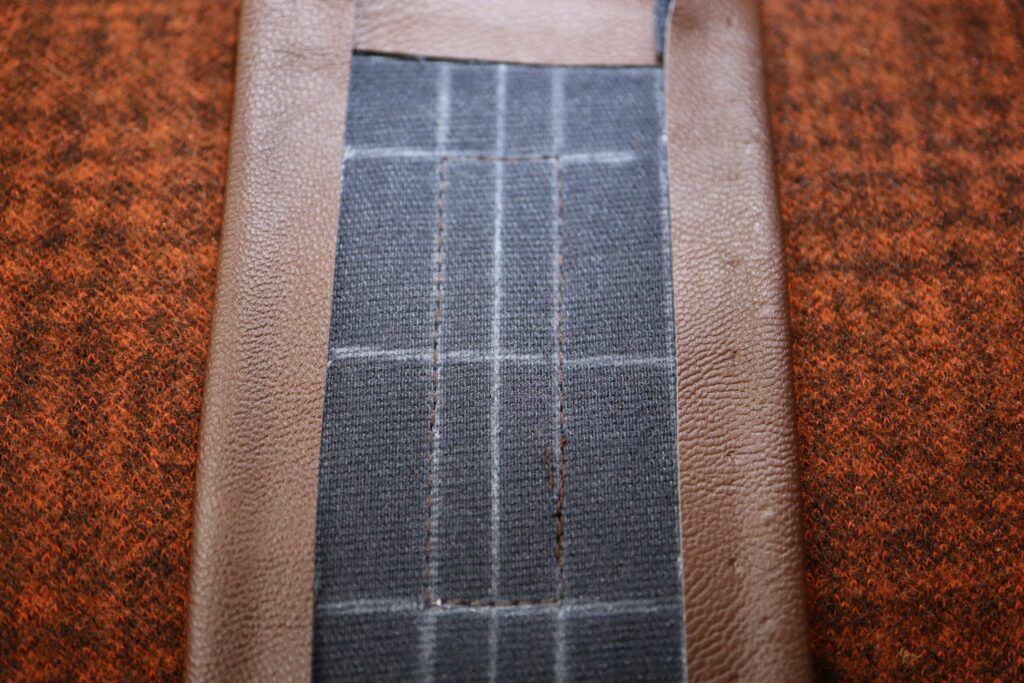
Make little marks at 45-degree angles from the corners to the middle of the box as shown above. Using your little sharp-pointed scissors cut along the centre of the box and then along the 45-degree marks toward the corners as shown in the second image above. Clip as close to the corners as possible, without clipping into your stitching.
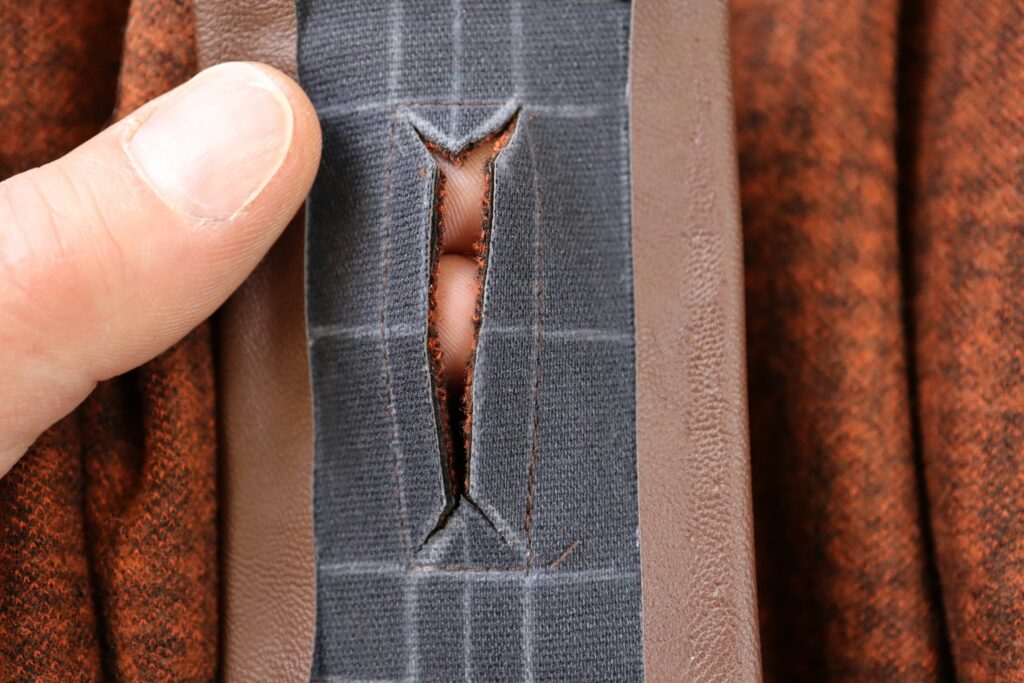
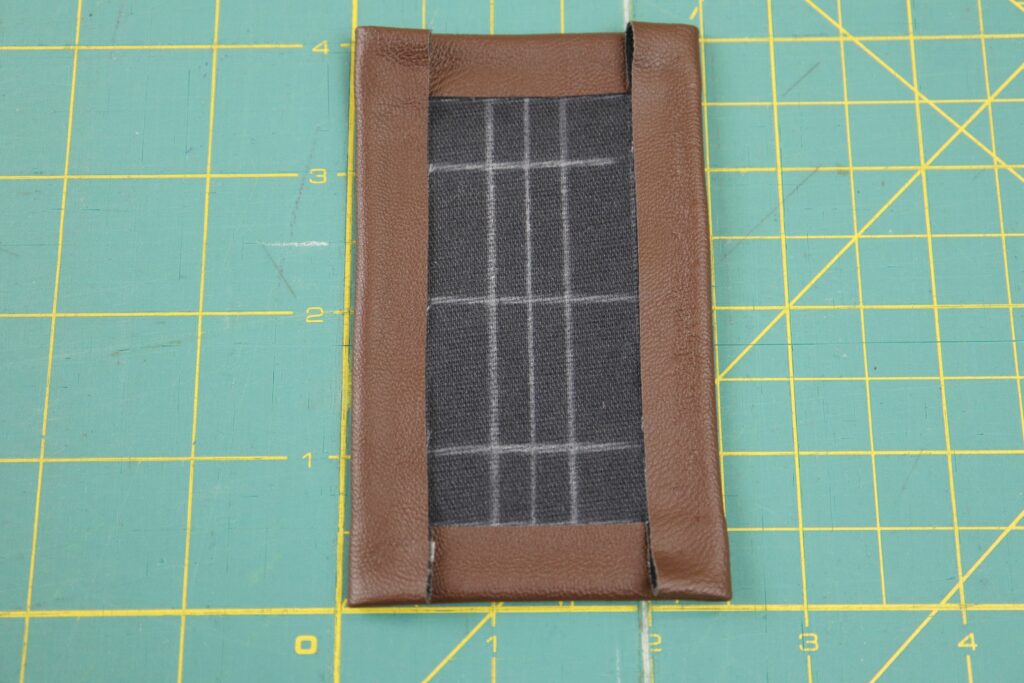
Turn the fabric over so you are looking at the right side of the fabric. Wrap the piece from the back through the hole. From the front, it should look like the second photo above.
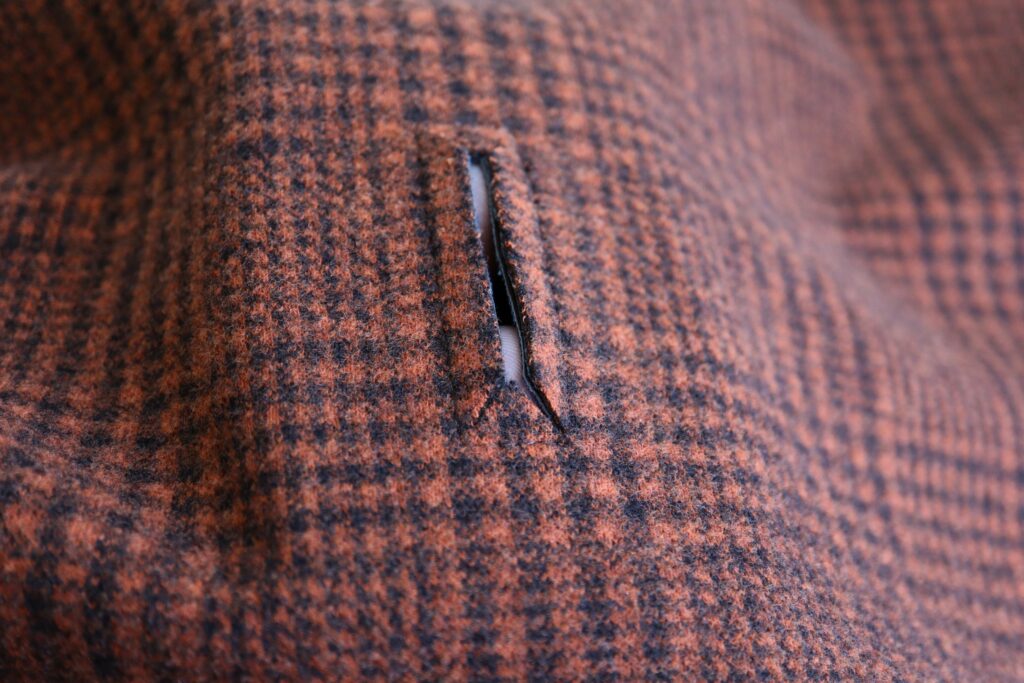
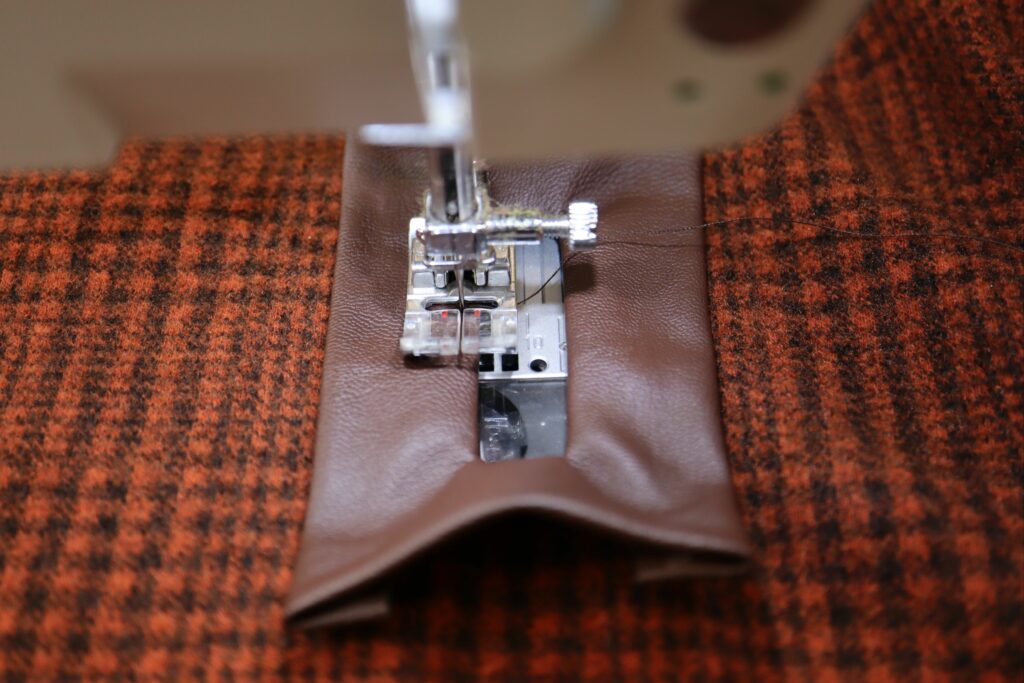
Using your fingers to hold everything flat and making sure that your work is fully ‘turned’, edgestitch the inside edge of the 2” x ½” hole (approximately 1/8” from edge) as shown above. Overlap last few stitches with first few OR stop stitching as the exact point where you started and pull all of your threads through to the back of your work and tie them off (this would look very professional!)
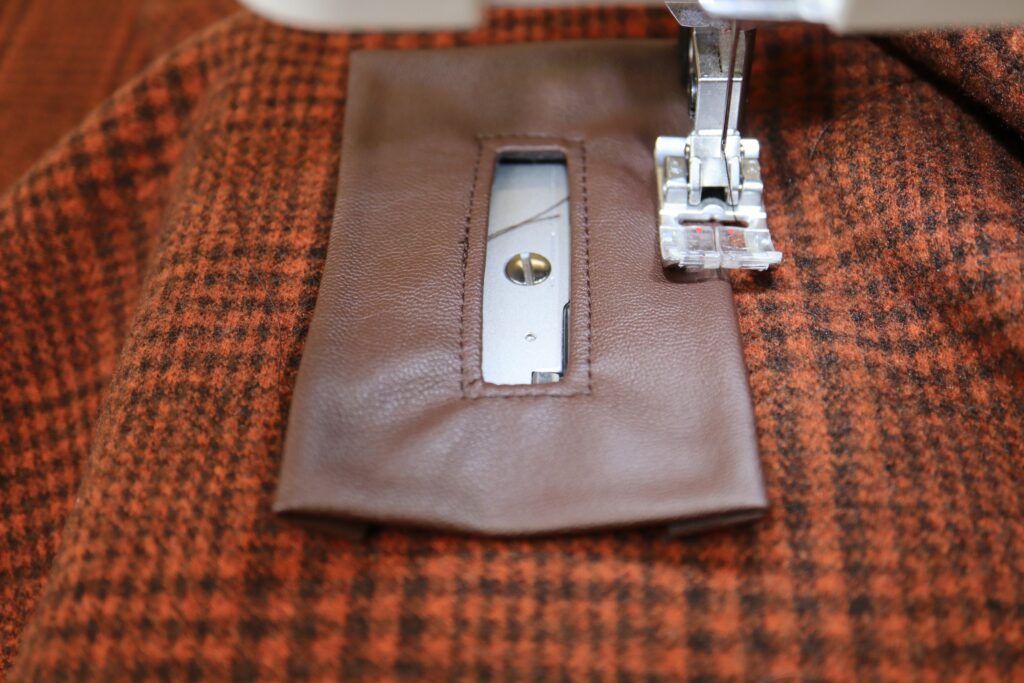
Again, using your fingers to keep your work nice and flat (don’t use pins if you are using faux leather) edge stitch along the outside edge as shown above.
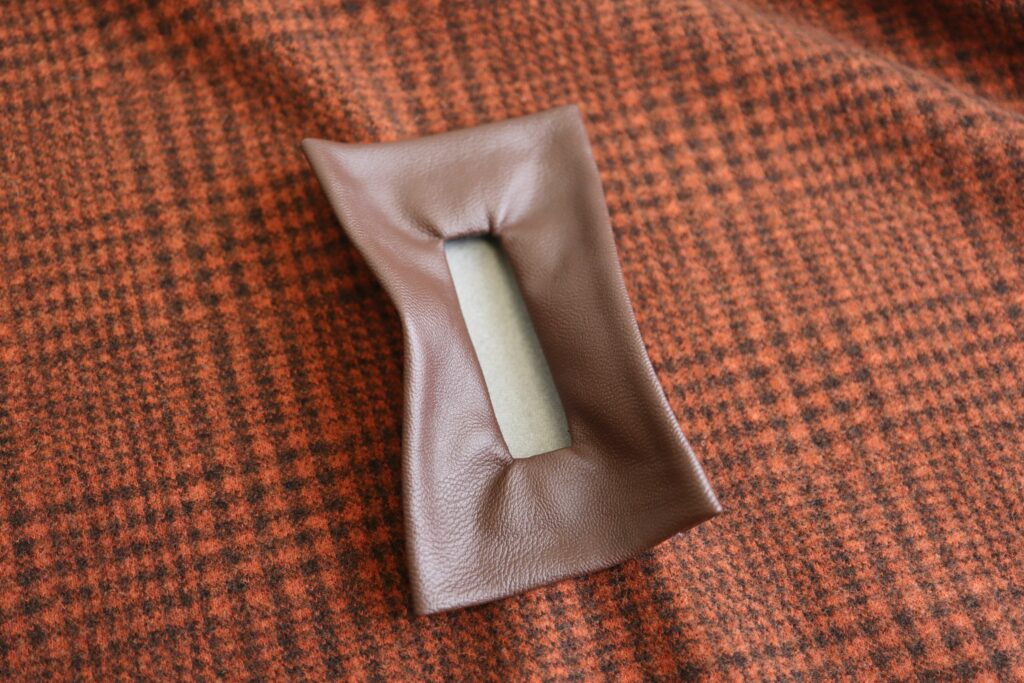
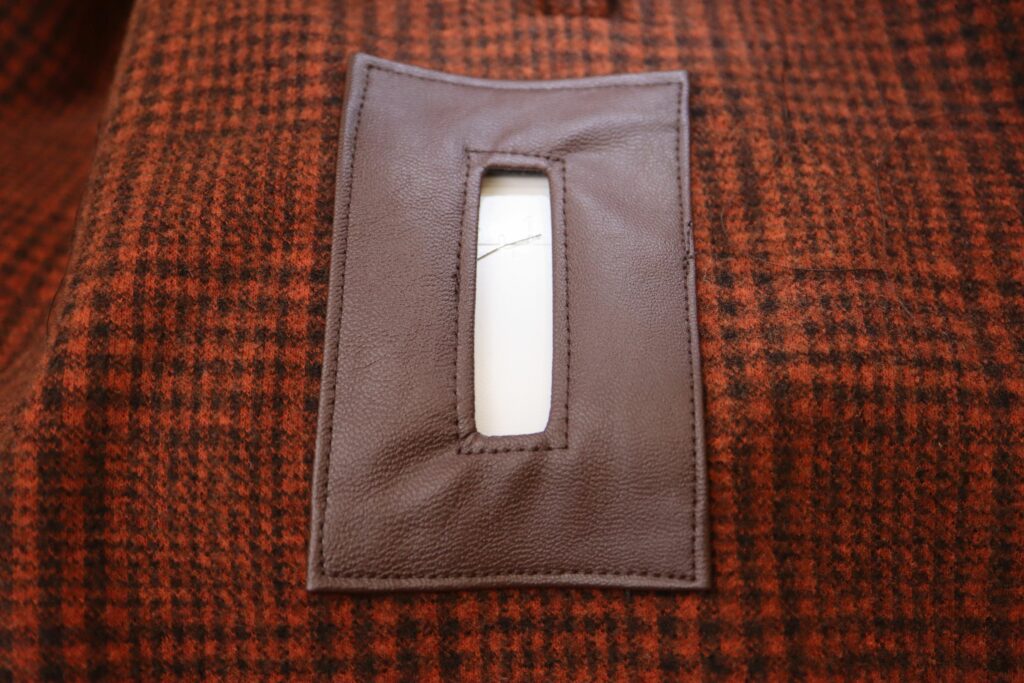
Here we have one beautifully finished belt hole. Repeat the process three more times for the additional belt holes and give yourself a pat on the back for trying something new!
If you’d like to see more techniques that we used on our belted cape, click below.


