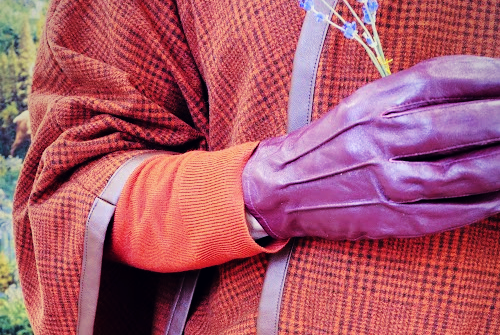

We have a special treat for all of you! One of the easiest ways to elevate your fashionable look is to jump on the cape trend taking the fashion industry by storm. Join fashionable celebrities like Nicole Richie, Amber Rose, Alicia Keys, Naomi Campbell, Jennifer Lopez, Janelle Monáe, Lily Jane Collins, and Taylor Swift. This Highland cape is the perfect way to stay warm, and super easy to sew. But it’s easy to mess it up if your corners aren’t clean; so here is a surefire way to turn a simple square, into a fashion forward suit.
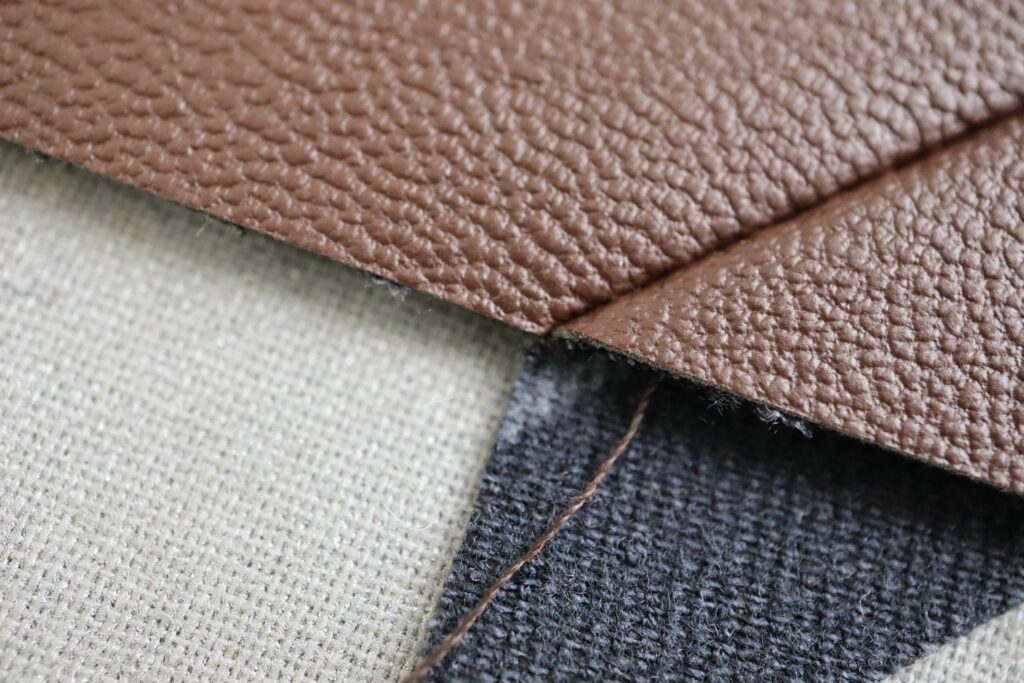
This post is the first post in a series of techniques we used to create a fashionable belted cape with contrast binding and belt holes. This post shares tips for cutting and joining a long strip of binding. The binding will be used to finish the edges of the cape. We used a faux leather fabric for our binding. You can do the same or you can use a nice Ponte di Roma knit. It is recommended that you choose a fabric that is fairly stable and one that does not unravel, fray, or curl when cut.
Click the links here to follow the other 2 tutorials: Beautiful Bound Belt Holes & Continuous Mitered Binding
The first thing we did was cut our fabric into 2.5” strips. We used a rotary cutter, a long ruler, and a rotary mat. If you don’t have these tools, you can mark the cutting lines on the back side of the fabric with a fabric marker and ruler and then cut the strips with scissors. We cut the strips across the width of the fabric (i.e., from selvedge to selvedge). Our 2.5” strips will be perfect for a scant ¾” finished binding. Our calculation was based on three times the width of the finished binding plus ¼” for overlap on the back (3 x ¾” + ¼” = 2.5”).
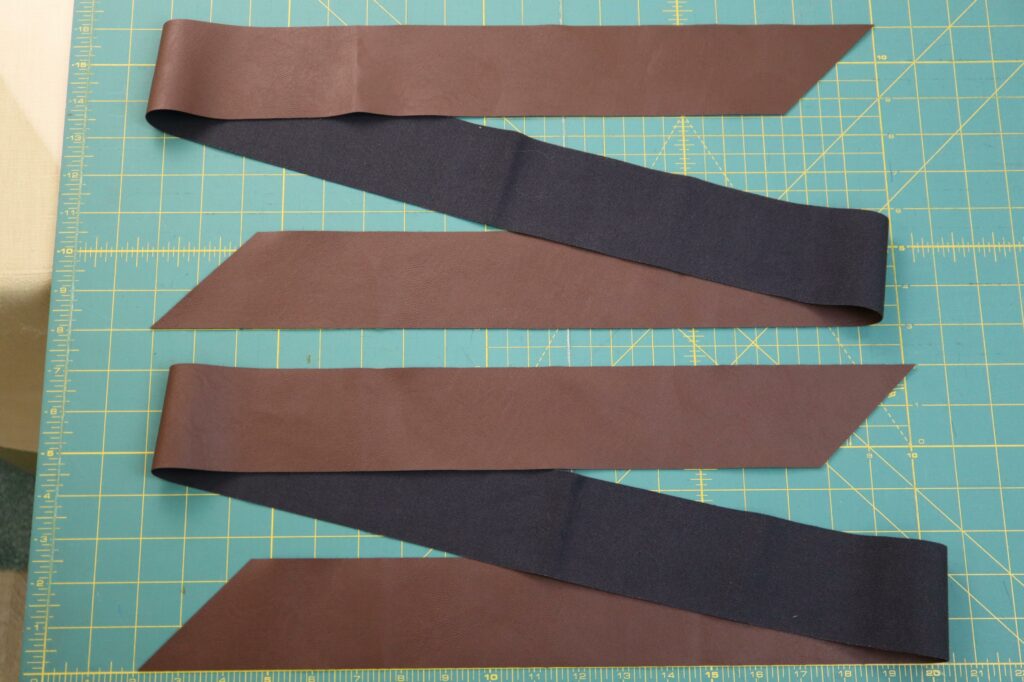
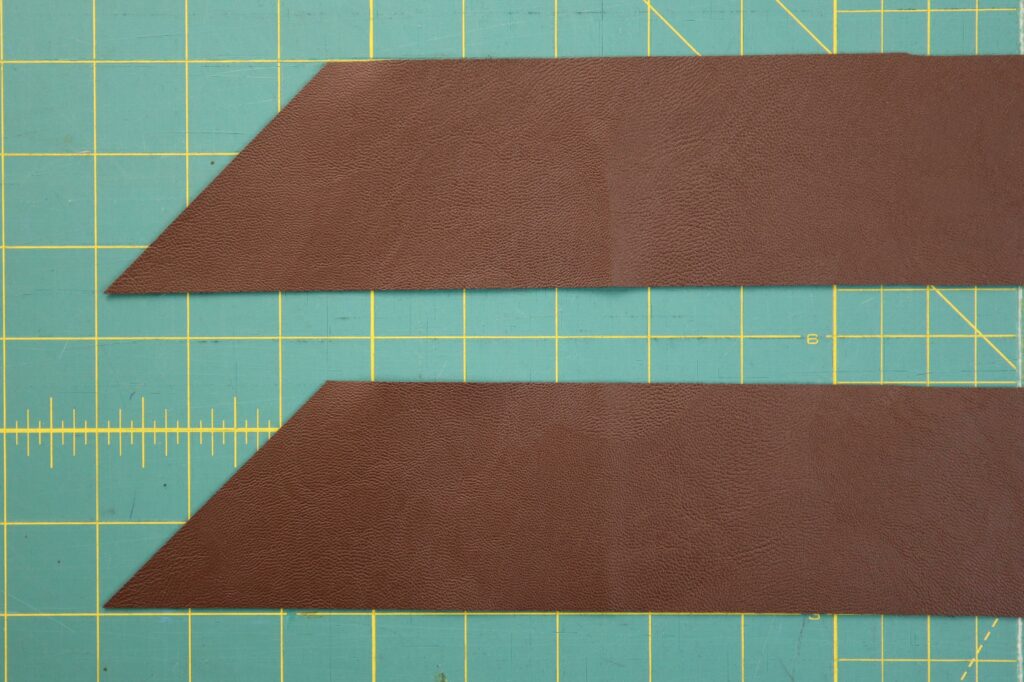
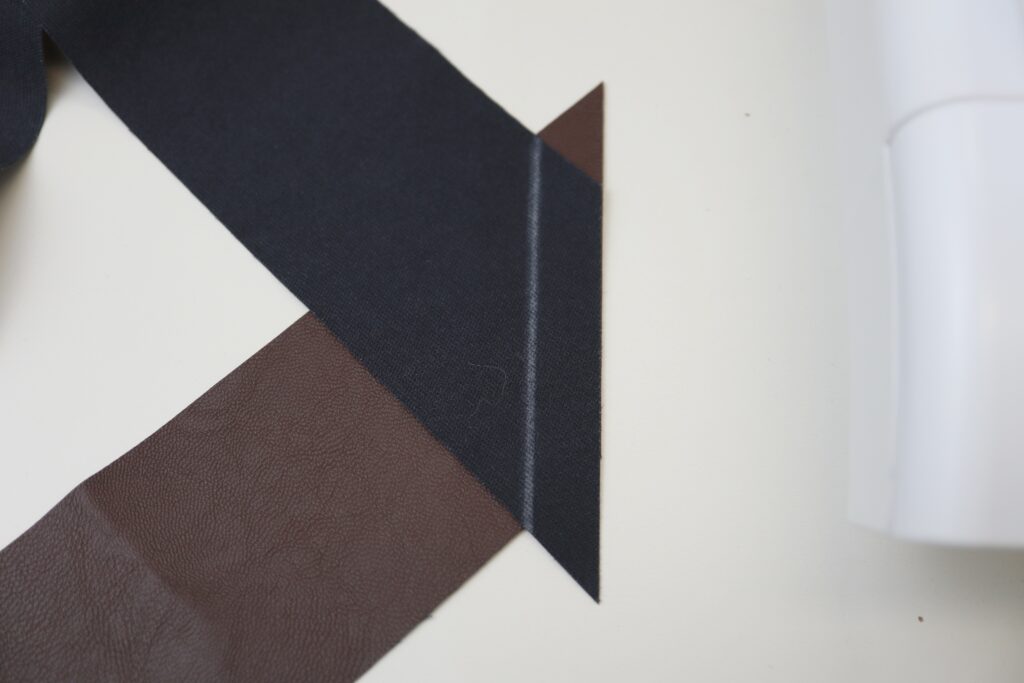
As you can see, we also cut the ends of our strips at a 45-degree angle. This is a very important part of the process. When we join our strips together, the seam we use to join the strips together will create bulk. By cutting the ends on an angle we will distribute this bulk over a larger area, so when we fold the binding lengthwise, we won’t have a bulky “lump” in our binding. Make sure that all the ends are cut at the same angle. If they are cut at opposite angles, when you join them together you will end up with a right angle, instead of a nice continuous straight binding.
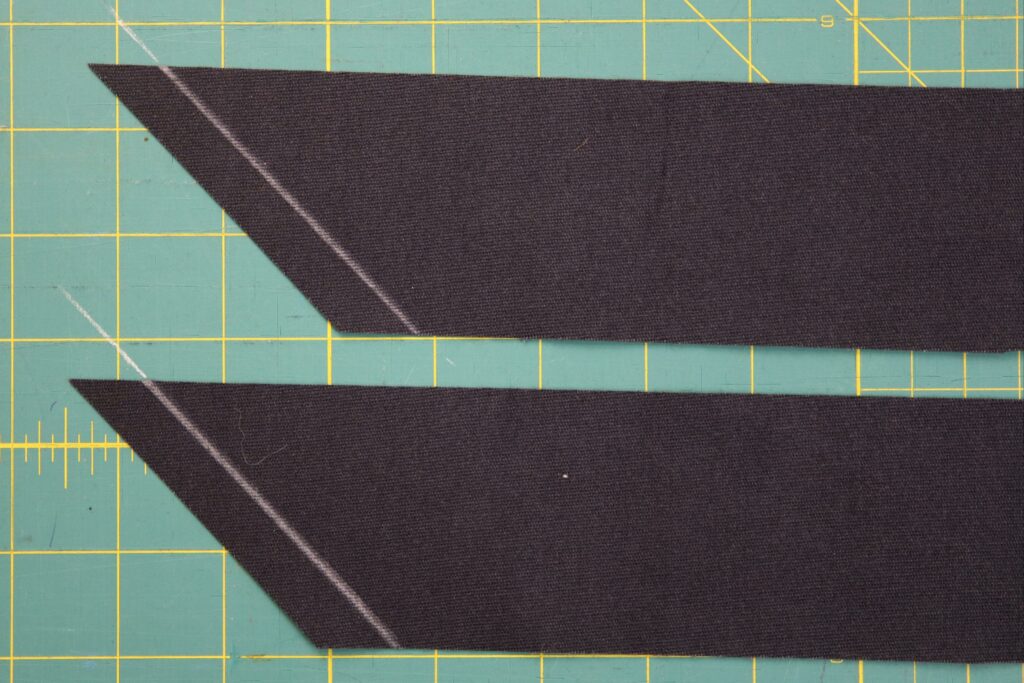
We found it helpful to mark our stitching line on the back side of our strips. With a ruler and a fabric marker (we used tailor’s chalk) we marked a line ½” from the end of our strips.
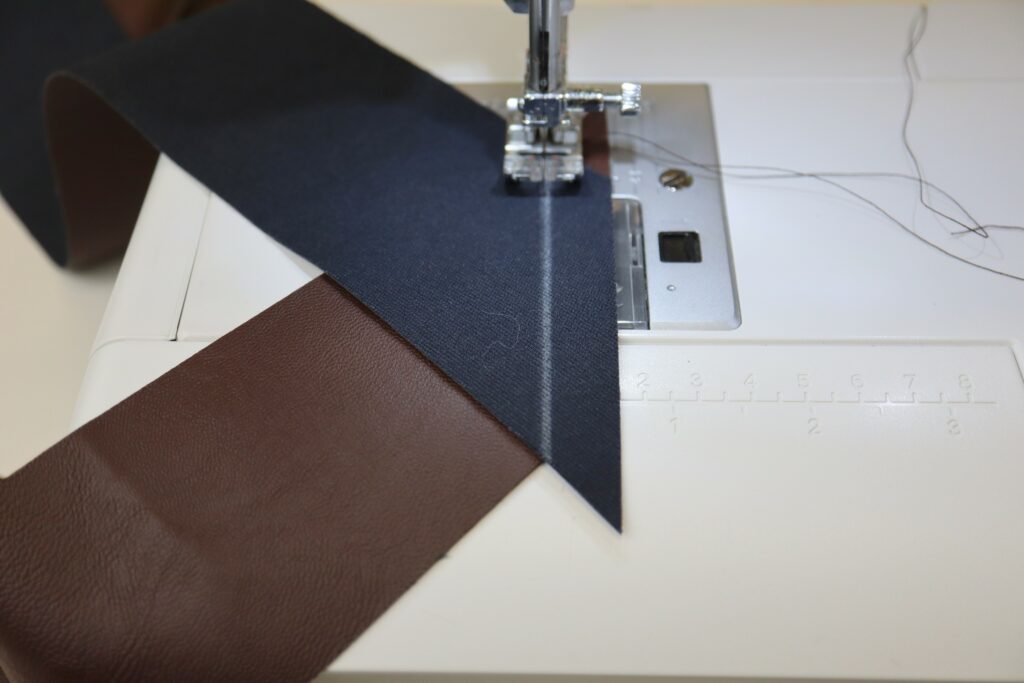
This is probably the most important tip! The photo above shows two strips with the ends overlaid and the right sides of the fabric facing each other. The angled ends line up (the edges on the right in the photo) BUT they are offset at the top and bottom. They line up at our marked stitching line.
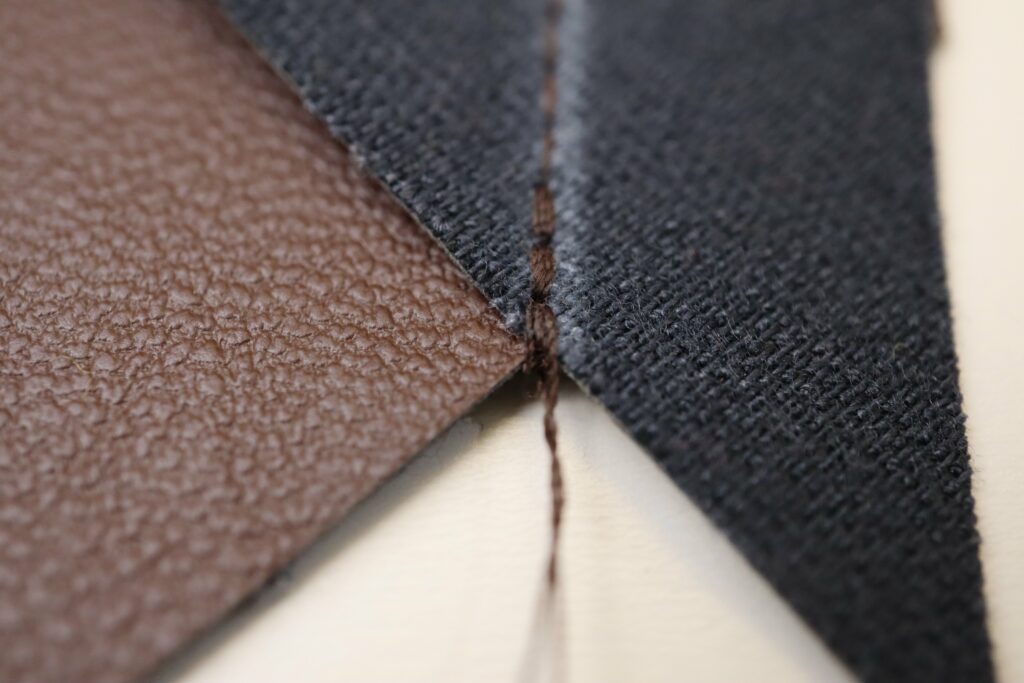
Keeping things lined up as described in the previous step, stitch along the stitching line. We started and ended our seam with a backstitch to keep things secure.
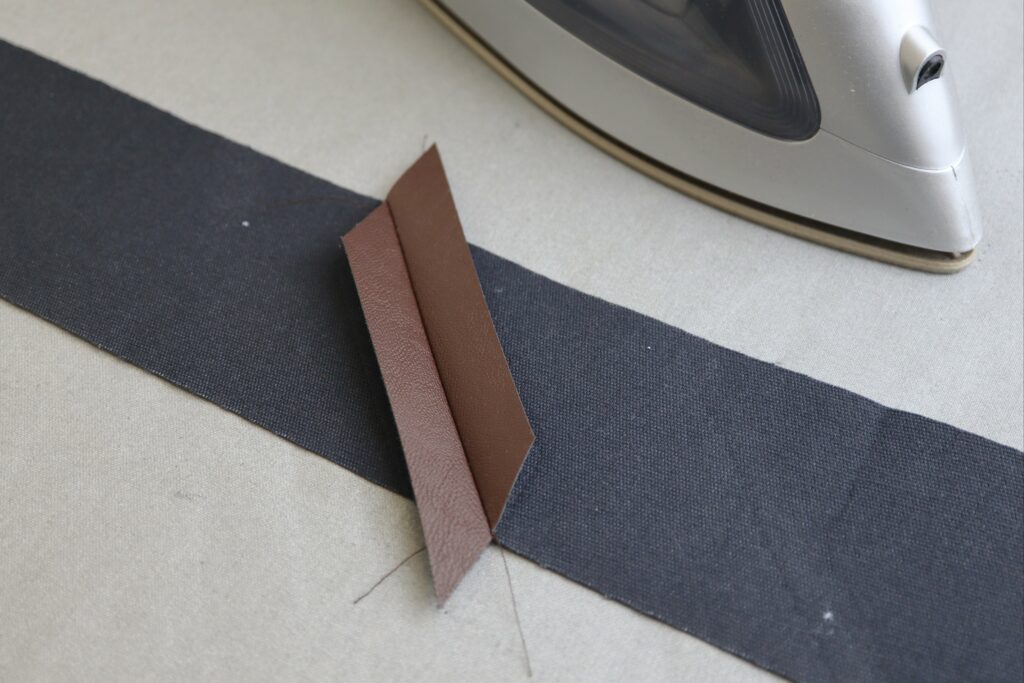
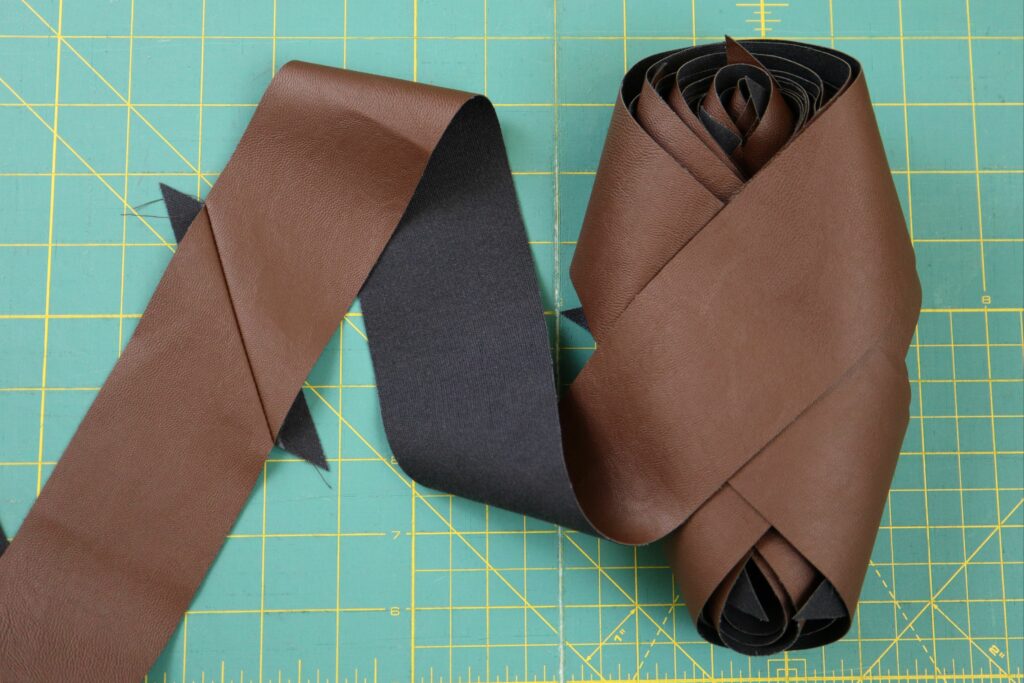
Next, we pressed the seam open. Because we were working with a fabric that cannot be touched directly by the iron, we pressed the seam open with our fingers, then we placed a press cloth over the seam, and set the seam with a low temperature iron.
We continued to join strips until we had enough binding for our project. For our above-the-knee cape that is open at the centre-front, we required seven strips (across the width of the fabric). So, with about ½ yard of fabric our yield was over 8 yards of binding!
If you’d like to see more techniques that we used on our belted cape, click below.
Bound Belt Holes
Continuous Binding with Mitered Corners


2 thoughts on “3 Techniques for a Highland Cape: Joining Binding”
Great tutorials. Is there a link for a cape pattern?
Hi Ann! No pattern needed : )
All you need to do is create a square or triangular piece of fabric with a head hole and follow the steps provided here to finish it up!