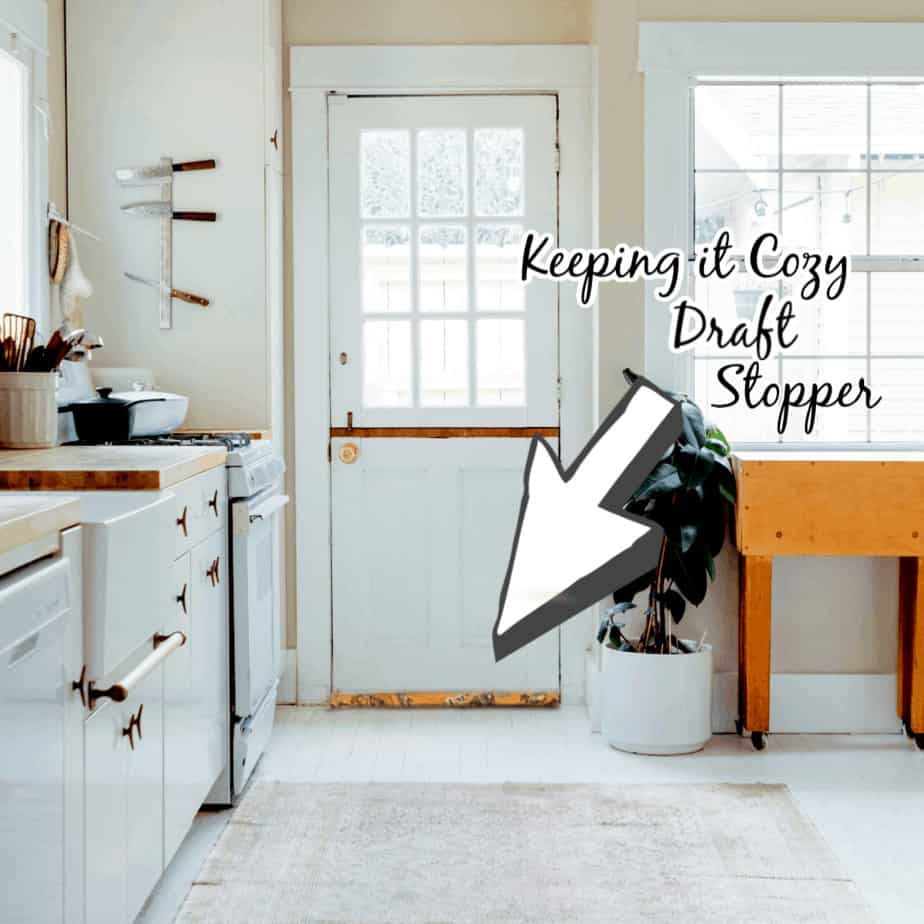
If you live in a drafty, old house like I do, you may be looking for an easy and inexpensive fix for your drafty doorways and windows. If so, you’ve come to the right place! This tutorial will show you how to make functional and fashionable draft stoppers. We’ve used a polyurethane-laminated cotton print for the main fabric, so it’s easy to just wipe it clean if it gets dirty. You may want to use up some left-over fabric from a home-décor project or maybe something from your stash of craft fabrics.
Did we mention that this project is totally customizable (Any colour! Any print!) and would make a super-thoughtful, hand-crafted gift?

Here’s what you’ll need:
1. ¼ yard (approx. .25metres) Main fabric
2. ¼ yard (approx. .25metres) Liner fabric – lightweight woven fabric such as broadcloth
3. 1 small spool coordinating all-purpose thread
4. 22” zipper
5. Sewing machine with straight stitch and zipper foot
6. Iron and Ironing Board
7. Hand-sewing needle
8. Scissors, Ruler, and Fabric Marker OR Rotary Cutter, Ruler and Cutting Mat
9.Large funnel or spouted cup or bowl
10. Craft Gravel of your choice – Make sure that it has a nice weight to hold the stopper in place. Do not use items such as rice or birdseed that may attract unwanted pests.
Let’s cut our fabric!
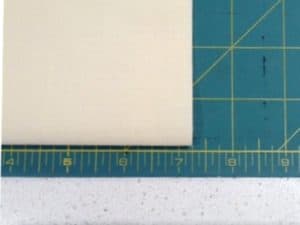
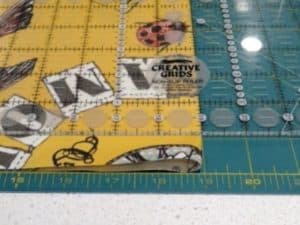
Step 1. The main fabric and the liner are cut exactly the same size! Please cut each piece to 7 ¼” x WOF (width of fabric). To calculate the length, measure the base of the door and add 2 ¾”. Our door was 35 ¼” so we cut the length to 38”. To cut the length, we actually folded our fabric in half and measured 19” for a total length of 38” (second image above).

Let’s sew the liner!
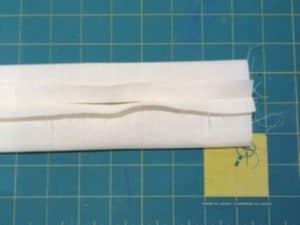
Step 2. Fold the liner fabric right-sides-together along the length. From one end, use a 5/8” seam allowance to stitch a seam about 3” long. Then leave an opening of about 2” – 3”. Continue stitching the remaining length of the seam. Press the seam open (second image above).

Let’s sew the ends!
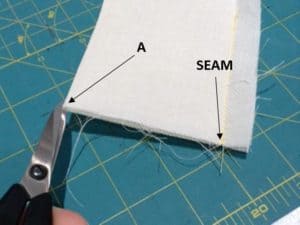
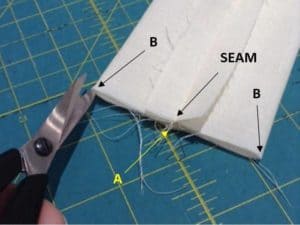
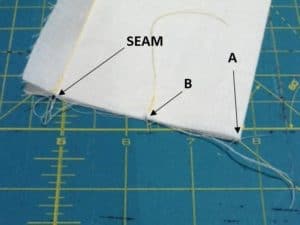
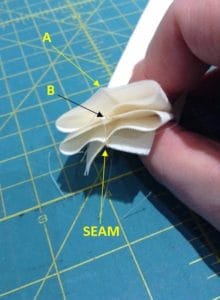
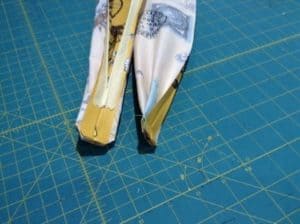
Step 3. Lay the end of the liner flat as shown in the first image above. Make a small clip in the fabric at point A as shown. Then connect point A with the seam and lay the liner flat again, making small clips at points B as shown in the second image. Bring the two B’s together and secure them together with a few stitches as shown in the third image. Then bring all points together, kind of like a super-flat figure “8” as shown in the fourth image. Stitch across the end with a 5/8” seam allowance. Trim corners as shown. Repeat these steps for the other end.
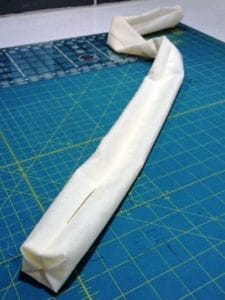
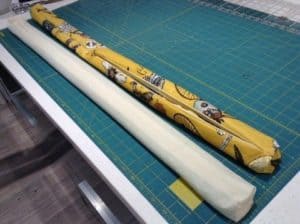
Let’s turn the liner inside out!
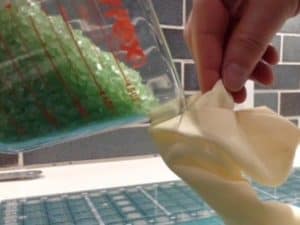
Let’s fill the liner!
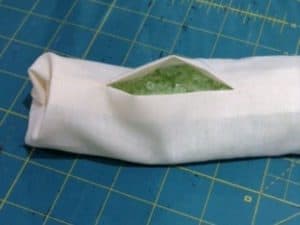
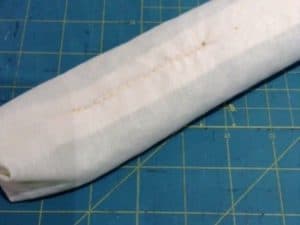
Step 4. To avoid making a mess, it’s best to pour your craft gravel into a spouted cup (or use a funnel). Slowly pour the gravel into the liner through the opening that you left in the seam. Once you are happy with the amount of gravel, you can sew the opening closed with a small slip-stitch as shown in the third photo above. (Stitch securely to keep the gravel from escaping!)
Let’s make the outer cover!
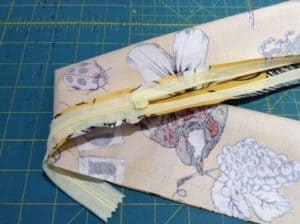
Step 5. The outer cover is made the same way as the liner with two exceptions. The first exception is that we don’t want to press the lengthwise seam open on the cover. We have used polyurethane-laminated cotton and we risk melting the laminate if we touch the iron to it! The other exception is the addition of the zipper. Instead of leaving a 2 – 3” opening in the lengthwise seam, leave a 20” opening. Then insert the zipper in that opening. Before sewing the ends closed, make sure that you open the zipper; otherwise you won’t be able to turn the cover inside out.
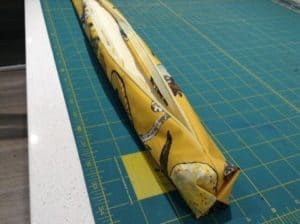
Once you have completed the cover and turned it right-side-out, open the zipper all the way and ease the liner into the cover. Then zip it up, start saving energy, and enjoy the coziness!


