
Running out of time to make a Halloween Costume is the worst! Especially if you’ve been invited to a last minute party and don’t have anything to wear. Well, we’ve got you covered. Check out these 6, easy costumes that you can sew with or without a pattern for killer results.
**Note: yardage is estimated for an average sized adult. You may need more or less yardage depending on your size.
1. Ken and Barbie
Whether you want to be exactly like the characters in the recent Barbie movie or you just want to be a Barbie and a Ken you can use this simple appliqué tutorial we created to dress up.
Follow along here to find all the details to make these easy iron on letters for a Ken costume.
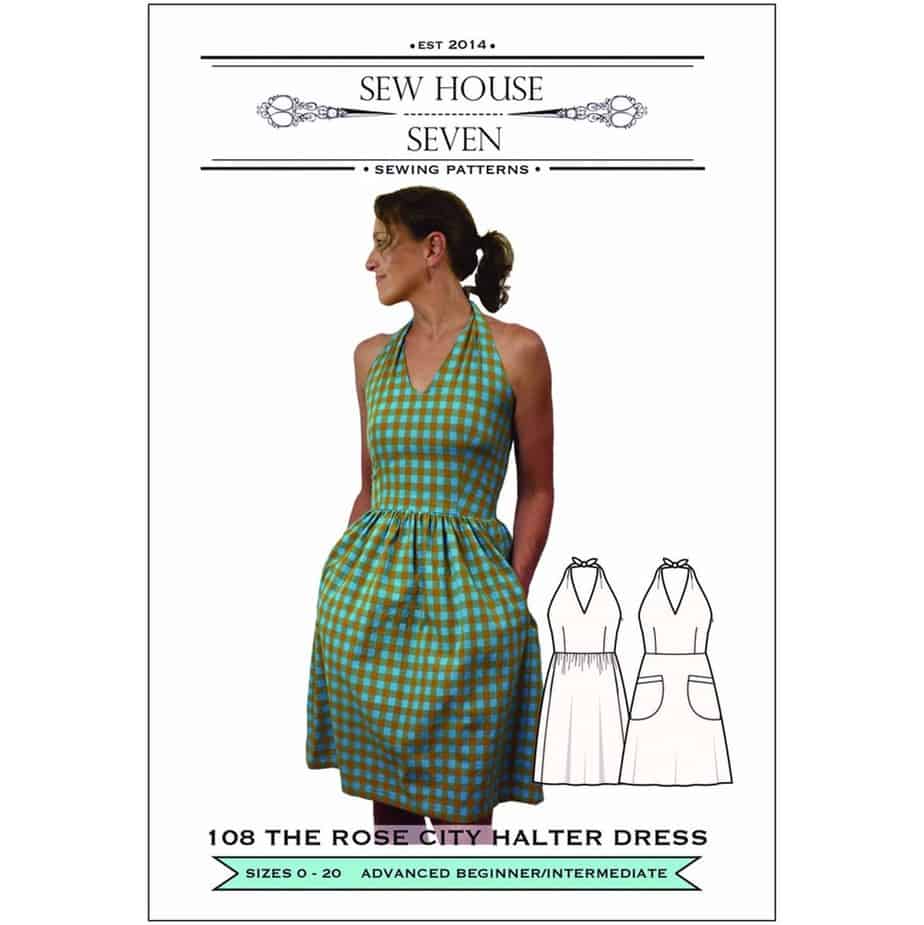
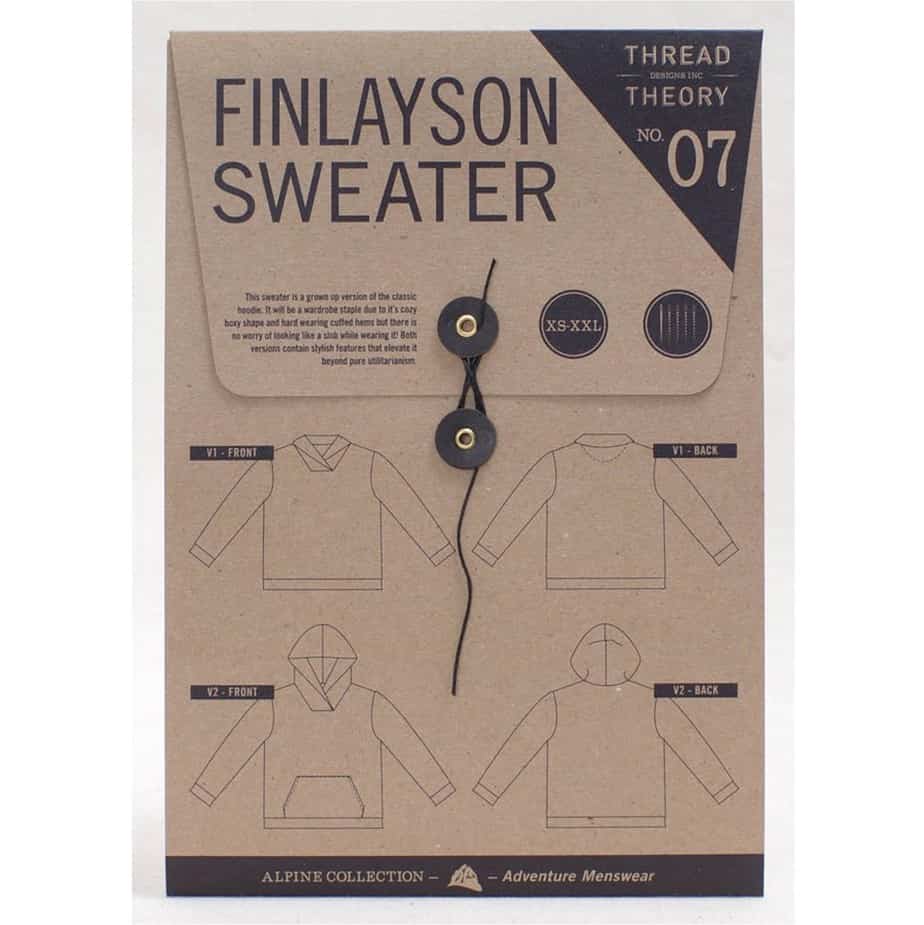
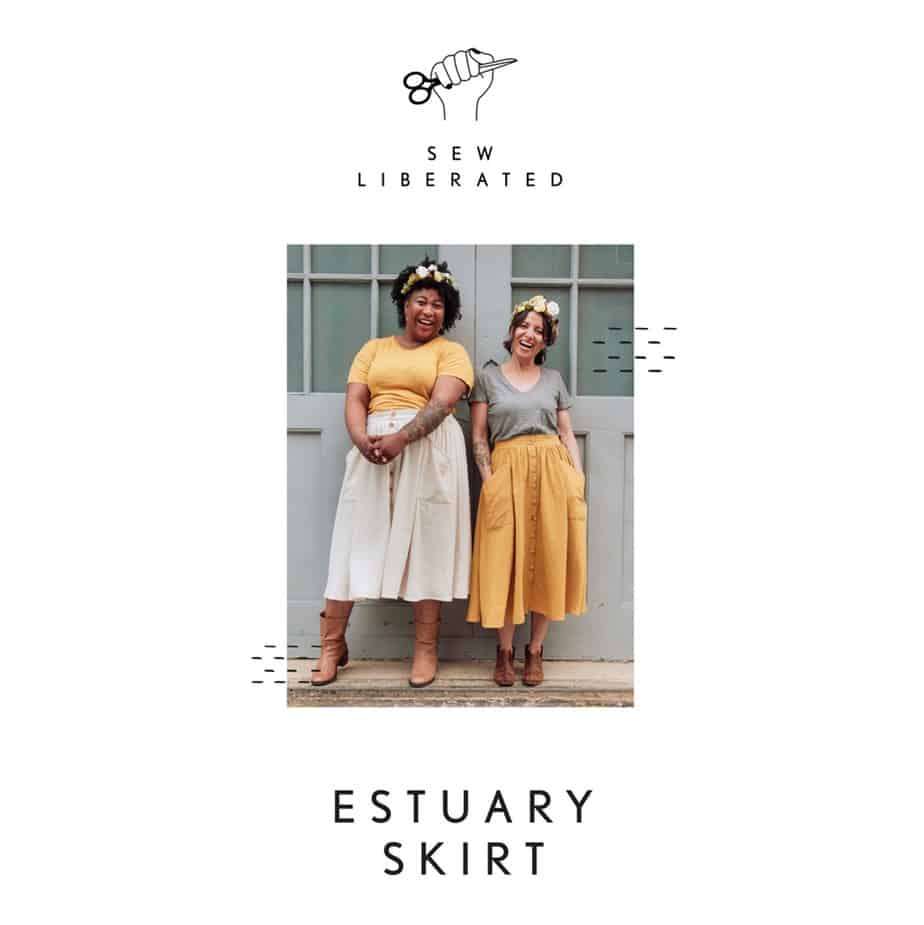
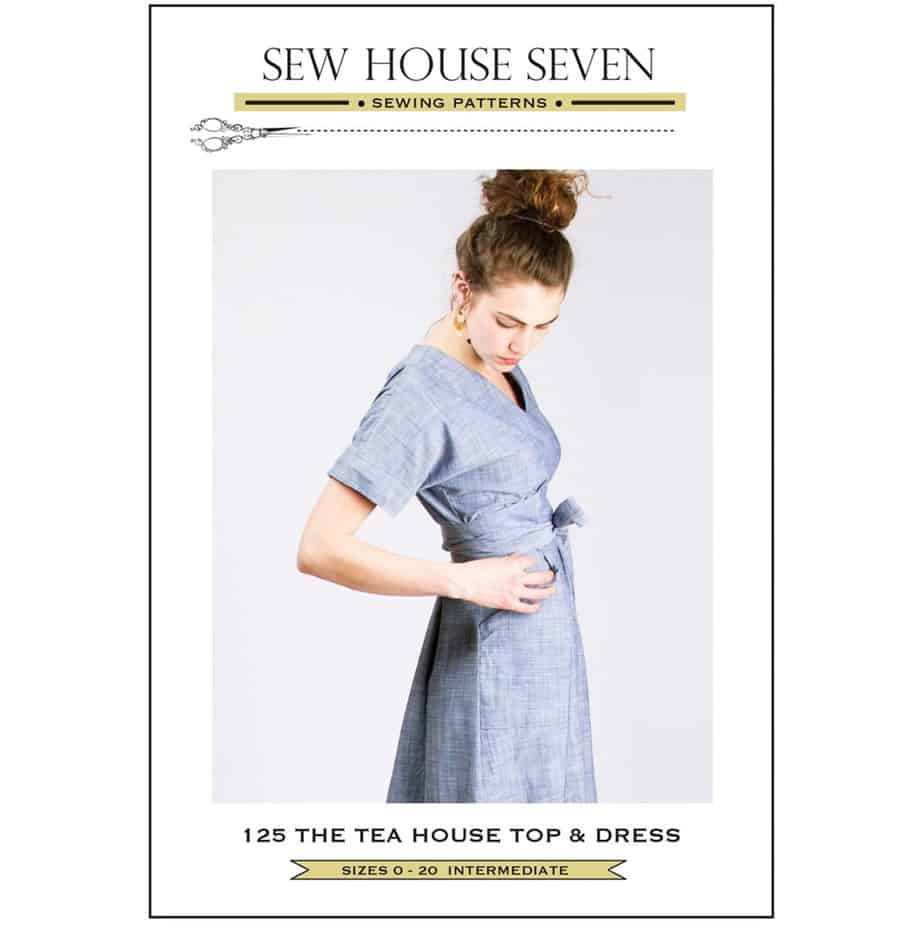
Grab any pink fabric you love or snag one of these patterns that would work perfect for Barbie and Ken!

2. The Paper Bag Princess
A fun nostalgia trip for all those 80s and 90s babies! If you have a prince or a dragon to party with, all the better. Whether you’re sewing for yourself or for a little one this is a great last minute sewing project.

What you’ll need:
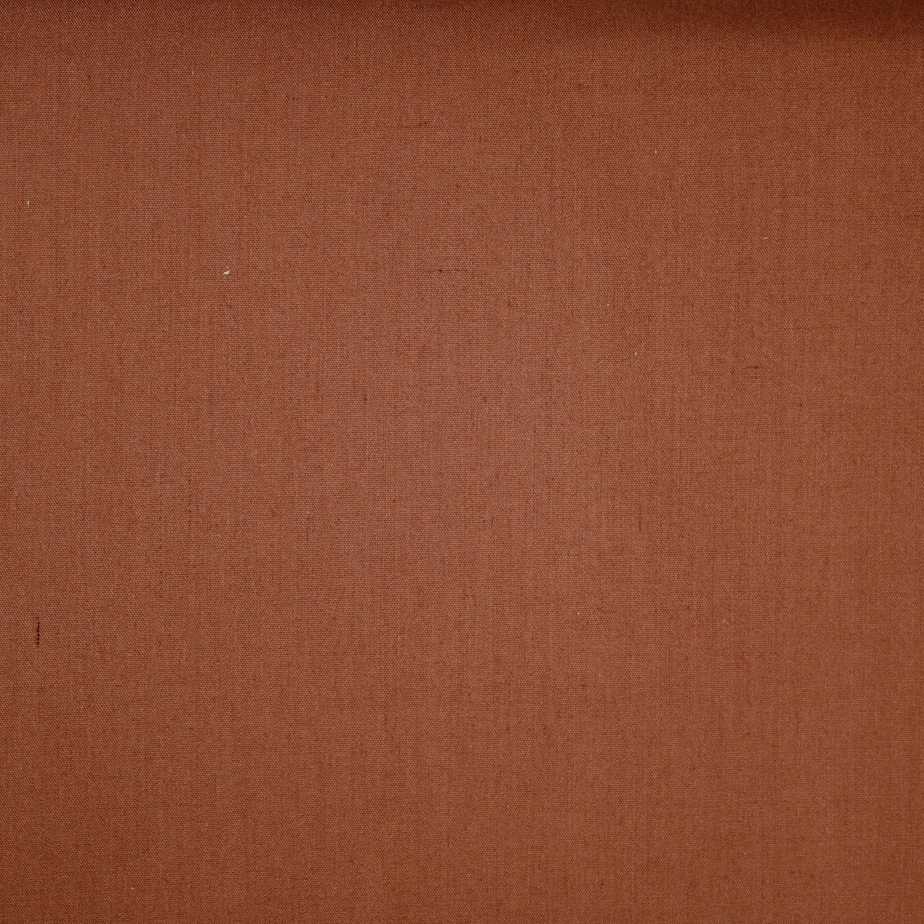
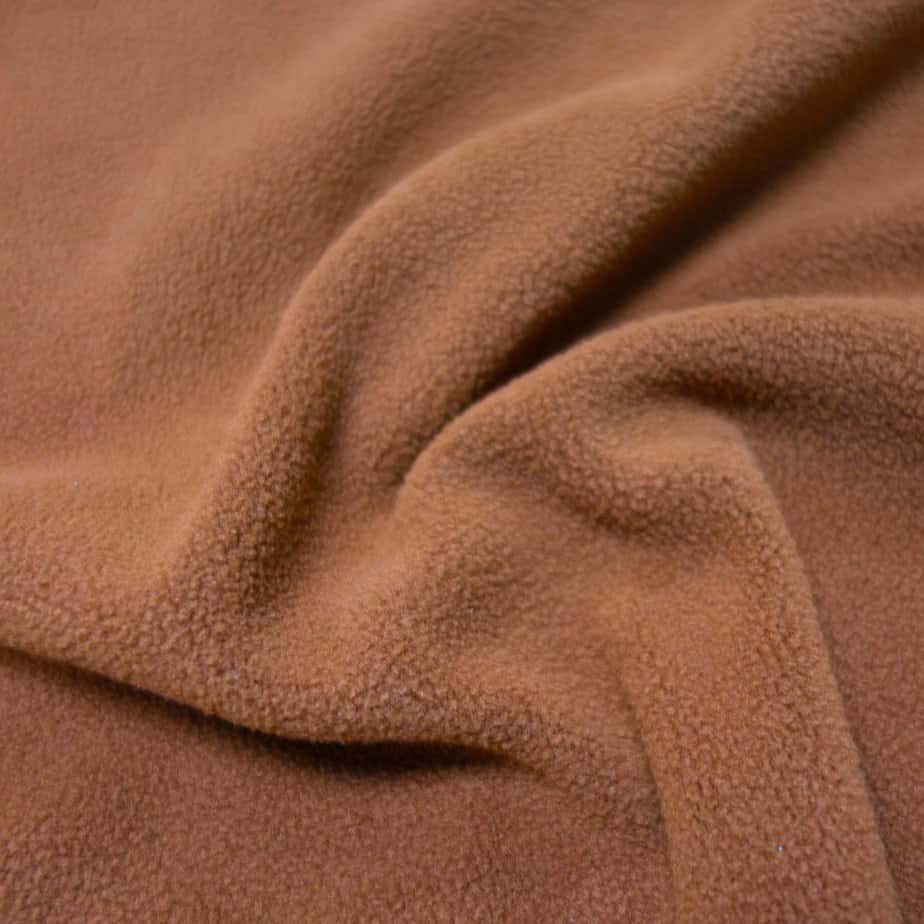
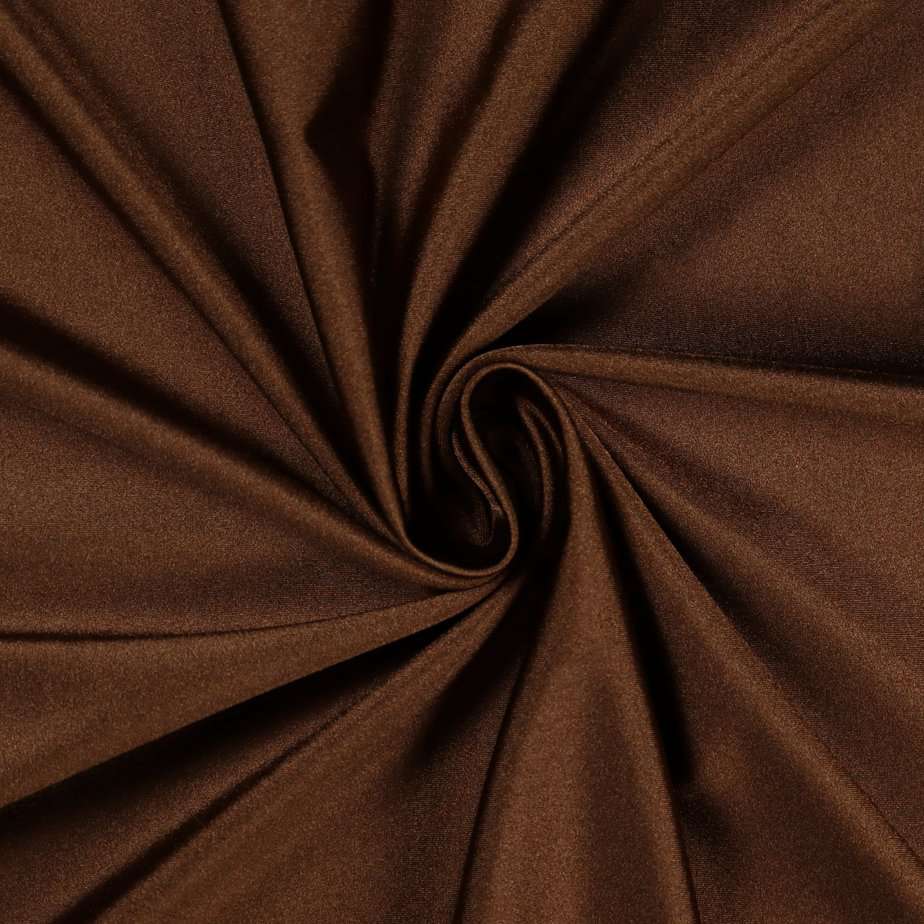
- Brown Fleece (approx 1.5 yards) OR Craft Cotton/Broadcloth
- Matching Thread
- Card stock (2-3 pieces) for a Crown
- Thin elastic cord

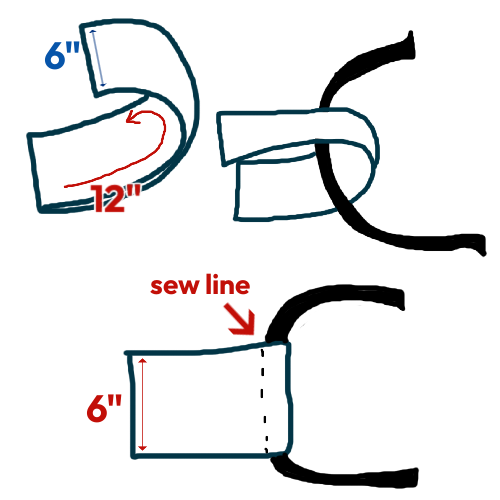
Sew a simple tube dress with a pattern you have on hand or grab your Fleece and simply sew a 2 panel tube the length of your torso to below your knees that fits comfortably around your middle. (Measurements should be a rectangle with the dimensions Torso Length + Waist to Knee Length by Waist Width (baggy) + seam allowance. If you have a 36″ waist and you are 5’6″ this would be: 20″ + 28″ by 36″ + 4″ = 48″ x 40″).
Cut a wide neck hole and 2 deep armholes and then sew the top of the garment at the shoulders to create the straps of your dress! Fleece doesn’t fray so you don’t need to hem or finish the dress if you want to keep it looking authentically, roughed up.
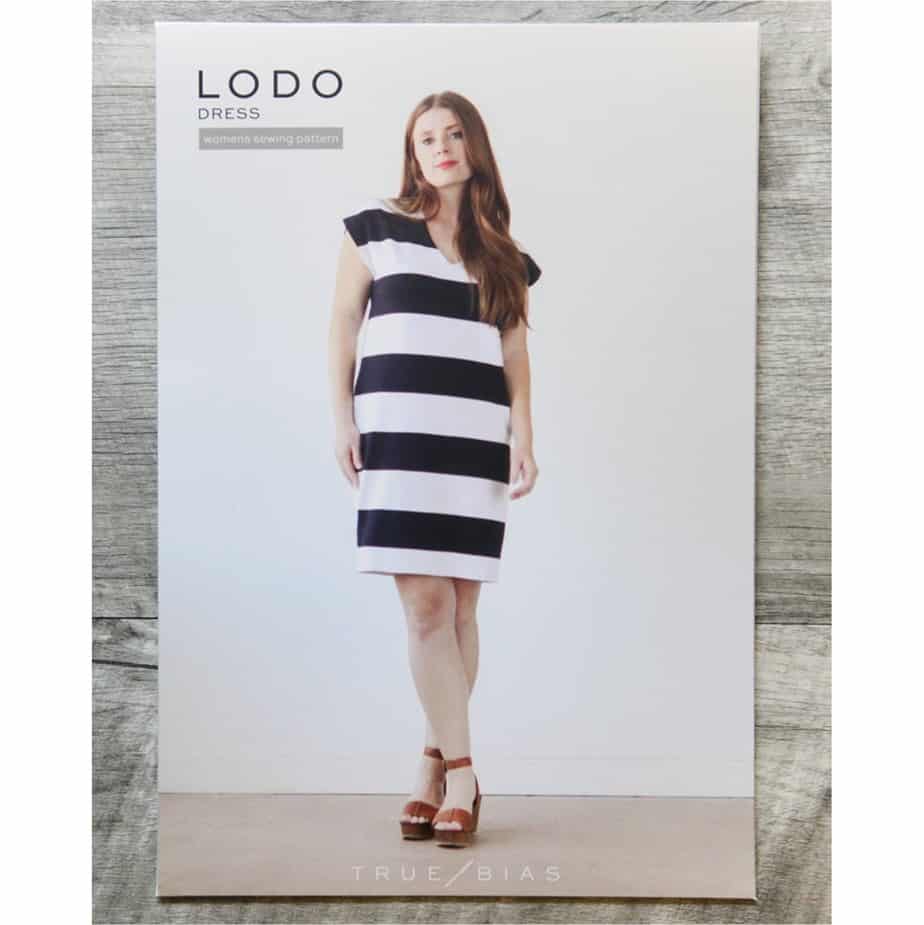
If you want to sew a dress that’ll last, grab an appropriate quilt cotton or double-layer an extra-wide broadcloth and follow along with our shift-dress tutorial on YouTube. Simply hem the armholes instead of adding sleeves and you’re good to go. Follow the fabric amounts mentioned in the video and adjust for length.
If you’re a confident sewist you can use Cotton or Broadcloth to sew your dress, but we recommend following an easy, purchasable pattern and following those instructions to sew the dress. Buy the yardage the pattern suggests as well.

Finish your costume off by cutting out card-stock for a crown, attach the elastic cord and you’re ready to go. If you’re looking to keep warm, simply wear a pair of leggings and a cozy shirt underneath. Now you’re ready to fight a Dragon!
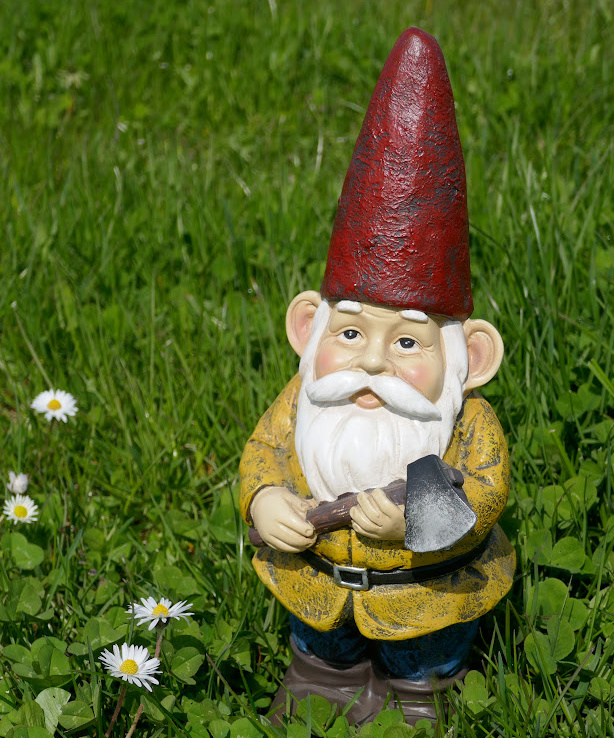
3. Gnomes
Garden party or garden gnome? You can sew as much as you like for this costume, but it’s super simple either way! Add, take away or put a twist on this outfit to make it your own.

What you’ll need:
- 0.75 yards of Red Felt (for hat)
- 0.5 – 1 yard of White Felt (for beard)
- 0.75 Medium Weight Iron On Interfacing (Presto)
- 0.5 yards of Brown Felt (for belt)
- 6″ x 6″ Black Felt (for buckle)
- 6″ x 6″ Silver Felt (for buckle)
- 1″ x 4″ of Velcro (hook and eye) OR 2 pairs of large snaps (you can grab these in-store at Fabricana)
- Matching thread to hat, belt and buckles
- (Optional) Stuffed animal stuffing (you can grab this in-store at Fabricana)
- (Optional) Speed Sew (sewing glue, you can grab it in-store at Fabricana)
- Sew or purchase a solid coloured, long sleeve shirt
- Sew or purchase a solid, neutral coloured pair of pants
- A pair of glasses
Roll your Red Felt into a cone shape by cutting a curve along one edge and roll into a point. Do the same for your interfacing, but make it smaller by about 1/4″ on all edges. Trim off excess, iron Interfacing to Felt, and sew along the join for the Felt and turn right side out. To see a visual of how to cut and sew a cone hat you can follow along with our Witch Hat YouTube video here.
Cut the white Felt into a half-oval shape that is the length of half your face (nose to chin) + 6″ from the chin + 4″ a the top. (Approx 14″. For a longer beard add length as necessary). Cut a mouth hole in the beard and cut two curves for cheeks while leaving 2 strips on either side where “sideburns” would be.

Hand sew the top of both the “sideburns” to the inside of your hat at the temples. Take small handfuls of stuffing and ball it up to then glue in small chunks onto the White Felt to create depth for the beard.
Cut Brown Felt into 4 strips equal to half your waist size in length + 2″ by 4″. (EX: If your waist is 36″ cut strips 20″ x 4″). Sew 2 strips neatly together at the top and bottom to create a double layered strip. Join your 2 strips at one end along the 4″ side. Sew on Velcro or Snaps at the other open end so the Belt can fasten.
Cut out a rectangle in your Silver Felt 5″ x 4.5″. Cut Black felt 3.5″x 2″ and glue or sew to the centre of your Silver Felt. Glue or sew Felt Buckle to the centre front of your belt.
Dawn your glasses, put it all together and you’ll look like a friendly gnome!
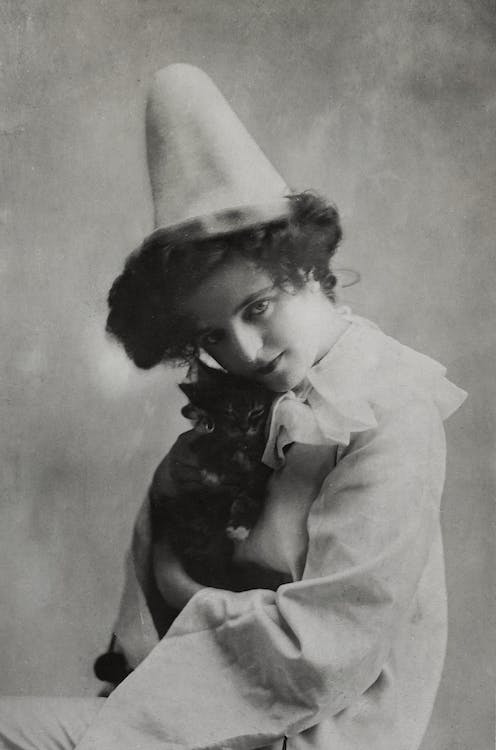
4. Old Fashioned Clown
You can make this costume scary or sweet! Whether you want to curl your hair and put on some classic 1930s inspired makeup to look demure or you want to use intense red makeup to make yourself scary, this outfit is easy to put together last minute!

What you’ll need:
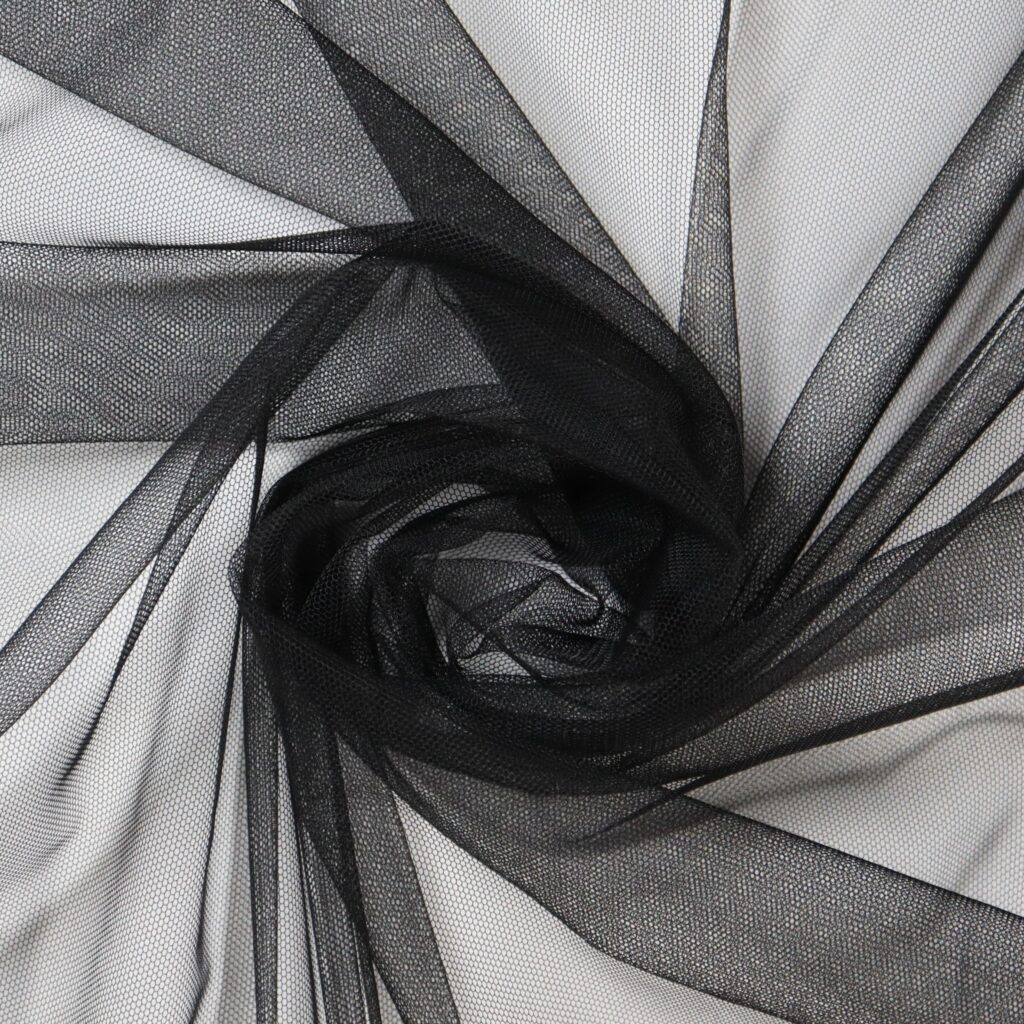
- Tulle (approx 1.5 yards) in Black or White
- 1″ ribbon that matches your Tulle colour (2 yards)
- Cotton, shirting, or broadcloth for dress slip (approx 2 yards)
- 0.5 yards of Felt the same colour of your dress
- 0.5 Medium Weight Iron On Interfacing (Presto) OR Card stock paper (same colour as your dress fabric)
- ALTERNATIVE: 1 bundle of yarn as a substitute for making pompoms. (You can grab yarn at Coquitlam Fabricana)
- (Optional) Thin elastic to make a strap for the hat (0.5 yards) OR use two bobby pins and glue or sew to the inside of the hat.

Sew a simple slip dress (you can follow our sewing tutorial on YouTube as a base or use any easy dress pattern you have on hand). Make a cone hat by following the steps in our “Gnome Costume” above, or use card stock. We recommend making this hat a bit smaller than you would for a gnome.
Grab your Tulle and cut 4-7 strips that are 6″ x 12″ in length. Fold your tulle around your ribbon so the 6″ sides are together and sew the tulle together at the base of your ribbon to create a channel (careful not to sew the Tulle to the Ribbon). Gather the tulle along the length of the ribbon until you’re satisfied with the poof, make sure to leave enough length at the end of your ribbon so you can tie the ribbon still.
Grab your remaining tulle and cut it into 4″x 2″ strips (make sure to leave some for your hat). Tie these strips individually together in a knot in the middle to create 2 pompoms, make sure to alternate directions so the ends of the tulle stick in opposite directions and create a poof (you can also follow along with our video on how to make a pom pom out of yarn, here). Sew or glue your pompoms to the front of your dress.
Create 2 more pompoms with strips 2″x 2″ to attach to your hat.
Positively dashing! Or maybe deadly? You decide!
5. Operation
This is a great couple costume idea too! Remember the game Operation? One of you can be the Doctor and the other could be “Sam.” This easy “Sam” costume can be a no-sew project, too so don’t worry if you’re low on time.
What you’ll need:
- A pair of nude tights
- Either sew a nude coloured top or grab one pre-made.
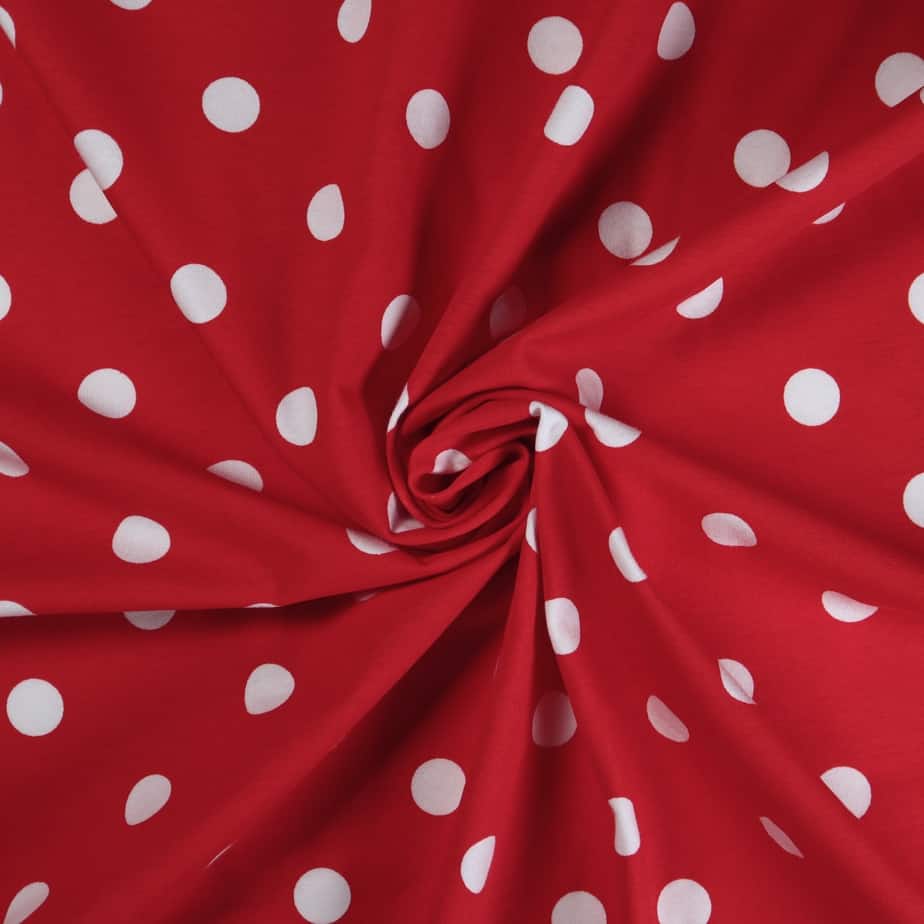
- A pair of red and white polka dot shorts/skirt or sew up a simple shorts/skirt pattern with some dot fabric.
- 0.75 yards of White Felt
- 0.5 yards of Red Felt
- 0.5 yards of Black Felt
- Wonder Under (iron on bonding) OR Speed Sew (sewing glue, you can grab it in-store at Fabricana)
- 2 packs of velcro rounds or 0.5 yards of hook velcro
- Hand-sewing needle + thread matching your velcro
- A clown nose, or red yarn to make a pom pom
- Non-washable Fabric Pen (black)
Grab a pair of nude tights from the store. Sew your nude top by following along with our YouTube tutorial here or grab a pre-made top from the shops. Do the same with your shorts! An easy sewing pattern to use if you’d like to sew your own shorts you can grab a masculine pattern here or a feminine pattern here.
Get your red felt and start drawing the base shapes for your operation pieces (a horseshoe shape for the Wish Bone, a circle for the Adam’s Apple, etc).
Next, draw out your more exact shapes with the white felt. Bond the White Felt to the Red Felt once everything is cut out by using Sewing Glue or Wonder Under.
Either sew or glue your velcro to your tights and top in the appropriate places. The velcro should stick to the Felt well enough without needing to have velcro on the shapes. If you would like it to be more secure, grab some “Eye Velcro” (soft side) and sew or glue it to the back of your Red Felt before you bond the White Felt to it.
Grab the remaining White Felt and write out the various names of the objects that need to be removed from “Sam.” (Funny bone, water on the knee, etc). Stick these to your tights and tops where appropriate in the same manner as above.
Cut your Black Felt to the appropriate shapes to be receptacles for your surgery shapes and either sew or glue them to your Top and Tights.
Create a yarn pompom using the method in our Clown Costume tutorial, or simply dawn your rubber clown nose. We suggest attaching your yarn pompom to your nose with eyelash glue (as long as you’re not allergic to latex!).
Now you’re ready to head out (for surgery or trick-or-treating)!
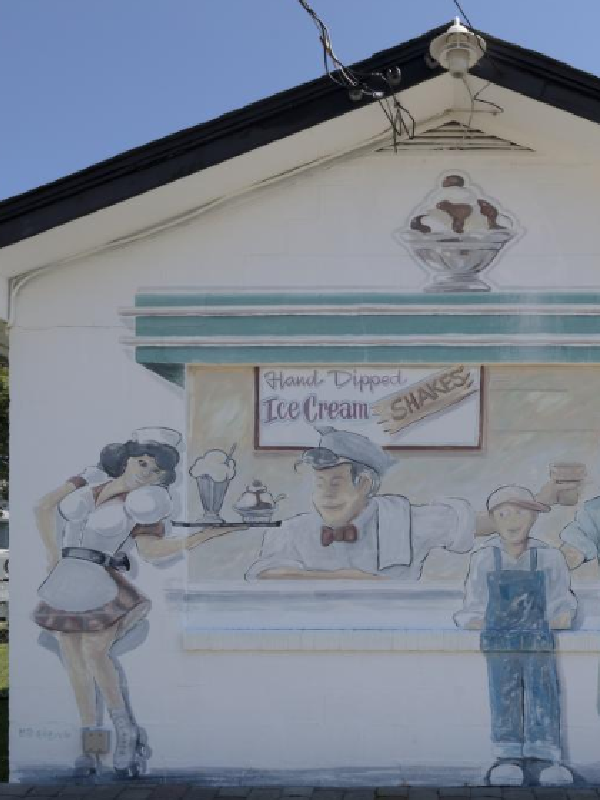
6. Ice Cream Seller
This easy costume is great for beginner sewists that want to be comfortable on All Hallow’s Eve. Plus, everyone loves a 50s inspired look!

What you’ll need:
- 0.75 yard of White Cotton Fabric (45″ wide)
- 2″ White Ribbon (approx 1.5 yards)
- 0.5 yards of White Felt (or less)
- 6″ x 6″ Red Felt
- (Optional) 1/2″ Red Ribbon (approx 2 yards)
- A white shirt and white pants/skirt (sewn or purchased)
- White thread and Red thread
- Hand-sewing needle
- (Optional) Speed Sew (sewing glue, you can grab it in-store at Fabricana)

Sew or purchase a simple white shirt and white pair of pants/skirt.
Cut your apron by cutting a rectangle the length from your waist to your knees by half the length of your waist + 6″. (If the distance from your waist to your knees is 14″ and the size of your waist is 36″ cut your fabric to be 14″ x 24″). Hem all 4 sides of your apron. Sew your white ribbon to the top of your apron; there should be enough length to tie the ribbon around your middle. This video we made shows you show we sewed this Apron Pattern, if you need a visual this may be helpful to watch!
Cut a strip of White Felt the width of your head + seam allowance by 4″ tall. Sew or Glue your Red Ribbon in a thin strip in the middle of your White Felt to create your Hat Band. Sew the Hat Band along the 4″ side of the White Felt to create an open cylinder. Cut a circle out of your White Felt the size of the hole in your cylinder + 2″. Cut 2″ slits around the outside edge of the circle. Fold up edges created in the felt circle and glue or hand sew to the inside of your cylinder.
Cut a 6″x 3″ rectangle out of your Red Felt (Pattern Piece A). Cut a 2″ x 3″ strip out of your Red Felt (Pattern Piece B). Pinch the middle of Pattern Piece A to create a bow shape. Wrap Pattern Piece B around the middle of Pattern Piece A and sew ends together, leaving a small gap at the back. Feed the remaining length of Red Ribbon through the gap to create a tie to hold your bow in place. Or, pin bow to the front of your shirt if you are not using a ribbon.
You can add a bit of flare to your outfit by buying some empty Ice Cream Cones or an Ice Cream scoop to walk around with!


