Who wants to celebrate Valentine’s Day (fabrics) and doesn’t need a couple photo to do it? Us! I love Valentine’s Day fabrics, but was never a fan of couple pictures, or sewing romantic things for my partner. Well! Here’s a fantastic idea; Diaper Covers! I know what you’re thinking; why Diaper Covers? Well, with my new nephew in the world, and lots of cute baby pictures floating around I know lots of people are expecting to be Aunts, Uncles, Moms and Dads this year so why not dress baby in the cutest way possible? Diapers aren’t that fashionable, but we can help you out with making these easy to adjust, and wear Diaper Covers for baby!
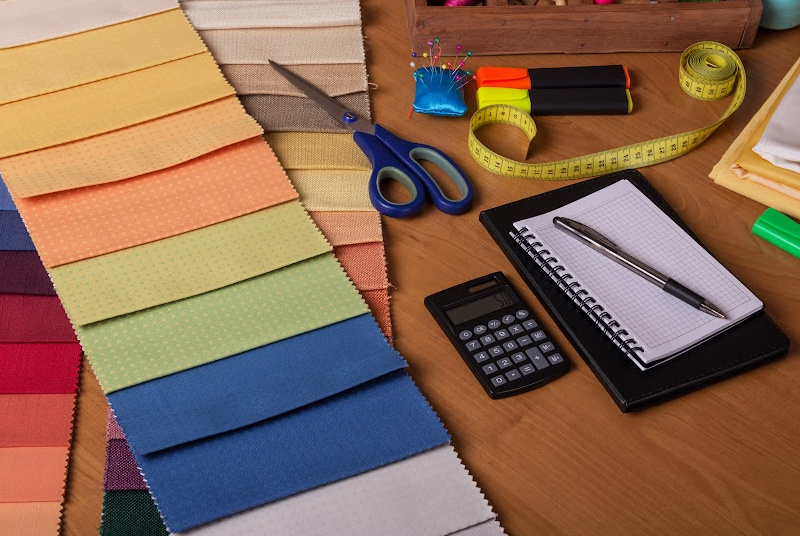
Tools and Materials
- Our Handy Dandy FREE pattern (see below)
- ½ yard of cotton or PUL fabric (Polyurethane Laminate)
- 26 Inches of ½ inch wide elastic
- 4 Snaps, Or 6 inches of velcro (rough and soft)
- Fabric Chalk
- Matching thread
- Sewing Scissors
- Pins
- Measuring tape
- An Iron

Sewing Instructions
1. The first step is printing off and adjusting the pattern pieces to fit your baby. The pattern shown here is for a 12-24 month old baby, but can be adjusted for smaller or larger infants. To do this measure the length from the top of your baby’s diaper, between their legs and up to the front of the diaper. This length should equal to the finished length of the diaper when displayed flat, plus 3.5” for seams and hem. (For us the finished sewn length is 16” and the pattern pieces length is 19.5”)
If your baby’s crotch seam (with diaper on!) is shorter than the pattern provided take off equal length from the top of the diaper and the crotch seam (always remember to include 3.5” for seams)
Ex: If baby’s crotch seam is 14” remove ½” from the top of the FRONT pattern, and ½” from the top of the BACK pattern. Then remove ½” from the crotch join on both the FRONT and BACK pattern piece. The pattern pieces put together will equal out to being 18.5” before sewing.
If your baby is smaller, it will also be necessary to adjust the elastic length for the legs and waist. Measure, snuggly, all the way around baby’s leg and use this measurement as the cut size for your leg elastic.
For the waist, reduce the elastic for the waist by 2 inches in total (6 inches total length). The extra length on the waist will be taken off with the placement of the snaps.


PDF Download (prints on 8×11 paper) click to open and download. Print from desktop.
2. Take your pre-washed fabric and fold the two edges into the middle of the fabric so you have 2 “fold” lines. Place your pattern pieces as seen in the pictures below. The FRONT pattern piece is turned backwards so your pattern matches up. If you are placing the pattern pieces on the same fold line they should both be facing up.


3. Mark on your fabric cuts where the “elastic stop line” are for both the FRONT and BACK pattern pieces.

4. Match the crotch notches together and sew the crotch seam together with wrong sides of the fabric facing out. Use a straight stitch and a ⅜” seam allowance. Iron open the seam.


5. Press back with either finger pressing or an iron (easier) a ¼” single hem on all edges. Sew down with a basting stitch.

6. Take your 2 cuts of your leg elastic (for us it is 2 cuts of 9” elastic) and find the middle of the elastic by folding it in half with the two cut ends together. Put a pin in the middle point.

7. Using the marks you made earlier on your fabric for the “elastic stop line” pin the two ends of your leg elastic to these points. Using the middle point of your elastic, pin this to the “elastic mid-point” as indicated on your pattern and marked previously. The elastic should be pinned fairly close to the raw edge of your single-fold hem.

8. Switch your machine to a zig-zag stitch. At your sewing machine, with your elastic laying flat, put your needle down into the elastic and remove the first pin. Stitch the elastic into place so it will not move at the starting point. Then, once your elastic is secured at one end, stretch the elastic out so it lays flat along the leg curve at all points. Holding both ends of your fabric, elastic taut, sew directly onto your elastic and through the fabric to the end point.

When you finish sewing the elastic down and release it from the sewing machine it should “scrunch up”.
9. On both the FRONT and BACK of your diaper cover do a double fold hem on the ‘flaps’ on the top of your diaper.

10. Fold your fabric over on the ‘flap fold’ so the wrong sides of the fabric are facing each other. The curve of the flap should fit easily along the elastic. Fold the elastic over, creating a hem, and catching the edge of the flaps into one seam. Sew this hem in place WITHOUT stretching the elastic out, using a zig-zag stitch.
Stitch directly on top of the elastic again, enclosing the flaps in the seam and hiding the elastic within the hem.


11. Using the same elastic sewing technique, cut your waist elastic into 2 pieces (for us it’s 5” on the back and 3” on the front. If you’ve reduced the elastic size it will be 2” in the front and 4” in the back). Pin the elastic on the indicated elastic stop line for the FRONT and BACK. Sew down.

12. Using the same hemming technique, fold down the hem on the top of the pattern for both the FRONT and BACK.

13. Either use the indicated snap spots on the pattern provided, or fit diaper to paper and mark where the ideal snap placement will be. Hand sew snaps into place. We did two beside on another to attach the top of the flap and the bottom of the flap securely. That means two snaps per-side, FRONT and BACK.
The best part of using snaps is you can adjust the waist size as baby grows! Put the snaps at varying spots along the waist and snap into place so you can keep using the same diaper cover as they grow!

And you’re done! These super cute diaper covers are perfect as a gift or for your infant. I can imagine it now– babies wearing cute little dresses and you catch a glimpse of their adorable diaper covers. Or on a hot day baby can run around in a t-shirt and a diaper with a super adorable diaper cover to keep looking dapper as heck!
Share with us what you created using this tutorial.


